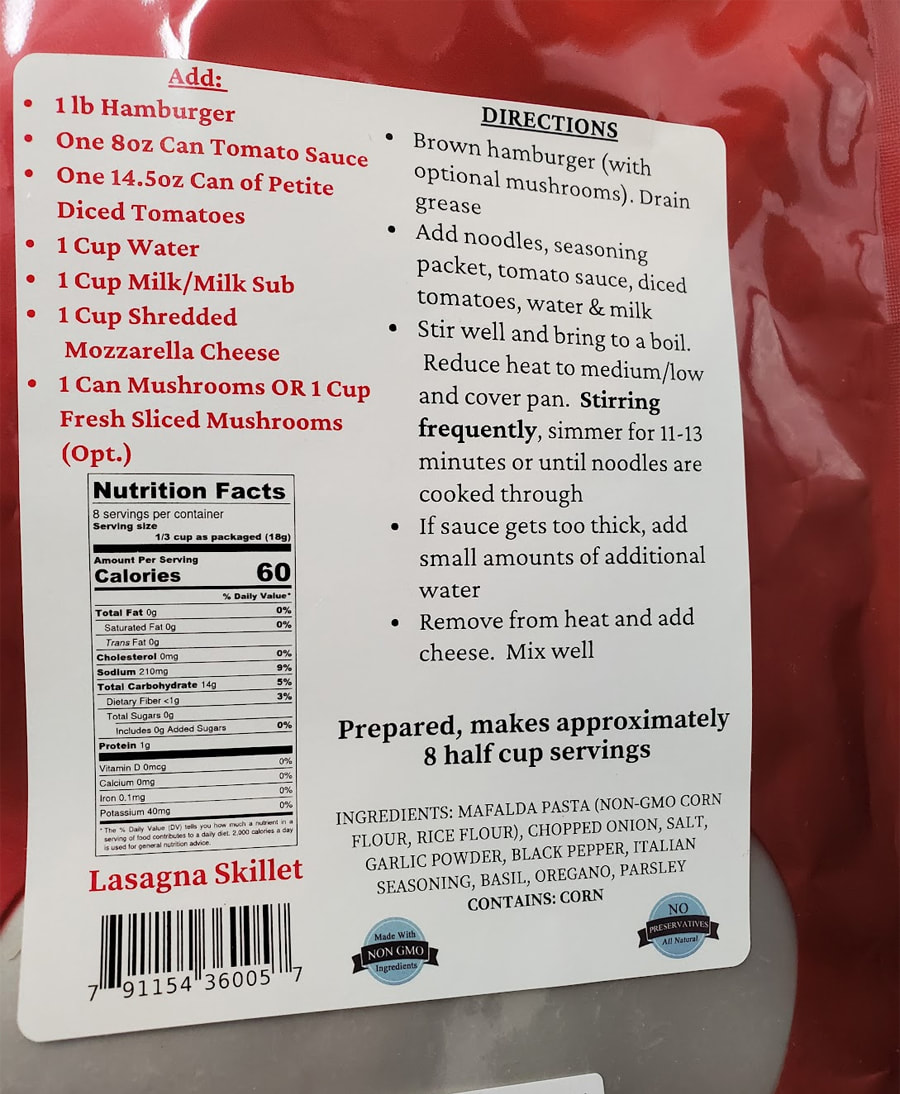
This is not really a recipe, but it's something I have made several times now when I'm not feeling like cooking, and it has always been well received. It's a skillet kit by MomsPlaceGlutenFree.com, which as you may guess specializes in gluten free products. Most of their products require a bit of baking skill, however their skillets and soups are easy enough that even I can make them. I've tried most of their skillet meals, and will probably add a few of my other favorites here, but the best that I have tried is the Lasagna Skillet. It's also easy cleanup, since it's prepared in one skillet.
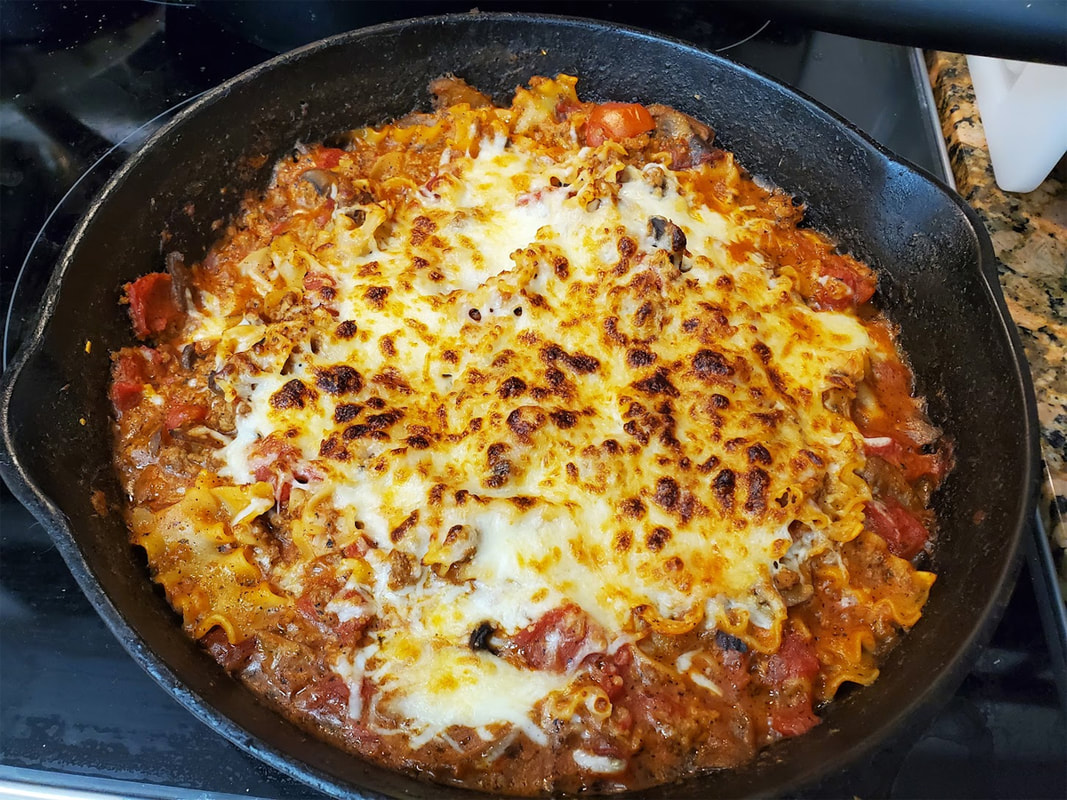
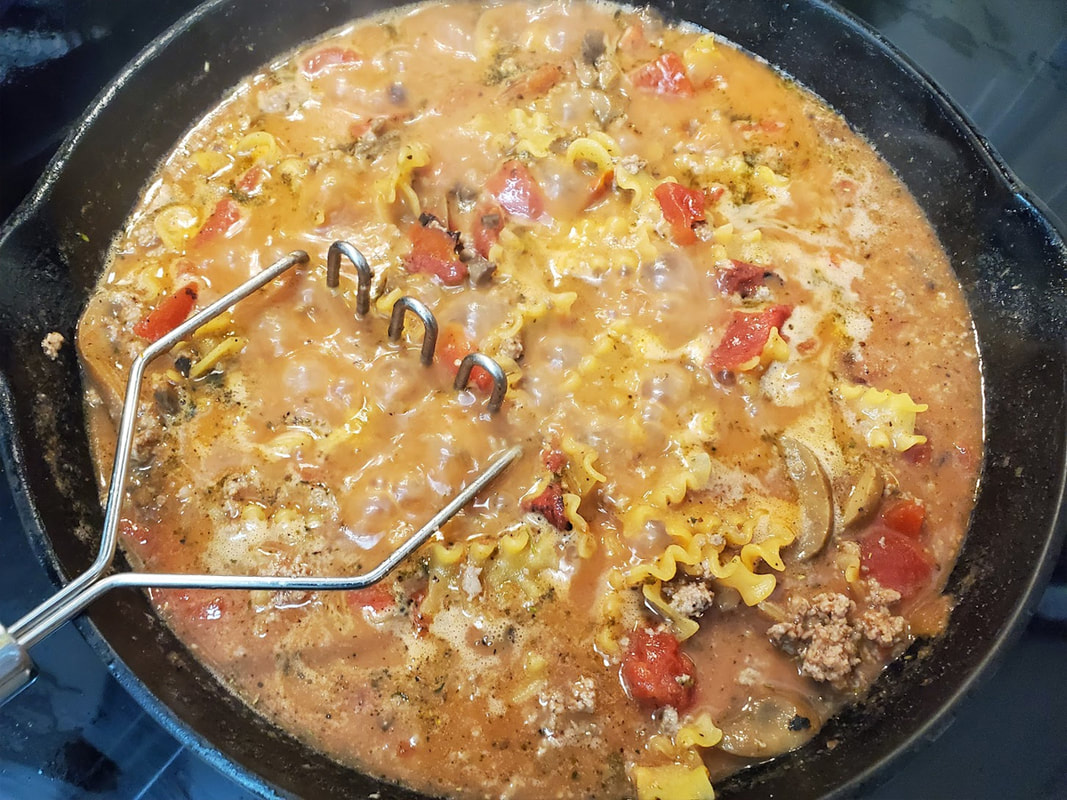
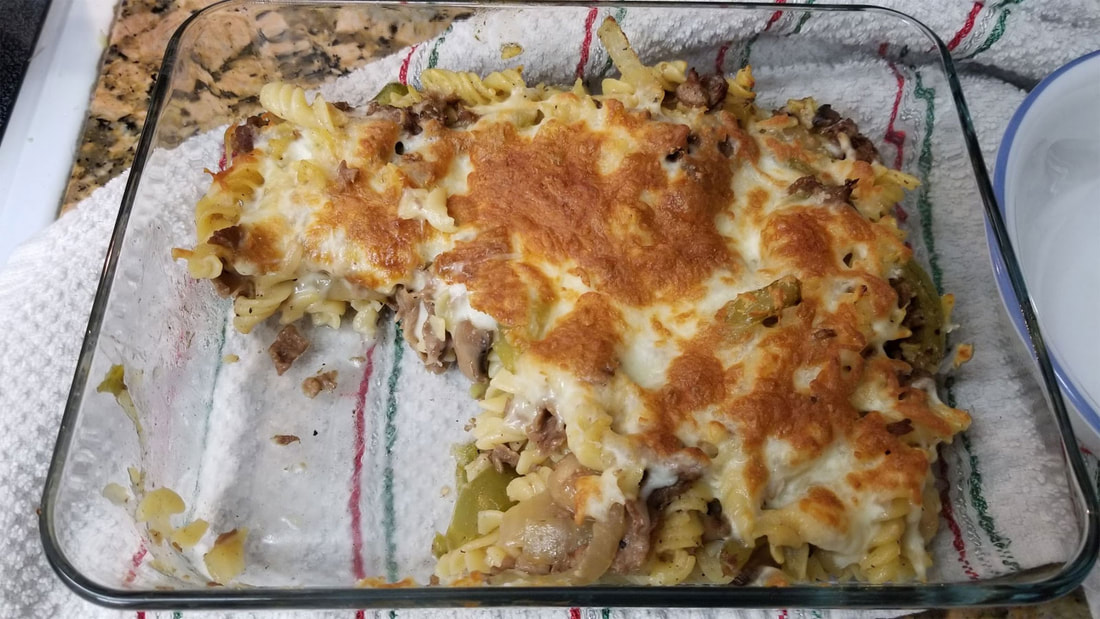
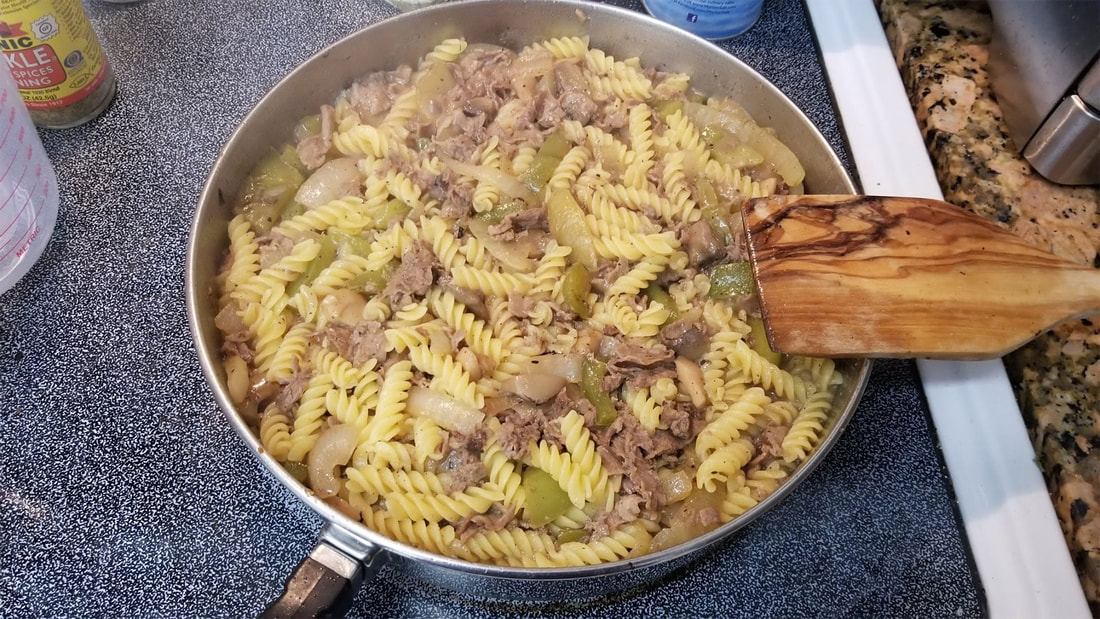
It's pretty simple to make, starting with browning some ground beef or turkey (I use turkey most of the time), with a can of sliced mushrooms (near the end) in the skillet. I sometimes add a few shakes of oregano and basil to the meat while it's cooking, but its is not necessary since the seasoning in the kit gives it plenty of flavor. A potato masher really helps when making ground beef or turkey, but using one requires that I add the mushrooms towards the end so they don't get mashed up too. Once the ground meat is done, the canned ingredients, water, milk and the seasoning from the bag are added, mixed a bit and finally the pasta goes in. A quick mix to cover the pasta, and then cover and bring it to a simmer. When the pasta is done, and the sauce is thickened (cooking uncovered for the last 5 minutes will help to thicken the sauce), I add enough mozzarella to cover the top. A couple minutes in my air fryer on broil, to brown the cheese a bit, is all it takes to finish it up (be careful though since it only takes a minute to go from browned to burned under the broiler).
It takes about 20-30 minutes total to make this meal. The only downside compared to actual lasagna, is that there's no ricotta. But I guess I could probably try adding some thin dollops of ricotta to the top next time, while it almost done and still cooking uncovered. Even without ricotta, it makes a really good Italian meal, and the cleanup is easy (one pan).
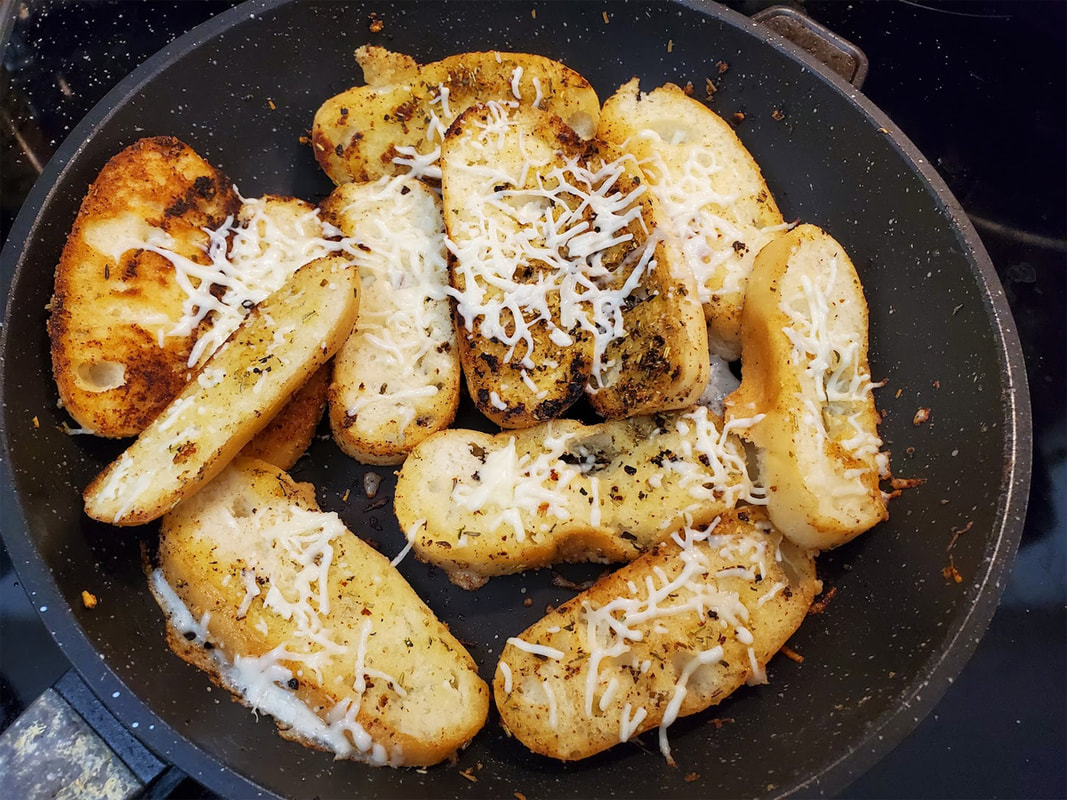
I made the "breadsticks" using some Kinnikinnick Gluten Free Dinner Rolls (from Kroger), which are cut into thirds the long way. Schär Ciabata Rolls also work great for making breadsticks. I melted about 1-2 tablespoons of butter for every roll used in a pan, and added some garlic, and some Bragg Organic Sprinkle (or just oregano). Then I just dipped each side of the sticks in the butter mix until they have a good coating of butter, and fry em up, so they get browned on both sides (yep they burned a bit on the ones in the pics). Finally I just added some mozzarella and melted that on top. I use a lot of butter for these, which is not super healthy, but it could be done with olive oil or a mix of butter and oil to cut down on the fat.
It's pretty simple to make, starting with browning some ground beef or turkey (I use turkey most of the time), with a can of sliced mushrooms (near the end) in the skillet. I sometimes add a few shakes of oregano and basil to the meat while it's cooking, but its is not necessary since the seasoning in the kit gives it plenty of flavor. A potato masher really helps when making ground beef or turkey, but using one requires that I add the mushrooms towards the end so they don't get mashed up too. Once the ground meat is done, the canned ingredients, water, milk and the seasoning from the bag are added, mixed a bit and finally the pasta goes in. A quick mix to cover the pasta, and then cover and bring it to a simmer. When the pasta is done, and the sauce is thickened (cooking uncovered for the last 5 minutes will help to thicken the sauce), I add enough mozzarella to cover the top. A couple minutes in my air fryer on broil, to brown the cheese a bit, is all it takes to finish it up (be careful though since it only takes a minute to go from browned to burned under the broiler).
It takes about 20-30 minutes total to make this meal. The only downside compared to actual lasagna, is that there's no ricotta. But I guess I could probably try adding some thin dollops of ricotta to the top next time, while it almost done and still cooking uncovered. Even without ricotta, it makes a really good Italian meal, and the cleanup is easy (one pan).
I made the "breadsticks" using some Kinnikinnick Gluten Free Dinner Rolls (from Kroger), which are cut into thirds the long way. Schär Ciabata Rolls also work great for making breadsticks. I melted about 1-2 tablespoons of butter for every roll used in a pan, and added some garlic, and some Bragg Organic Sprinkle (or just oregano). Then I just dipped each side of the sticks in the butter mix until they have a good coating of butter, and fry em up, so they get browned on both sides (yep they burned a bit on the ones in the pics). Finally I just added some mozzarella and melted that on top. I use a lot of butter for these, which is not super healthy, but it could be done with olive oil or a mix of butter and oil to cut down on the fat.

 RSS Feed
