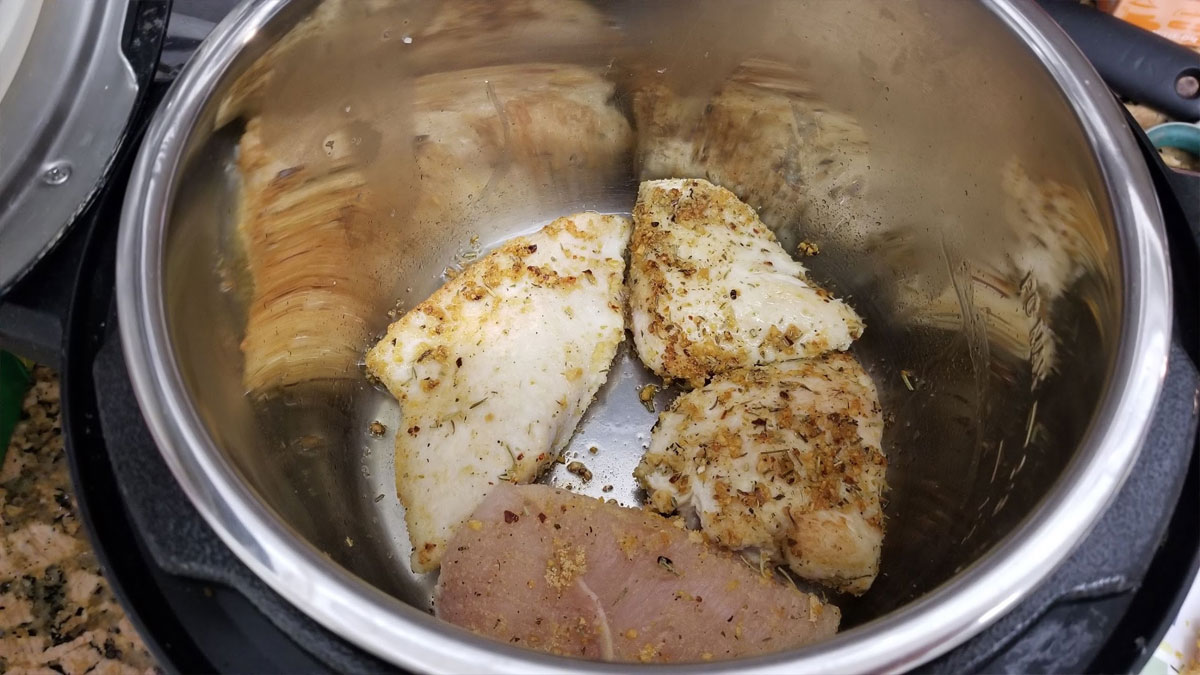
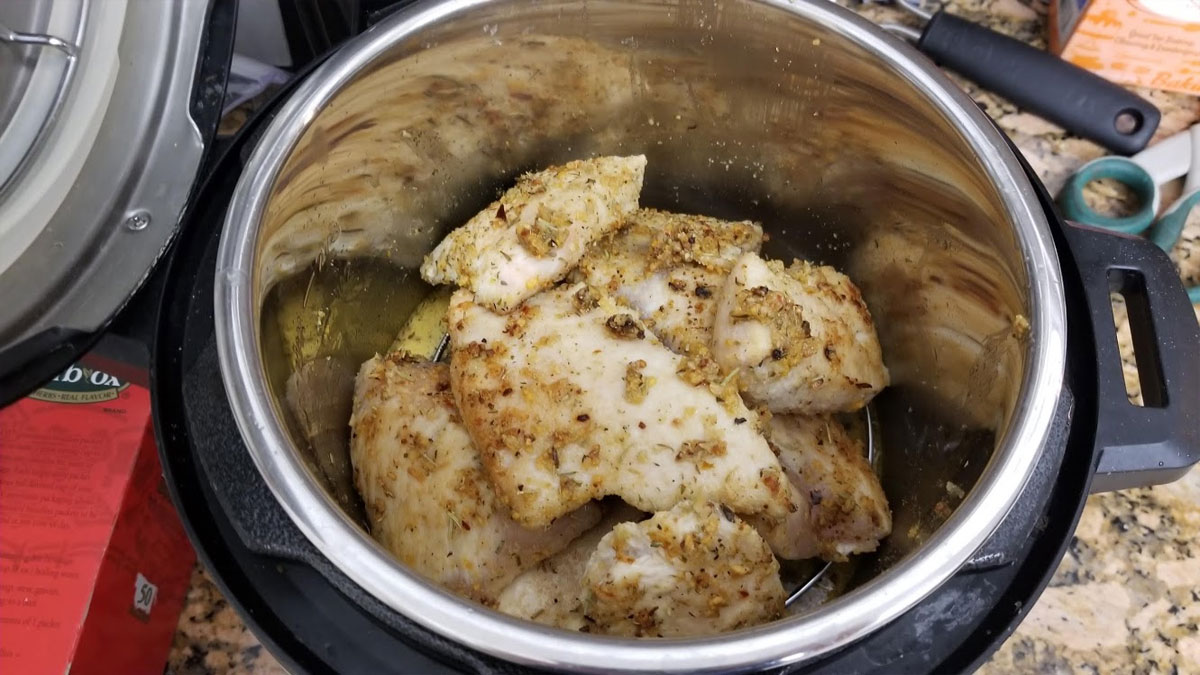
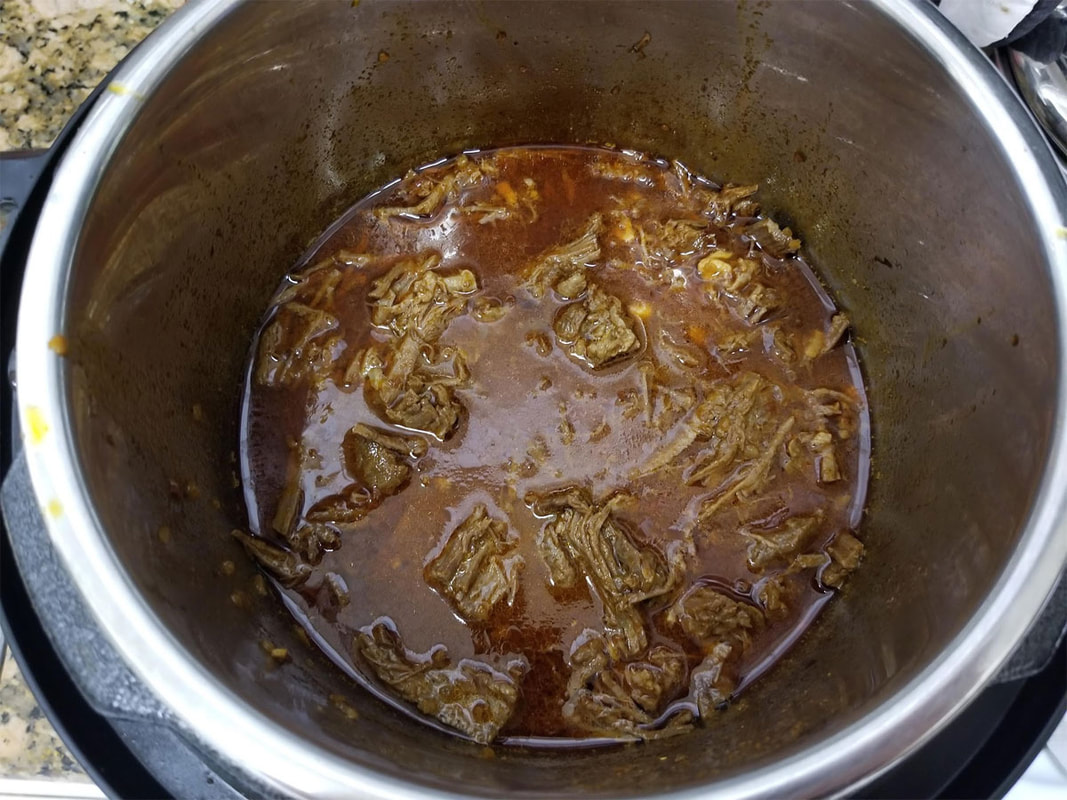
These were damn good, but I did not write down the recipe as I was making it. This "recipe" is mostly a copy of Mike Hearne's "Mom's Beef Shish Kabobs", with a few minor changes to make it less salty and add some seasonings.
Also going by memory (since I did not write it down), but this is what I used for the marinade (it makes a lot of marinade though so it could probably work for a couple pounds of steak easily):
1 Tablespoon vegetable oil
2 Tablespoons lemon juice (Or you can split it with 1 Tablespoon of Lemon Juice and 1 Tablespoon of Apple Cider vinegar)
2 Tablespoons soy sauce (I would probably use a bit less next time)
1 teaspoon Dijon mustard
2 Tablespoons Worcestershire sauce
1 teaspoon minced garlic
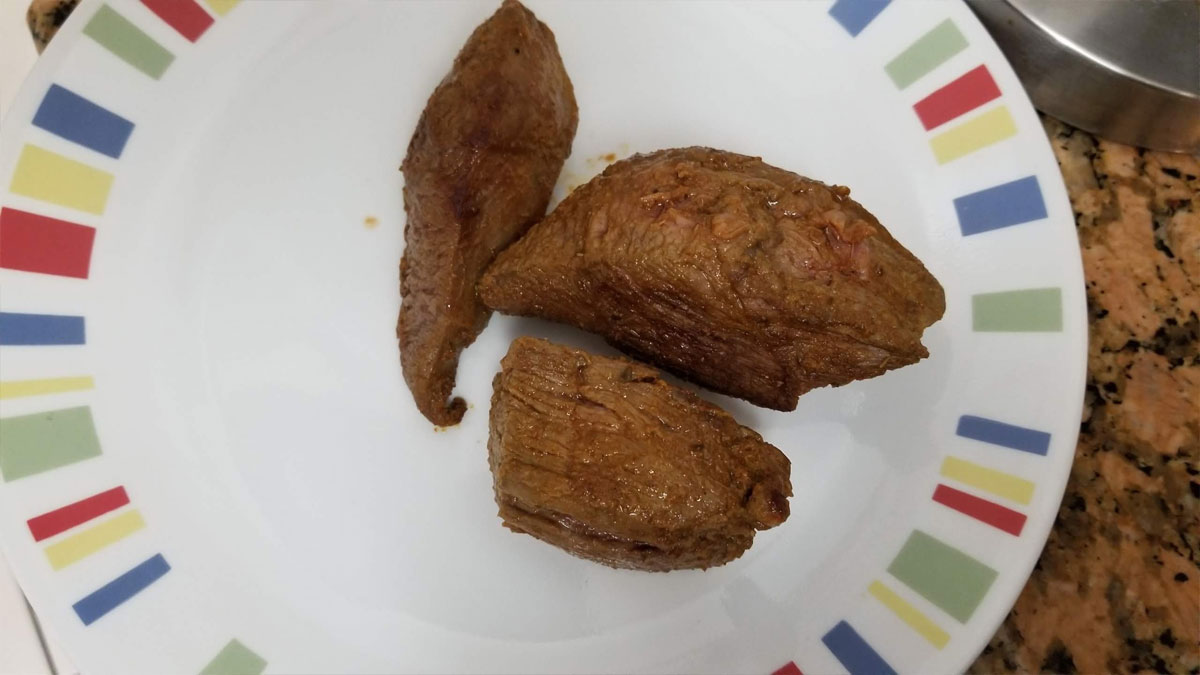
1 to 1½ pounds of Sirloin Steak (cubed)
1 tablespoon Badia Andrew Zimmern Mediterranean Magic All-Purpose Seasoning
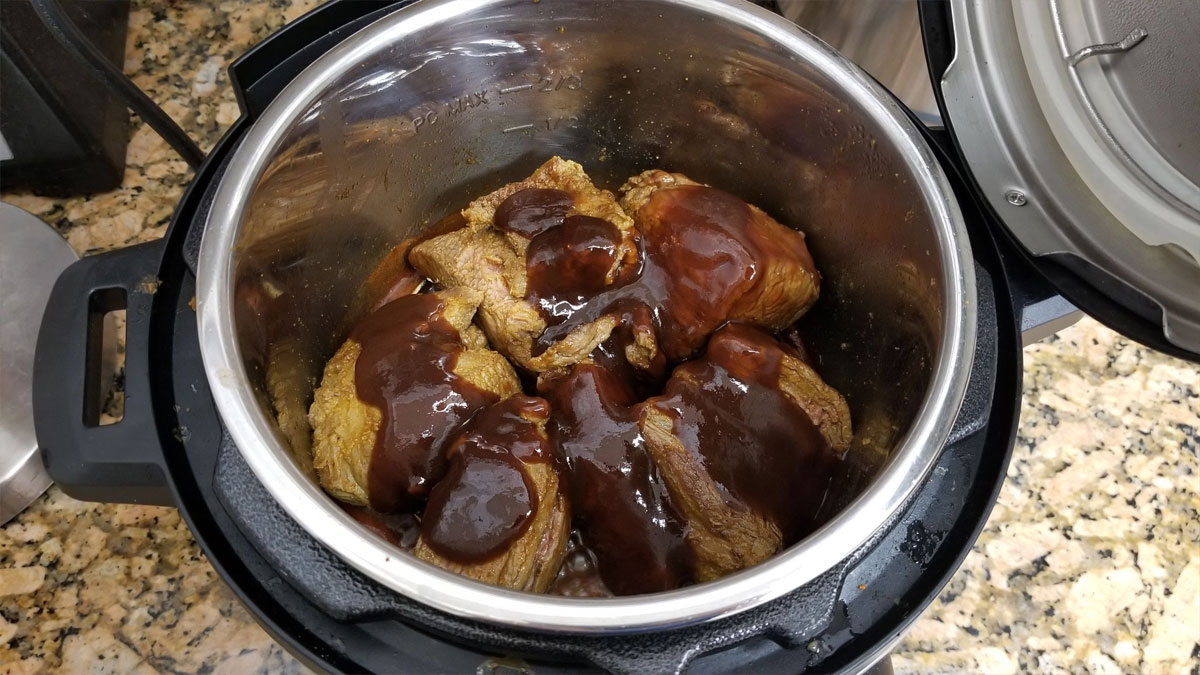
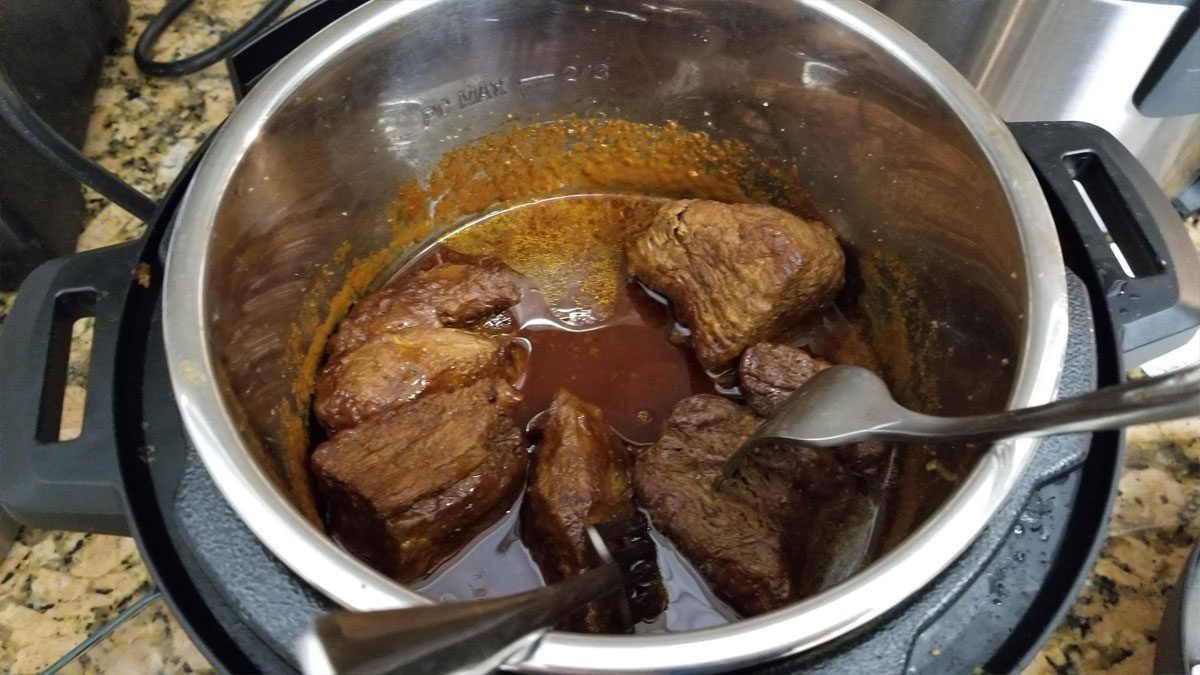
Update - I now just use Allegro Marinade to make these, which is much easier and tastes better too.
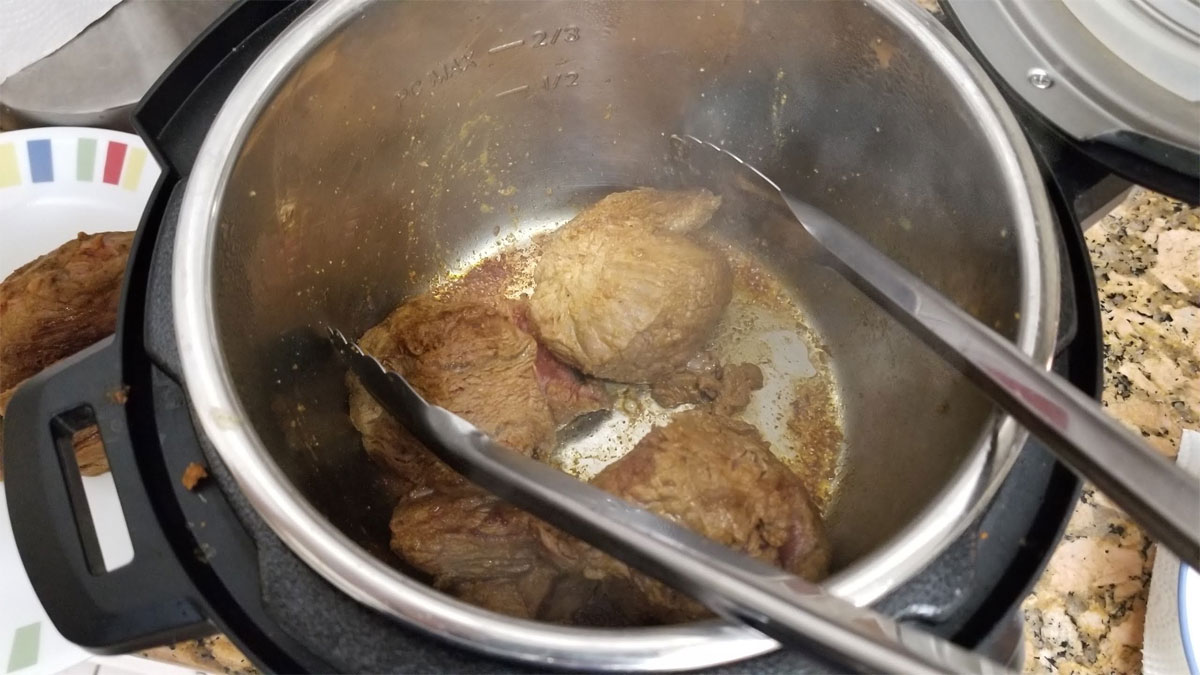
Then I marinated the steak for a day in the fridge. One tip if the meat being used requires a lot of trimming, is to put it in the freezer for a couple hours, so that it just gets firmed up but not frozen. It is much easier to trim up a partly frozen steak than it is when they are defrosted.
The veggies were one of each of these, chopped into kabob size chunks (if you are using bamboo skewers, you may want to start soaking them in water while you prep the veggies). I used the tops and bottom trimmings from the peppers to make a Cucumber Salad:
1 Red Onion
1 Green Bell Pepper
1 Red Bell Pepper
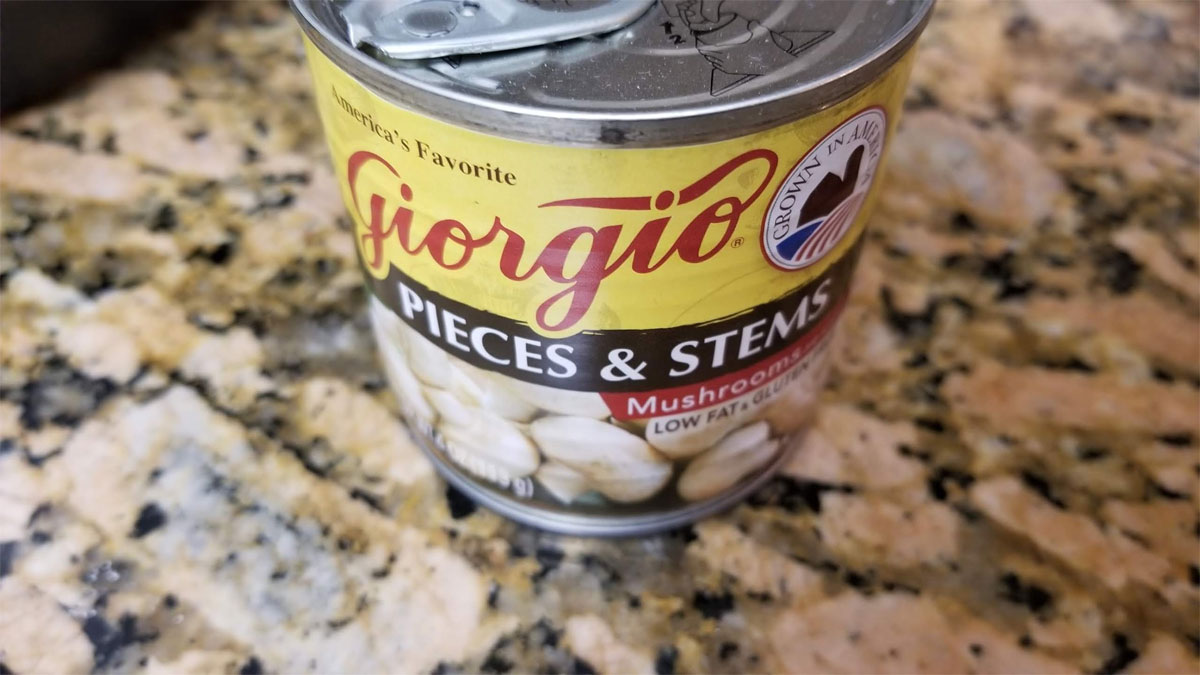
If you are trying to avoid gluten, then I would seer clear of adding mushrooms, since they are often grown in a bed of gluten containing grains. There are some which are labeled "Gluten Free" but usually those are smaller, canned mushrooms. Squash, pineapple and cherry tomatoes would be good with this though.
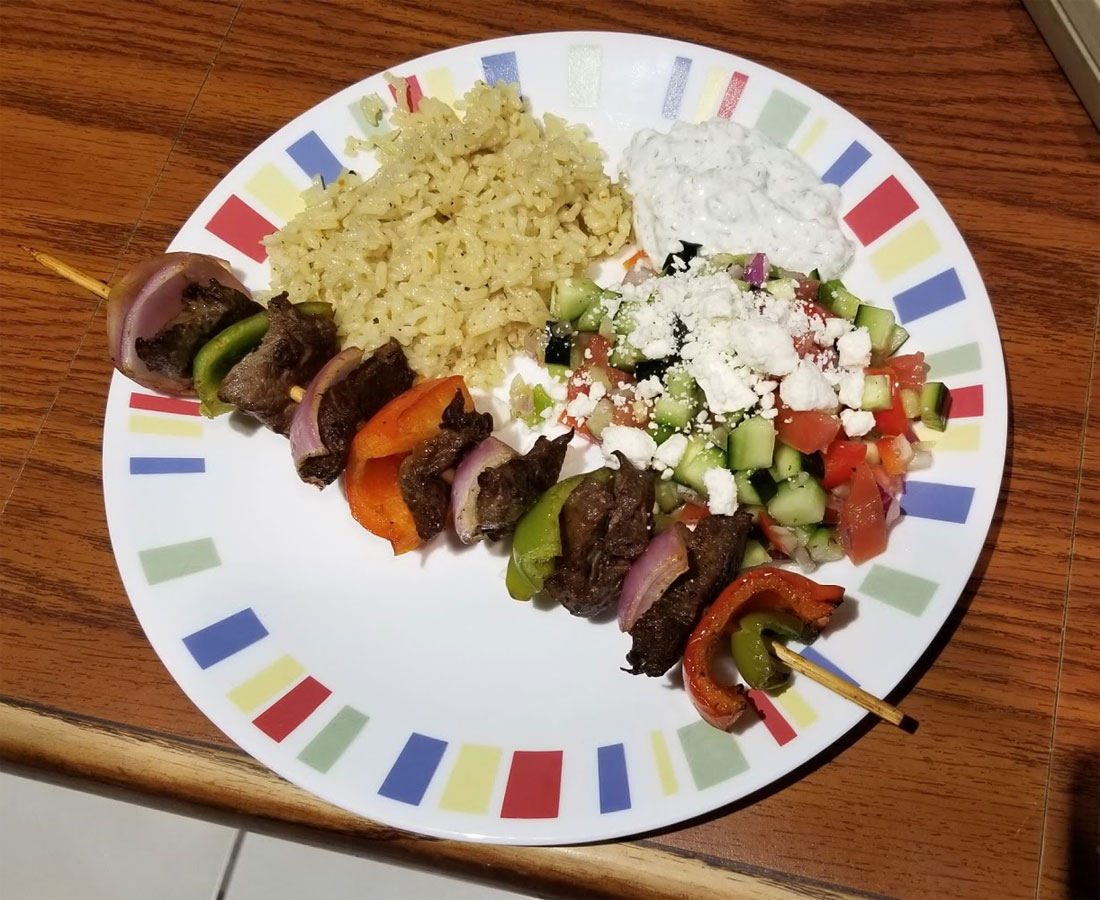
Next just put everything on skewers, drizzle the remaining marinade over the veggies, and stick 'em in the air fryer at 400°F (I think I'd use 375°F next time) for about 10 minutes, or until they are 140°F inside (that's the same as a medium steak). You can of course add a couple more minutes if you prefer them well done (I ran them for 12 minutes and they were well done).
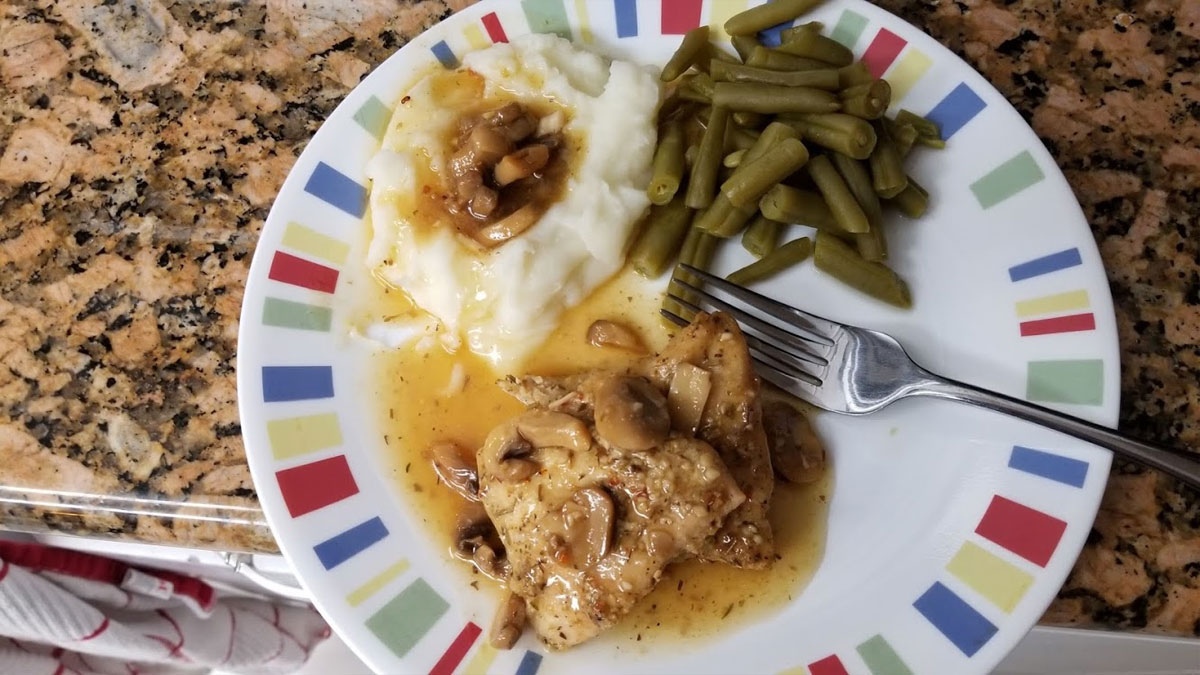
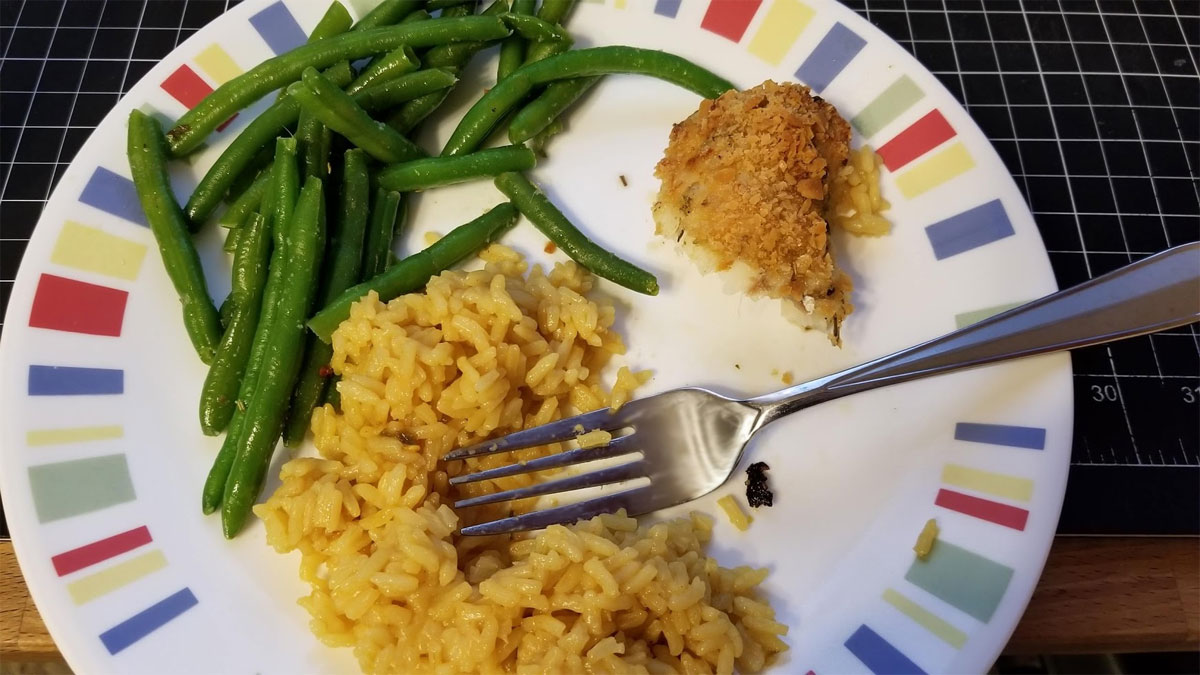
Add some Tzatziki Sauce, Cucumber Salad, Greek Lemon Rice, (I add a couple light shakes of the Mediterranean Magic to the rice), and Opa! you got dinner.
Also going by memory (since I did not write it down), but this is what I used for the marinade (it makes a lot of marinade though so it could probably work for a couple pounds of steak easily):
1 Tablespoon vegetable oil
2 Tablespoons lemon juice (Or you can split it with 1 Tablespoon of Lemon Juice and 1 Tablespoon of Apple Cider vinegar)
2 Tablespoons soy sauce (I would probably use a bit less next time)
1 teaspoon Dijon mustard
2 Tablespoons Worcestershire sauce
1 teaspoon minced garlic
1 to 1½ pounds of Sirloin Steak (cubed)
1 tablespoon Badia Andrew Zimmern Mediterranean Magic All-Purpose Seasoning
Update - I now just use Allegro Marinade to make these, which is much easier and tastes better too.
Then I marinated the steak for a day in the fridge. One tip if the meat being used requires a lot of trimming, is to put it in the freezer for a couple hours, so that it just gets firmed up but not frozen. It is much easier to trim up a partly frozen steak than it is when they are defrosted.
The veggies were one of each of these, chopped into kabob size chunks (if you are using bamboo skewers, you may want to start soaking them in water while you prep the veggies). I used the tops and bottom trimmings from the peppers to make a Cucumber Salad:
1 Red Onion
1 Green Bell Pepper
1 Red Bell Pepper
If you are trying to avoid gluten, then I would seer clear of adding mushrooms, since they are often grown in a bed of gluten containing grains. There are some which are labeled "Gluten Free" but usually those are smaller, canned mushrooms. Squash, pineapple and cherry tomatoes would be good with this though.
Next just put everything on skewers, drizzle the remaining marinade over the veggies, and stick 'em in the air fryer at 400°F (I think I'd use 375°F next time) for about 10 minutes, or until they are 140°F inside (that's the same as a medium steak). You can of course add a couple more minutes if you prefer them well done (I ran them for 12 minutes and they were well done).
Add some Tzatziki Sauce, Cucumber Salad, Greek Lemon Rice, (I add a couple light shakes of the Mediterranean Magic to the rice), and Opa! you got dinner.
 A little "Magic" goes a long way. | 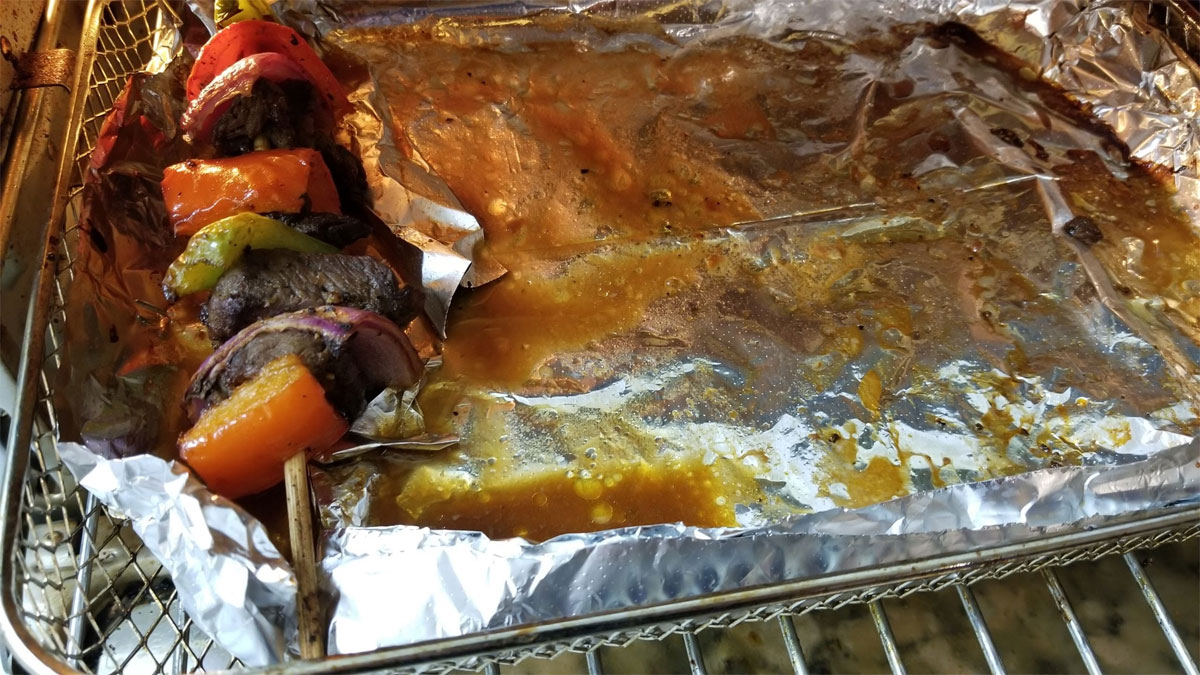 I only thought to grab a pic after almost all the kabobs were gone :D |


 RSS Feed
