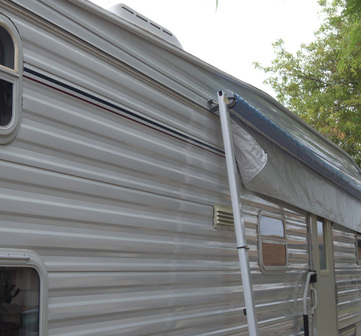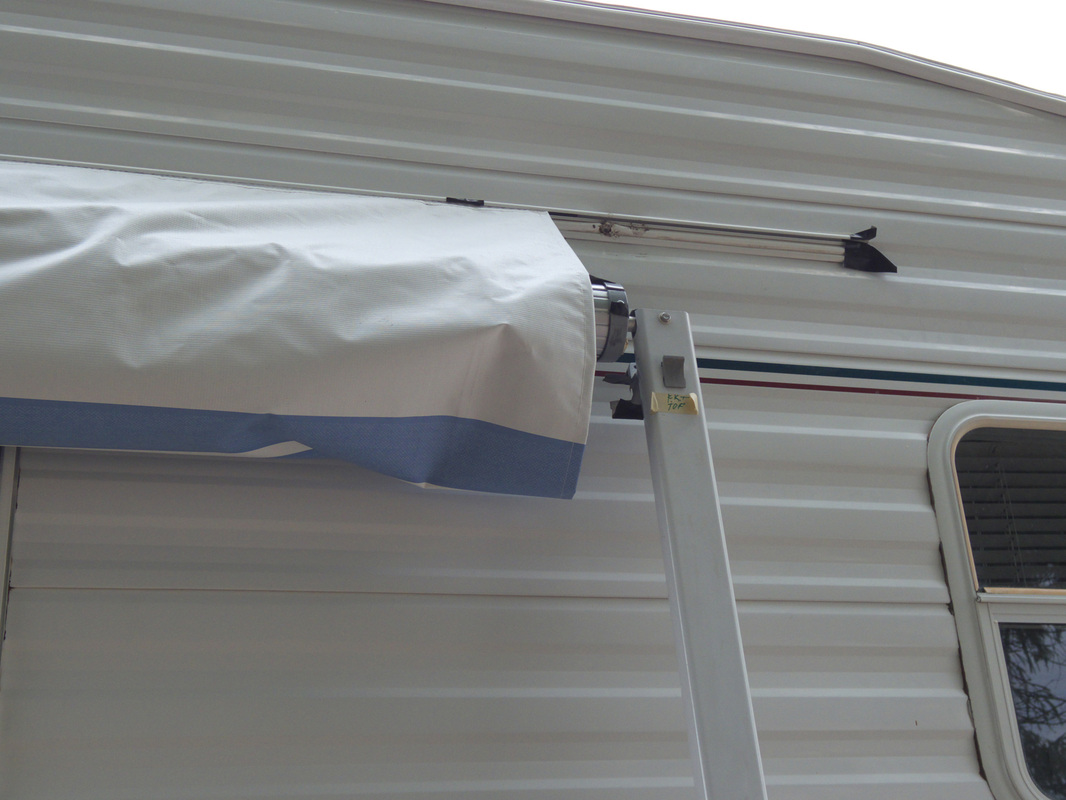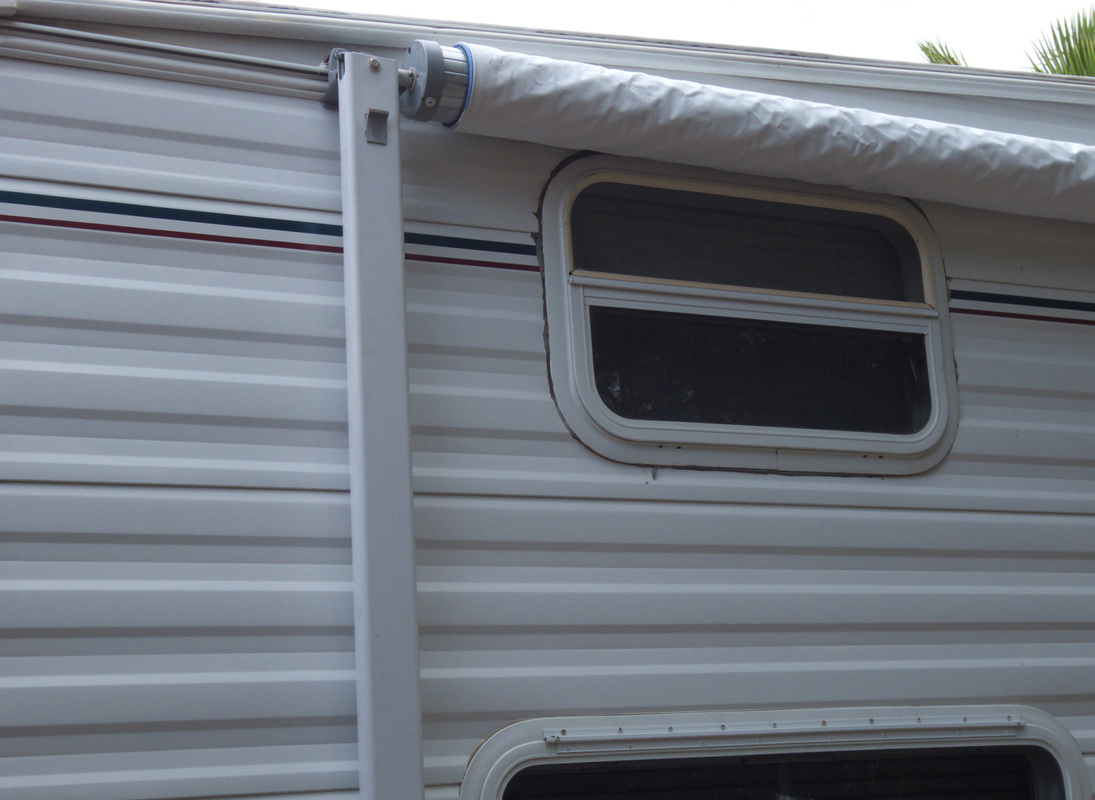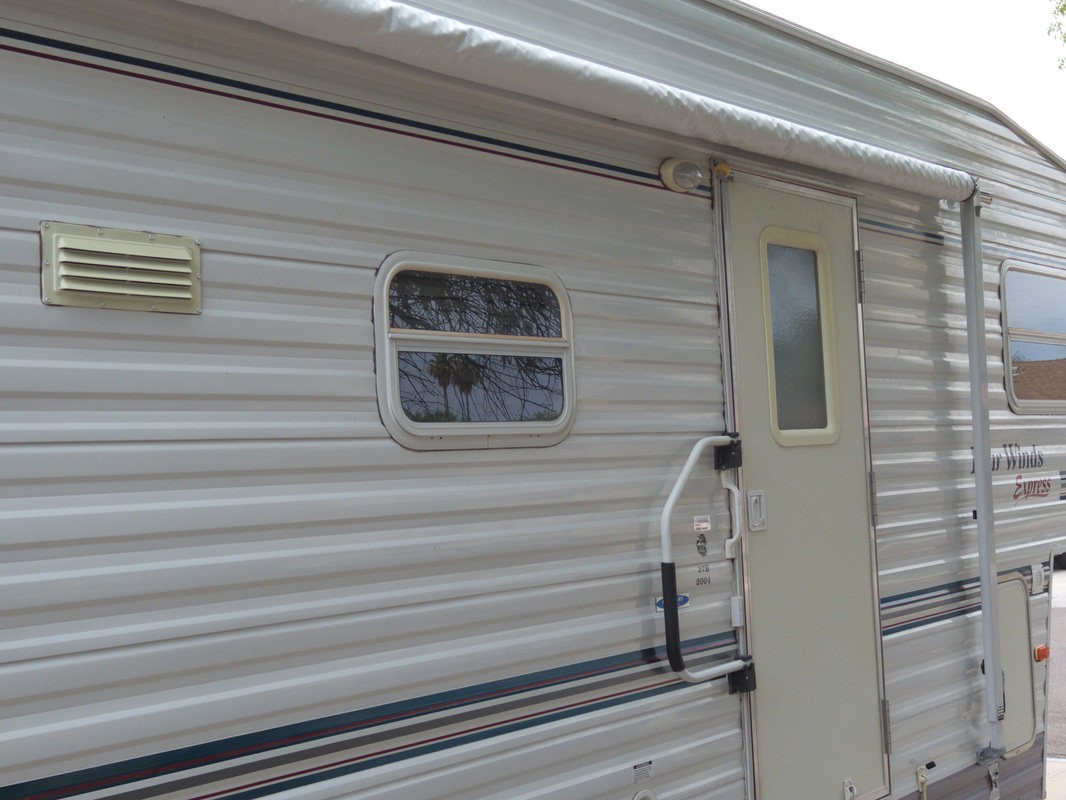
Replacing the fabric on an old worn out awning is not really a DIY job since it involves unloading torsion springs drilling rivets and a lot of other things which are generally a PITA, not to mention dangerous (so the standard disclaimers apply, also this is not a how-to).
I initially though it would be an easy job, until I saw this video on youtube, which though more complicated than I thought, makes it look easy enough...but ain't that always the way bad things start? Well not one to jump into something like this unprepared I watched that video several times and took down some notes and made a checklist which in practice went out the window, but it did help familiarize me with the the procedure more than just watching the video alone.
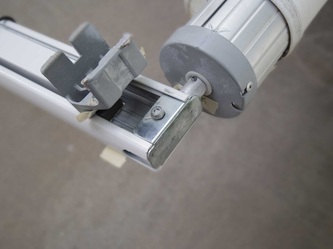
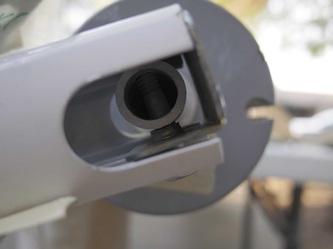
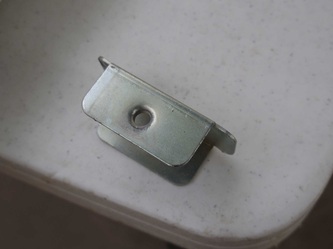
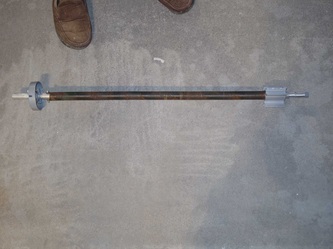
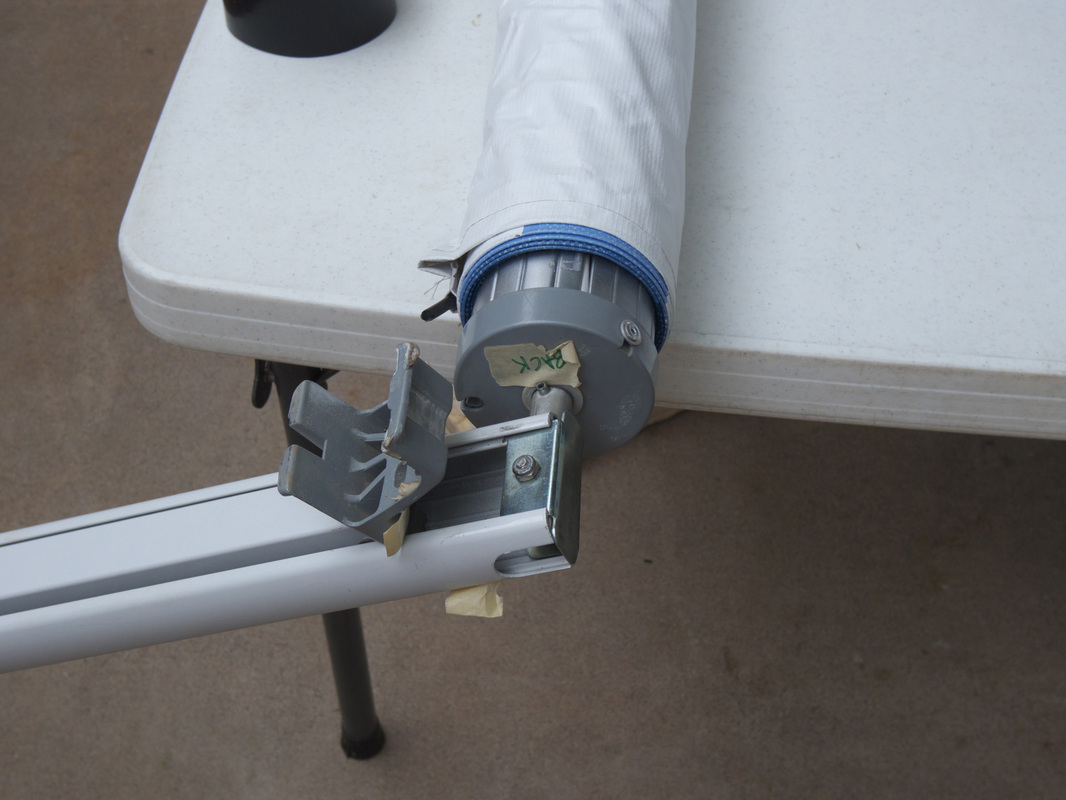
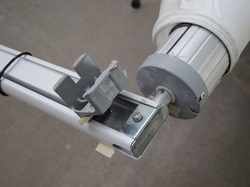
The awning was removed pretty quickly and without much difficulty - we cut the fabric rather than walk it off as in the video, but otherwise followed the same steps. The only difficulty was that the awning we were working had a new and improved (cheaper and less easy to replace) mounting bracket than what is shown in the video. If you watch Bob's video, you will notice that the part which he holds with a vice grips appears to be a cast aluminum part which remains part of the torsion assembly throughout the process. In the case of the awning I helped with, the assembly is just a piece of bent steel bracket with a hole in it. The problem is, the single bolt in this setup goes through the rafter bar, through the bracket and through the axle of the torsion assembly - and therefore if you hold on to the bracket with a vice grip as in the video, while removing the bolt, you will (if you are lucky) witness the torsion assembly violently unwind. Not wanting to see such a spectacle today, we checked to see how others had done it - and turned up nothing. The included instructions with the replacement fabric mentioned that the newer awnings require an unwinding tool ($80 at Amazon - my affiliate link). The tool is the way to go for sure, and I probably would have bought it had I known earlier - then re-sold it on Ebay to re-coup some of the cost. The unwinding tool is a Dometic 3308334.006U - but note there are two types, this model is the one I think would fit the awning shown here. There was a pic of the tool in the instructions which shipped with the awning replacement fabric, and from the pic, the tool appeared to be a turning handle with two rods welded to it which go into the open end of the torsion spring axel tube (the rods need to slip by the bolt and also past a roll pin which is what keeps the whole mess from turning when the bolt is removed). It looks like the rods would go at least 5" into the axle tube, however never having had seen this tool in person it is hard to say.
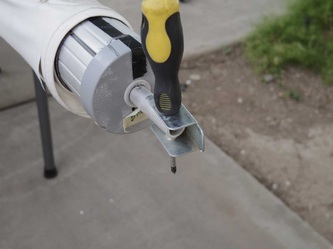
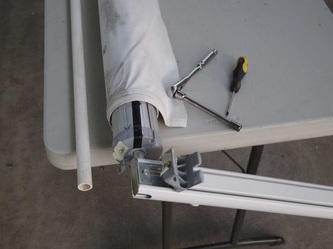
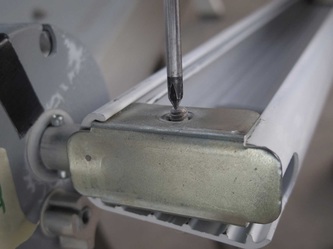
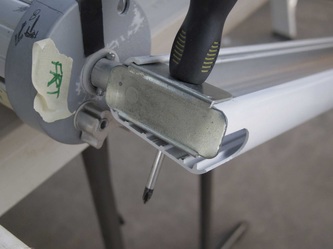
Being more of the Red Green sort, and not one to think to hard about these things, I considered fashioning my own tool to do the job, which would be much easier if I had a welder. Fortunately my Dad presented his solution, which was to simply turn the awning tube to release the spring tension. The extra benefit of doing it that way was that there was enough inertia in the system that it did not get out of control (the rafter bars could be left on to unload the spring) and both sides would be unwound at the same time. Being the typical Dad sort he had to remind me several times of his brilliance, which was the only downside to this plan. Since we had about 2 feet of material out when we took the awning off, it took 8 turns of the tube to get the tension released - basically we re-rolled up the material back on the awning tube as though it was going back up - holding it at both ends as we turned so it would not spin freely, and gave one or two more turns due to the pre-load. It was pretty clear that the torsion spring was unwound when we lifted the rafter bars so the awning tube could freely rotate and verified that it did not want to spin in either the roll up or roll down position. For good measure we slipped a small screwdriver through the hole as we removed the bolt in case there was any tension still in the spring - which we found had been unwound fully.
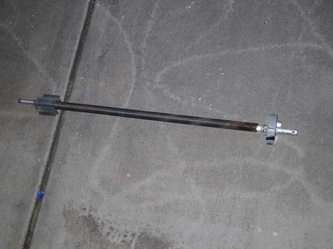
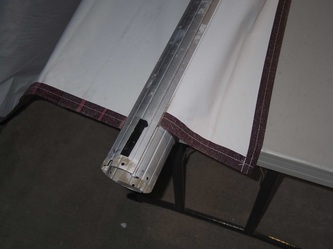
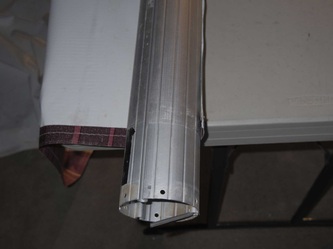
Next we followed the steps in Bob's video (again what a great guy for posting it, has probably saved quite a few people a couple hundred bucks or more by now). Before removing the caps we marked the tube and caps with tape so we could re-assemble them the same way. We removed the end caps by drilling out the pop rivets, and carefully slid out the torsion assemblies from both ends. Then we had to clean the tube which is going to be allowed to dry (and then get painted) before we re-assemble the whole mess. I can already see that getting it back on will take three people (one at each end holding rafters and one to coax the fabric back in the track. The fun never ends around here.
Re-installation
We took a couple weeks for the stars to align so we could re-install the awning (due to restrictions on when we can have the RV parked in the drive). In the mean time we re-painted the awning tube with silver rust-oleum paint which matched up pretty well (we used a HVLP gun to spray it since it would take too many rattle cans to get the 2 coats we wanted. The paint will protect it and helps the looks a bit too.
Re-installation was the reverse of removal, we used the same method to re-tension the springs which was pretty easy and tool free (great considering the stupid tool costs about a hundred bucks at most places).
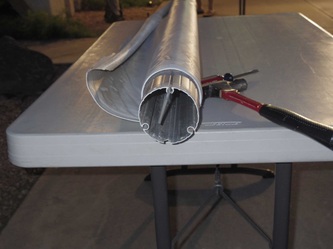
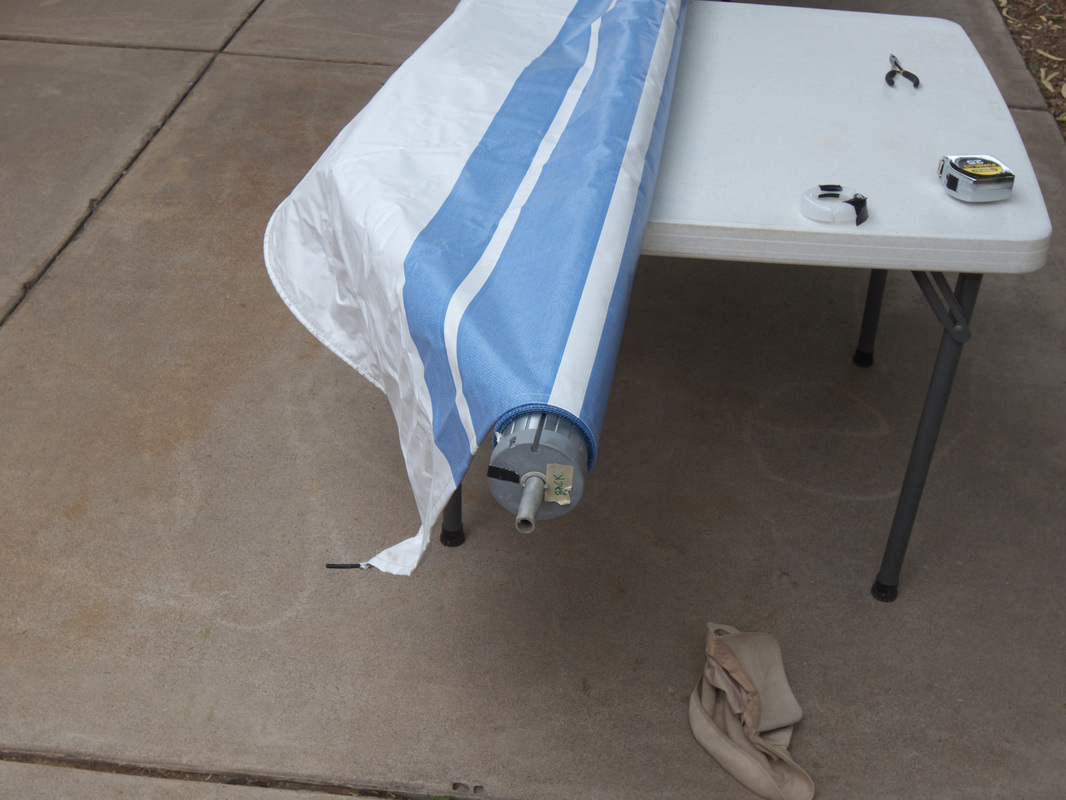
The first step was to get the new fabric on the awning tube. The replacement fabric we used is one piece so the awning and flap go on together. To help pull this off, there was a plastic end cap which was included with the fabric - that snapped onto the end to help guide the fabric onto the tube. We also put a duct tape tab on the end of the fabric in the area between the beads which helped to pull the fabric onto the tube. Getting the fabric on the tube was pretty simple. Once it was on and centered we folded down the plastic tubing which rides in the track and installed the left and right springs with the end caps.
The end caps were aligned using the tape we put on the tube and end caps when we disassembled the awning. The end caps were then pop-riveted on and attached to the rafter beams with the bracket and bolt.
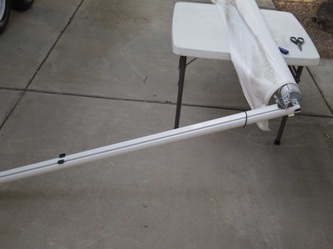
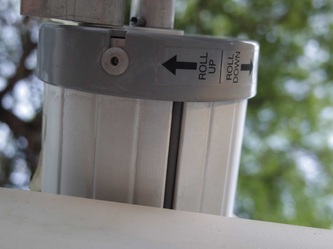
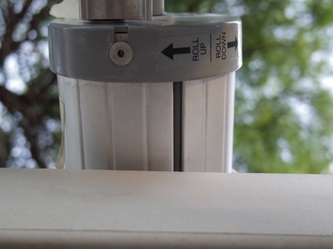
Tensioning the torsion springs is next. We rested the awning (with rafters attached) on two folding tables and set the lever to the roll down position. We wrapped the fabric around the tube and taped it to keep it out of the way during the tensioning. From the end with the lever (which was in the roll down position), we rotated the tube clockwise 8 turns (which is the number we counted off when we removed it). This was basically putting the tension back in the spring as though we were unrolling the awning about 2 feet from the trailer (including the preload). Then we remove the tape holding the fabric and unrolled about 2 feet of fabric - leaving the tension in the spring (since it was in the roll down position the tube was locked and did not want to spin).
Next we had to thread the new fabric onto the track attached to the RV. First we prepped the track by slightly flairing the end and putting some heavy duct tape over them to protect the fabric as it threads on the track. We also went over the track and opened up any areas that looked like they could cause a snag in the track with a flat screwdriver.
Threading the fabric took 3 people - one to do the threading, and on at each end of the awning to steady the rails which were extended to about 8 feet. As the fabric is threaded, the awning was walked along - it may be possible to do this with 2 people, but it would be tricky. We hit a snag due to a staple in the new awning fabric - right in the bead that goes into the track, but otherwise it went on easier than we could have hoped for (we actually test fit it once with just the fabric, then removed it and put it back on).
After getting the fabric back on, we mounted the top brackets with the two lag screws. After that it was just popping the bottom brackets back in and unrolling the awning to stretch the fabric out. Once the fabric was stretched, we checked the centering and adjusted it a bit. Finally we put the screw in through the top of the track which secures the fabric (it goes through the track, and through the bead in the fabric).
UPDATE: I found this youtube video which shows how some pro's did this, and they explain it a lot better. We did it slightly differently since we released or put tension in the springs without taking the arms off and held onto the barrel to wind/unwind it (which took two people, one at each end), but for the most part it is the same. They also only pulled the awning out about a foot which means they had even less tension in the awning to start with than we did (we pulled it out about 2 feet). The further the awning is pulled out, the more tension is put into the spring (which then needs to be safely removed before the endcap can be removed to get the fabric off/on) - so pulling the awning out as little as possible to start with is better I think (probably would do just a foot if we ever need to do this again). It is really just the minimum to get the awning off the RV and not any more.
Here is the link to the video which does a better job of explaining the process of swapping the awning fabric (or you can watch it below):
https://www.youtube.com/watch?v=ZfpM-op0dkU
