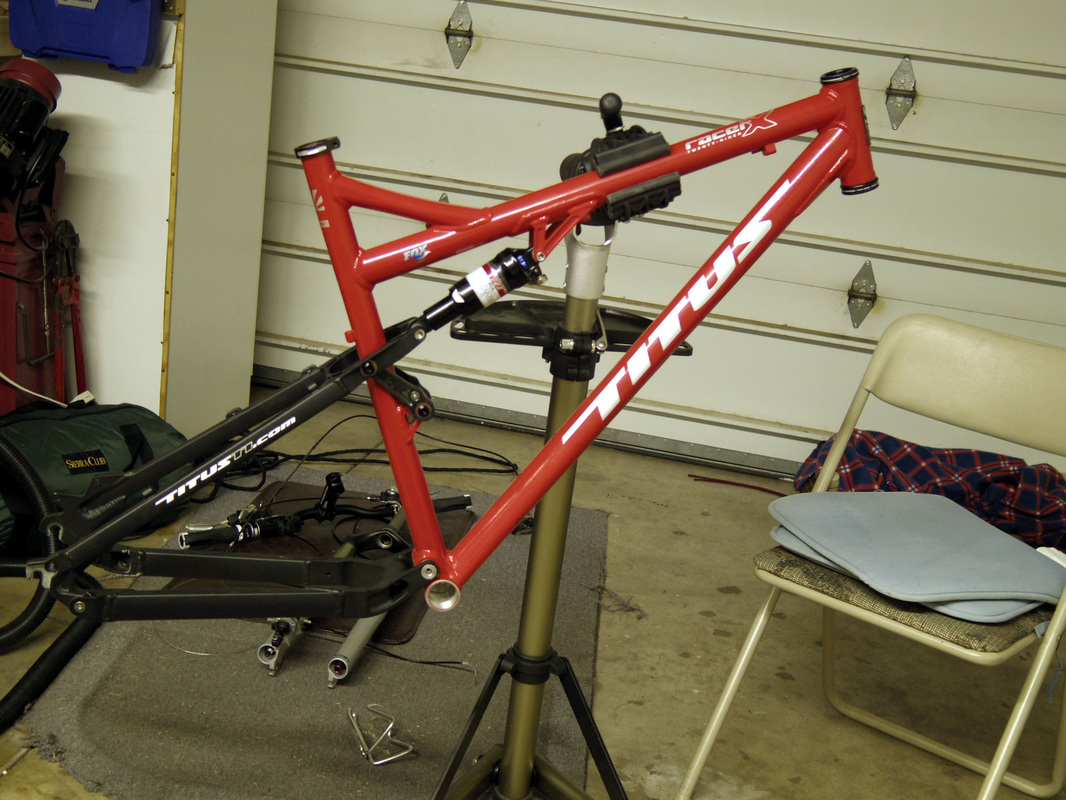
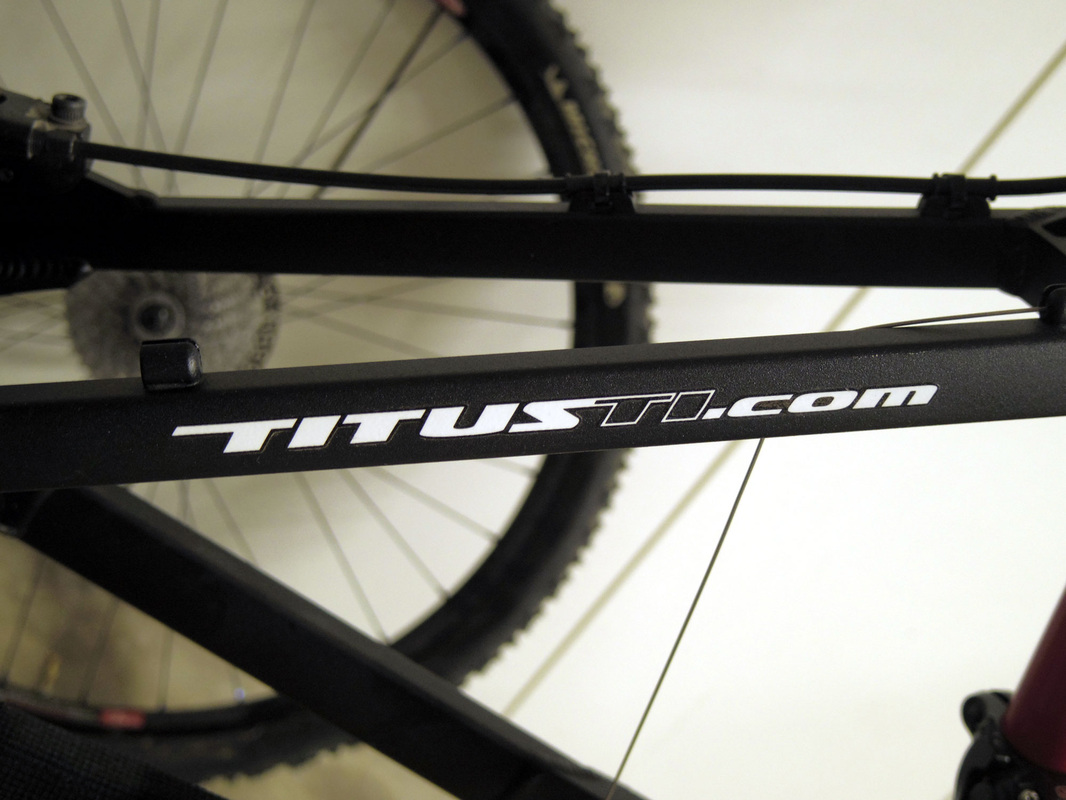
Building a Titus Racer-X 29er frame
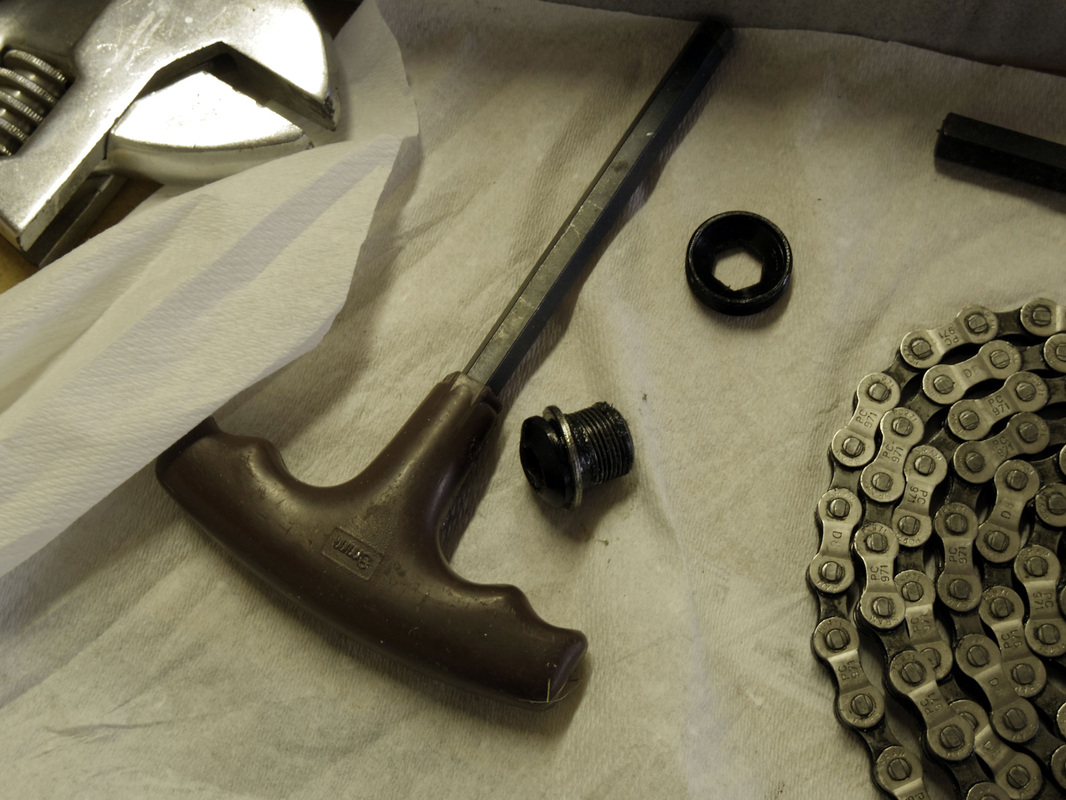
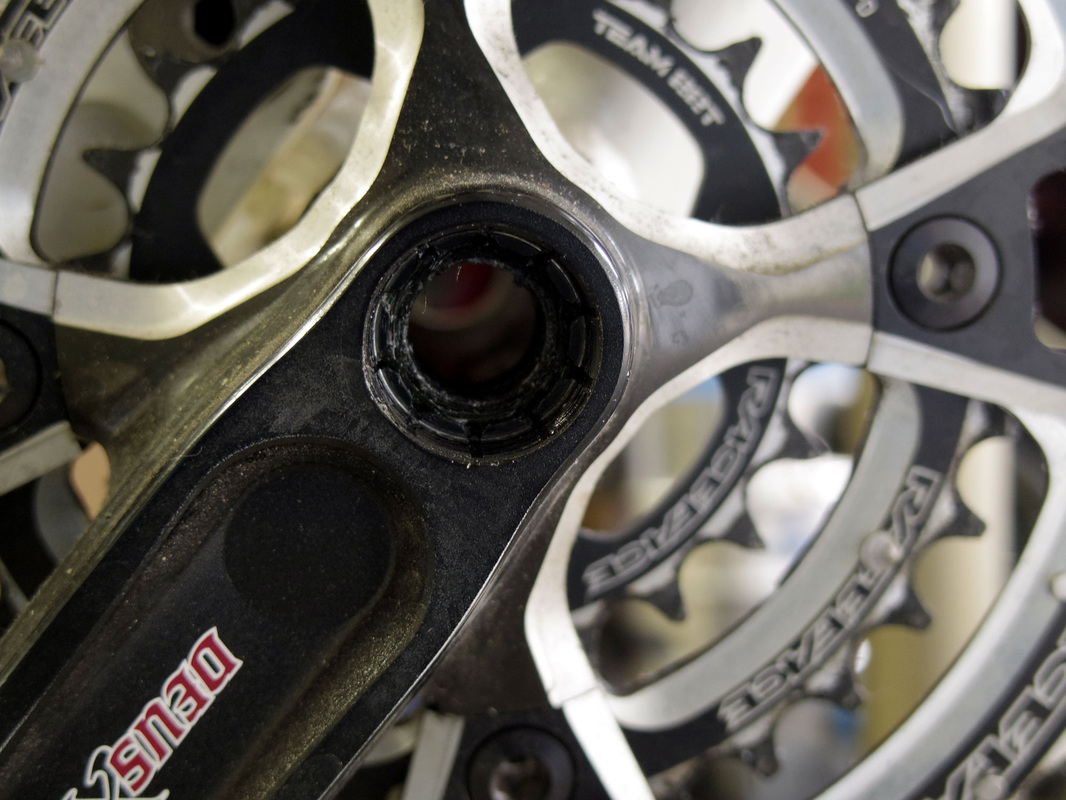
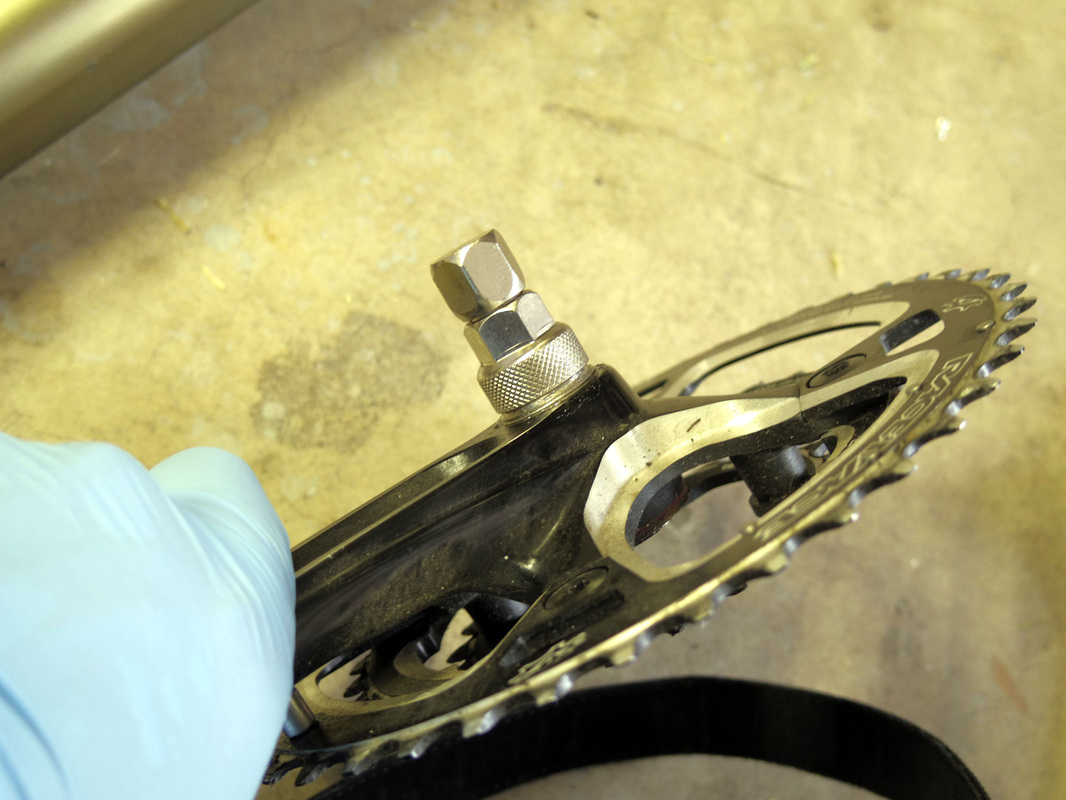
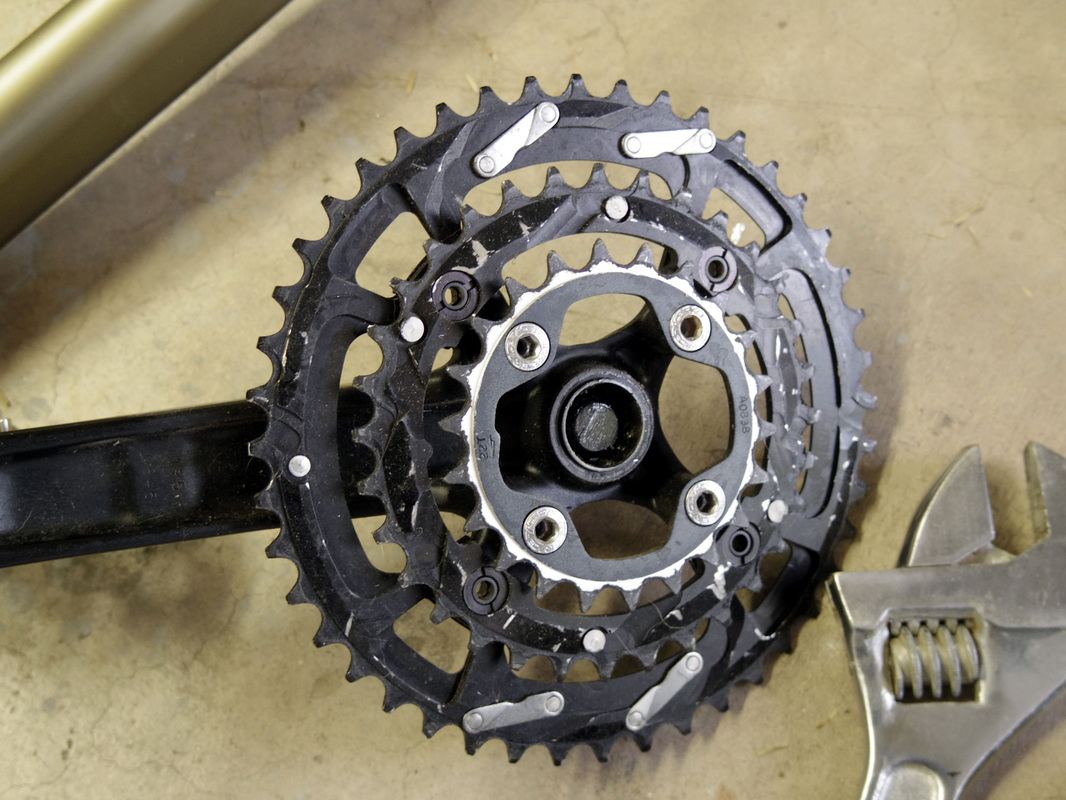
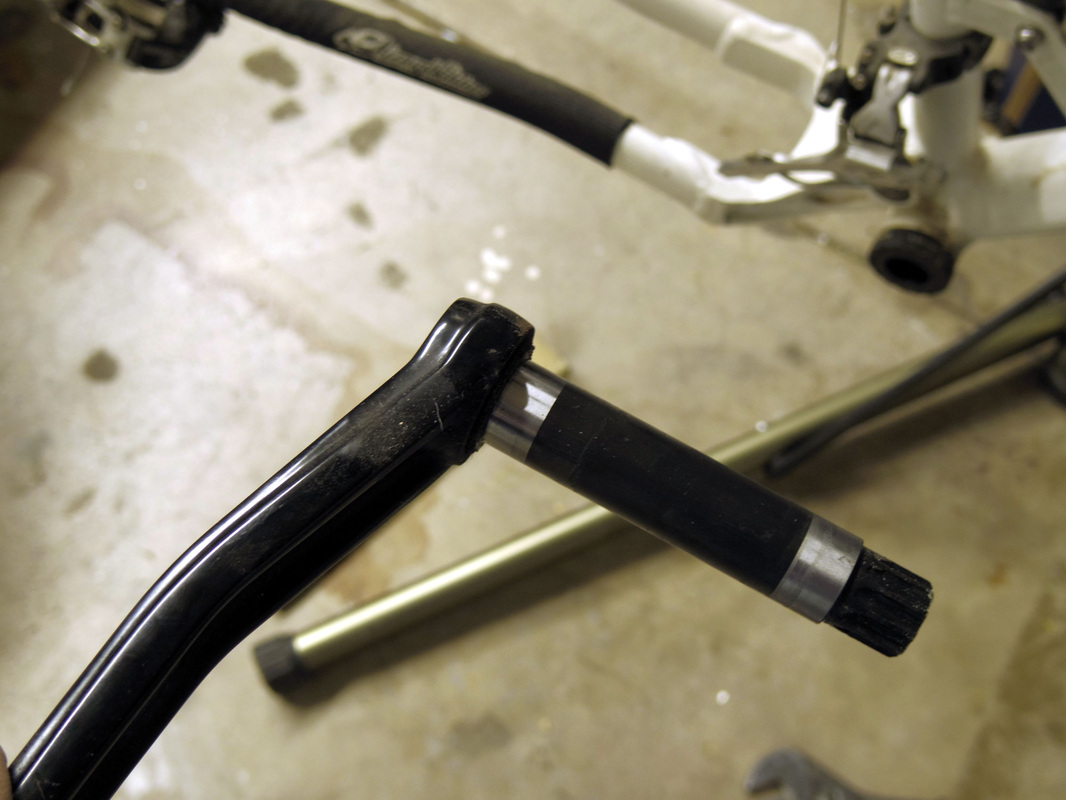
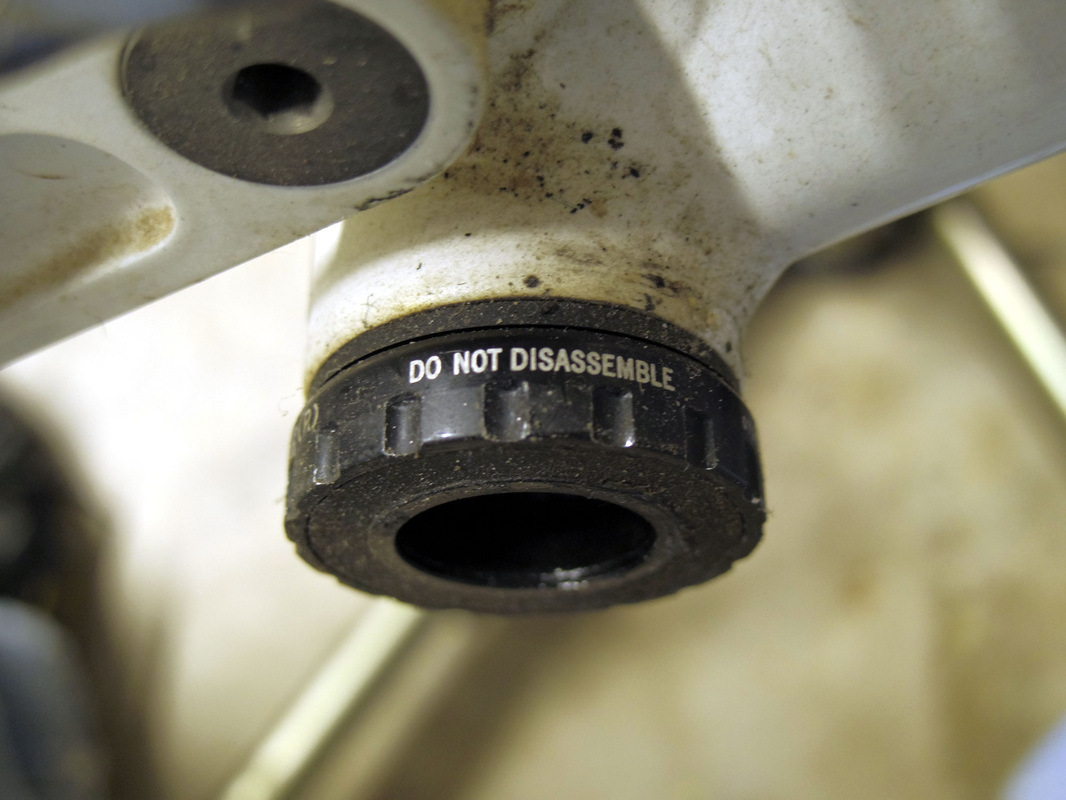
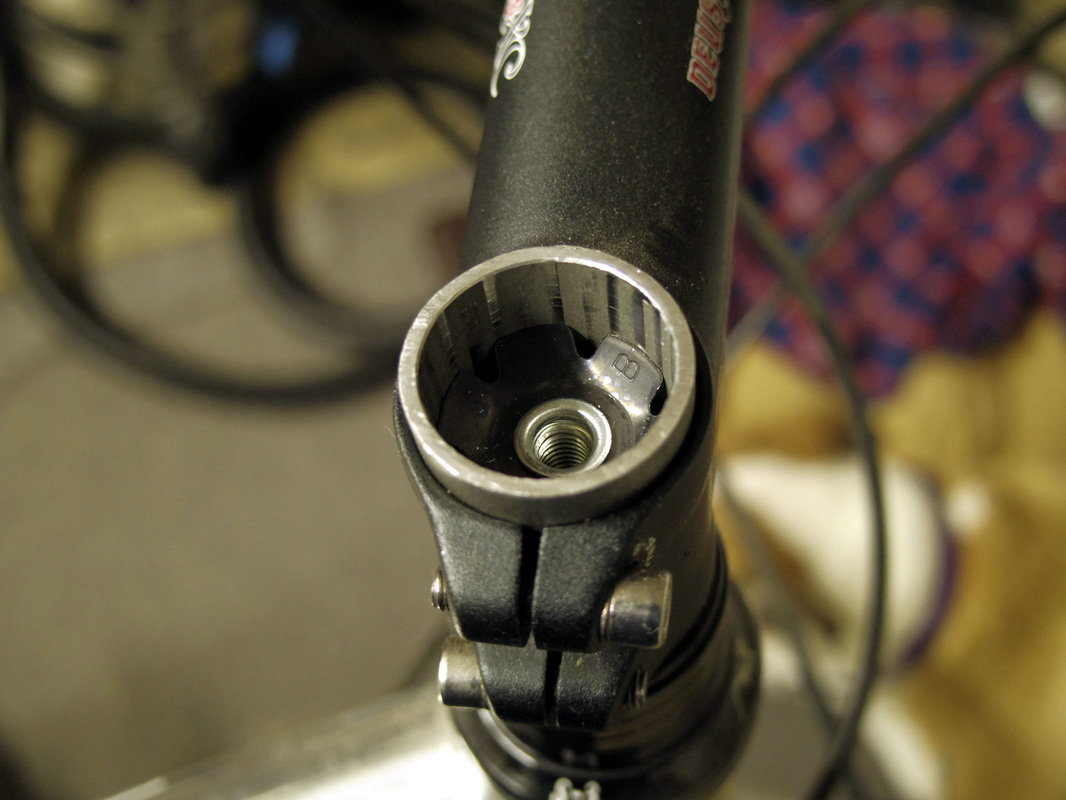
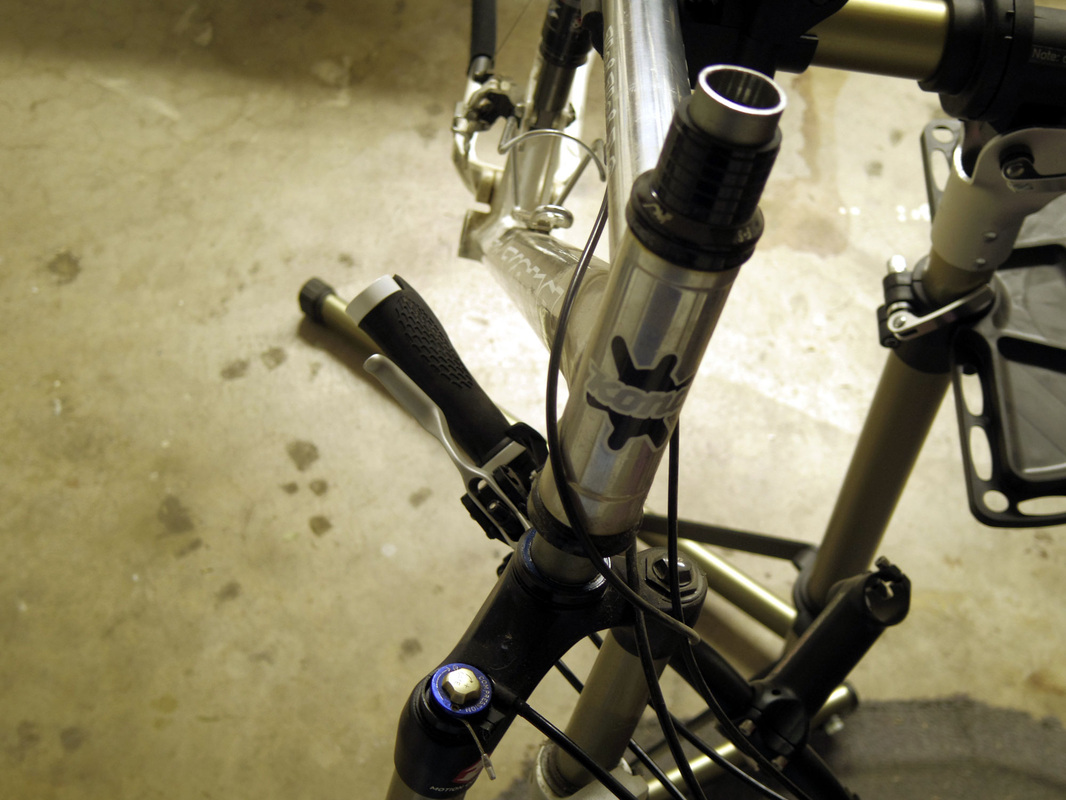
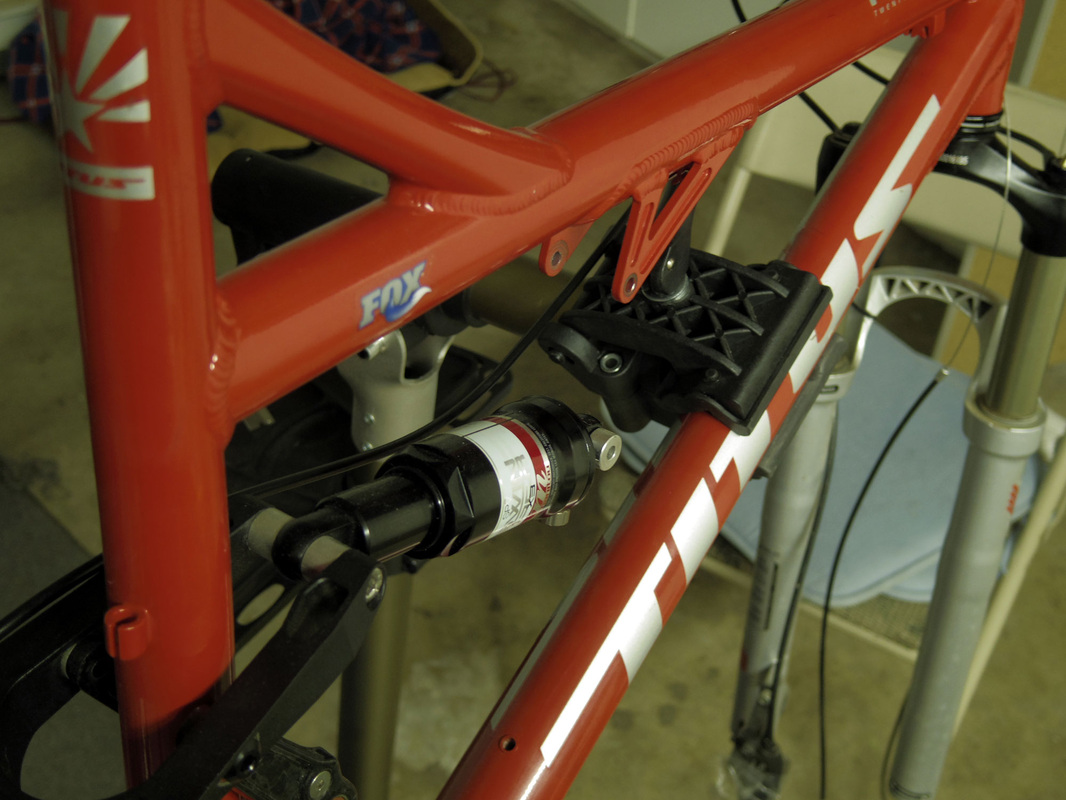
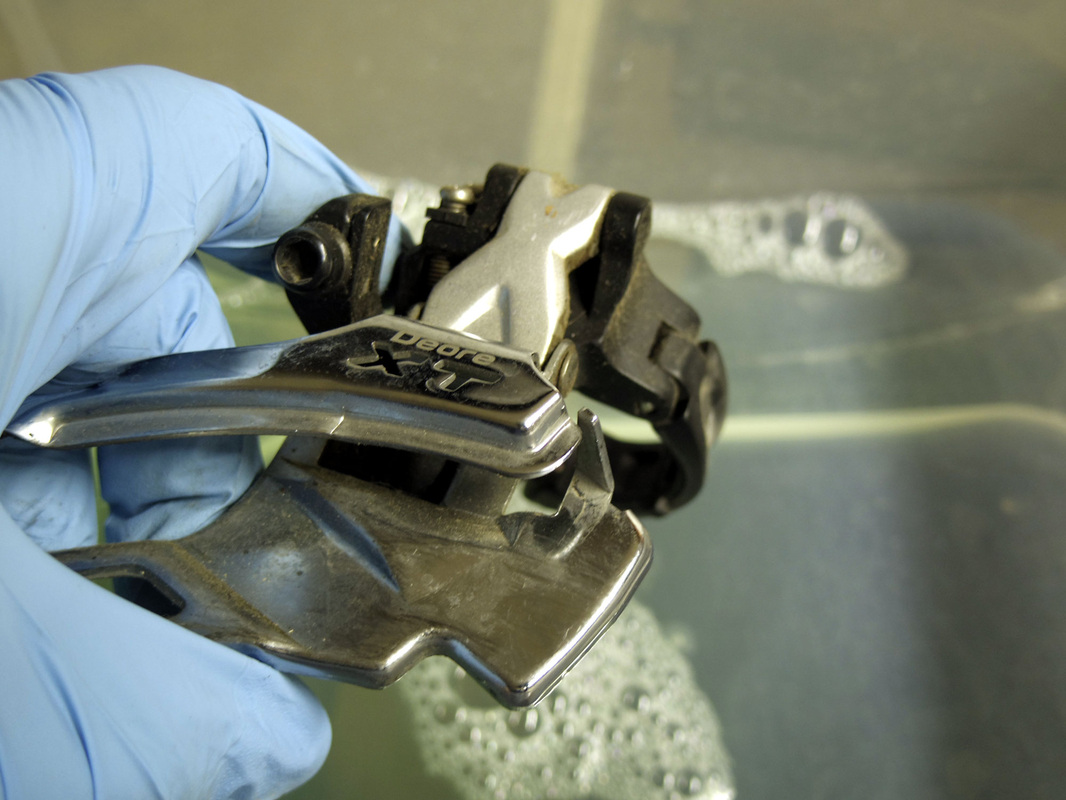
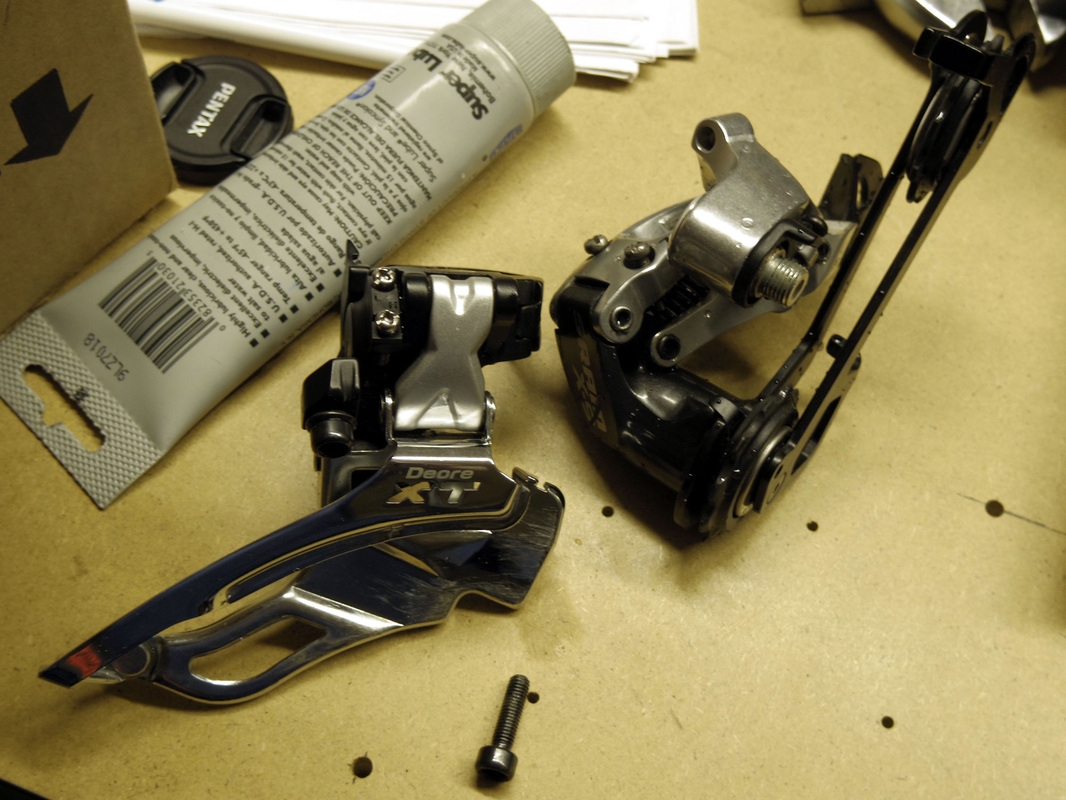
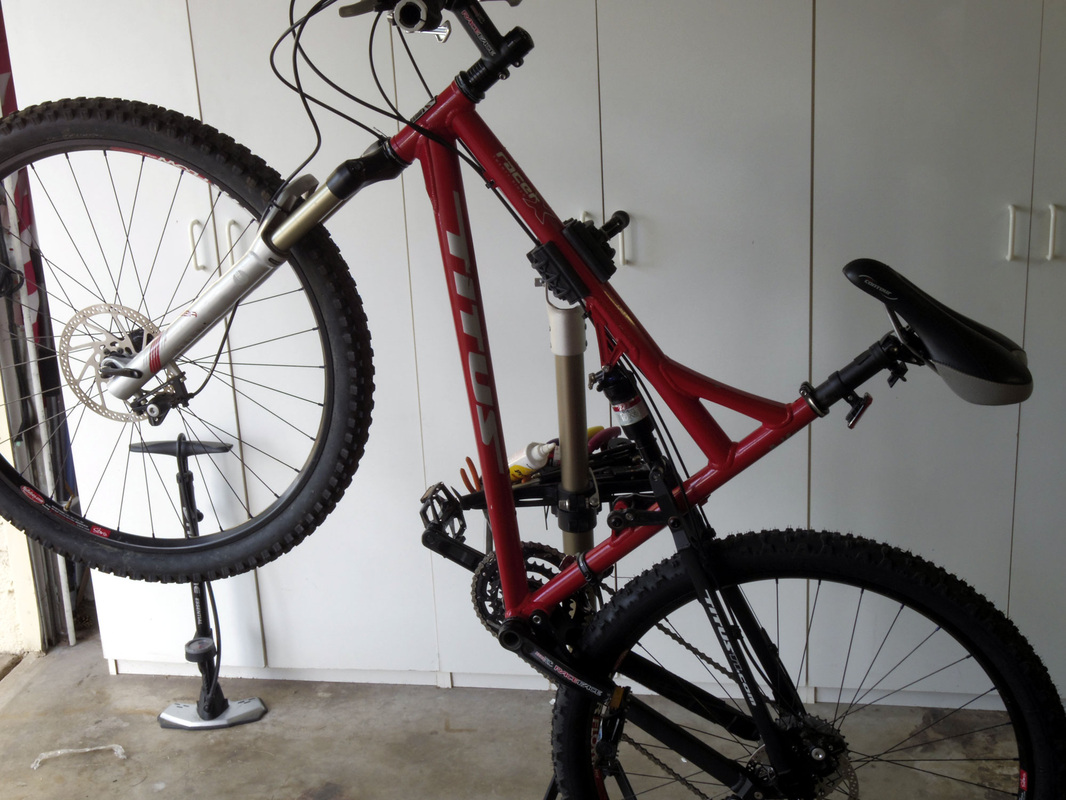
I recently got a deal on a Titus Racer-X 29er frame which I could not pass up. The only problem is I have never built a bike from components and I have a completed Kona Hei Hei 29er that is perfectly fine (aside from being a bit dirty from being in storage). Fortunately the internet is full of great how to videos which make all this stuff look simple, which was enough encouragement for me to dive right in. The first step was removing and then cleaning the components from the Hei Hei frame (which is a great bike in it's own right, I just have always wanted the Racer-X). Anyway, the pics below are captioned if you hover over them.


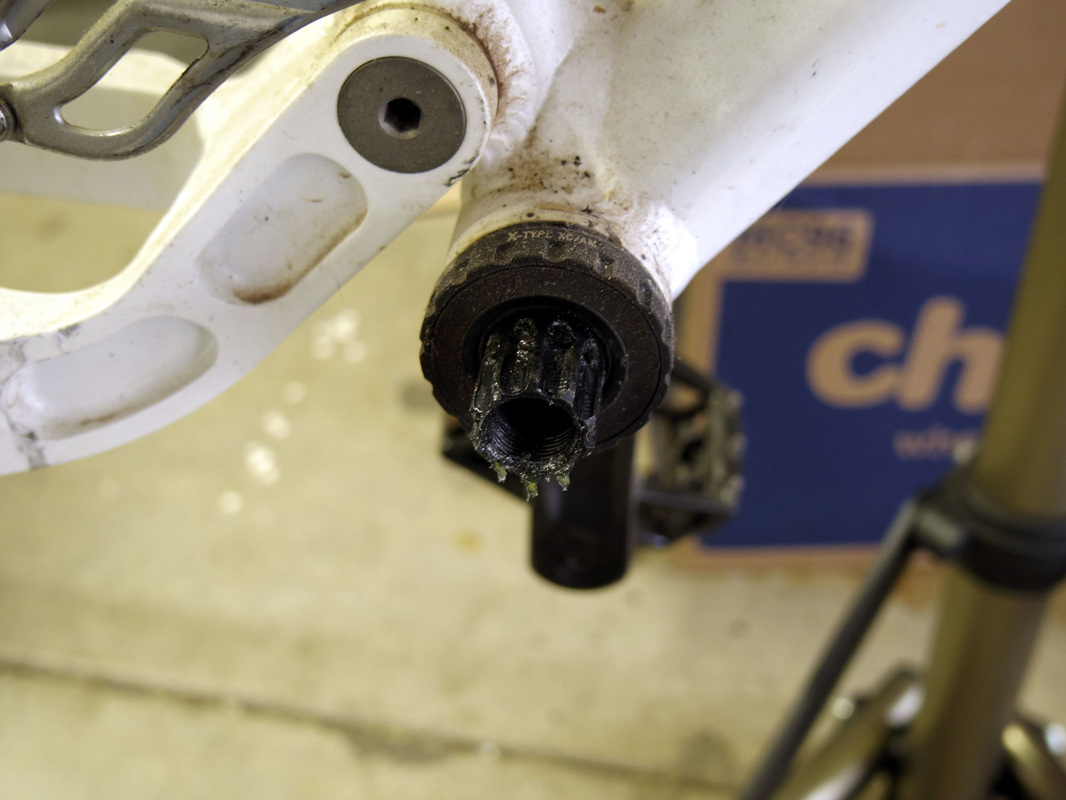
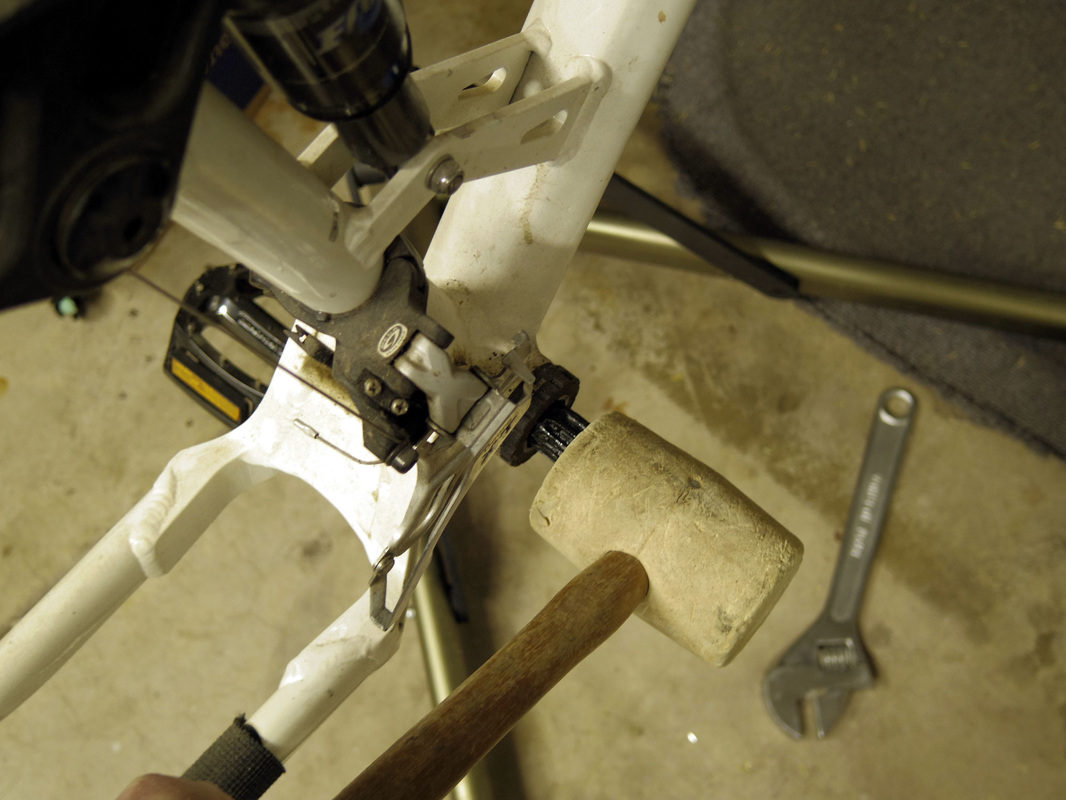


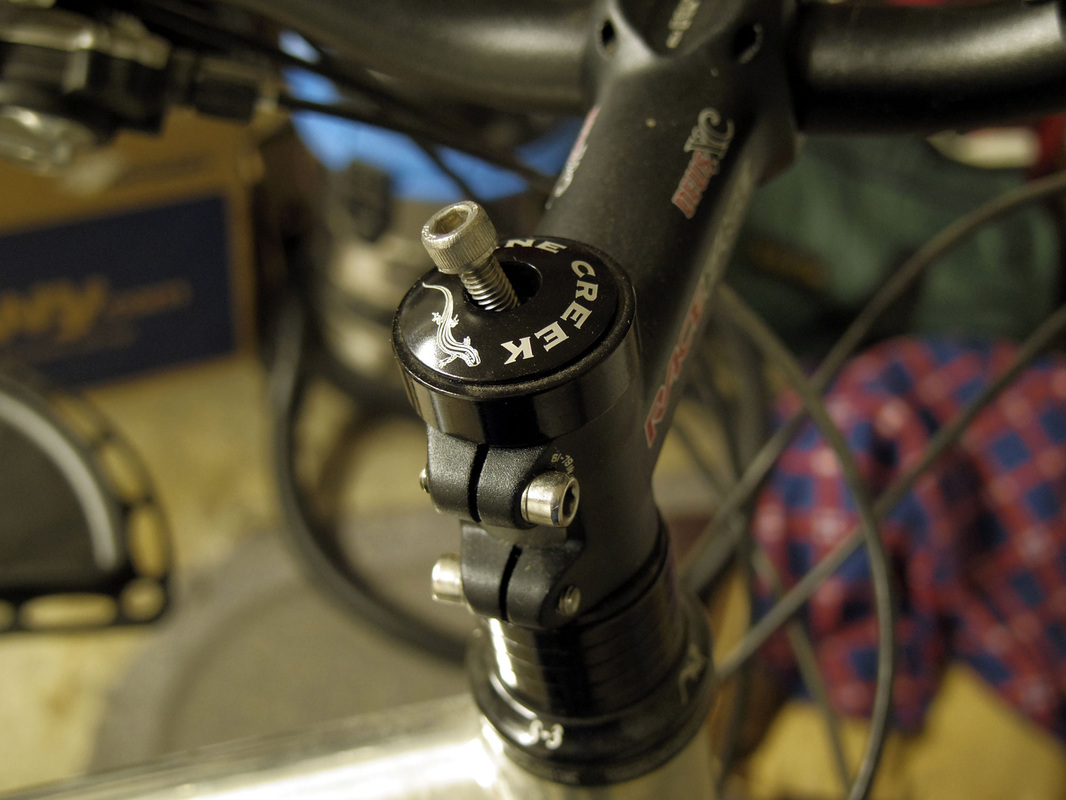
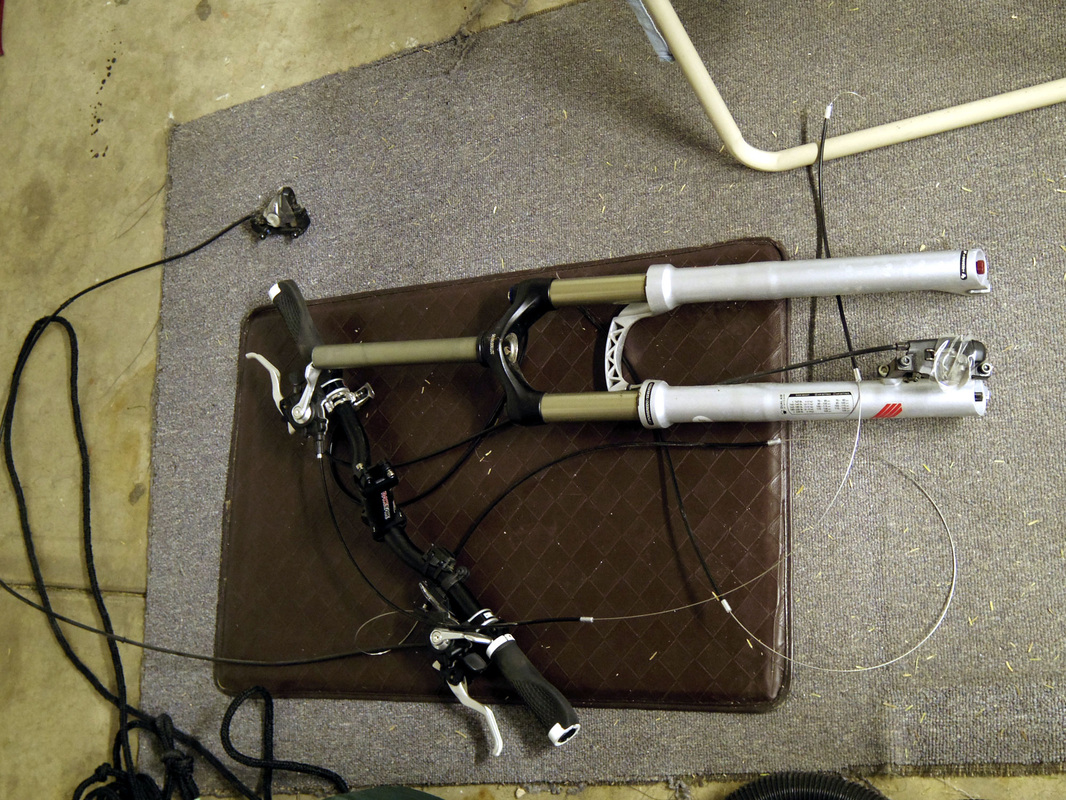
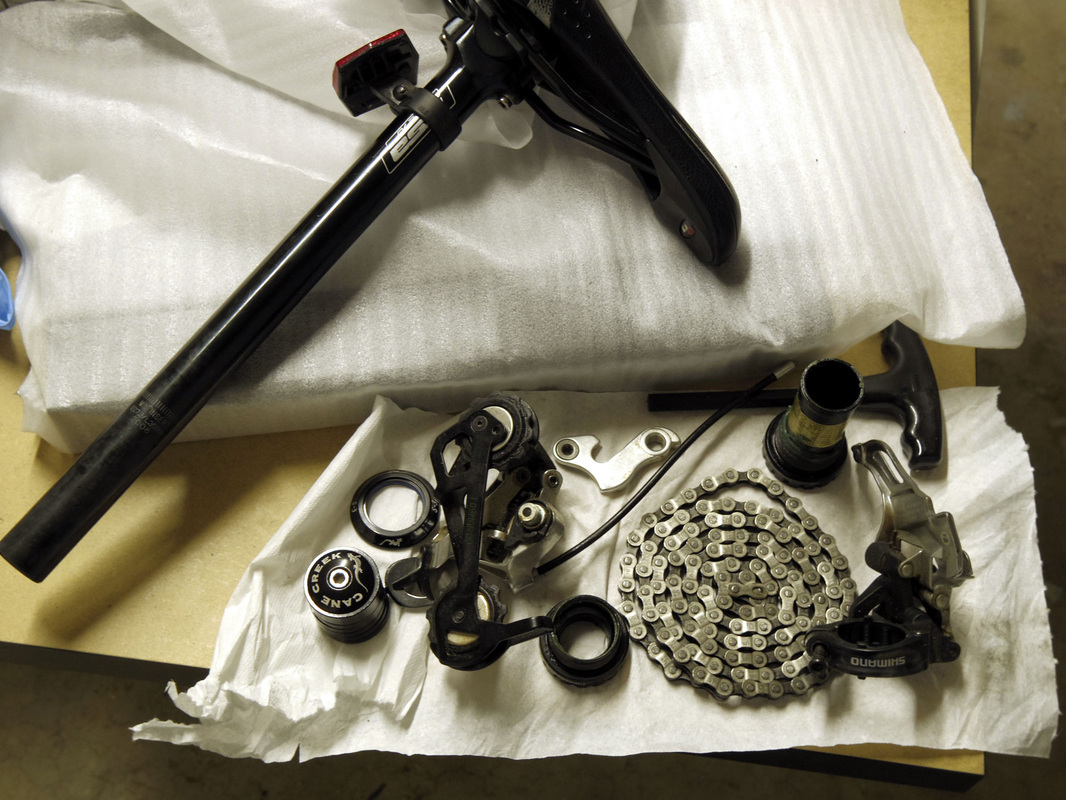
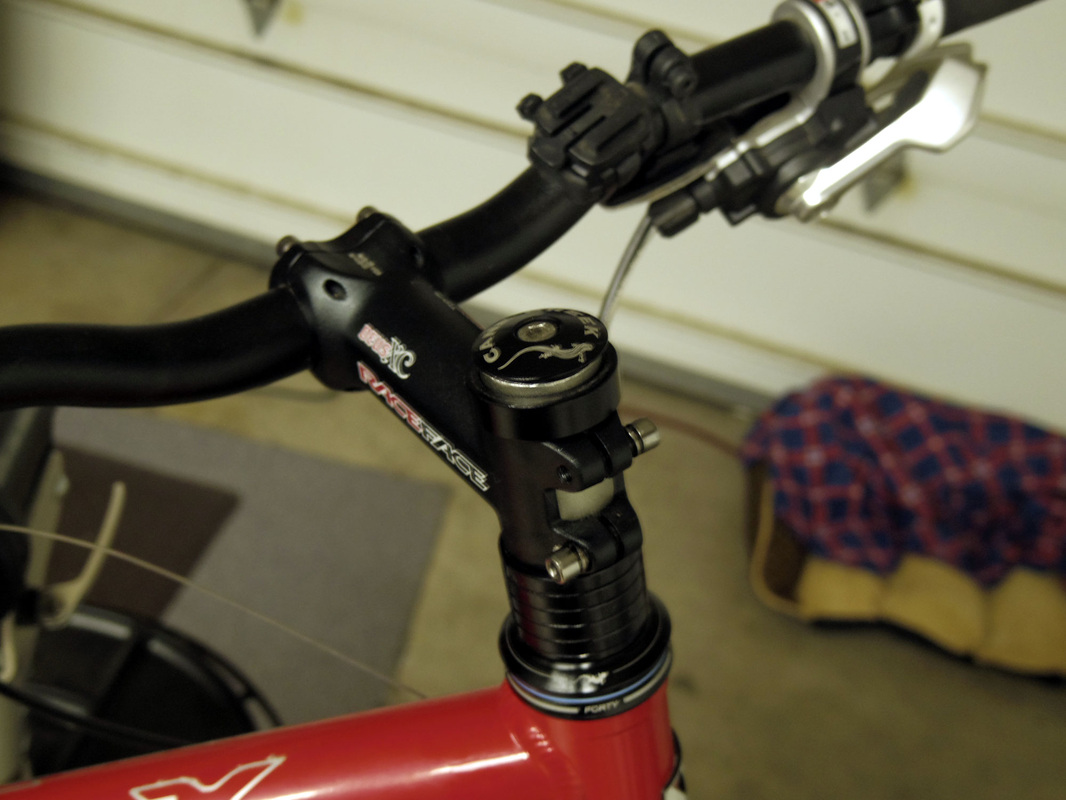
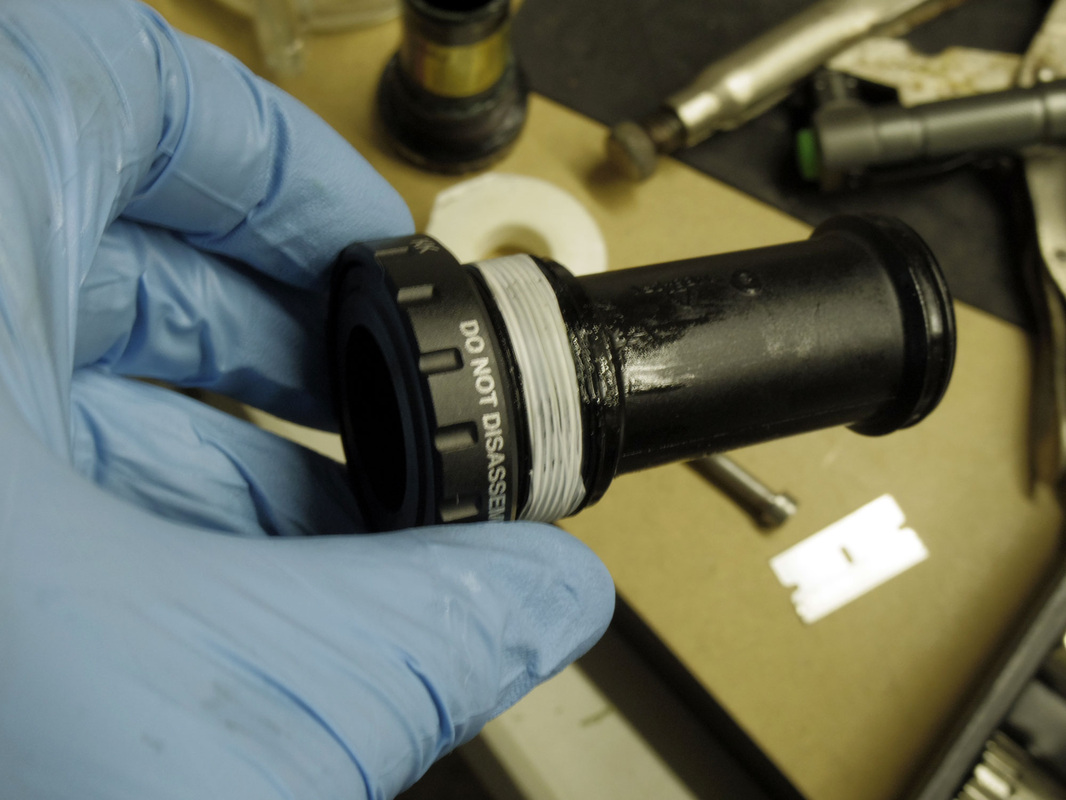
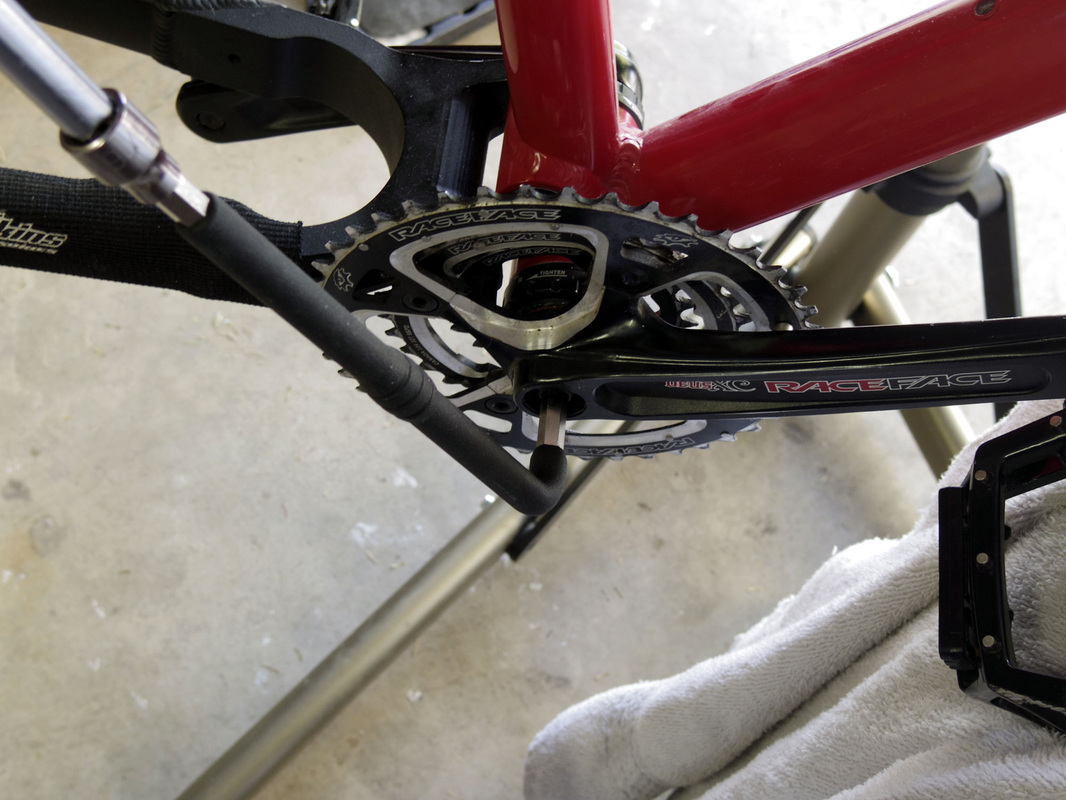
Fortunately the Hei Hei and the Titus both have similar geometry; both have 18" chainstays, 173mm bottom bracket shells and 135mm dropouts, so I should be able to move the same stuff over and keep the same chainline. Before I realized this however I did some research on how to set up the chainline and took all sorts of measurements before deciding that if A = B, in the critical dimensions then it should be the same. I'm not done yet so I may have to revisit the chainline, but it looks OK so far. I also found that I need a 10mm spacer for the headset and the cables will all need to be replaced (for the derailleurs).


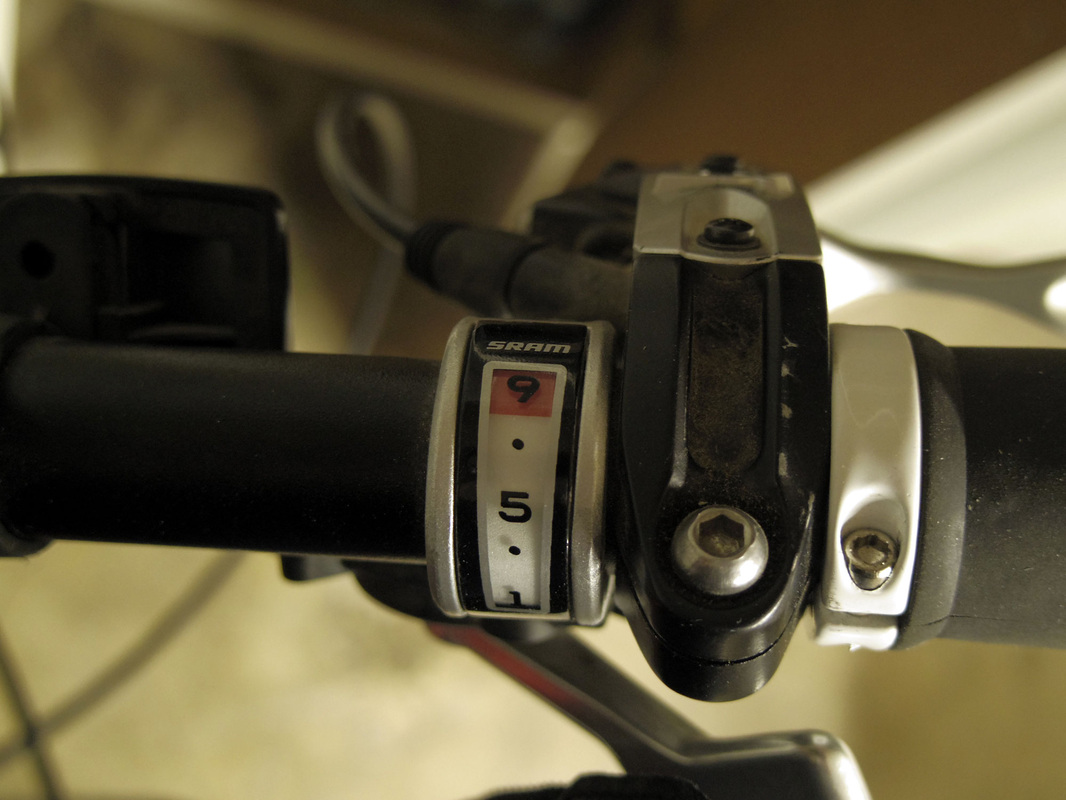
Next I had to get some cables and wires and adjust the derailleurs and probably fine tune some stuff. I was able to get the cables and housings for $2 a foot (bought 6' needed 7' due to some screw ups) and the cables were $4 each at a bike shop around here. The tech at the shop had owned one of the first Racer-x 29ers, and had known some people at Titus back in the day. He was not a big 29er fan though (they can be difficult on technical trails), preferring the latest 27.5" bikes. I get the appeal of the 27.5's, but they won't be in my budget for several years (once there are enough used parts out there). He also gave me some more insight into my bike, and told me that towards the end, Titus had manufactured some frames overseas (I had thought my bike was made in the US, but there is no COA sticker either way). Since my frame is a later 29er, I suspect it was probably made overseas - it won't change how I feel about the bike however.
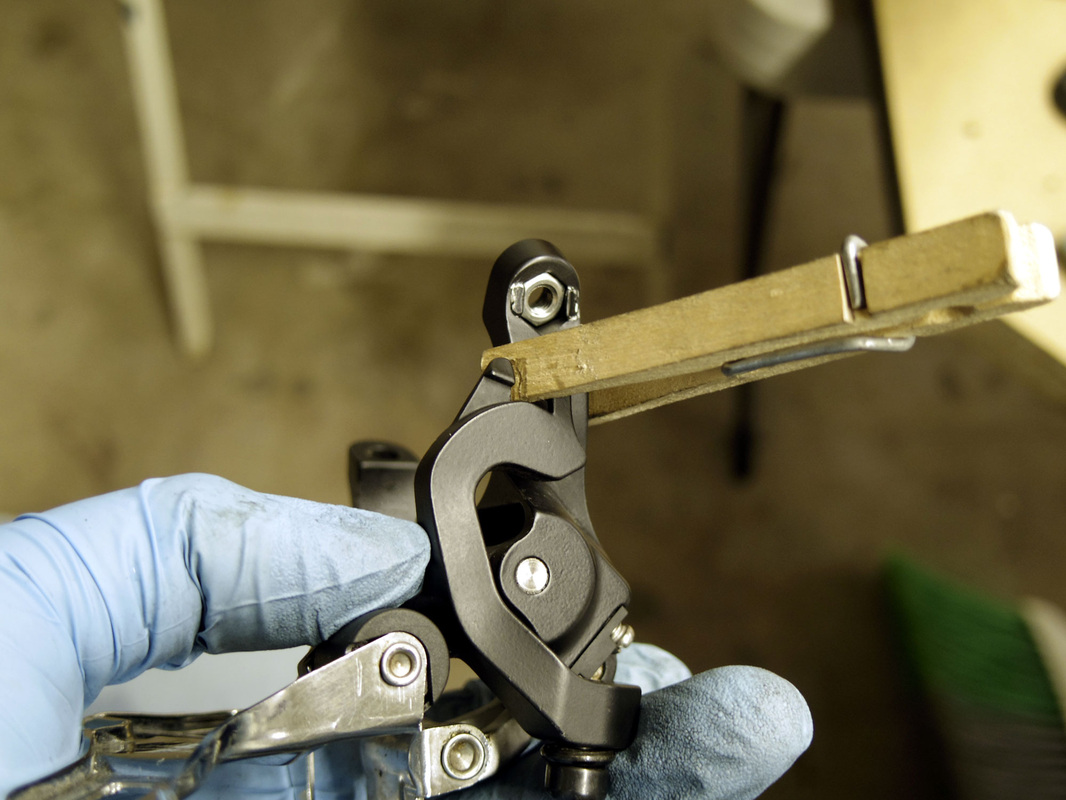
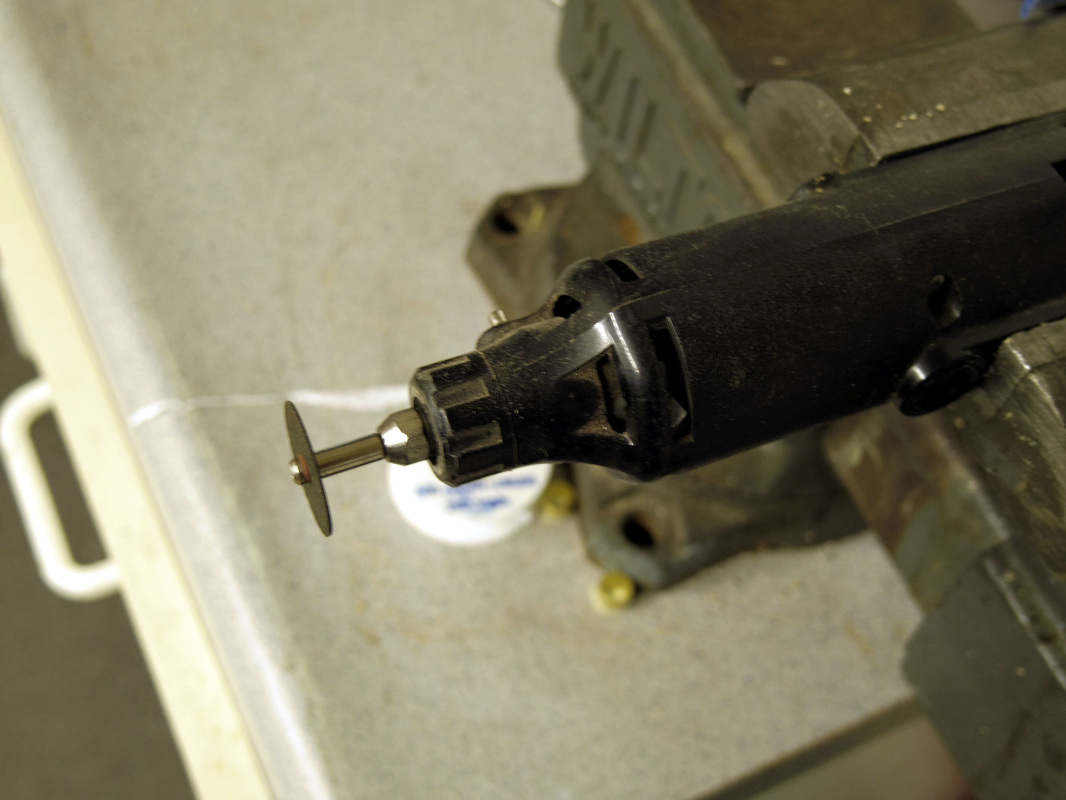
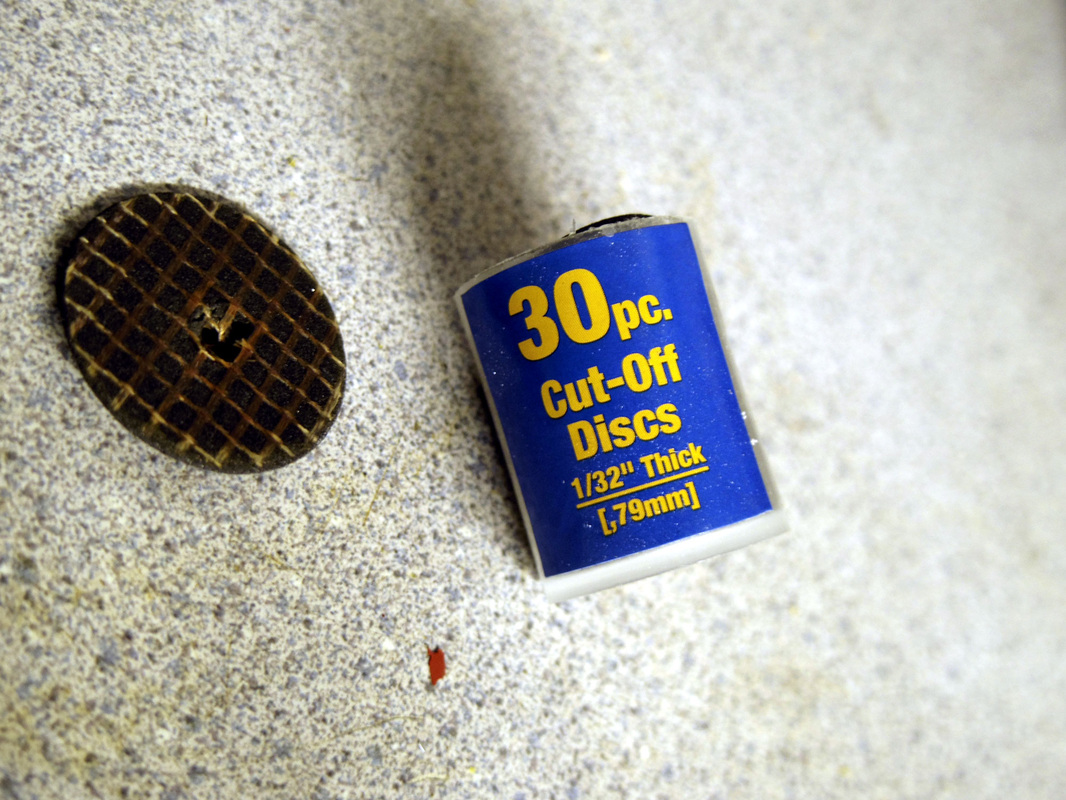
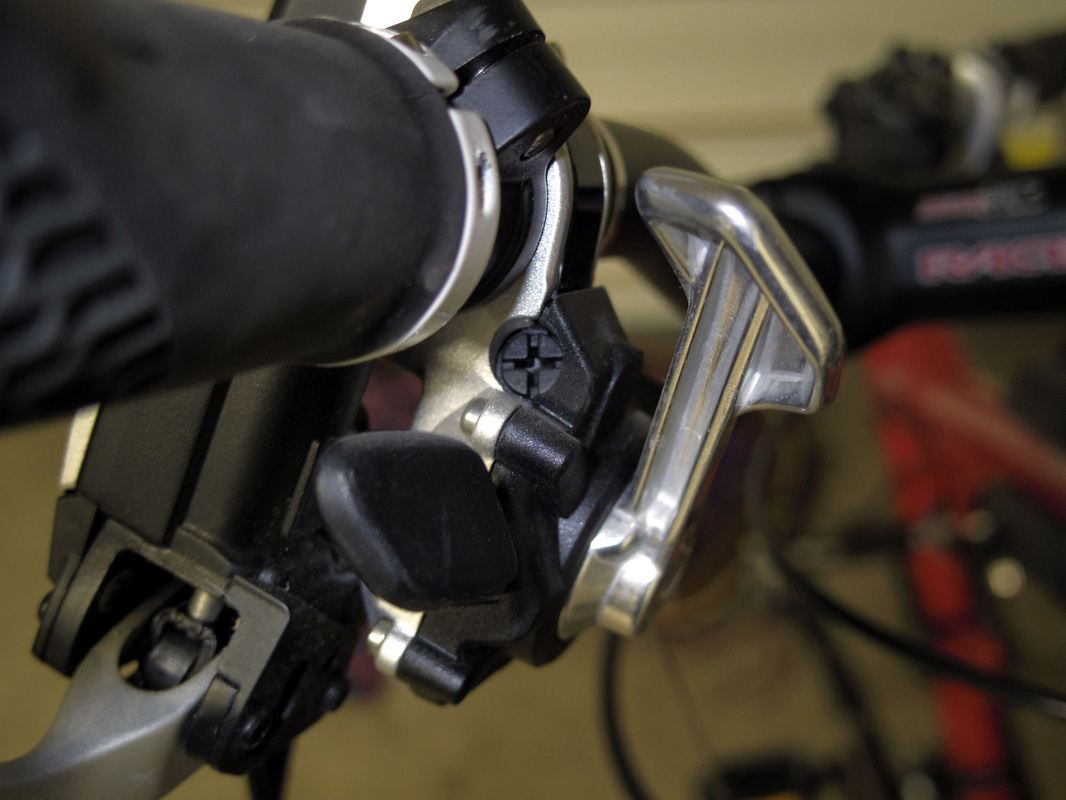
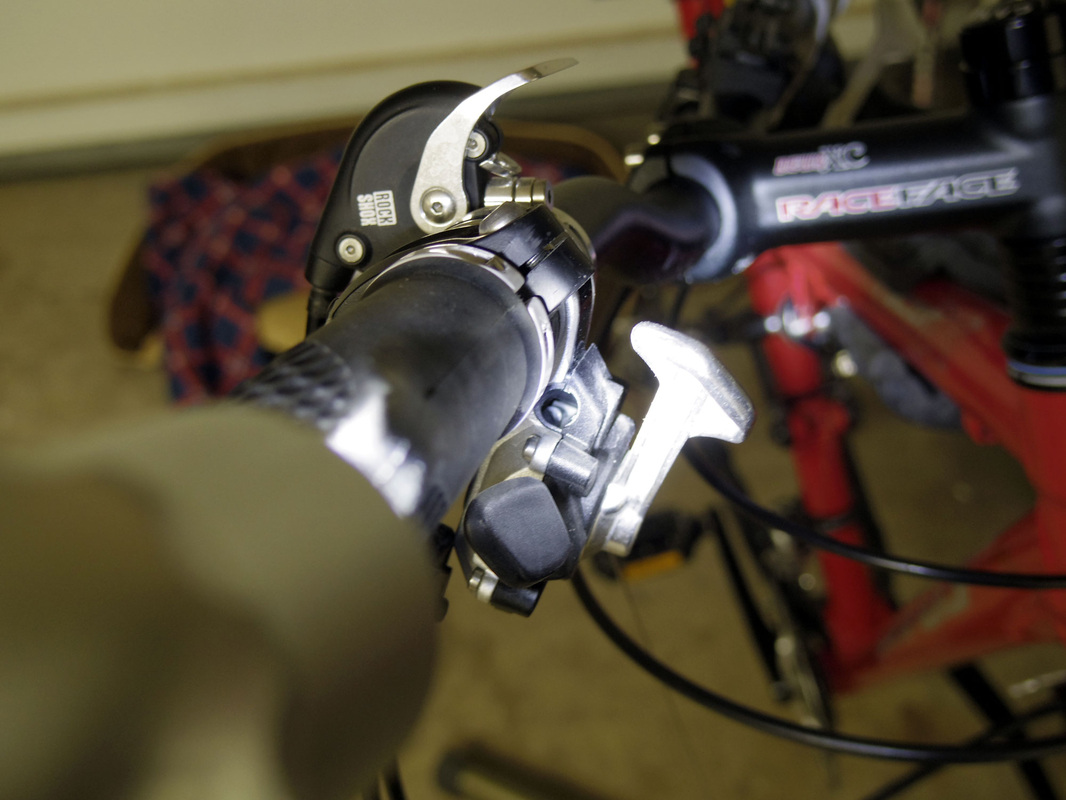
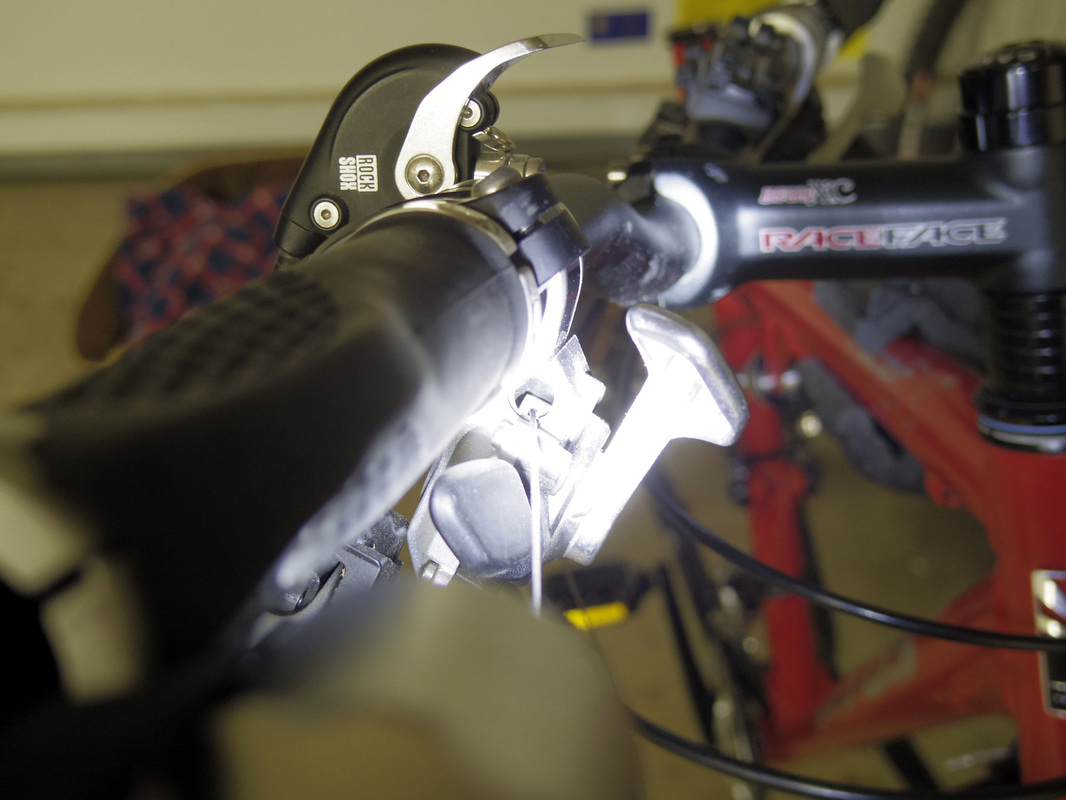
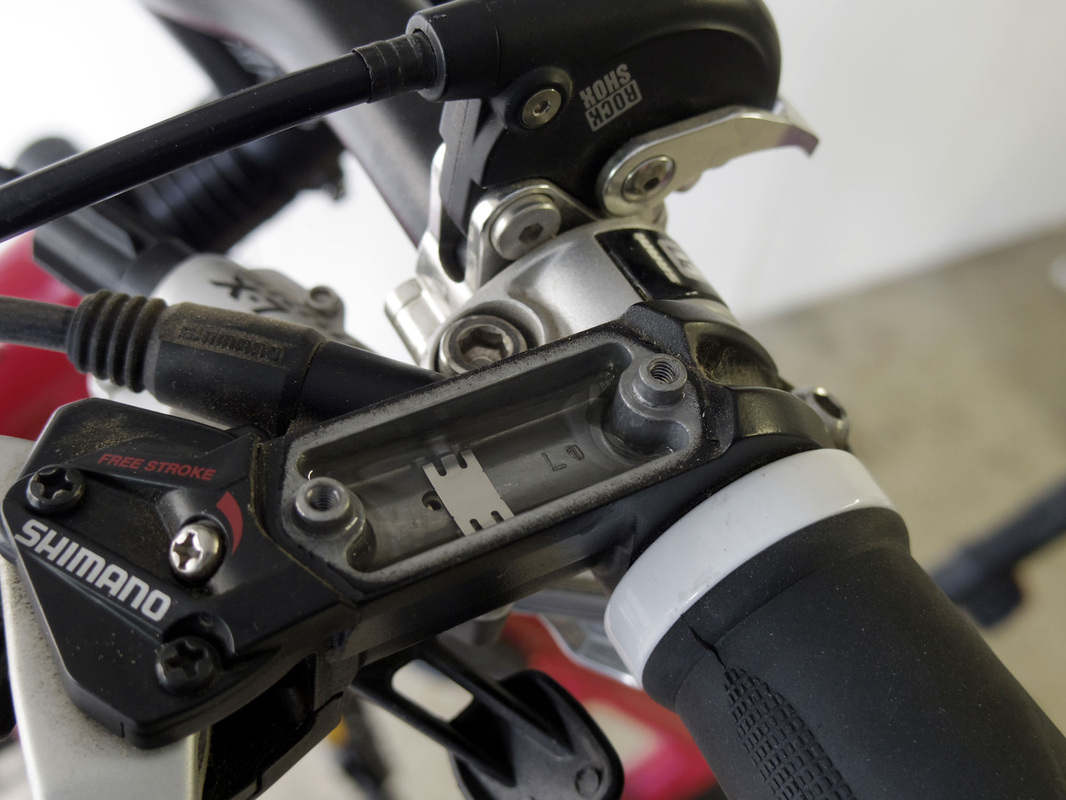
Back to rigging this bike up. Since I don't have the special cable cutter tool that can run between $15 to $35 and up, I pulled out the trusty Sears dremmel-ish tool which did the job in a slightly more dramatic fashion (sparks). It took a bit of cleanup with a file, but the ends looked pretty good when it was all done - they need to be square and in tact since the cable is actually compressed. I also found that it can take several tries to get the cables cut just right. For the cable section between the rear der and the seat stay, it was down to less than 1/8" between working and not working - that one took a few tries. Another thing I realized while figuring out the housings is that the housings don't have to be so long as to stay in the retainers attached to the frame on their own. That is, when working with bends, I just made them reasonable, and even if they didn't look like they would work, once the tension was on the cable, they fit. It is a bit difficult to describe, but basically the cables housing alone will not act like it does with the cable installed and under tension, so big loopy bends are not necessary or good, I just fit the housings as short as I could with a reasonable belief that when the cable was installed they would fit correctly - and it worked.
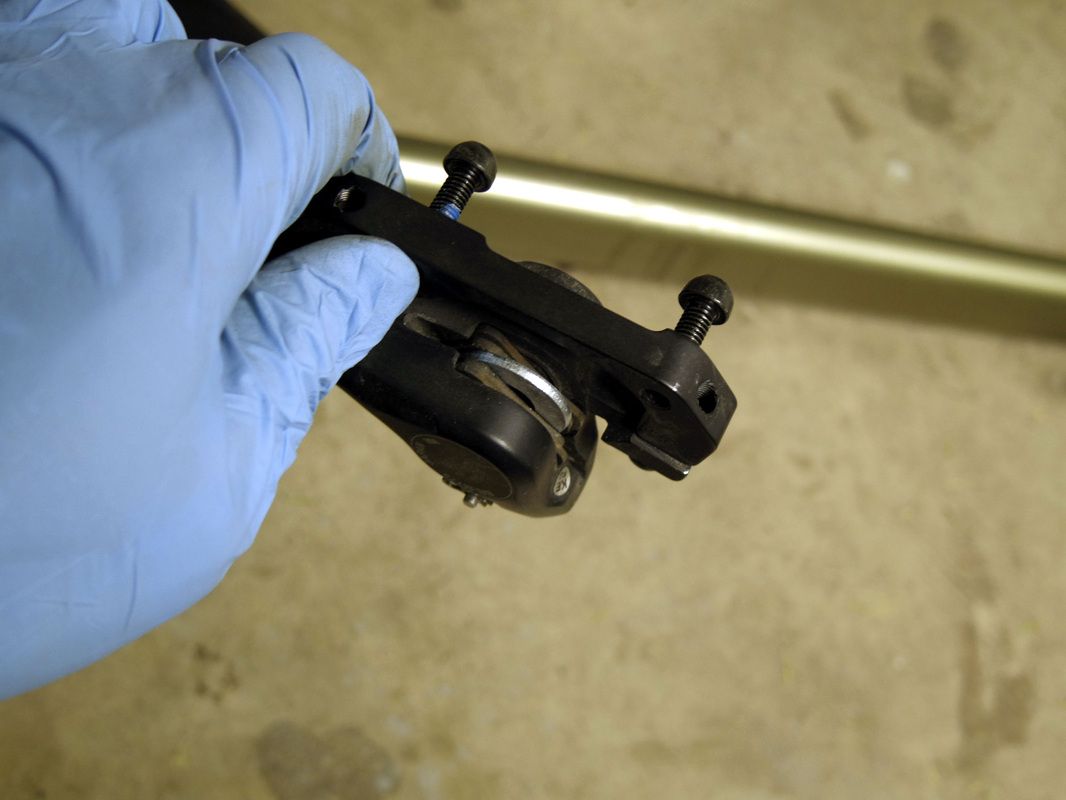
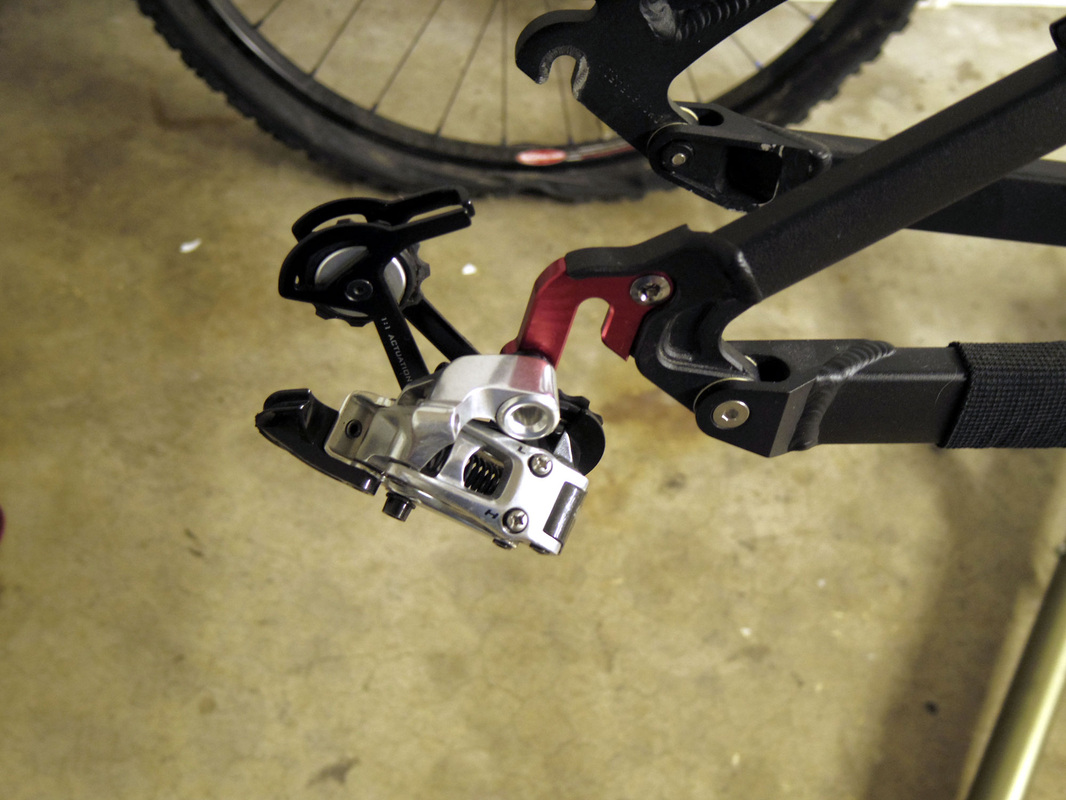
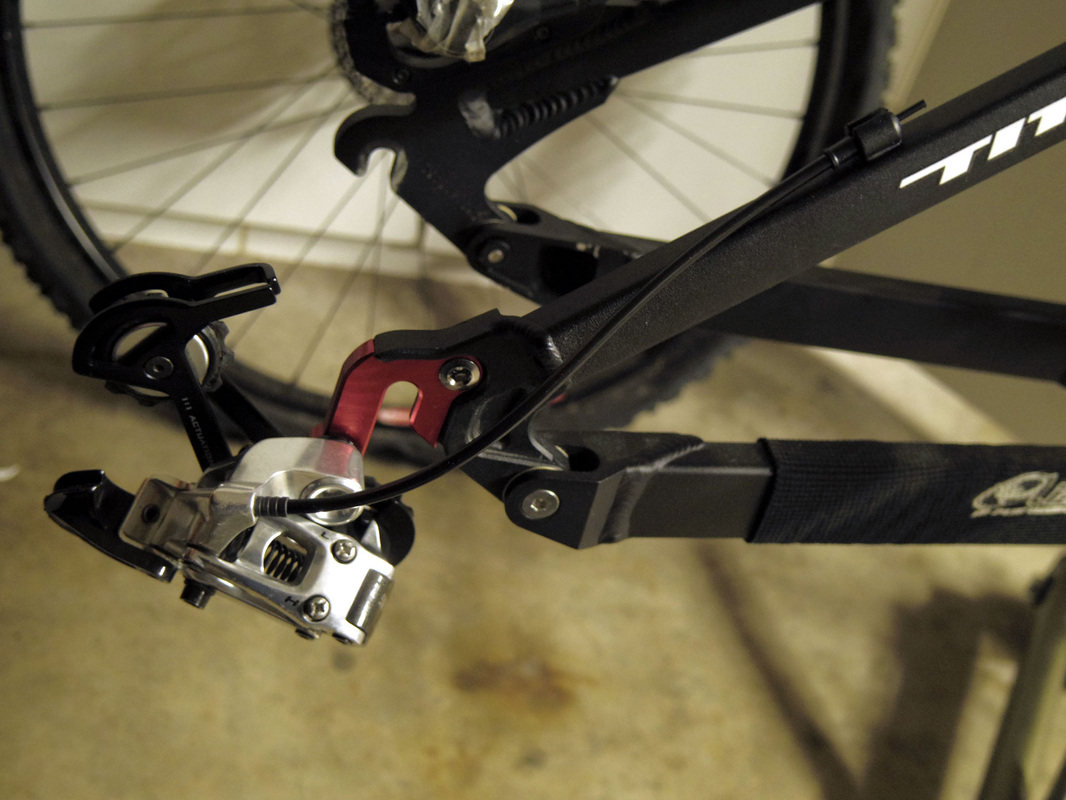
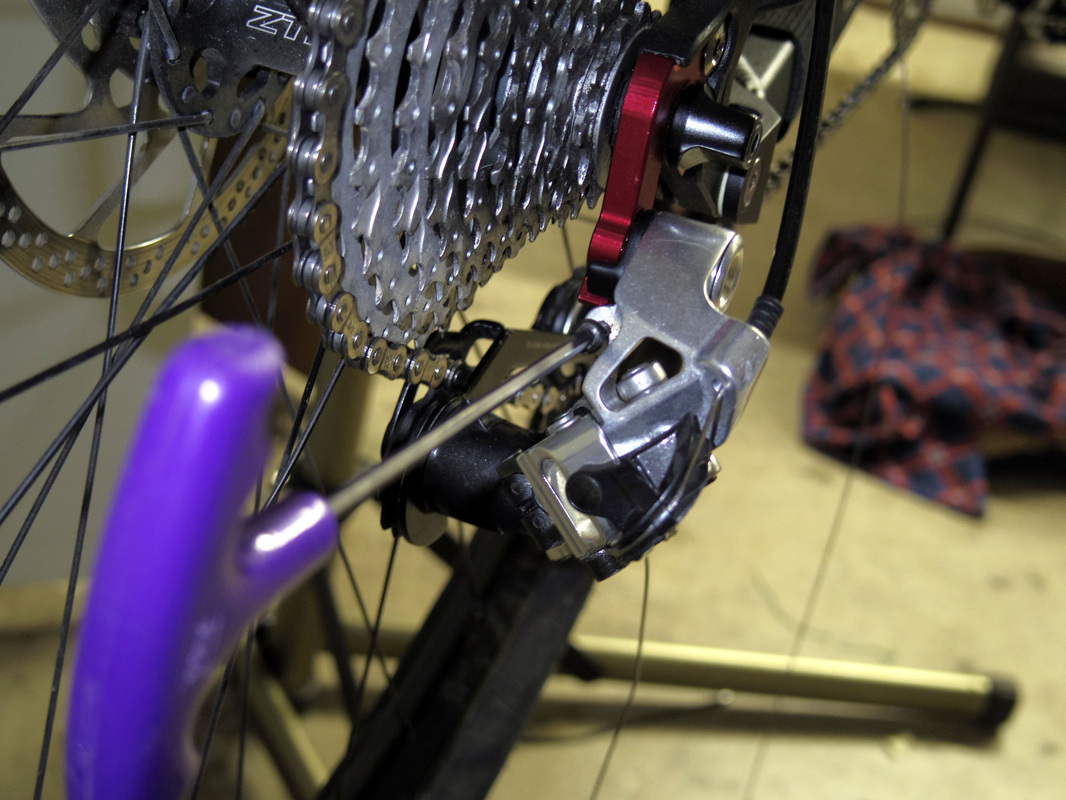
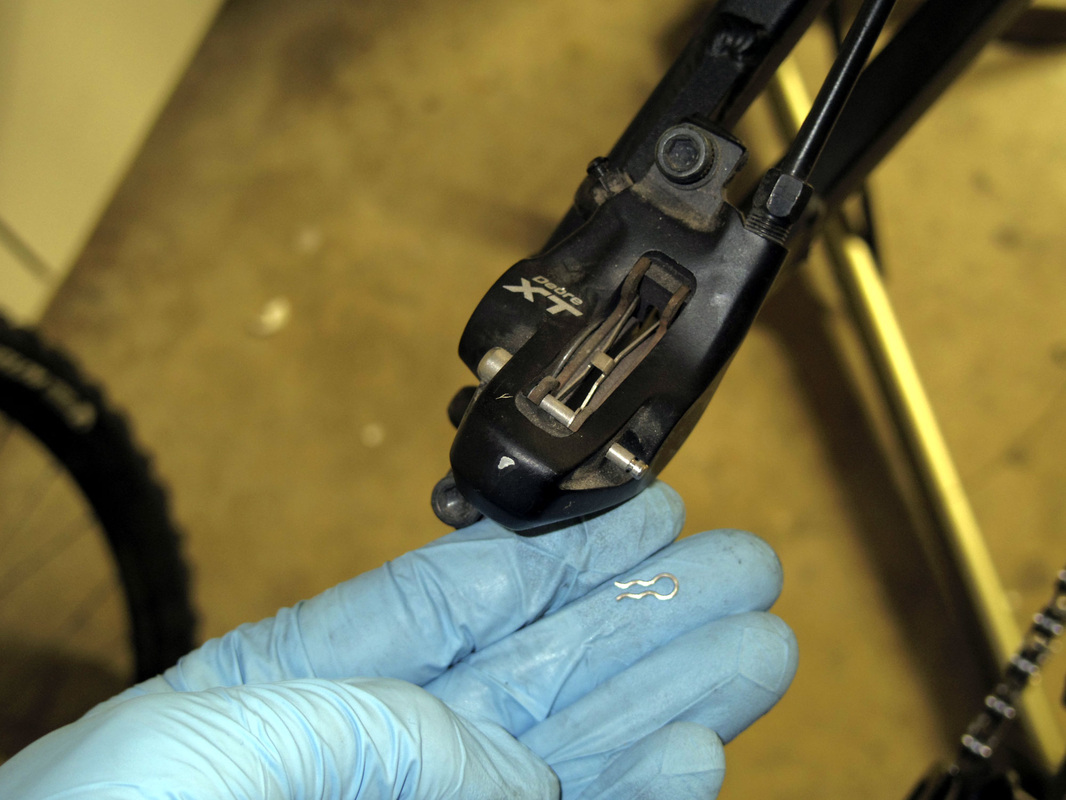
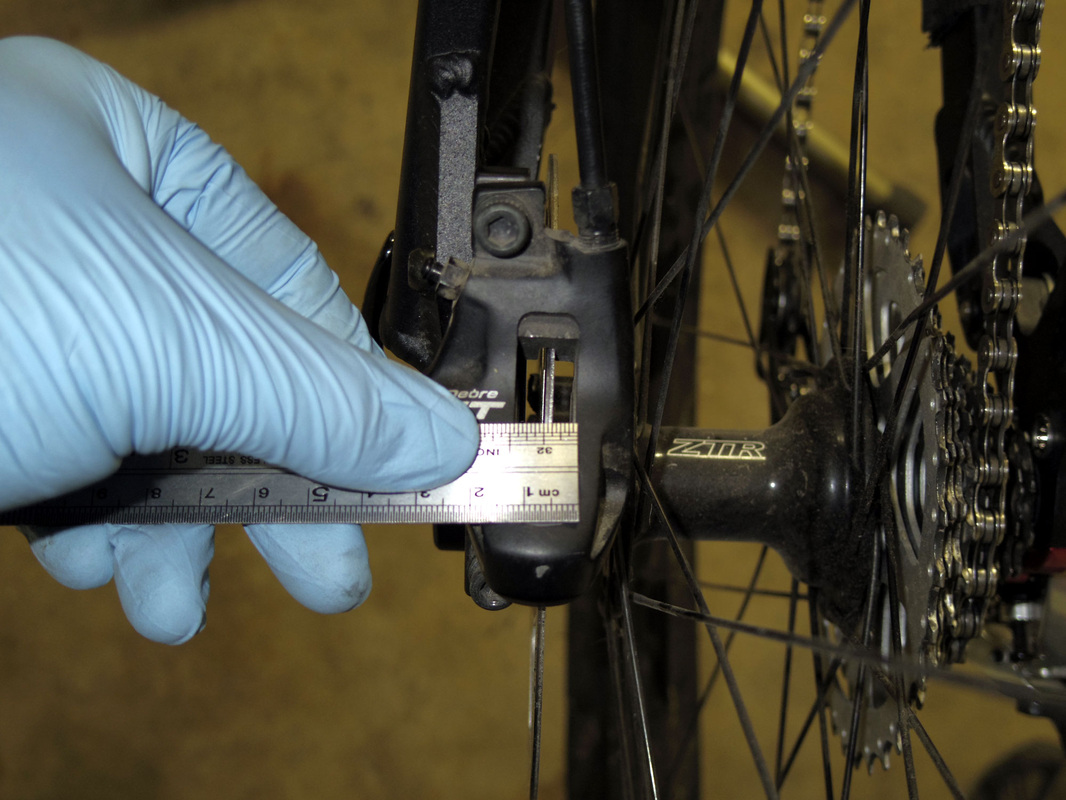
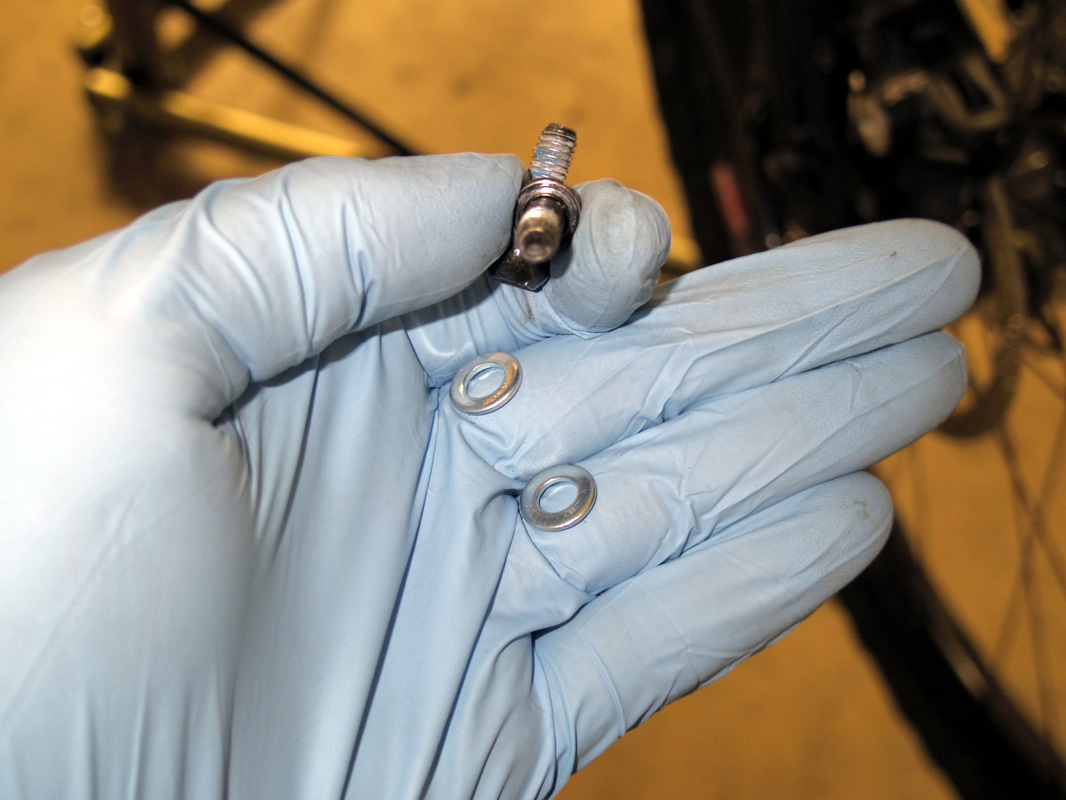
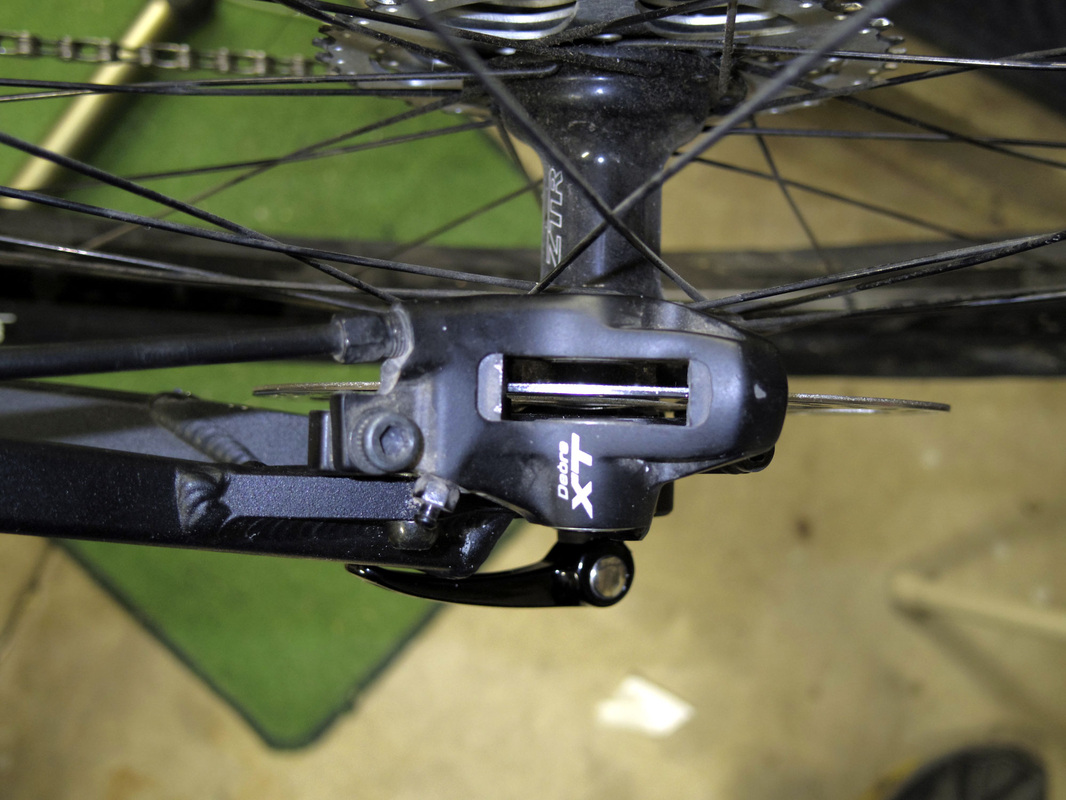
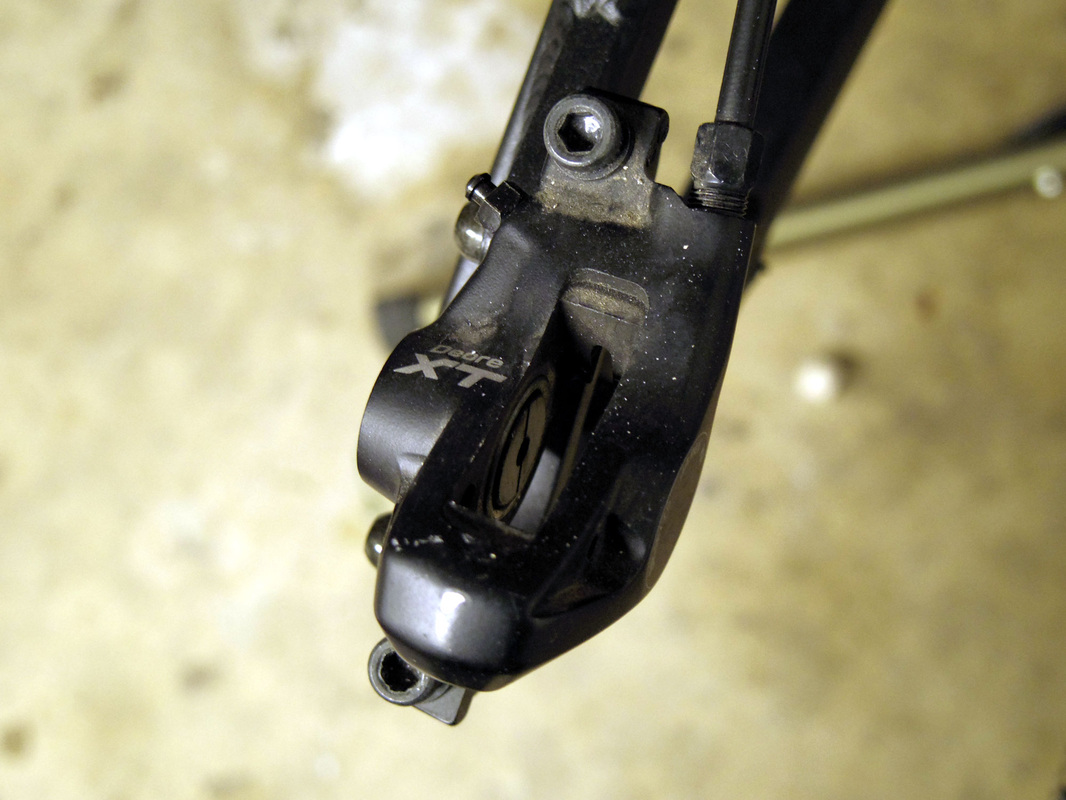
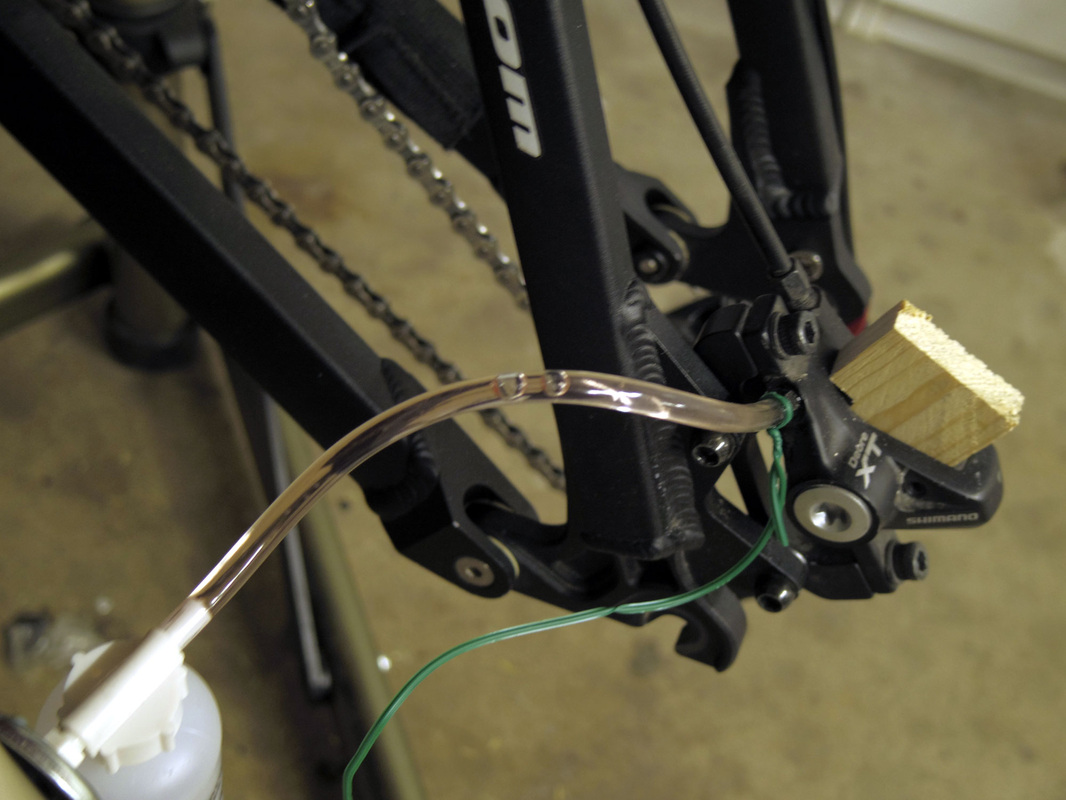
The rear brake also needed an adjustment since the disc was not centered and was rubbing when I installed the wheel. The fix I used was to find a couple of washers and add them to the mount to push the caliper inboard (no idea if this is the "right" way or not). After going through my box of washers I found two that were roughly 1.27mm and they seemed to work perfectly. The brake pads had to be removed to verify the disc was centered.
The next section of pics shows some of the cable and derailleur setup, as well as the adjustment of the rear caliper.
Back to rigging this bike up. Since I don't have the special cable cutter tool that can run between $15 to $35 and up, I pulled out the trusty Sears dremmel-ish tool which did the job in a slightly more dramatic fashion (sparks). It took a bit of cleanup with a file, but the ends looked pretty good when it was all done - they need to be square and in tact since the cable is actually compressed. I also found that it can take several tries to get the cables cut just right. For the cable section between the rear der and the seat stay, it was down to less than 1/8" between working and not working - that one took a few tries. Another thing I realized while figuring out the housings is that the housings don't have to be so long as to stay in the retainers attached to the frame on their own. That is, when working with bends, I just made them reasonable, and even if they didn't look like they would work, once the tension was on the cable, they fit. It is a bit difficult to describe, but basically the cables housing alone will not act like it does with the cable installed and under tension, so big loopy bends are not necessary or good, I just fit the housings as short as I could with a reasonable belief that when the cable was installed they would fit correctly - and it worked.
The rear brake also needed an adjustment since the disc was not centered and was rubbing when I installed the wheel. The fix I used was to find a couple of washers and add them to the mount to push the caliper inboard (no idea if this is the "right" way or not). After going through my box of washers I found two that were roughly 1.27mm and they seemed to work perfectly. The brake pads had to be removed to verify the disc was centered.
The next section of pics shows some of the cable and derailleur setup, as well as the adjustment of the rear caliper.


After getting everything set up, I checked the brakes and tried it out. Fortunately I did not get far before realizing that the rear brake was not working - it had worked just minutes earlier when I checked it all out, though it was squishy. On the ride it just completely failed. Opening it up I found that the LBS that had last serviced and installed them on the old Hei Hei used clear mineral oil (they had been setup with red Shimano oil originally, but were then moved to the Hei Hei by the LBS when they were last bled). I'm not upset about about that, but I'd bet if I had asked them, they would have said to buy their Shimano oil for $60/quart. They did do a decent job building the Hei Hei though.
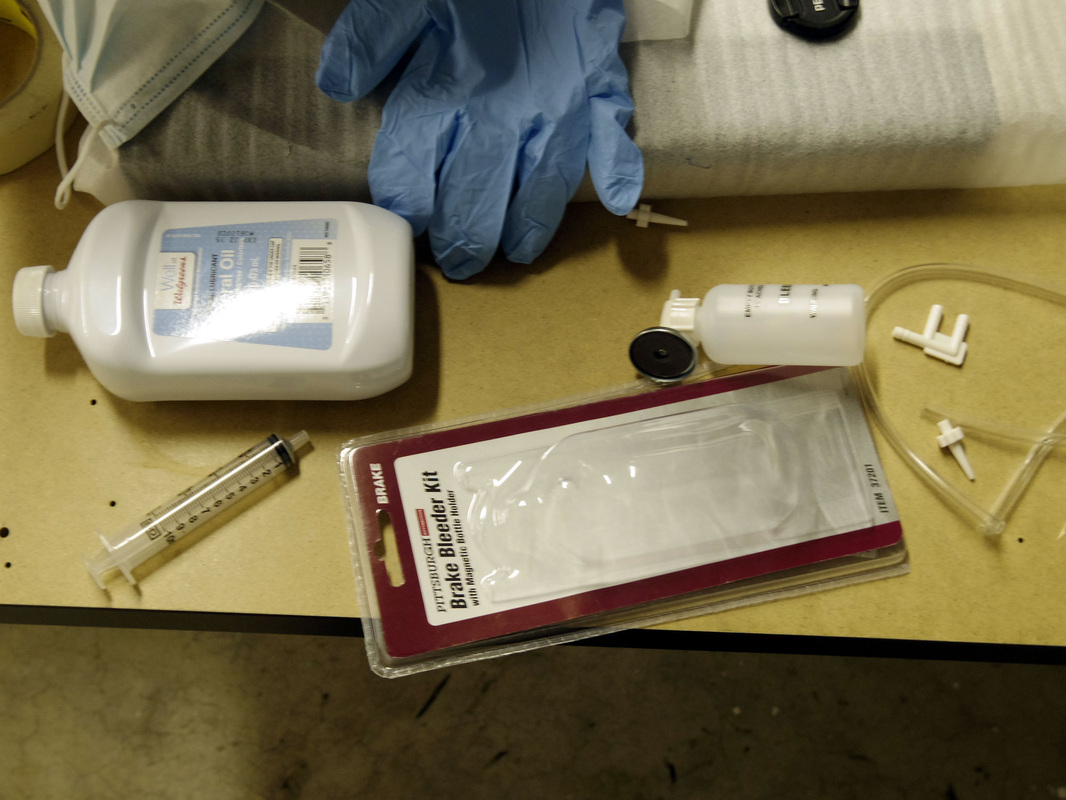
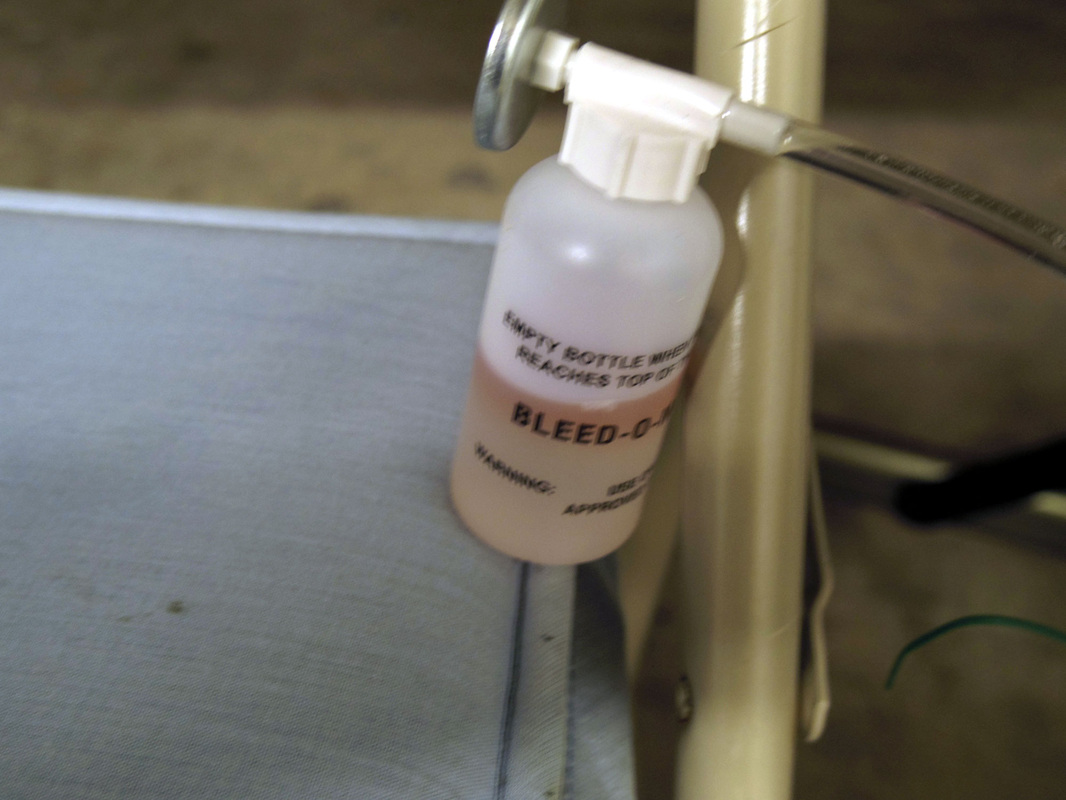
So it's time to bleed the brakes. Went to Walgreens and picked up some mineral oil (should have bought it at Walmart for a few bucks less). I don't think that straight up mineral oil is recommend, and I plan to replace it soon with some more specific brake oil, but today that's what I can get for not much money. My lawyer advised me to say that nobody should ever use anything but the manufacturers suggested fluids, wear a helmet at all times, floss daily, etc.
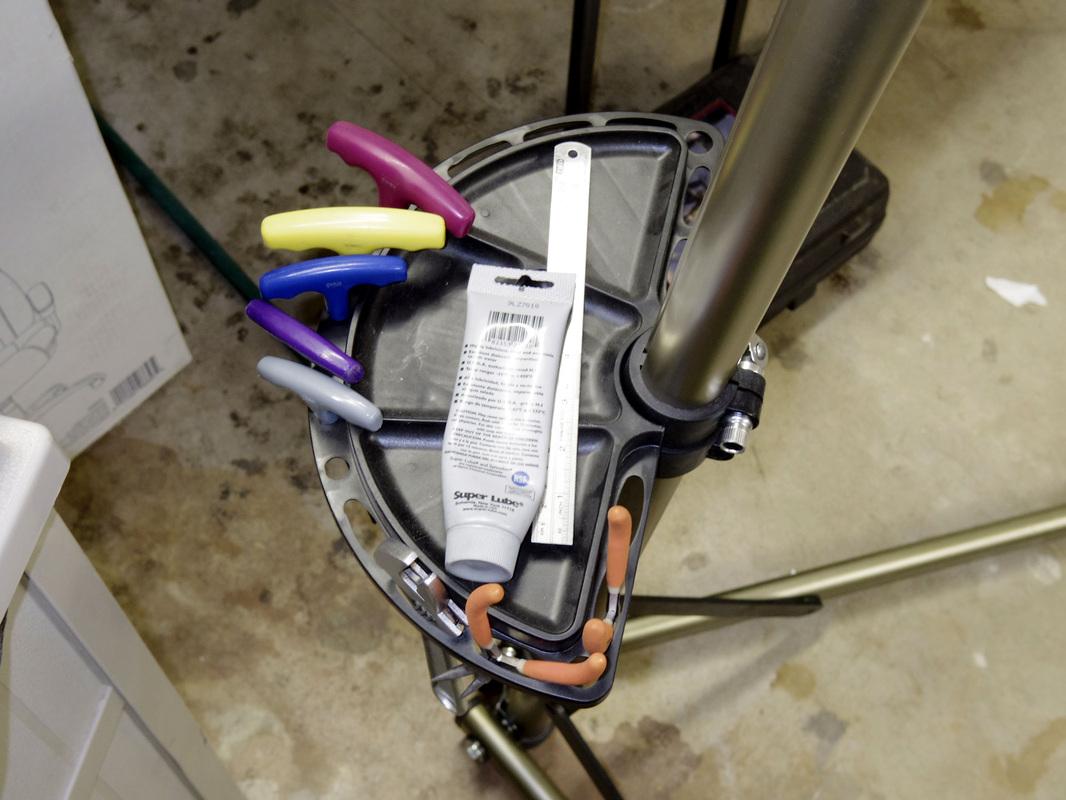
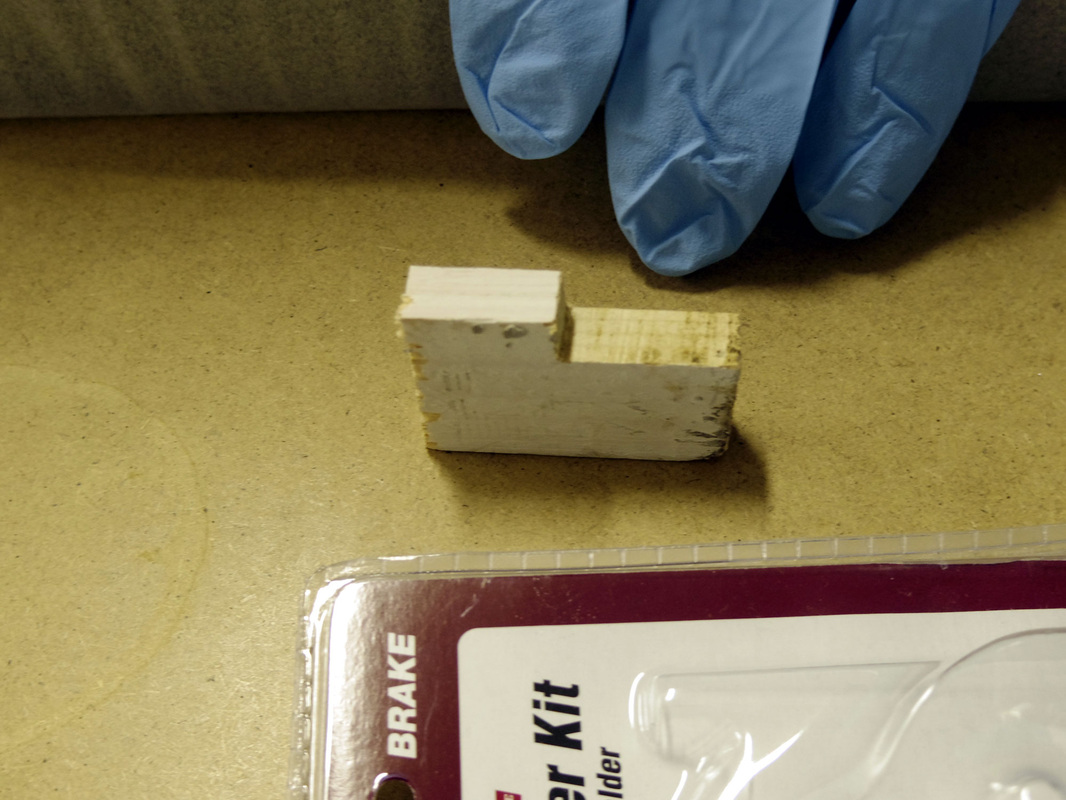
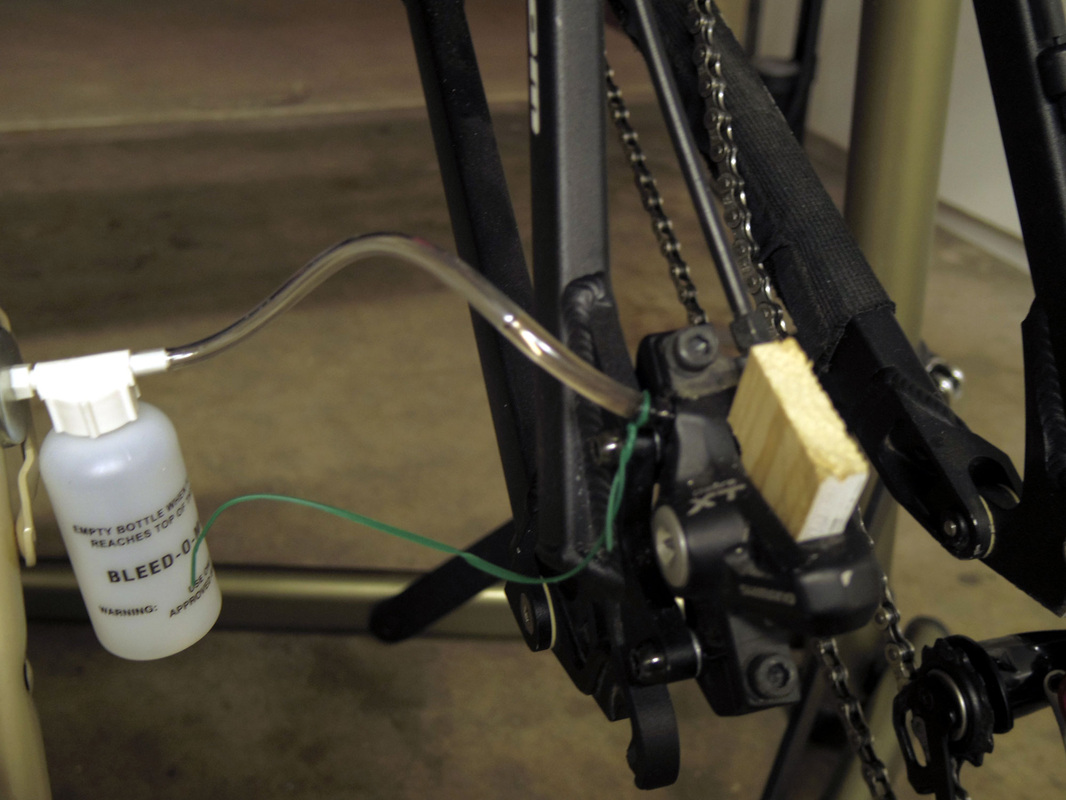
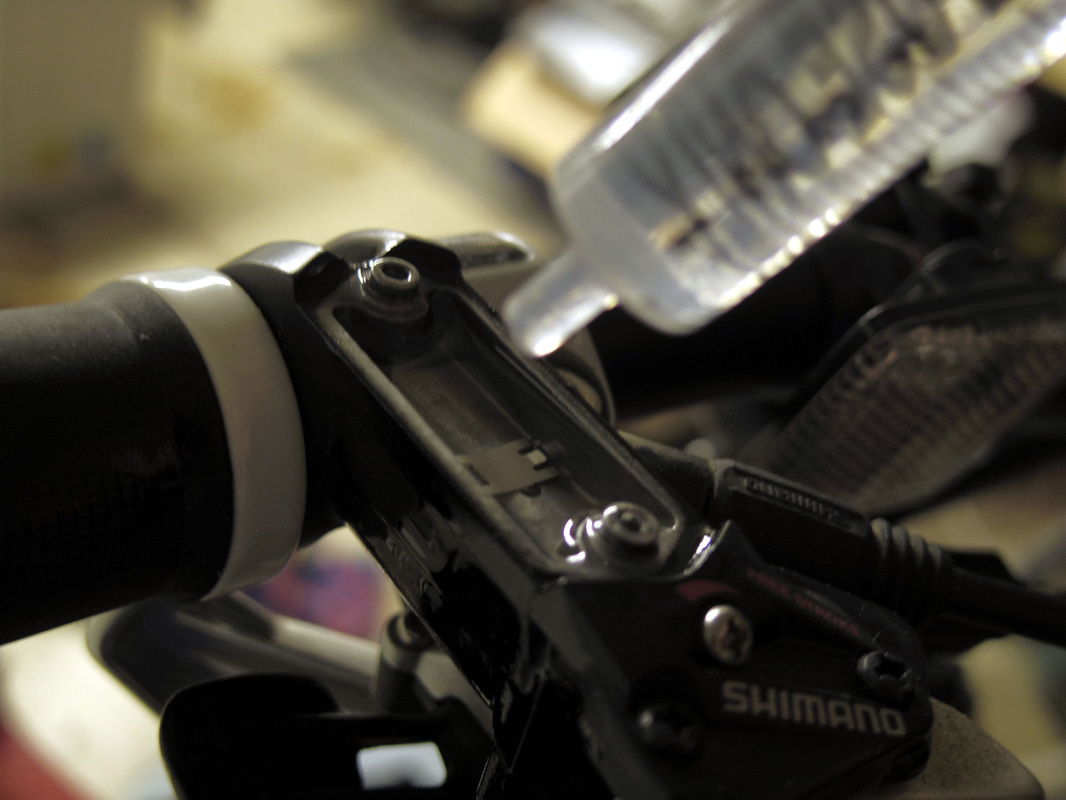
I've never bled the brakes on one of these bikes, but I guessed it would be alot like a car and so I bought a small brake bleeding kit at Harbor Freight. Really could have just used a small hose and a bottle, but it is pretty slick and I will be using it again in the future. I've seen videos where they bleed the brakes with the big irrigation syringe from the nipple on the caliper, but that seems to be a way to introduce dirt into the system and I could not find a big ass syringe anywhere. I was able to get a small 3Tbsp syringe which I used to refill the reservoir while pumping the brake lever - while bleeding through the bottom of the system at the caliper nipple. There were some big air bubbles (surprise) and a small amount of red tinted (Shimano) fluid which was from the old fluid in the lines before the LBS last worked on them several years back. The process was not as swift as the bleeding from the bottom syringe method, and I had to keep the reservoir full or else it could suck air in, but I think it will work. To keep the caliper pistons apart during the process, I made a spacer block from from some scrap wood.
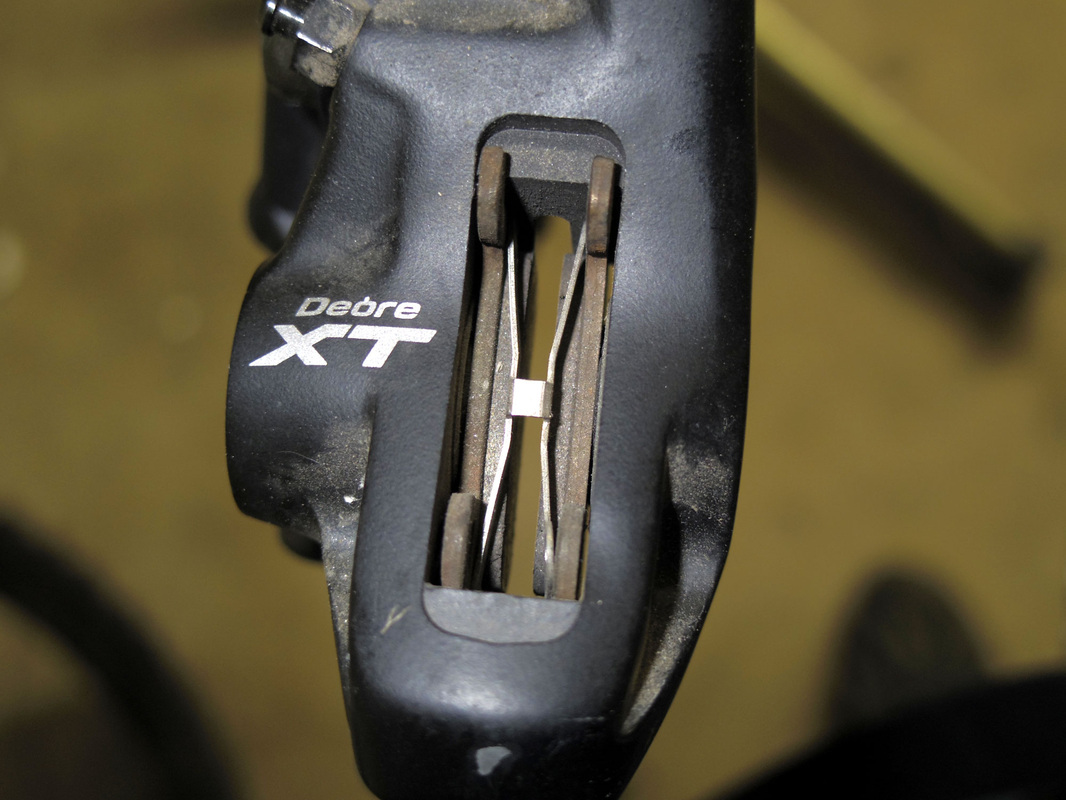
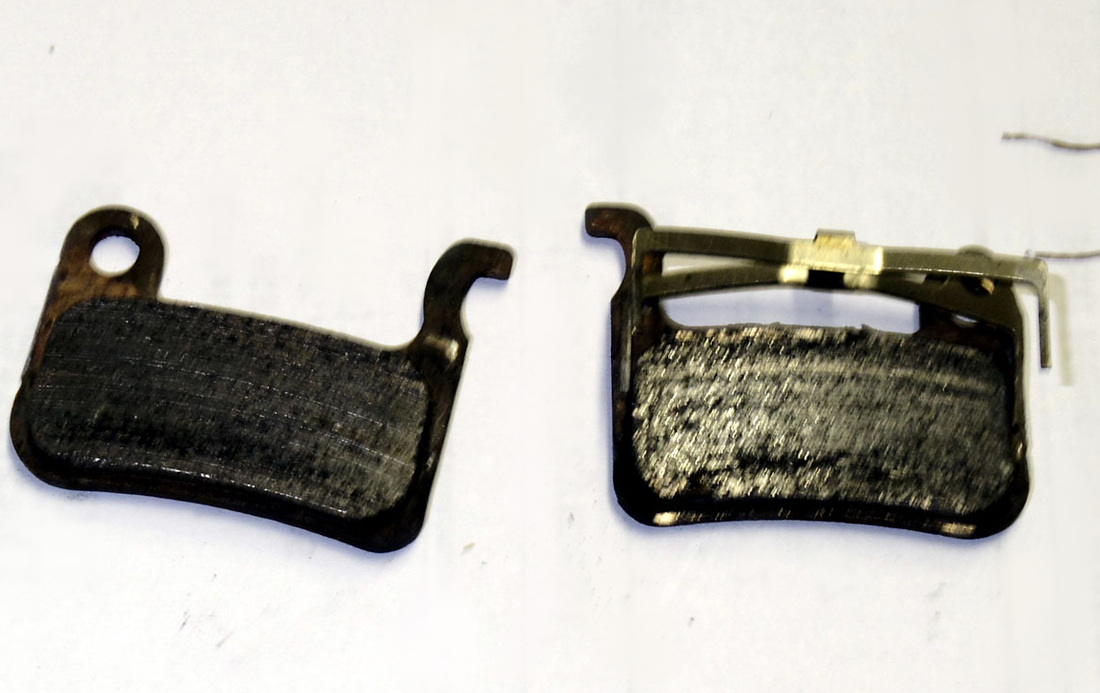
UPDATE: I re-bled the brakes using the Shimano fluid which is much thinner than the mineral oil I used which should mean the system could work smoother. I decided to use the standard bleed from the caliper method than the top fill method I used with the mineral oil since it was quicker and there was less likelyhood of getting air in the system that way. All in all it went well, except for one thing, I got a couple drops of oil on the front caliper with the pads installed which ruined them. I did try to salvage the pads using fire, alcohol and scrubbing, but it was hopeless, they were toast. Sad since they had plenty of usable pad left, but a reminder to be careful when working with oil around the pads. FWIW, the pads should always be removed when bleeding brakes for this very reason.
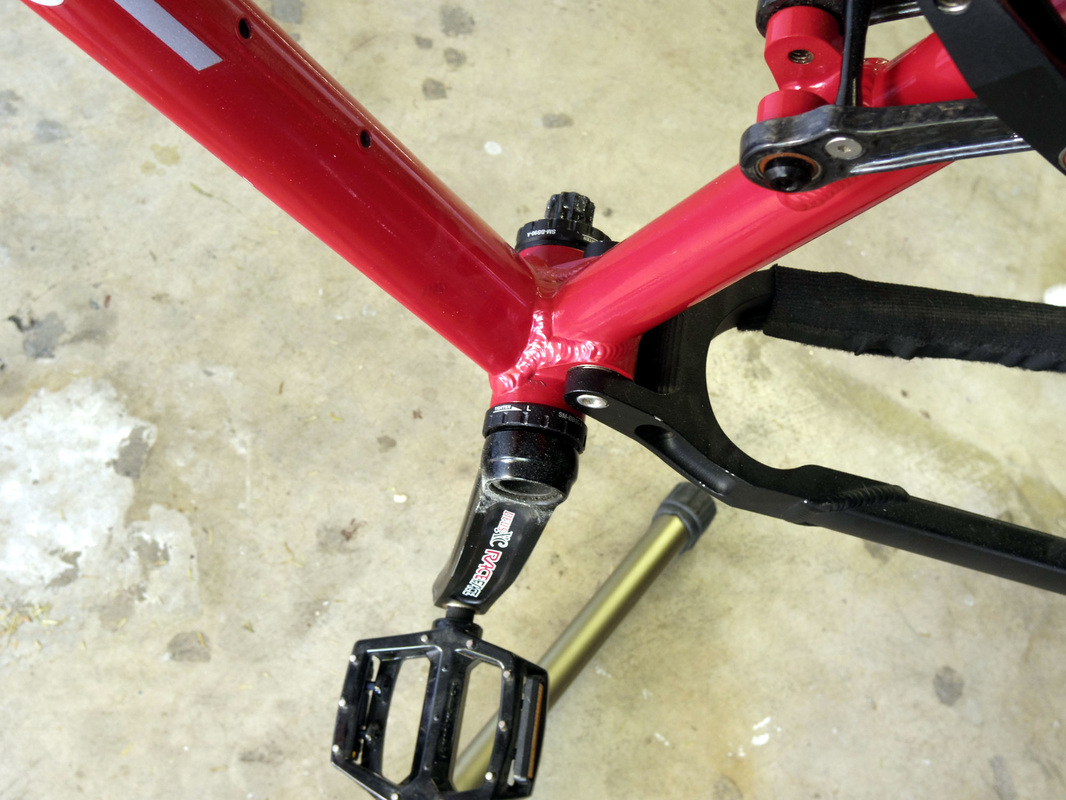
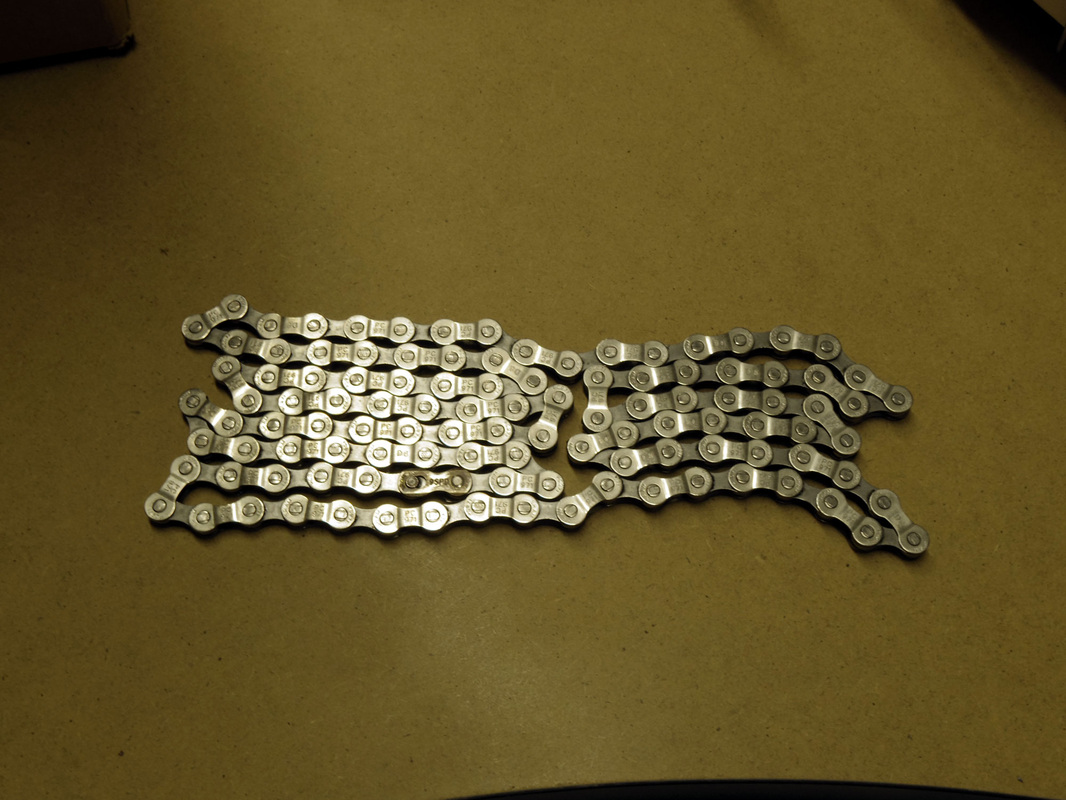
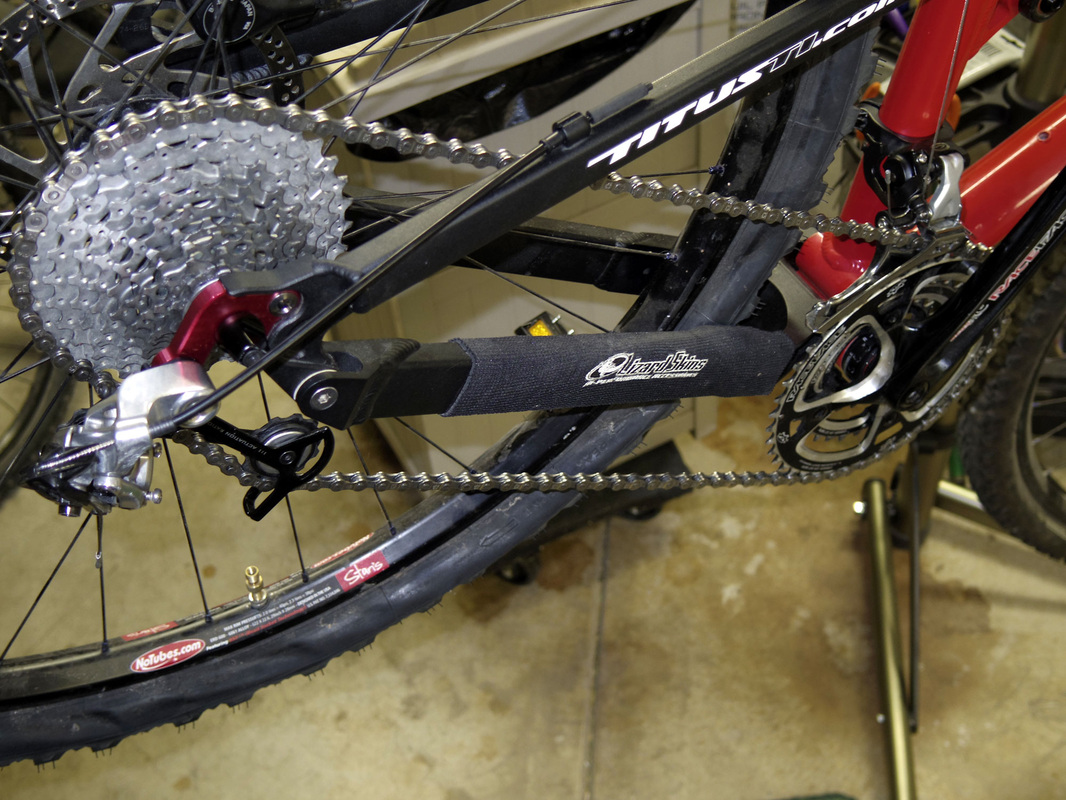
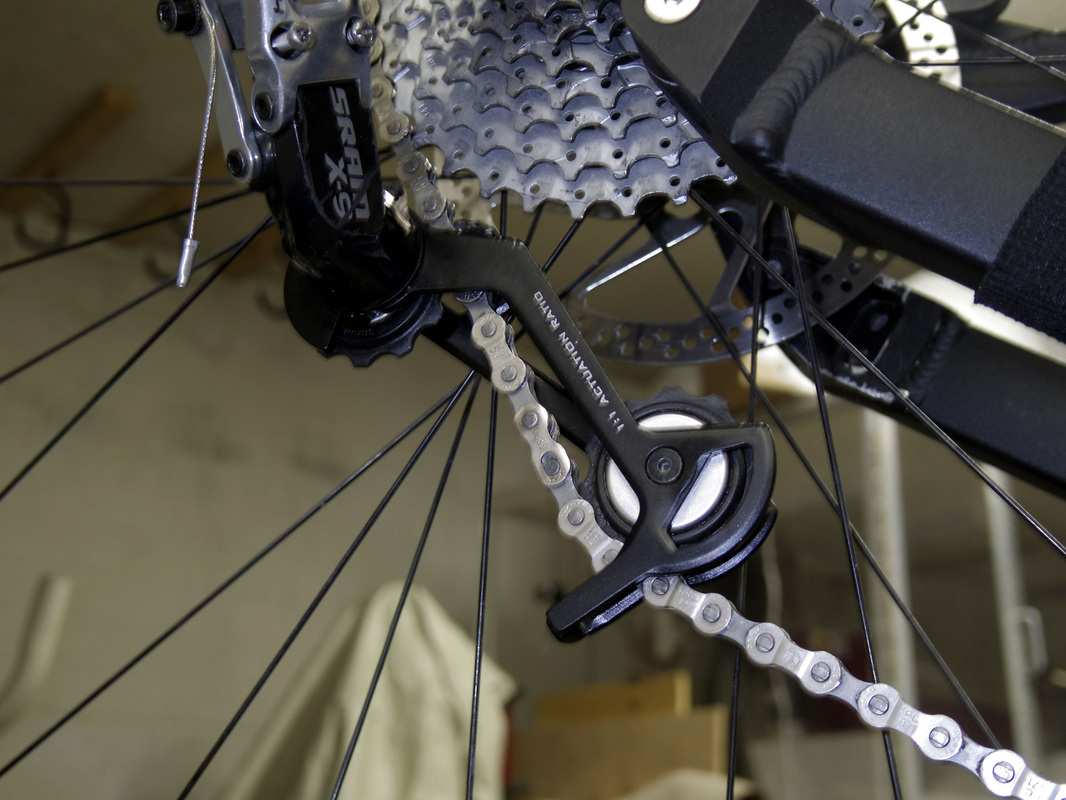
Also swapped the chain with a new one, and surprisingly did not need to shorten it (I would have, but it was just not necessary). To set the chain length I disconnected the shock from the mount and used zip ties to lock the rear triangle near the top of it's usable range, then put the chain on the big rings and set the chain length so the idler pulley would not touch the rear cog and was not swung too far forward. Shifts well through all the gears so I think I will leave it this way.
So it's time to bleed the brakes. Went to Walgreens and picked up some mineral oil (should have bought it at Walmart for a few bucks less). I don't think that straight up mineral oil is recommend, and I plan to replace it soon with some more specific brake oil, but today that's what I can get for not much money. My lawyer advised me to say that nobody should ever use anything but the manufacturers suggested fluids, wear a helmet at all times, floss daily, etc.
I've never bled the brakes on one of these bikes, but I guessed it would be alot like a car and so I bought a small brake bleeding kit at Harbor Freight. Really could have just used a small hose and a bottle, but it is pretty slick and I will be using it again in the future. I've seen videos where they bleed the brakes with the big irrigation syringe from the nipple on the caliper, but that seems to be a way to introduce dirt into the system and I could not find a big ass syringe anywhere. I was able to get a small 3Tbsp syringe which I used to refill the reservoir while pumping the brake lever - while bleeding through the bottom of the system at the caliper nipple. There were some big air bubbles (surprise) and a small amount of red tinted (Shimano) fluid which was from the old fluid in the lines before the LBS last worked on them several years back. The process was not as swift as the bleeding from the bottom syringe method, and I had to keep the reservoir full or else it could suck air in, but I think it will work. To keep the caliper pistons apart during the process, I made a spacer block from from some scrap wood.
UPDATE: I re-bled the brakes using the Shimano fluid which is much thinner than the mineral oil I used which should mean the system could work smoother. I decided to use the standard bleed from the caliper method than the top fill method I used with the mineral oil since it was quicker and there was less likelyhood of getting air in the system that way. All in all it went well, except for one thing, I got a couple drops of oil on the front caliper with the pads installed which ruined them. I did try to salvage the pads using fire, alcohol and scrubbing, but it was hopeless, they were toast. Sad since they had plenty of usable pad left, but a reminder to be careful when working with oil around the pads. FWIW, the pads should always be removed when bleeding brakes for this very reason.
Also swapped the chain with a new one, and surprisingly did not need to shorten it (I would have, but it was just not necessary). To set the chain length I disconnected the shock from the mount and used zip ties to lock the rear triangle near the top of it's usable range, then put the chain on the big rings and set the chain length so the idler pulley would not touch the rear cog and was not swung too far forward. Shifts well through all the gears so I think I will leave it this way.


That's pretty much it, just a few odds and ends to wrap up like a new shorter seat post (I had to borrow one to test ride it) and I will probably wrap the chain guard when I swap the chain in a few days for a longer one.
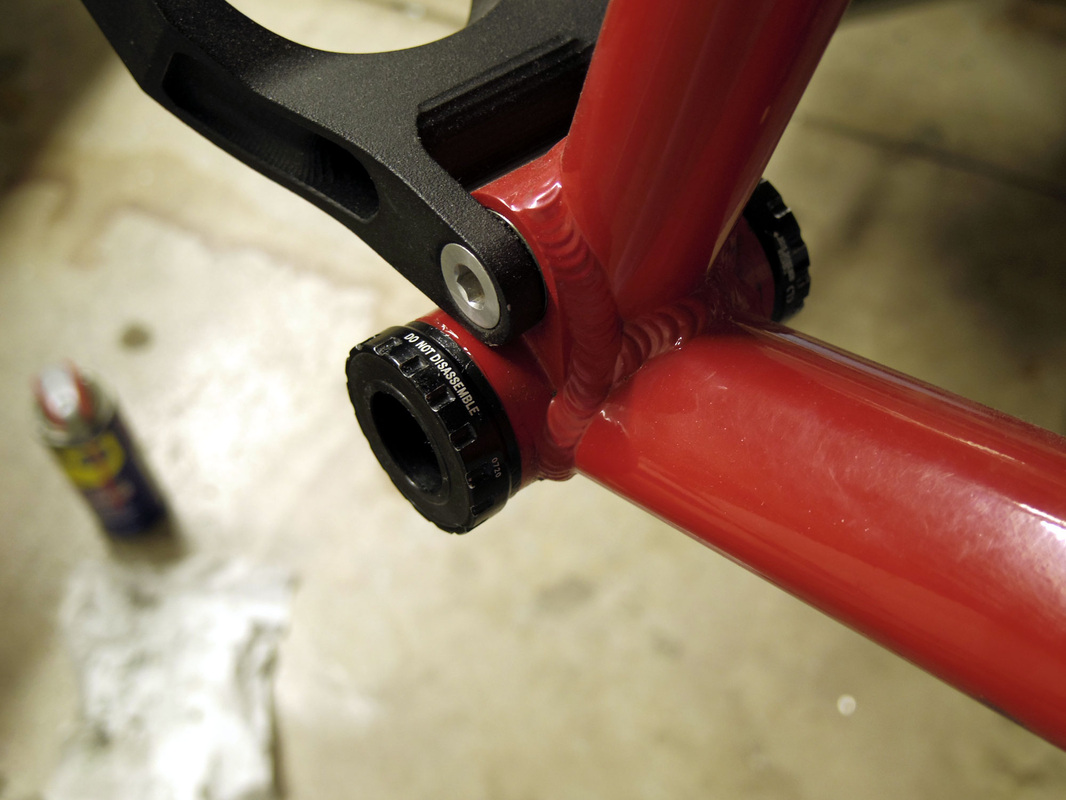
Torque Specs
Titus sent me the torque specs for the bike so I thought I'd post them here for reference:
Torque bolts in the following order:
1. Driveside Stay Rocker Bolt: 8.5 Nm / 75.23 In Lbs
2. Driveside Frame Rocker Bolt: 8.5 Nm / 75.23 In Lbs
3. Non Driveside Stay Rocker Bolt: 8.5 Nm / 75.23 In Lbs
4. Non Driveside Frame Rocker Bolt: 8.5 Nm / 75.23 In Lbs
5. Lower Shock Bolt: 8.5 Nm / 75.23 In Lbs
6. Upper Shock Bolt: 4 Nm / 35.4 In Lbs
7/8. Horst Pivot Bolts: 9.6 Nm / 84.97 In Lbs
9. Main Pivot Bolt: 20.8 Nm / 184 In Lbs
Seat binder bolt: 6-8 Nm / 53.1 - 70.8 In Lbs
Resources
Here are some links with resources for used for this projects:
Cool idea to protect the frame from cable rub:
https://nuxx.net/blog/2009/12/21/uhmw-polyethylene-tape-for-cable-rub-and-chainstay-protection/
Lots of great info and pics for the Racer-X 29er:
https://nuxx.net/gallery/v/acquired_stuff/titus_racer_x_29er/
Tons of info here, and a great description of how to set up the chain line:
http://sheldonbrown.com/chainline.html
Manual for the Race Face Dues XC cranks and BB:
http://www.raceface.com/instructions/CRANKS/EXI.Crank_RideXC.pdf
Good info on setting up the front derailleur:
https://www.bikeman.com/bicycle-repair-tech-info/bikeman-tech-info/1634-front-derailleur-101
Shimano M770 front derailleur manual:
http://techdocs.shimano.com/media/techdocs/content/cycle/SI/Deore-XT/SI_6MSFA_001/SI-6MSFA-002-ENG_v1_m56577569830688493.pdf
Shimano m775 brake manual:
http://techdocs.shimano.com/media/techdocs/content/cycle/SI/Deore-XT/DiskBrakeSystem/BRM775/SI-8EP0A-007-ENG_v1_m56577569830745900.pdf
