Cheap Cargo Cover for a Ford C-max
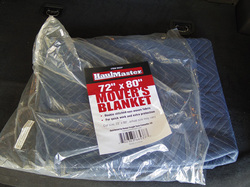
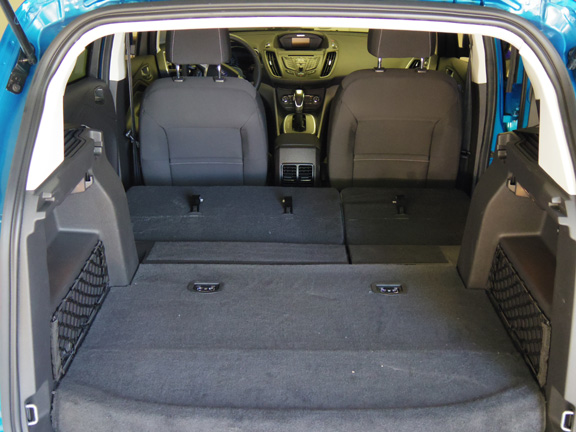
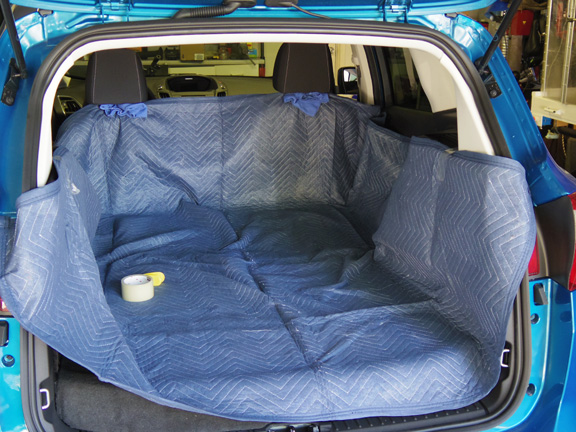
I need a good cargo cover for a C-max since my dog seems to shed hair like it was going out of style. Until I get a system in place to protect the interior she is banned from the C-max, and since that is not cool I am working hard to puppy proof it. I picked up a couple of moving blankets from Harbor Freight and am using those along with some very rusty sewing skills to fit a cover in the back. I tried using one of these blankets, but it was not enough to go up the sides enough. I plan to anchor it in several places (the rear seat belt using a plastic clip, the rear door using some thin polypropylene plastic in the door jam, and the front head rests). I have yet to figure out how to anchor it at the rear of the vehicle near the hatch, but I am thinking of using some thin poly and wedging it between the weatherstrip and the trim. Below I will describe the steps so far, since this is a work in progress there will be some steps yet to come...
|
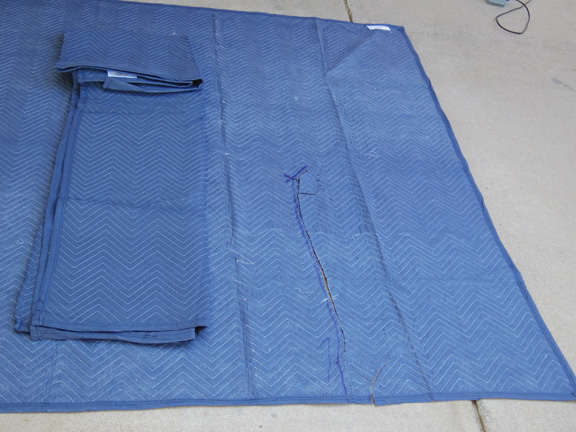
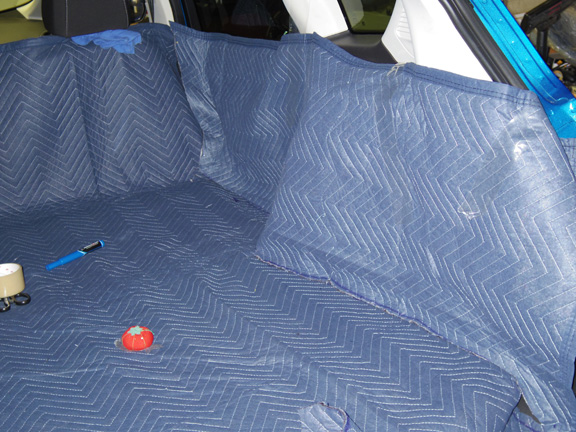
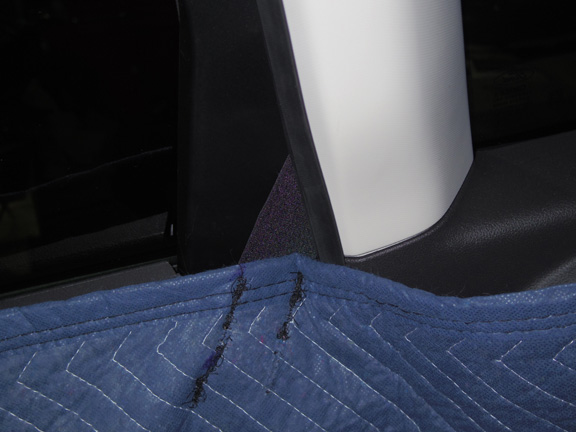
To get the cargo cover to fit better I had to cut it up. I was not going to go for a perfect fitted look, but I want it to conform to the general shape. The first thing I did was get it flatted out in the cargo area, and traced with a pen where it should be cut. After cutting I pinned the remaining material to see how it would lay, and then I marked the material again so I could remove the excess later. After the initial cut and marking was done I took it out and laid it out flat on the ground so I could transfer the cuts and marks to the other side...
|
|
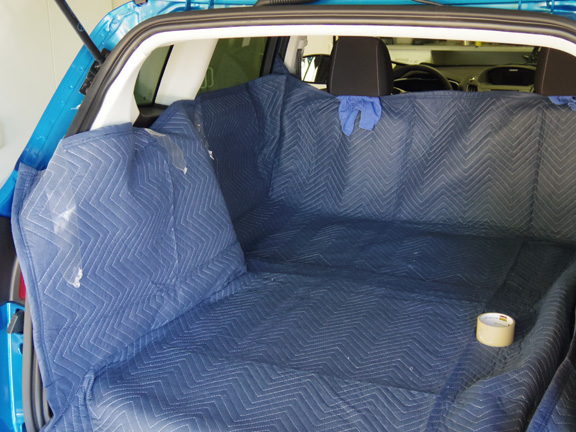
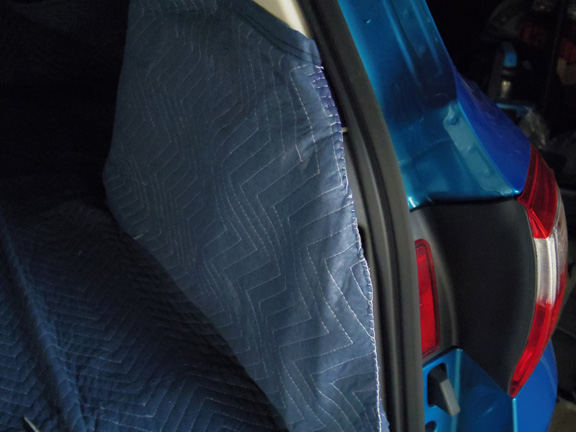
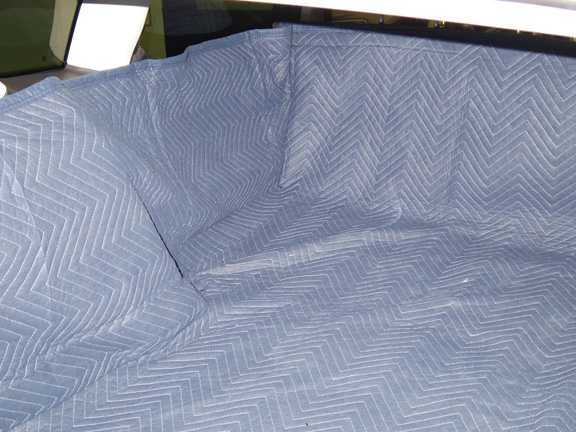
Once the lines are transferred to the other blanket, I cut the lines out and installed it on the left side first. The pic on the right shows the blanket installed with tape roughly holding it up so I could figure out how it would lay. Additional trimming will still be needed and I don't have any of the clips yet so it is nowhere near done.
|
|
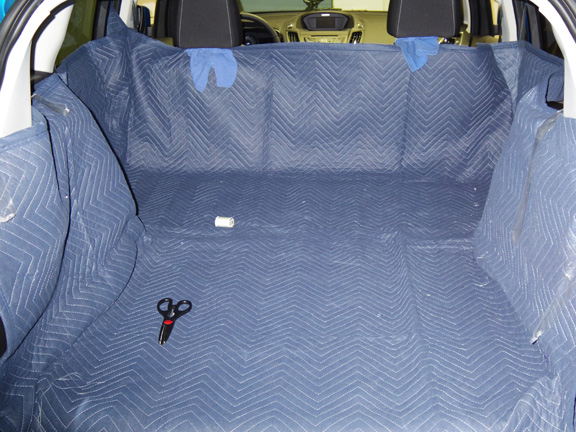
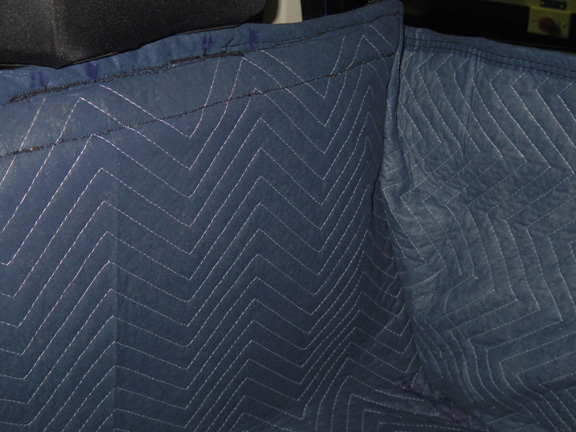
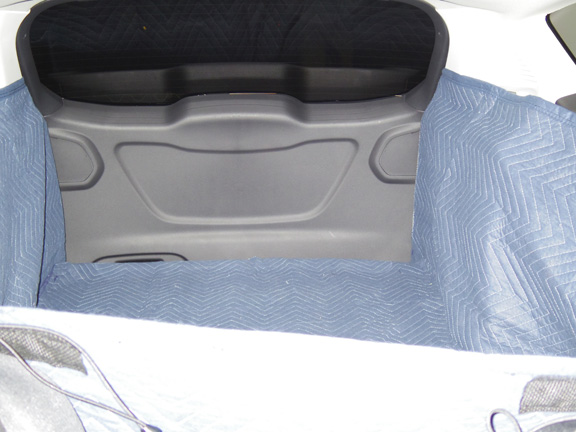
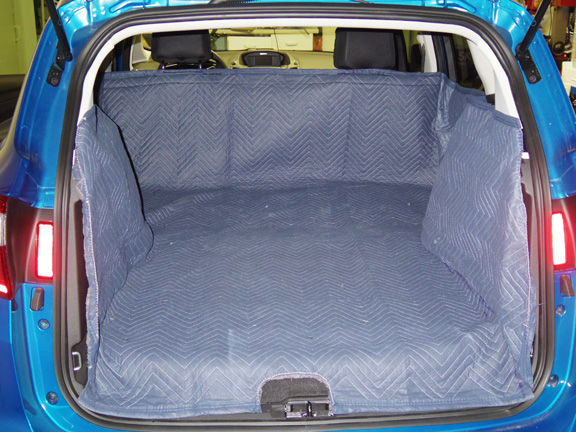
The passenger side is similar to the other side, except that I only used the part of the blanket which goes up the side. The pic on the left shows it roughly laid in, I had some more trimming to do here and a lot of sewing too. The pic on the right is the liner roughly placed in the cargo area. At this point the majority of sewing is done, but I will still need to get some clips and other things to secure it, once I get the parts and some more time I will finish this project and update this page.
|
Update 10/21/2012: The cargo cover will just flop around without some way to secure it to the interior. I wanted to make that as simple as possible without adding anything to the vehicle. I decided to use several methods. In the front I will use some shock cords with barrel locks to attach the cover to the head rests. Moving back I will sew in some tabs which will sandwich in the rear passenger door jams, and then further back clips will hold the cover to the passenger seatbelts, and finally at the back there will be some tabs which will slip under the weather stripping to hold the back. I am also planning on putting down some velcro rough side down in several places to hold it to the floor.
Below is a pic of some of the bits and pieces I will use to secure the cover, including the 2" quick clips, barrel locks, shock cord, 2" web and cord ends.
Below is a pic of some of the bits and pieces I will use to secure the cover, including the 2" quick clips, barrel locks, shock cord, 2" web and cord ends.
|
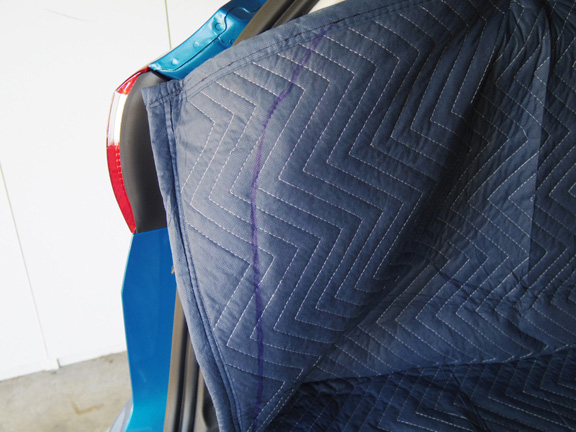
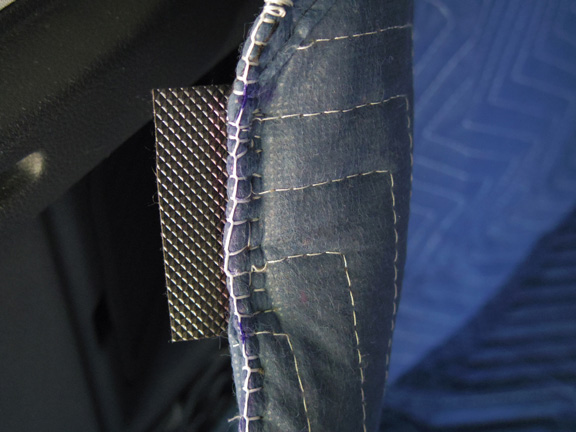
Starting at the back, which will be the hardest part, I trimmed the cover down and stitched the edge over to get it ready for the tabs which will secure it. First I marked it and then cut it out with an inch margin which was folded over.
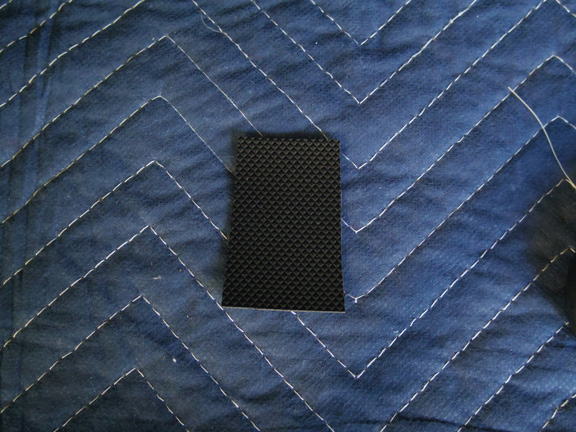
Next I took a piece of vinyl covered material used in the bottoms of backpacks and luggage which will become a tab and cut it to about 2" x 3" (roughly). This was actually a sample piece I purchased with the order of other parts shown above. |
|
The vinyl covered fabric was sewn into the edge of the cover to form a tab. It did not need to stick out much since it just slips under the weather strip enough to hold it - and it is pretty secure, and even more so when the hatch is closed.
The pic on the right shows the completed tab installed and holding up the back of the cover. |
|
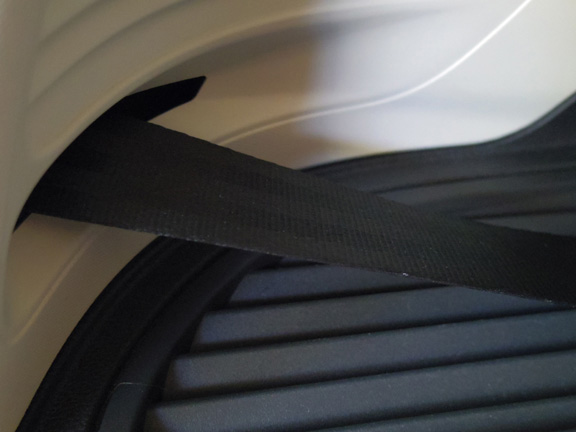
Moving forward, the next location to add an attachment is the rear seat belt. To attach the cover here I'll use some 2" quick clips which will be attached to the 2" web and sewn to the cover. The quick clips have a clip on one side and on the back they have a more permanent clip which will also attach to a 2" web.
|
|
This is the "finished" quick clip attached to the cover. I didi not get a pic of it installed since it is not really seen, but it was placed so that it would connect with the belt near the end of the belt and sort of use the tension in the belt to help hold up the cover, but the clip will slip - but not too far.
I am not done yet, I still have to do the passenger door tabs and the front headrest attachments. The pic on the right is what I have done so far. |
|
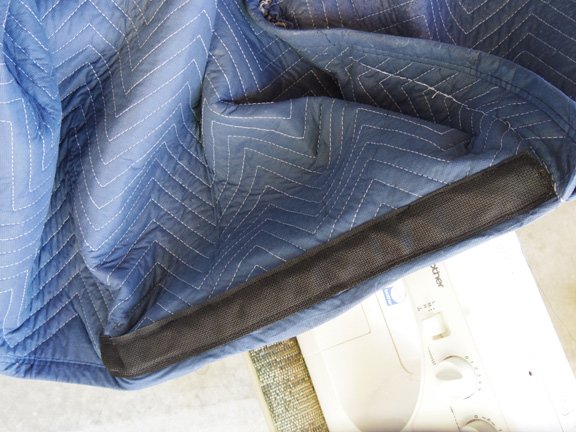
I was able to get a sewing machine from a relative and tried it out for the first time. It sure beats stitching by hand! I think I may have been asking too much of it in some spots and my thread kept breaking, but I was able to get through it. I used some nylon web and created a sleeve into which a soft plastic strip was inserted to bolster the corner behind the headrest. This way it will hold up the corner and keep it from flopping around.
|
|
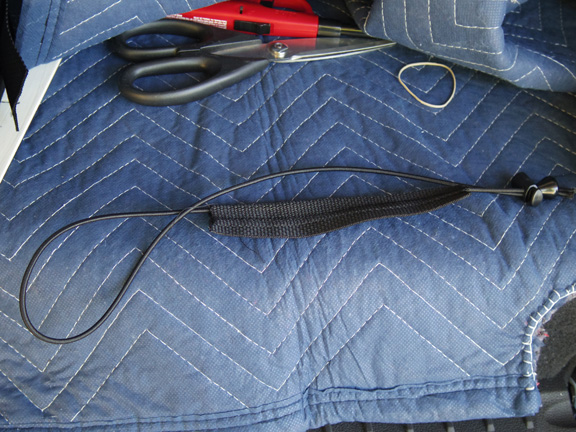
Next up was the shock cord which is used to attach the cover to the headrests. These go on really quick and work great, just slip it over and cinch it up. To make them I folded over some web and stitched it up. Then stitched it to the area behind the headrests - I put it underneath on the other side which looks a bit better.
|
|
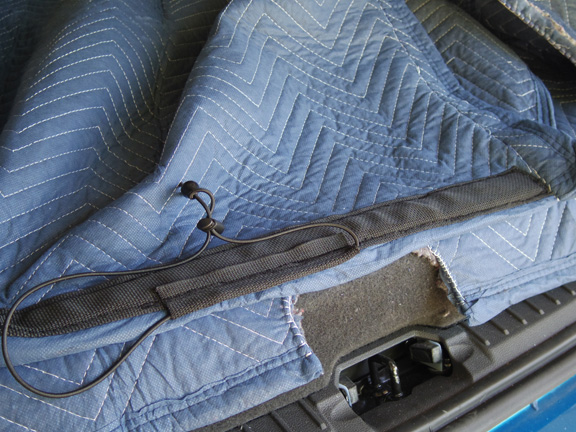
On the left you can see how the plastic strip will bolster the corner of the cover (this is just behind the passenger seat with the cover attached to the headrest using the shock cord.
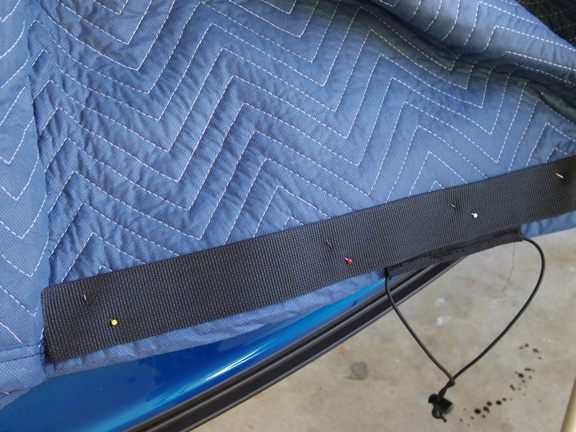
Next up, a piece of velcro ribbon with the soft side towards the door and the smooth side towards the inside was sewn so that I could push it into the jam with the door closed. I could also shut the door on it and that would work as well. |
|
So that's pretty much it, all the main attachment points are installed and it seems to stay where I want it to. Time will tell if it will stand up to puppy paws and mountain bike tires - I am not expecting it to last forever, but for an estimated $25 or so it should be worth it.
With the clips and stuff it is pretty easy to install and remove and I am going to get a small duffel to keep it in. I may also add some heavier weight canvas or nylon to the bed to keep it from getting too torn up. I also have to mention that the hole for the latch in the pic below is not really off center, it was just pulled a bit over too far when I took the pic. |
