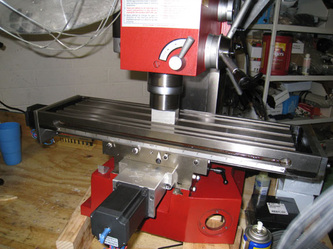
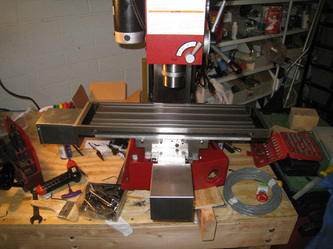
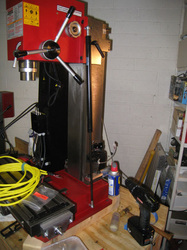
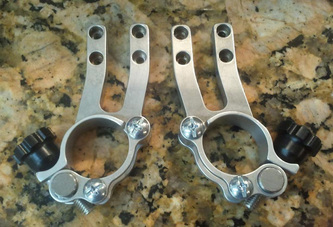
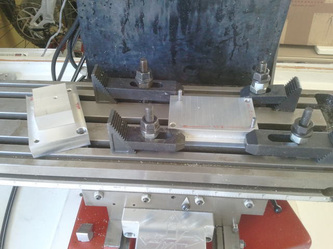
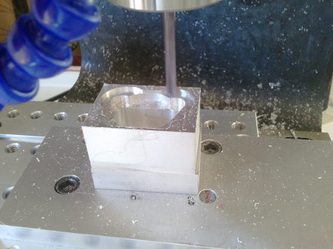
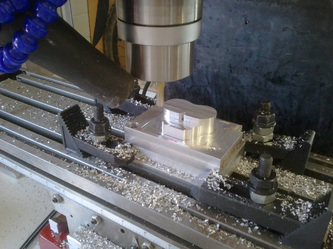
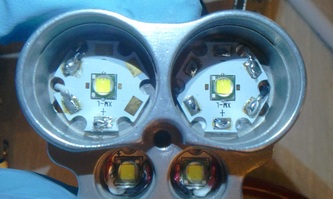
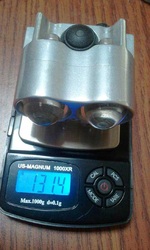
My Sieg X3 CNC mill conversion.
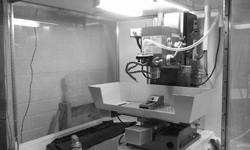
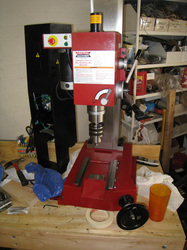
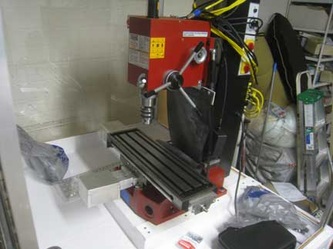
I converted a Chinese milling machine over to CNC over a year ago. I have a build thread over at cncfusion.com (they make good quality kits for converting mills). The project was very fun aside from the electrocution and a few cuts, and I have built several projects using the mill already. A milling machine like this is never going to make you money, it is more for prototyping and even at that it takes a lot of work to get it set up and working. It is pretty cool to have the capability to build stuff (limited as it is) though. I have not been using the mill for the past 6 months or more since it is just too damn hot where it is, but hopefully when it cools down I will get back to that hobby.
The pics below are in semi-chronological order, some with captions. I am not going to re-produce my notes on this project, but what is here is from memory. At the bottom of the page are some helpful links for converting a mill.
Mill Specs:
* HF X3 mill
* CNCFusion Deluxe ball screw kit with 5mm pitch screws and helical couplings.
* X and Y axis = 2x KL23H284-35-4B (1/4" Dual shaft with a flat) 387 oz-in
* Z axis = 1x KL34H295-43-8A, 906 oz-in
* Z axis has the stock pullys (not the CR option).
* PSU = 48 48V/7.3A 115V /230V
* Controller = Gecko G540 v4
* CNCFusion gas spring kit.
Teardown and cleanup and getting started with the kit install
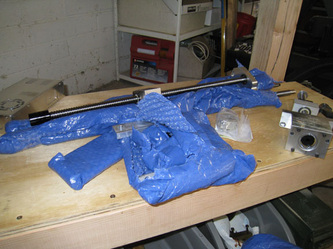
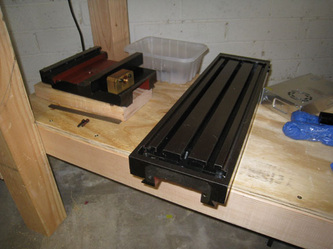
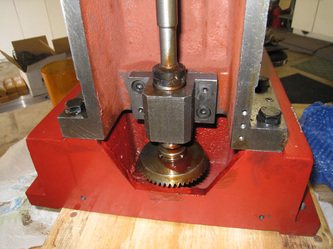
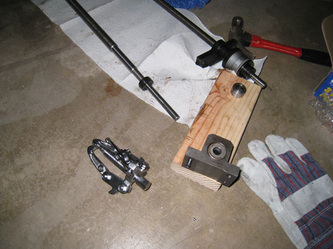
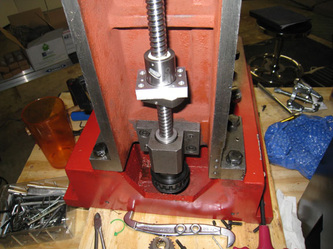
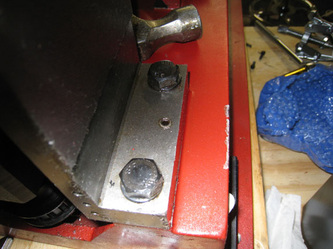
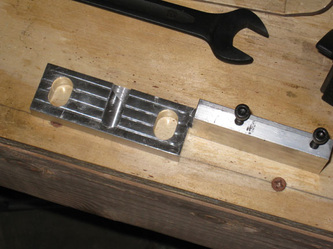
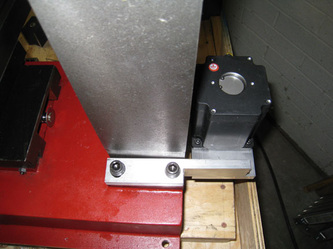
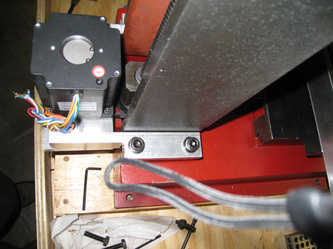
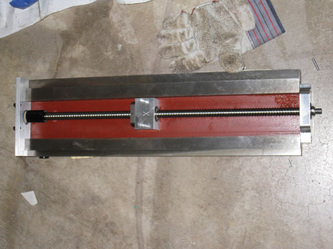
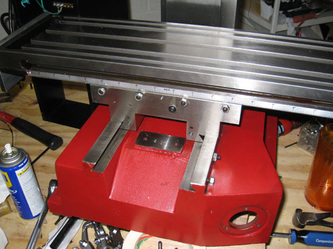
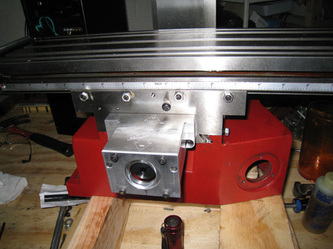
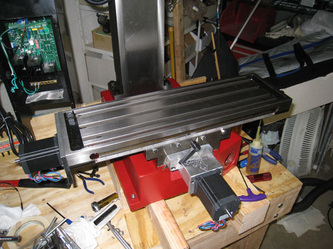
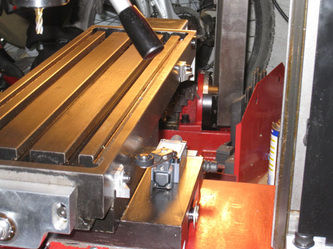
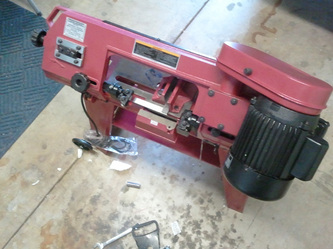
These pics document the teardown and cleanup of a sieg x3 mill, along with the first steps to installing the cncfusion deluxe ball screw kit. Hover over the pics below for a description.
Setting up limit switches, building stepper covers, and gas spring
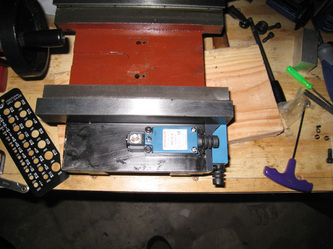
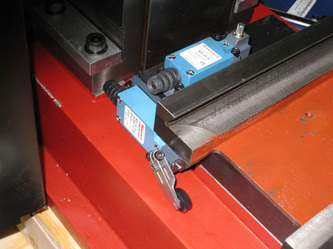
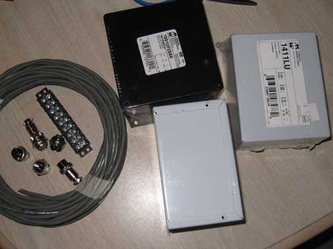
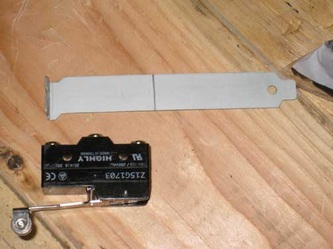
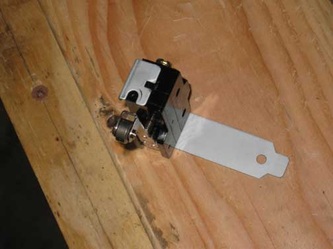
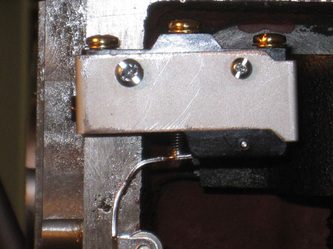
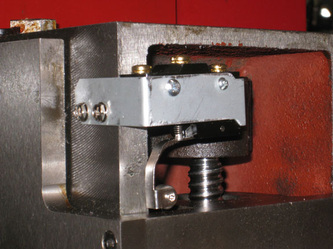
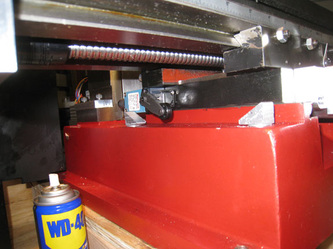
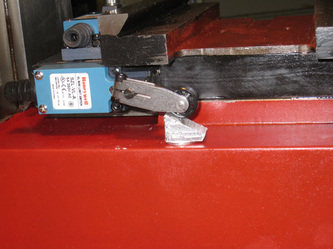
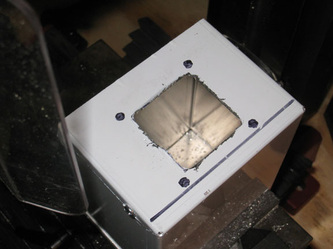
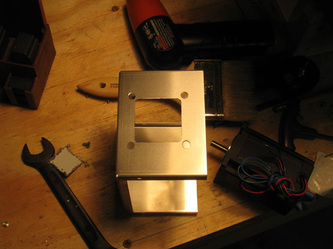
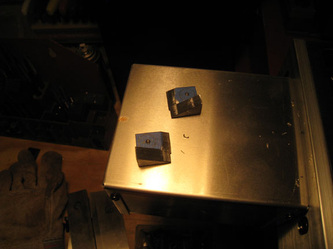
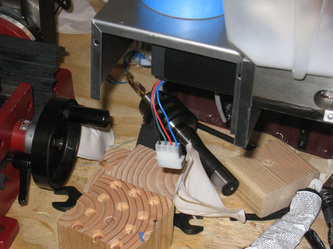
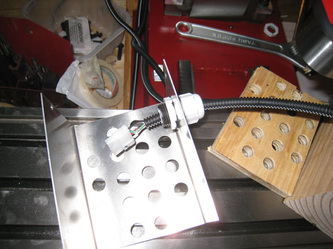
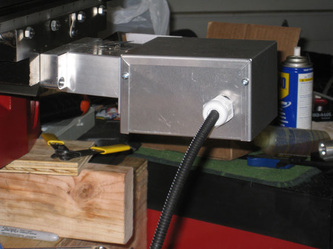
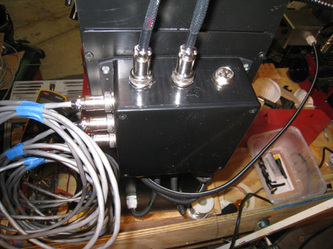
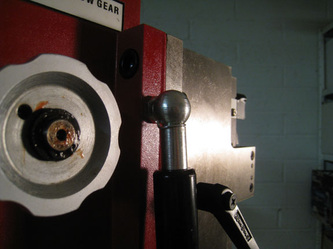
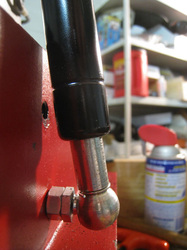
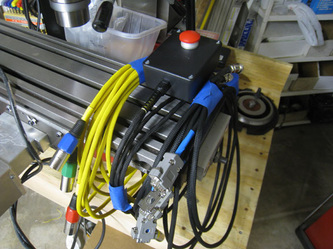
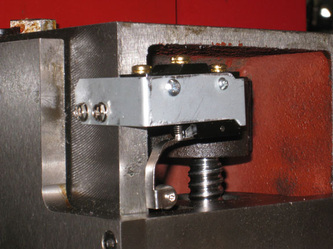
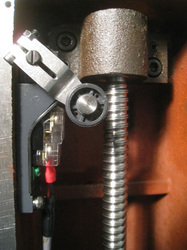
I used some honeywell mechanical limit switches which are great for a simple mechanical switch. They are almost waterproof too which is a big plus when coolant is used. The motor covers were fashioned from project boxes - necessary to keep water and shavings away from the steppers. I couple pics of the gas spring are at the end, it helps the steppers overcome the weight of the mill head, but does limit travel a bit.
Parts:
Limit switches:
Honeywell SZL-VL-A Check Ebay to get these cheaper.
Stepper covers - Cable glands:
www.alliedelec.com
500-5381 2.5 mm to 8 mm
500-7220 3/8 locknut
and
500-5383 5 to 12 mm
500-7221 1/2 locknut
I used these glands with some non-split loom (6mm) which protects the exposed limit and stepper wires on the mill. When tightened down the cable glands hold the wire and the loom really well.
Stepper covers - covers:
Hammond 1411LU - available at mouser, digikey and other places.
Gas Spring kit:
cncfusion.com
Control Box version 1 and some related electronic parts
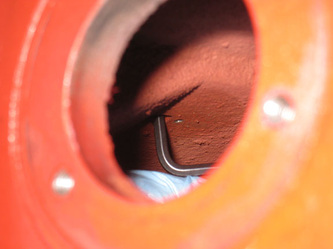
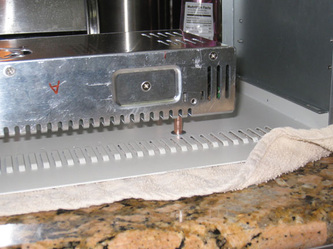
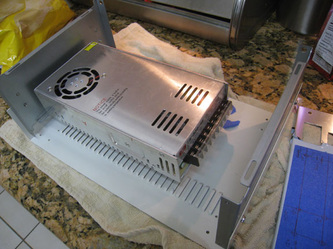
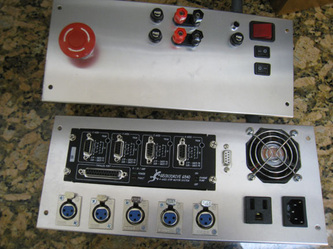
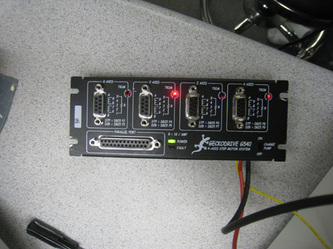
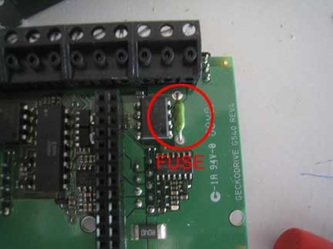
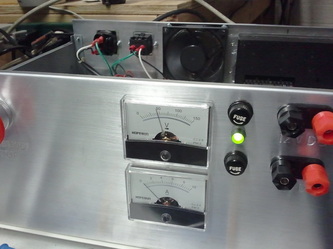
I ended up building 2 control boxes since the first was too small and dangerous to work in. The controller is based around a Gecko G540 which is an almost bulletproof controller. It's not fancy and has limitations, but is the easiest to set up and easiest not to kill with stupidity. The last 2 pics in the gallery below show a problem inside the mill - a wire was pinched and cut by a screw at the factory - with this stuff from China, it never hurts to give the inside a good QC check when you start pulling stuff apart.
Parts:
Gecko G540 controller
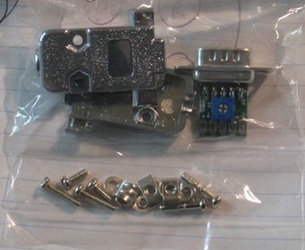
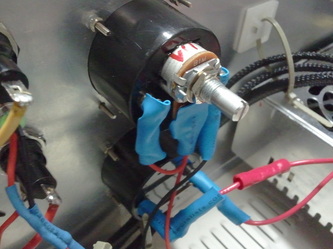
DB9 connectors with built in pots for tuning the steppers (really handy):
http://www.soigeneris.com/EZ_G540___Set_of_4-details.aspx
power supply (48 48V/7.3A 115V /230V)
Project box - EM series case - I'd recommend the largest one (EM-06) which is what I eventually went to.
Z-axis limit, X-axis mod and starting the enclosure
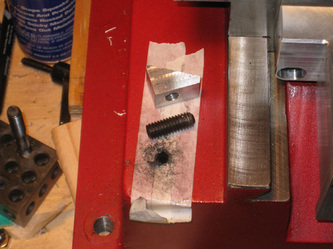
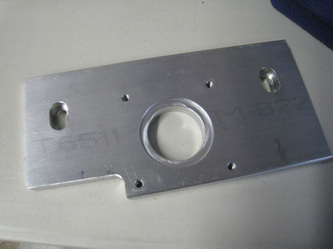
I had to swap the z-axis limit since the cheap one was to bouncy, and the honeywell switch just fit. The x-axis mounting plate also had to be modified to clear the limit switches by removing some material from the mount so it would sail over the switches.
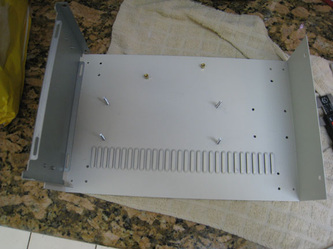
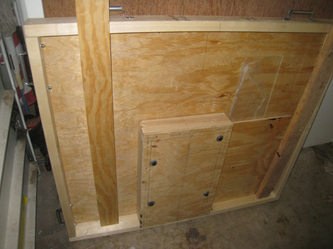
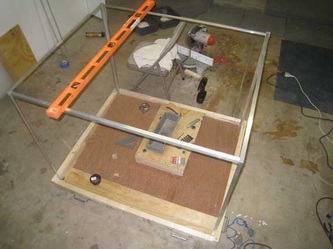
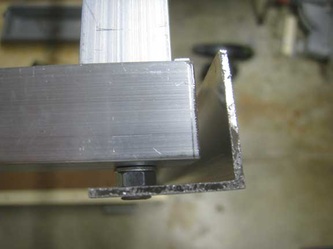
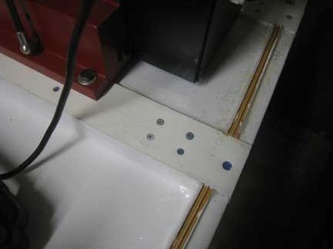
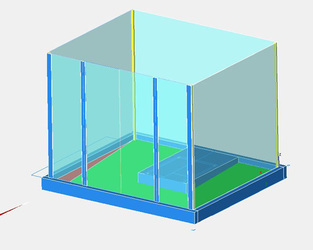
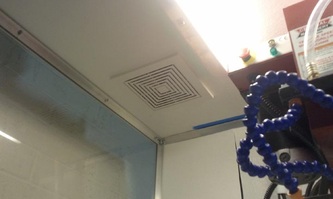
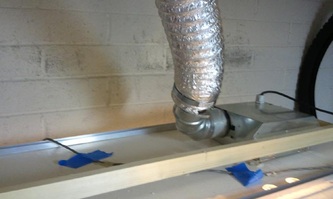
The enclosure was the biggest part of the job and something I would do very differently today. There are many options for aluminum profiles and brackets which will make for a quick and sturdy enclosure. I just used cheap L channel aluminum mostly. The base was covered in fiberglass with epoxy and the coated with white appliance epoxy paint from Rustoleum. HPDE or bettwe plastic rails were set in the top to make getting the mill on and off easier.
The enclosure was the biggest part of the job and something I would do very differently today. There are many options for aluminum profiles and brackets which will make for a quick and sturdy enclosure. I just used cheap L channel aluminum mostly. The base was covered in fiberglass with epoxy and the coated with white appliance epoxy paint from Rustoleum. HPDE or bettwe plastic rails were set in the top to make getting the mill on and off easier.
Control box version 2
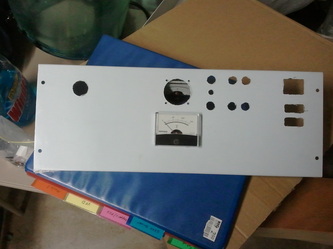
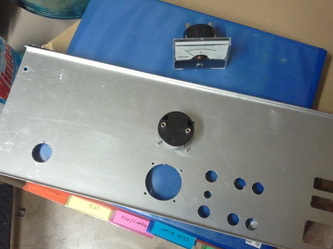
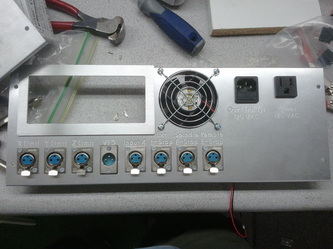
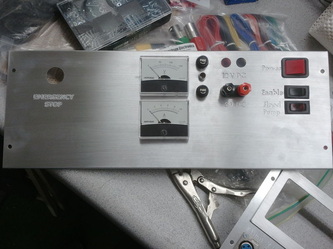
I rebuilt the box using an EM-06 enclosure, I would not use anything smaller. The following is an excellent schematic which is helpful in designing a mill control box for the G540:
http://www.homanndesigns.com/pdfs/EN010_V8.pdf
http://www.homanndesigns.com/pdfs/EN010_V8.pdf
Adding a coolant tray and tooling plate
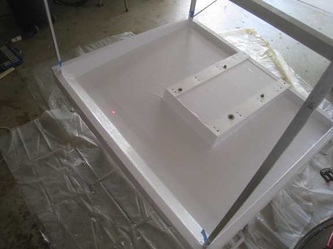
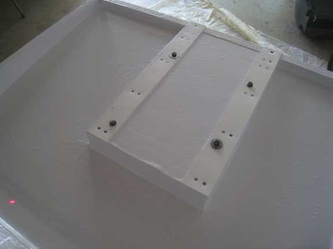
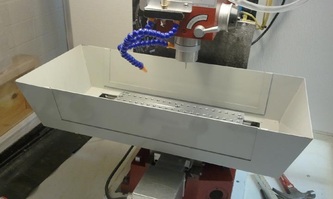
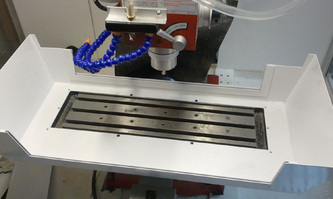
There is a coolant tray available for the CNC'ed version of the X3 which happens to use the same table as the dumb version, it had to be modified due to clearance issues with the mill head, but a few minutes with an angle grinder make quick work of the problem areas. It was then painted with more appliance white from Rustoleum.
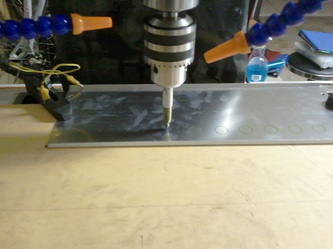
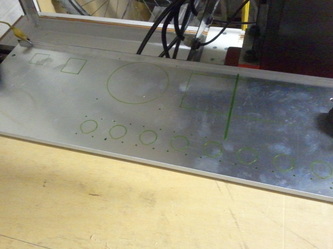
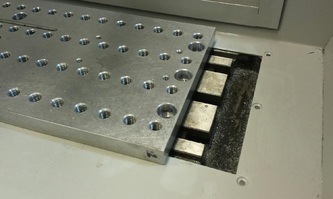
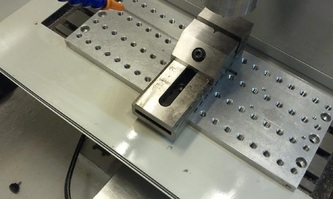
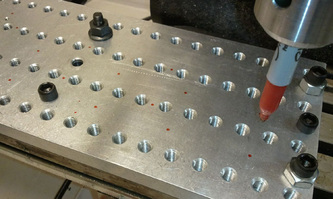
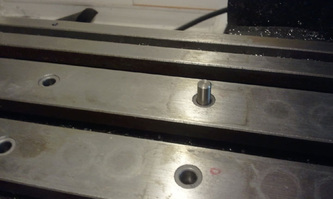
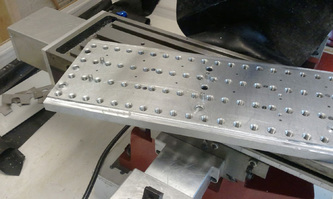
The tooling plate was purchased pre-drilled, but unless you want to leave something like this on a mill all the time it is a good idea to pin it so you can go back and forth. Pinning a mill table does take some commitment and careful planning since it is kinda a one shot deal. I used the excellent instructions here.
Parts:
Tooling Plate 5/8"x6.3"x16" Sieg X3
I used the following parts to pin the table (from McMaster-Carr):
PN 90145A540
18-8 Stainless Steel Dowel Pin, 1/4" Diameter, 3/4" Length, Packs of 20
PN 8491A193
Steel Press-Fit Drill Bushing/Liner, 0.25" (1/4" ) ID, 13/32" OD, 3/8" Length
PN 91251A621 (these are extra screws for the tooling plate)
Black-Oxide Alloy Steel Socket Head Cap Screw, 3/8"-16 Thread, 5/8" Length, Packs of 50
I used Loctite Clover 320 grit to open up the drill guides.
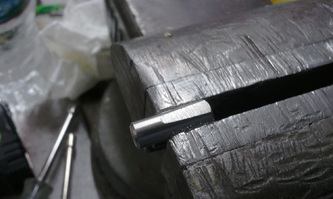
I also bought some 2" x 1/4" diameter pins used to open up the drill guides.
Coolant tray:
http://www.littlemachineshop.com/products/product_view.php?ProductID=3726&category=
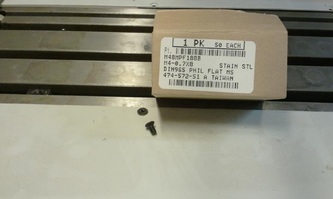
M4 x 0.7x8 screws for coolant tray - McMaster-Carr item 91698A426
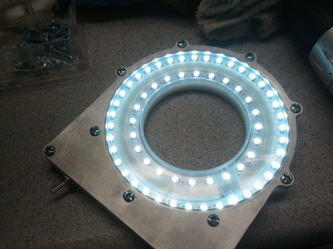
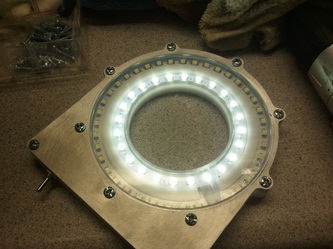
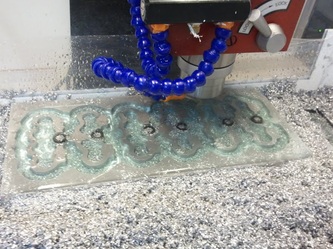
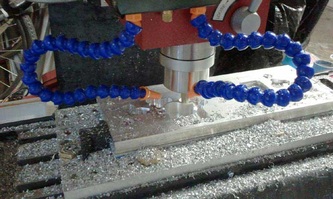
A mill light, some coolant stuff and starting a mill camera
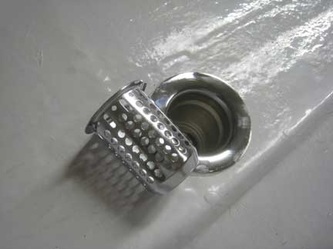
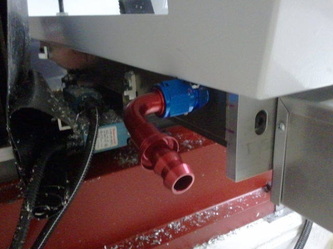
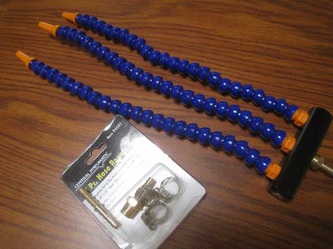
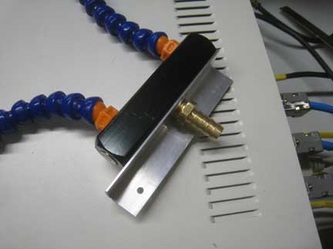
There were some other odd's and ends added including a drain for the mill table which directs the coolant away from the mill. It
Parts:
Drain plug with 90 degree bend: I used an AN-8 To M16 x 1.5 Metric Fitting Adapter (the table fits an M16 x 1.5 thread) and then an "AN-8 90 Degree Fuel Push-On Hose End fitting" to get the connecton from the AN8 thread to the hose fitting. I will use some clear tubing to finish it up.
Mill light:
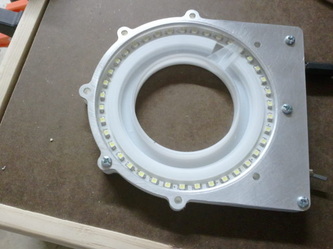
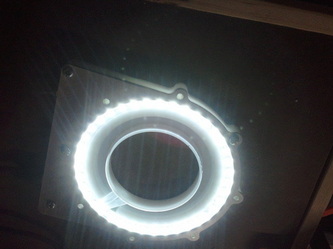
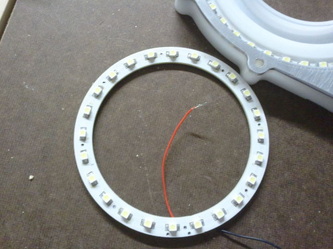
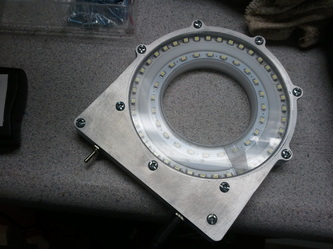
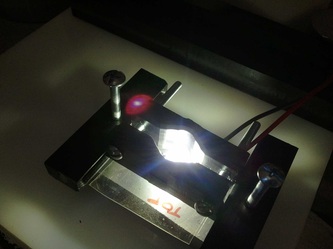
The light uses some LED arrays sometimes called "angel eyes" like these:
http://www.dealextreme.com/p/t10-24-led-white-light-car-angel-eye-90mm-diameter-25521
http://www.dealextreme.com/p/t10-39-led-white-light-car-angel-eye-120mm-diameter-25522
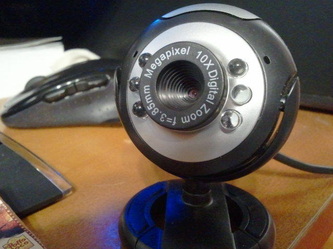
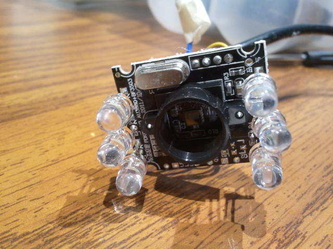
Camera:
Cheap webcam available at Amazon:
Links
General stuff:
A good overveiw and review of the Sieg X3.
http://www.mini-lathe.com/X3_mill/X3rvw/X3.htm
A really good guide to fully tearing down an X3 mill.
http://www.arceurotrade.co.uk/projects/prepguides/X3%20Mill%20Preparation%20Guide.pdf
A great site with lots of info, this is the schematic for a G540 control box.
http://www.homanndesigns.com/pdfs/EN010_V8.pdf
A guide to pinning a mill table and tooling plate.
https://web.archive.org/web/20130917045958/http://ihcnc.com/pages/mill-tips.php
Upgrading the spindle speed using some pulleys and a belt.
http://donald-neisler.com/?p=6
cnczone.com - check the forums for small mills and benchtop mills, tons of info there.
Info on setting up a VFD (speed control) using the G540 controller.
http://pminmo.com/g540-vfd
Crevice Reamer's site, packed with cnc info and stuff.
Software:
You need 3 software components to do CNC milling:
1. A CAD program (many to choose from).
2. A CAM program (again many to choose from, but most are very expensive).
3. Finally a program to actually communicate with the G540 controller (Mach3 in my case).
I use the following:
Punch! ViaCAD - it has issues and crashes, but it is better than some alternatives, easy to learn and affordable. I use 7, but the current version is 8. I design stuff here, and export the files to DXF - or .STL for "3D" profiles.
CAMBam - CAM processor which takes the DXF or STL files and allows the creation of tool paths, this is a necessary intermediate step which is where the rubber meets the road - the tool sizes, material sizes and cutting methods (profile, pocket, engrave, 3d and drill), roughing allowances, cutting depths, etc all will be set here. CAMBam is not the best or easiest I'm sure, but it is the best for the money and it is actively developed. The output from CAMBam will be a .nc file (GCode).
Mach3 - If you run windows this is what you need to get the .nc file from CAMBam into the pulses on the parallel port (or USB if you use an easystepper). Mach3 imports the .nc file (GCode) and processes it so it will make sense to the hardware controller (the Gecko G540). Mach3 will need to know the physical parameters of the mill such as the table size, stepper info (steps per in/mm) and the pins where the limits, E-stops and steppers are connected. Setting up Mach3 is not simple, but it is necessary to get it right and tuned correctly since it is really the most important part of the puzzle when it comes to actually making stuff. The Mach3 setup will be simpler if you have taken steps to eliminate backlash from the hardware first using things like ball screws, anti-backlash couplings and other methods first. You will never be able to really compensate for a poorly built mill with software.
My Mach3 config has the following for motor tuning (which is just for reference):
Axis Steps per Inch Accel Velocity
X 10160 2.5 60
Y 10160 2.5 60
Z 10160 0.5 30
Backlash comp:
X = 0.0018
Y = 0.00105
Z = 0.0058
Gwizard - this is a handy calculator for getting an idea of speeds and feeds - the hardest part about getting started with CNC milling is getting a grasp on how fast you can push an endmill through a chunk of metal before it breaks. Gwizard I have found is a good starting place, though I usually go much more conservative than the recommended values since breaking end mills is still my other hobby.
Hardware:
There is a ton of stuff you can buy when converting a mill to CNC. Your first step should be to head over to cnczone.com and cruise the forums for small mills and see what other people are doing. Since I converted the X3, several other mills have come on the scene and are better candidates for conversion. I'd also recommend checking on conversion kits for the mill you choose unless you have another mill or plan to do the work yourself (most conversion kits are just plates and simple pieces which can be done on a manual mill). You can also get kits and ballscrews from Ebay if you go the DIY route.
Your choice of controllers and steppers or servos will be dependent on the mill you choose - the bigger the mill the bigger the steppers and the more money for everything - bigger steppers or servos require beefier controllers, and bigger power supplies. You can see where this is going. Sometimes bigger is not better, though bigger does get you one important thing with mills - they are generally better at holding a tolerance since the larger mills usually don't flex as much as the smaller ones.
Some places to look at if you plan to convert a mill are:
geckodrive.com - these guys make the G540 which is an awesome controller for the X3 mill. There are limits on the sizes of steppers in can control though so know what you need for steppers and check the specs on the controller before buying. My mill uses a larger 906 oz-in stepper on the Z-axis which is too big to be fully driven by the G540 but it still works well enough.
cnczone.com - check the forums for small mills and benchtop mills, tons of info there.
cncfusion.com - makes kits for converting mills, check the forums and contact the owner before ordering to check on lead times. If you are looking at an X3 conversion ask about the "CR Option" for the Z-axis (short for Crevice Reamer, and yes that link is safe for work :D)
grizzly.com - they sell most types of mills, most are manual, but they are a good place to compare.
littlemachineshop.com - place for replacement parts, they also sell some small mills and lathes. I would stay away from anything smaller than an X3, but that is just one person's opinion. The X2 size mills are better than no mill at all if space is at a premium.
kbctools.com, enco.com, craigslist, harborfreight.com and of course ebay and amazon are places to get tooling and parts. Electronics components can be found at Mouser.com, Alliedelec.com, and digikey.com to name a few.

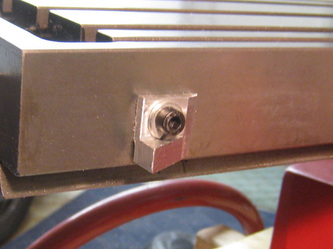
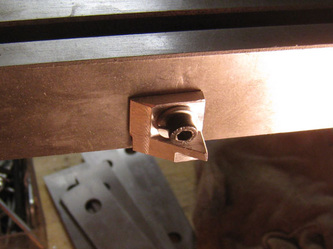
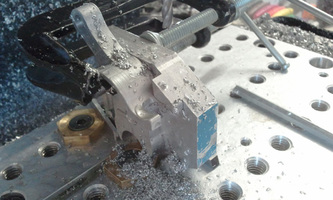
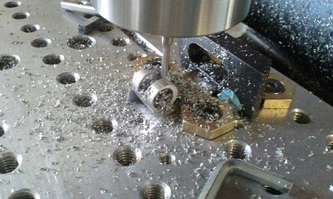
I received a comment a while back asking about the brass nuts used to hold work pieces in some of the pics. Sorry I missed your contact form submission, the email from Weebly never made it to my inbox and I only just found it today (11/17/2015), and I don't have an easy way to reply though Weebly. Those brass nuts are Cam Action Clamps, and are really cool if you have a tooling plate. The hole in the brass nut is centered, but the head of the bolt is ground to act as a cam, which when tightened down, will clamp the work in place. Of course these only work to hold work in the X-Y plane and they are not as good as a fixture that can be bolted to, but they are quick. Ebay has them, and I have seen them online at Grainger and Little Machine Shop, the name brand version is the Mitee bite.
I have added a comments form below, I have been away from the CNC stuff for several months and am a bit rusty, but I plan to get the mill back in operation in the next few weeks (it has been idle over the winter). If I do any projects I will post them up here or in my blog. << wow, I posted that last year and really have not done much with the mill since (now it's 2014). I have a few small projects in mind finally though, just missing the time (pretty much have to babysit the thing in one off projects, in case I made some mistake in the CAM setup or an endmill breaks).
