|
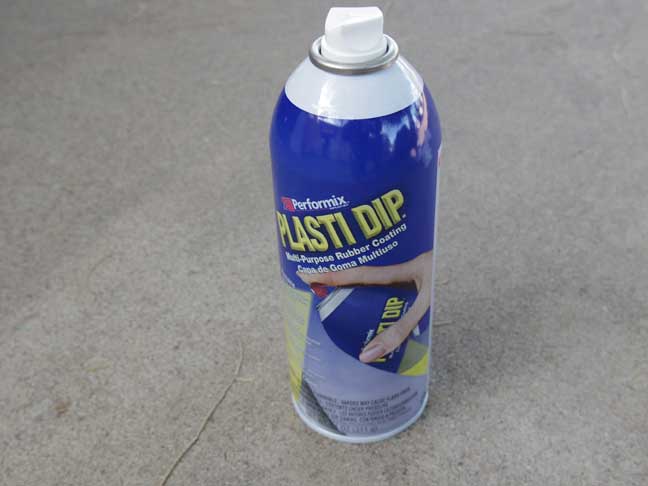
My buddy has a cool Hyundai of some sort, and mentioned he was thinking about power coating his rims black which would look bad-ass. A week ago I happened on some youtube videos showing a cool product called pasti dip and it looked like a cheap way to get the same look - though obviously not as durable as powder coating, it can be un-done pretty easily.
So the first thing to know about plasti dip is that you can find it at some hardware stores or online. We made the mistake of buying online where shipping was $15, but hey whats done is done. The most important thing to know about any type of painting is that prep work will make or break the job. ALL the crap on the wheels should be cleaned off and if there are parts that you cannot clean, get them as clean as you can and then clean them again until they ARE clean. Paint will not stick to grease or oil or any of the other crap that has attached itself to your rims. |
|
Now that is out of the way, we masked the car, which is probably not really necessary since the stuff will come off paint pretty easily, but it was a precaution. We also used the "bag method" as seen on you tube and it worked great - just gotta let the brakes cool down so your bag does not melt to the brakes which would probably suck.
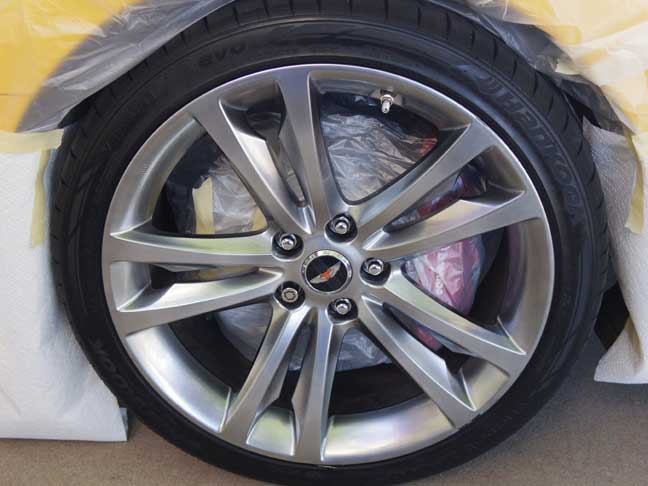
Also don't forget to mask the valve and anything else you don't want painted. We did not mask the center hub insert because I decided it would be simpler to remove that part after the plasti dip dried, and I was mostly right. To the left you see a rim ready to paint, the calipers are masked, the valve is masked and it is as clean as it will get. |
|
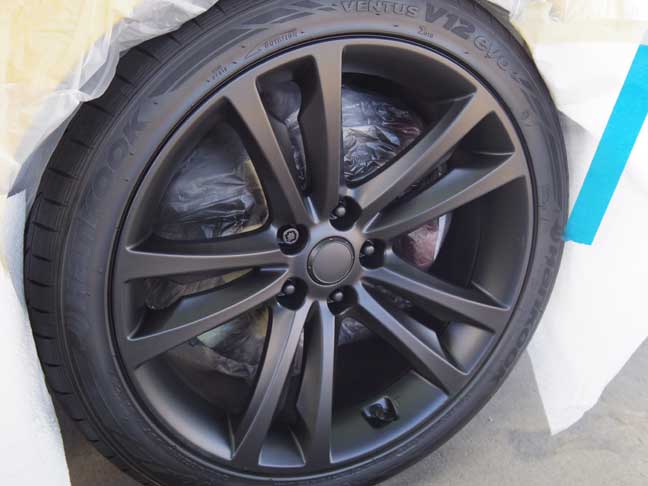
OK, so I skipped a few steps, but they are pretty repetitive - the pic on the right shows the rim after 4 light coats of plasti dip. The main things to know are:
1. Keep the spray 10" or so from the surface being painted. 2. Don't try and cover it all in one coat. It should go on in light coats where the background will show through on the first and possibly the second coats. 3. If you get a run, don't sweat it. You can try and clean it up if you have a brush, but if not you may not see it when you are done. This paint is very forgiving and the few runs which occurred on these rims were not visible after 4 coats. One more thing about runs in the paint - they are a lot easier to hide in earlier coats than in the later ones, so hopefully if you get them, your technique will improve by the later coats. 4. Give at least 10-15 minutes between coats - if anything is shiny, take a few more minutes and check it again - don't put another coat on if the prior one is still wet. 5. Roll the car back a foot or so before the last (4th) coat to hit the areas you may have missed on the first coats. |
|
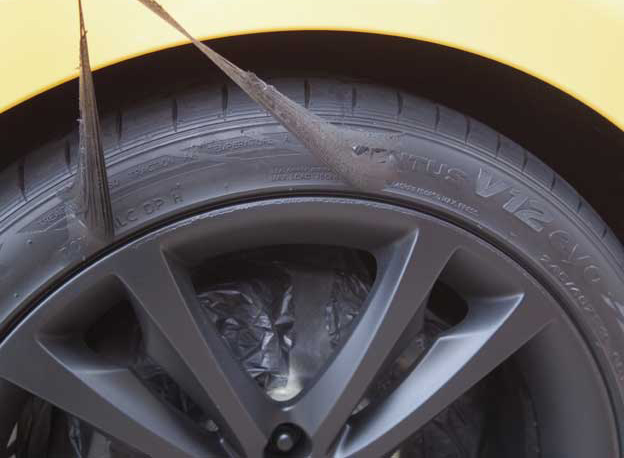
One other cool thing about plasti dip which you may have noticed is that it will come off the tire with no problem - which is why I did not mask the rubber.
Also if you need to mask something like the center hub cover, it may be simpler to just spray over it and remove it after it has dried. I did that on these rims, just (lightly) went around the edge of the center hub cover with a razor to score the plasti dip and them picked it off, much easier and better looking than masking. I've seen many videos where people mask the tires, but it seems like that is a waste of time considering that it takes about 10 seconds to get the overspray off when you're done. The plasti dip does not adhere well to rubber so it just peels off really easy. |
|
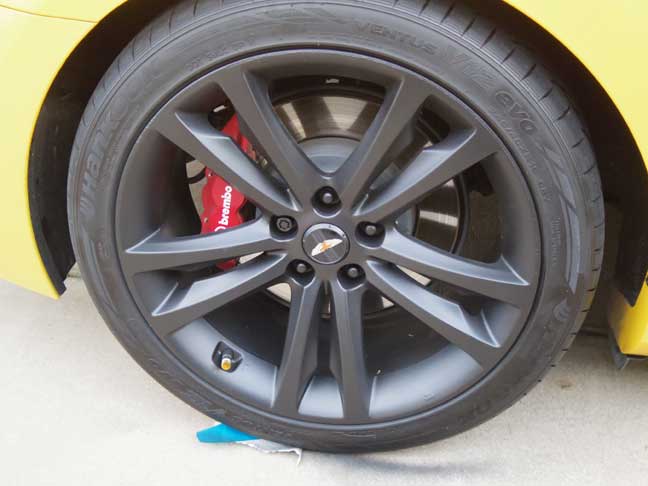
And this is how it turned out, they will need to cure 24 hours and then hopefully all the prep work will have paid off. My niece said it looks sick now so I think we did a good job.
Below is a list of what we used to do "dip" the rims:
In addition to rims, the emblems can be "dipped' too. We stopped short of doing that since I wanted my friend to see the videos showing how it is done before I put plasti dip on his paint. |
