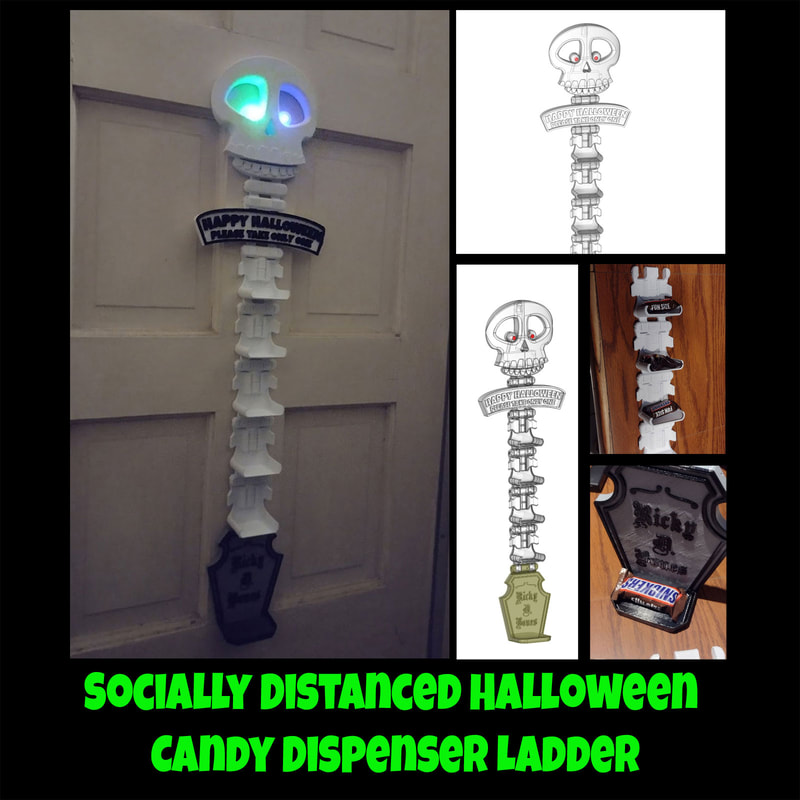
Socially Distanced Halloween Candy Dispenser Ladder Build Log and BOM
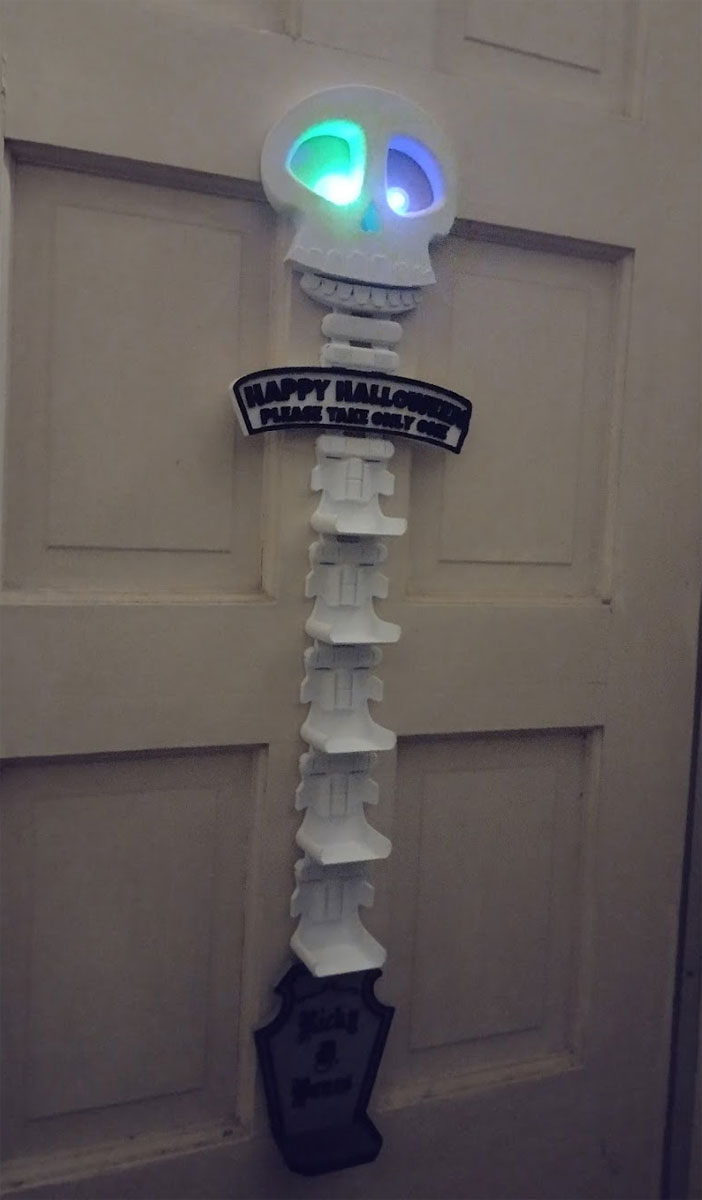
This is still a work in progress so stuff may change, but I have the design finalized and that should stay the same unless I run into a problem. Pardon the quality of the prints, I was pushing the speeds due to the time crunch and having to prototype this quick, and also using old PLA. But I kind'a like the poor quality surface since it looks more like bones than if it were perfect.
This is a pretty easy build, but I wanted to post some info regarding the wiring diagram and the BOM, as well as some tips on assembly, so here goes.
Bill Of Materials (BOM)
Bill Of Materials (BOM)
This is a pretty easy build, but I wanted to post some info regarding the wiring diagram and the BOM, as well as some tips on assembly, so here goes.
Bill Of Materials (BOM)
- 1x AAA battery holder
- 2x (2 pin) 5mm RGB LED's
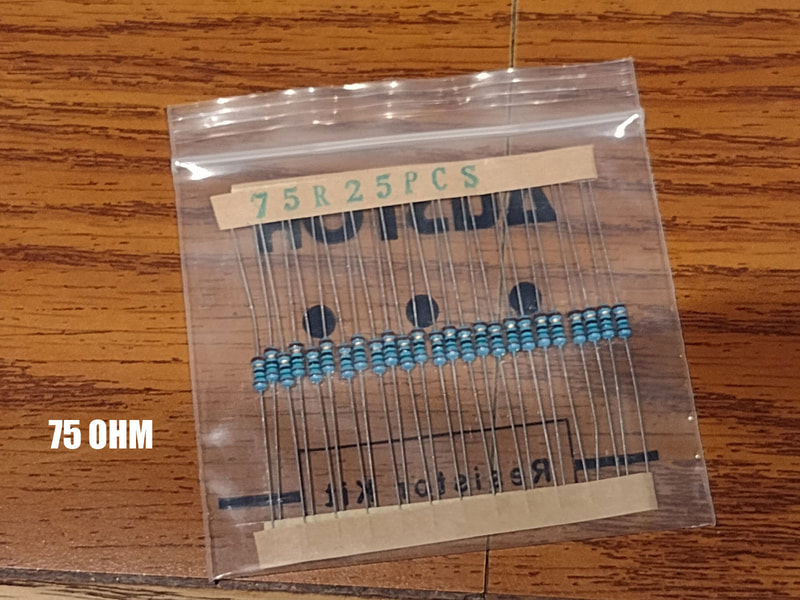
- 1x 75 Ohm resistor (a 100 Ohm will also work)
- Clear Filament (for the eyes)
- I also used White PLA, Gray PLA, and Black PLA
- small #1 paperclips
- soldering supplies and heat shrink tubing
- 3M Large Command Strips (outdoor or indoor) or a nail or strong double sided tape to hang it from.
Bill Of Materials (BOM)
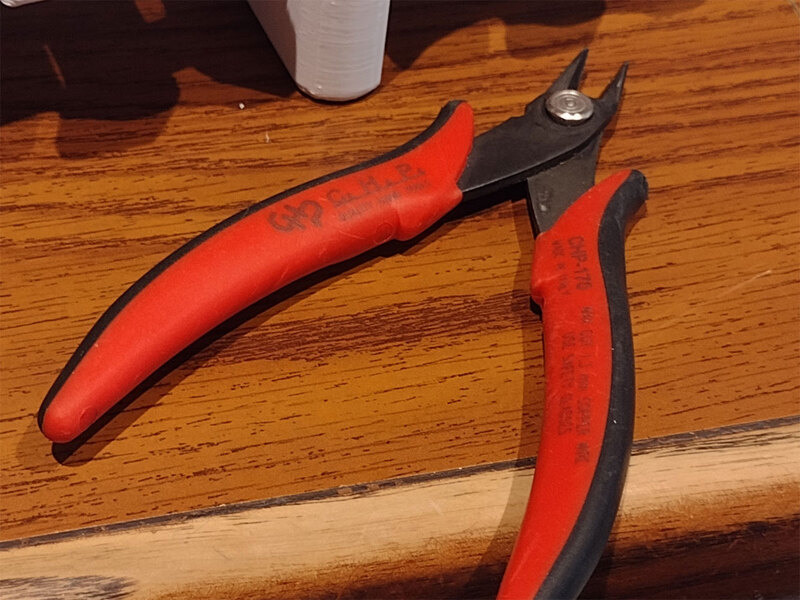
- Wire cutters
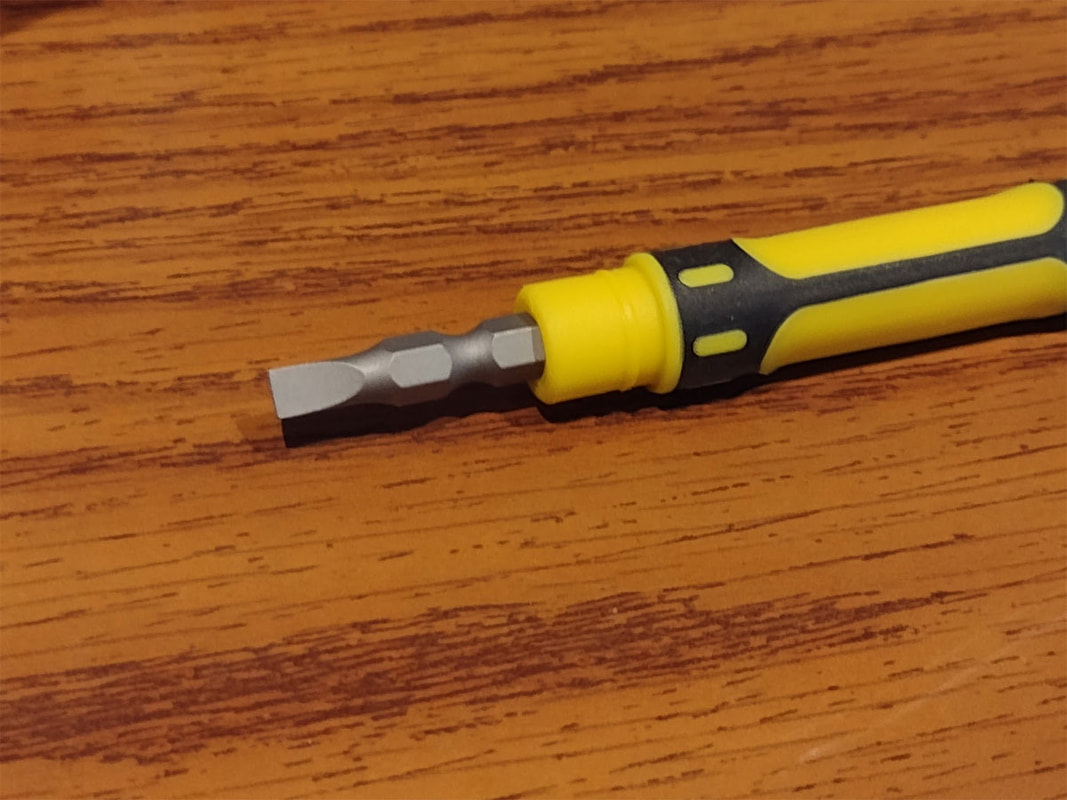
- Small Flat Head Screwdriver
- Soldering Iron and supplies
Connecting the Parts
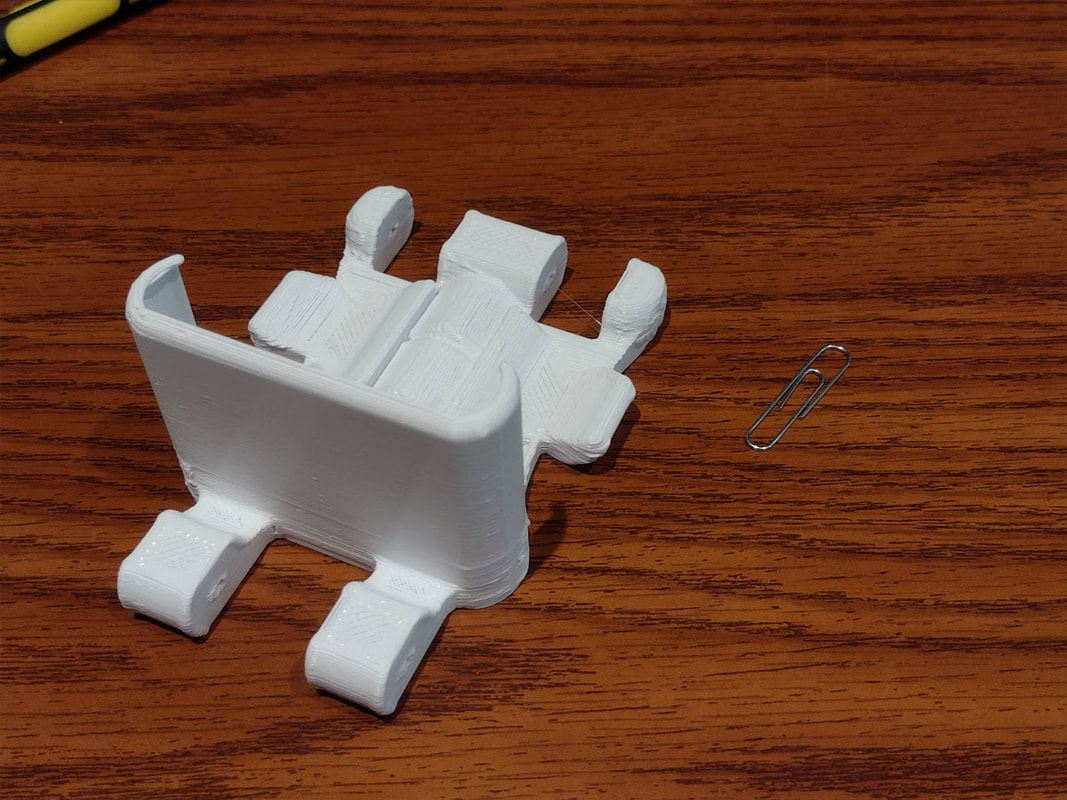
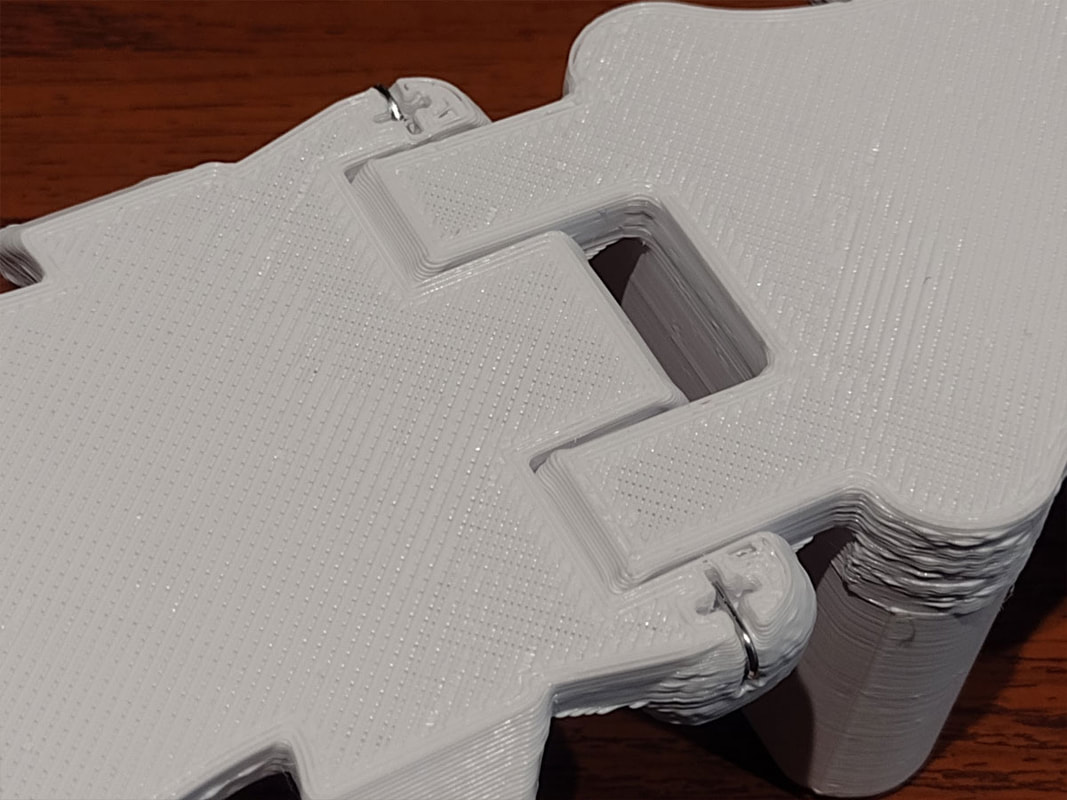
All the parts connect the same way, using a simple hinge where the pin is just a straightened out paperclip. I used smaller paperclips, but I think the larger ones may work in a pinch (but I recommend the small paper clips).
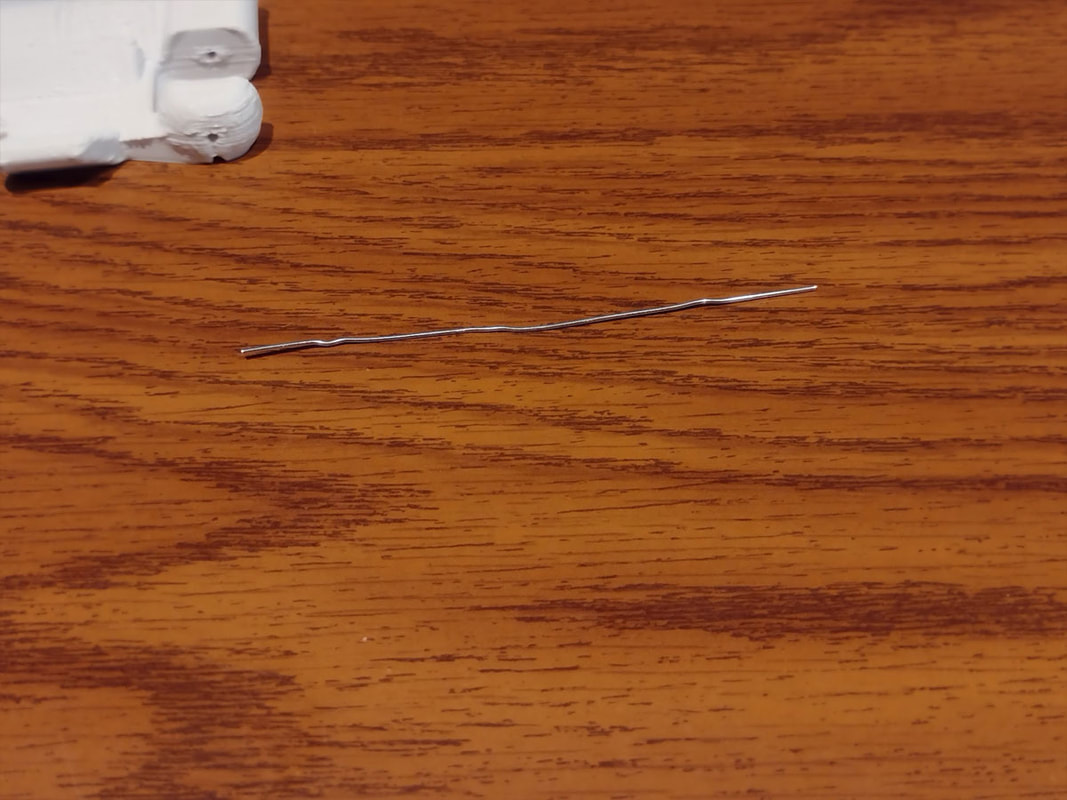
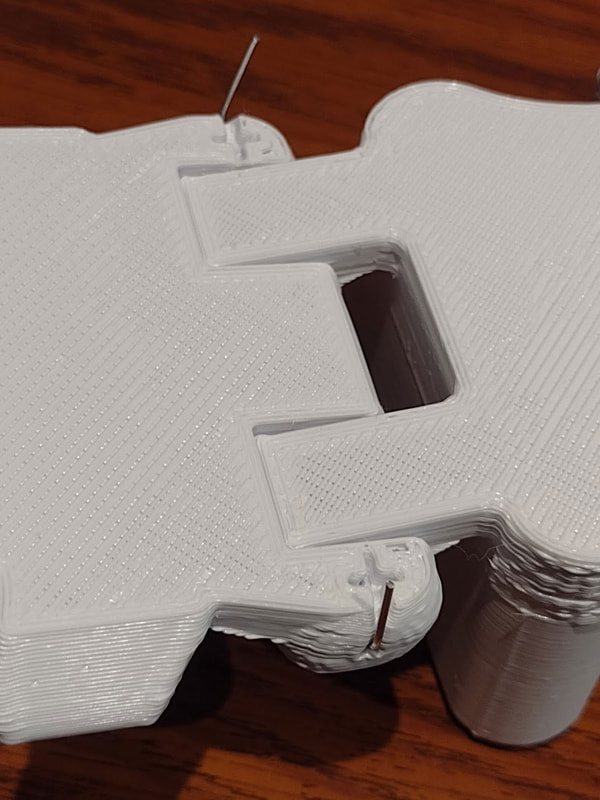
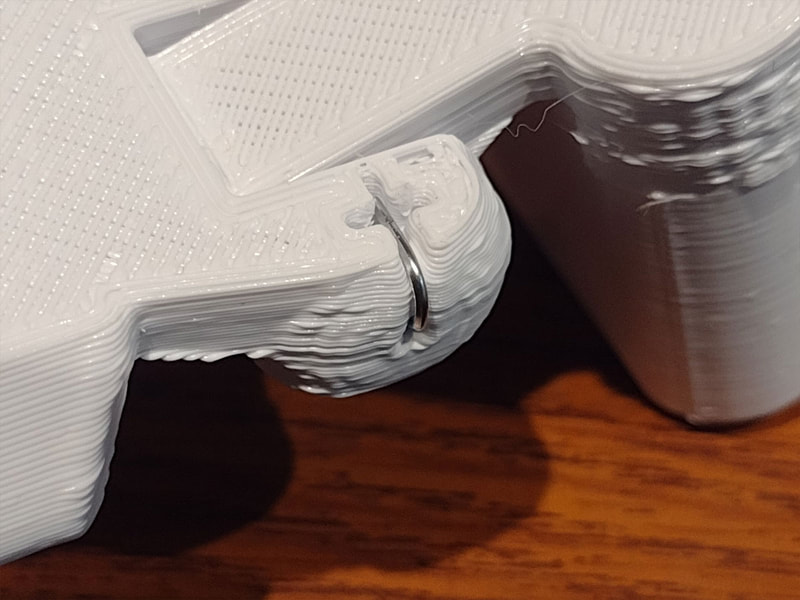
To connect the parts just put the straightened #1 paperclip through the hinge and then trim a few mm off each side so it will not be too long. Then bend both ends towards the back.
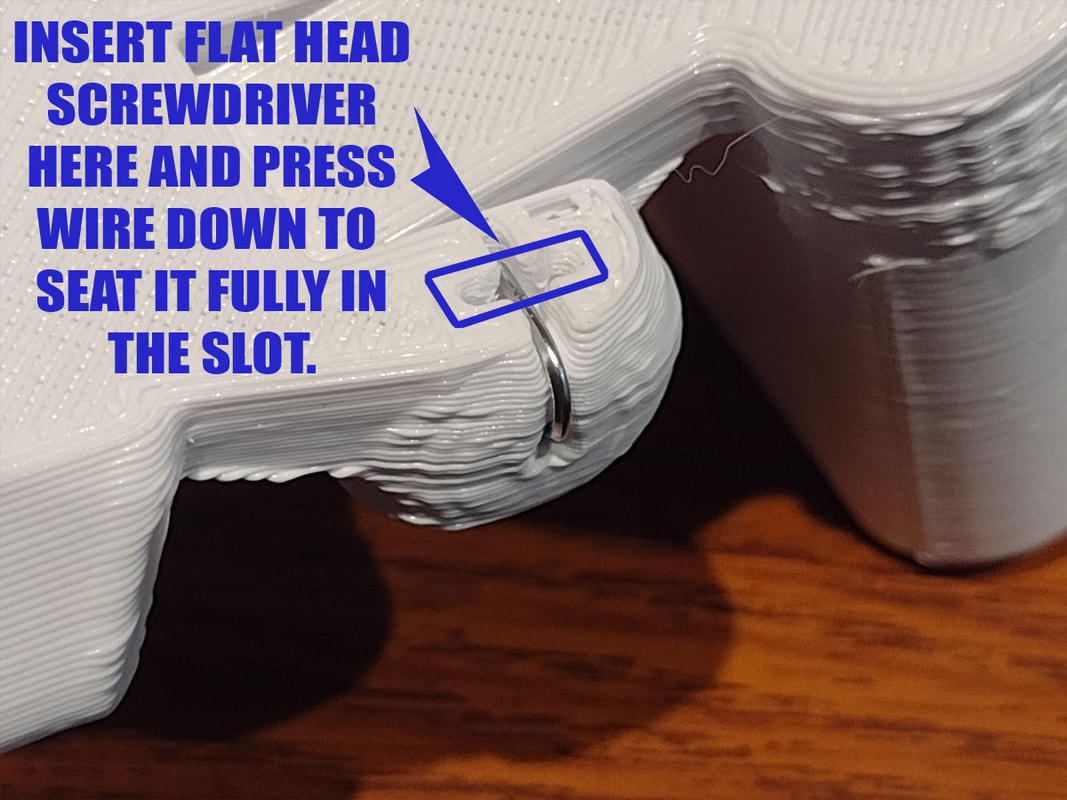
Then, to avoid scratches, tuck in the ends of the paperclips so they don't stick out. Use the flat head screw driver to press the ends of the paperclip wire into the groove.
Setting Up the LED Eyes
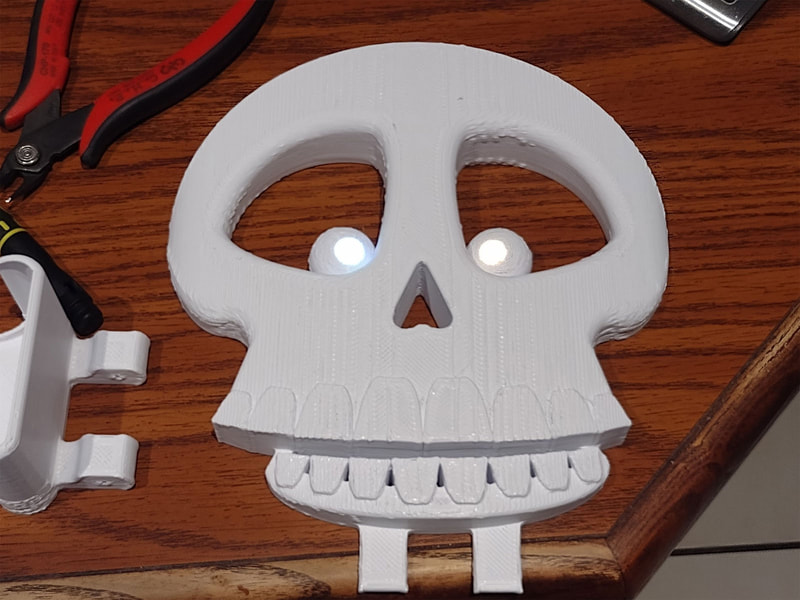
The LED Eyes are optional but I think they are pretty cool and not too hard to make. I soldered them but it may be possible to connect the wires using other methods as well but IMHO, soldering is the best.
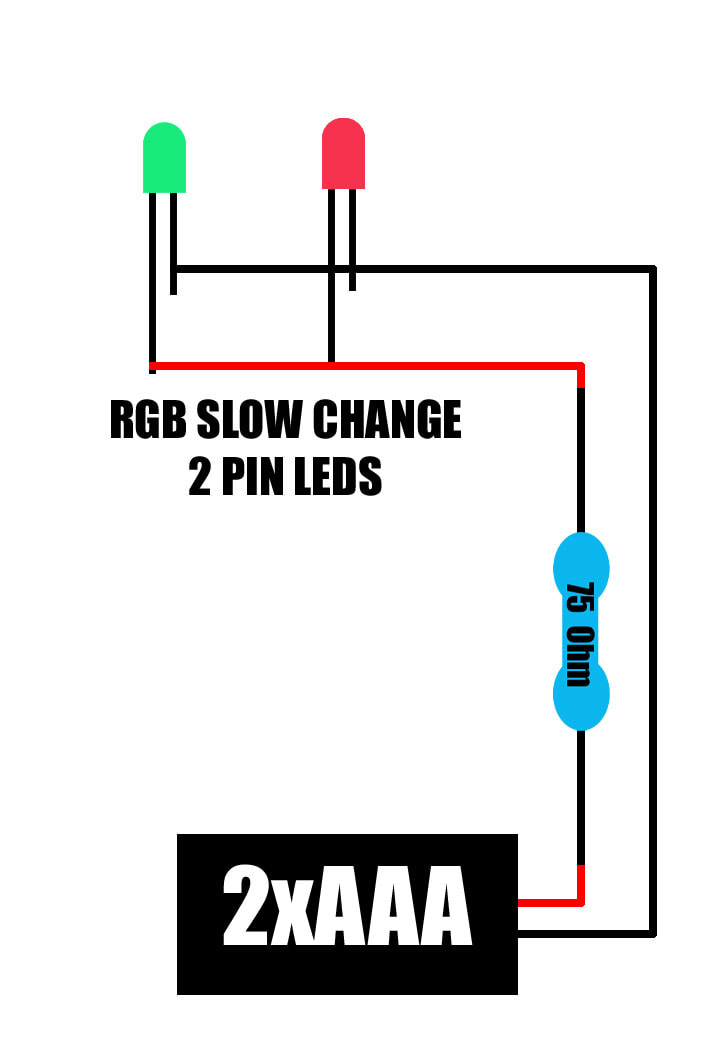
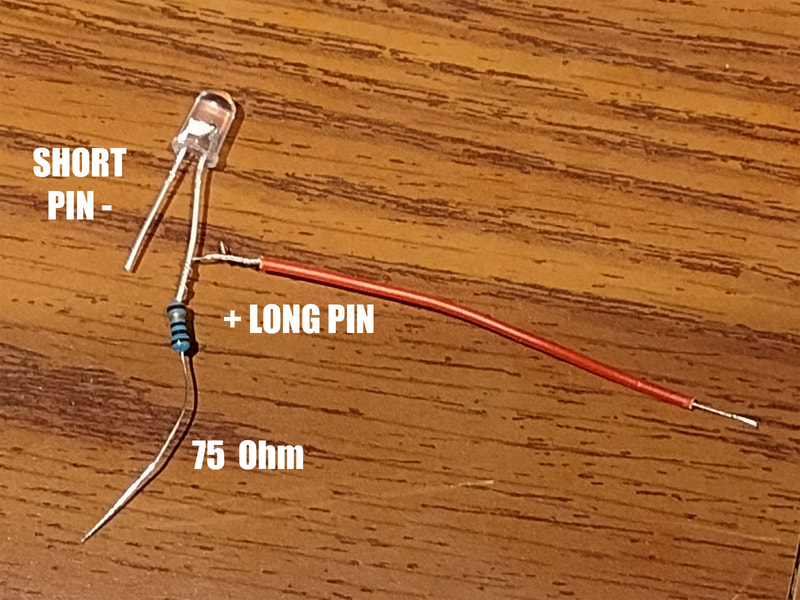
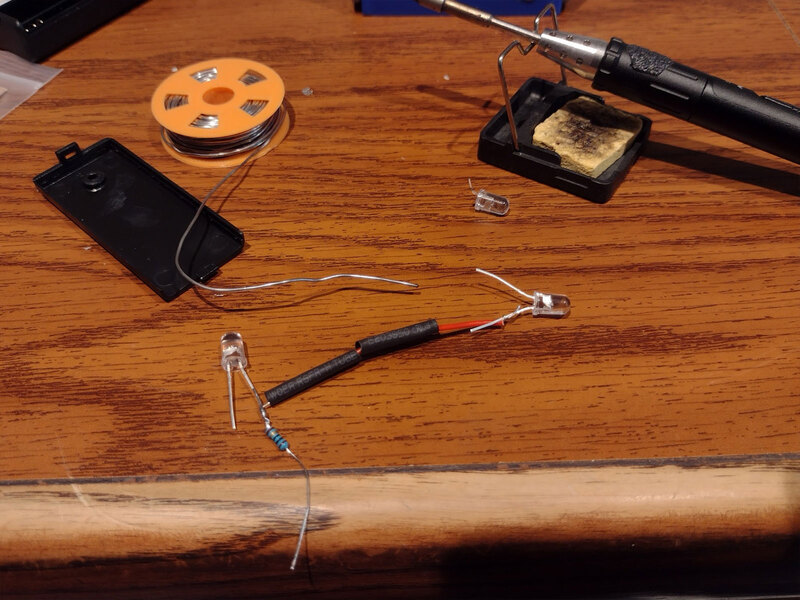
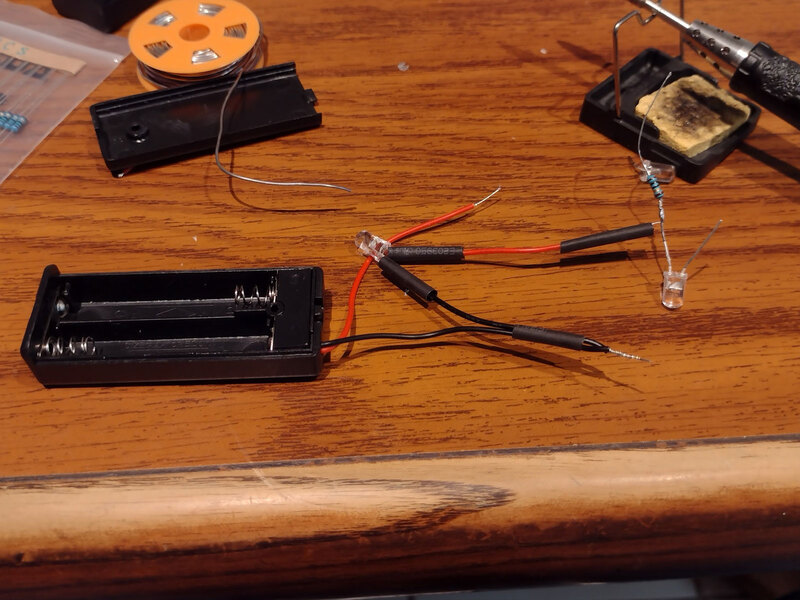
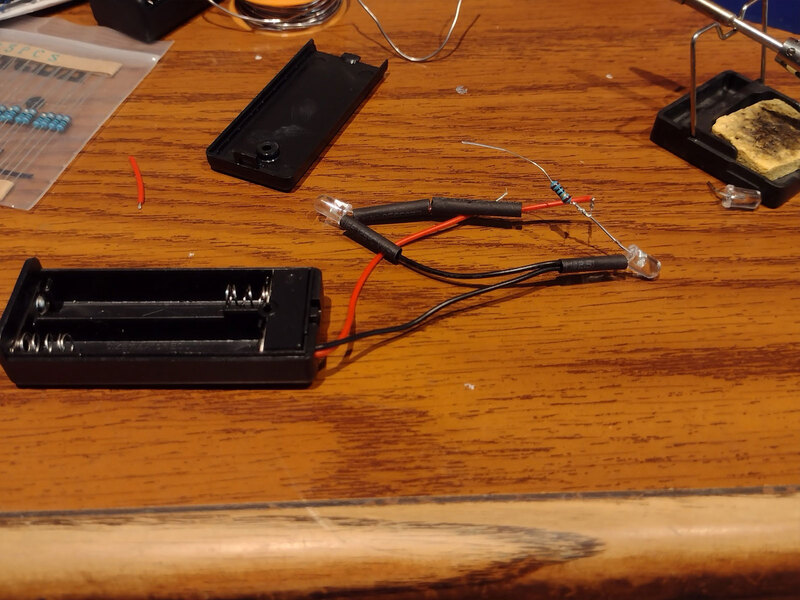
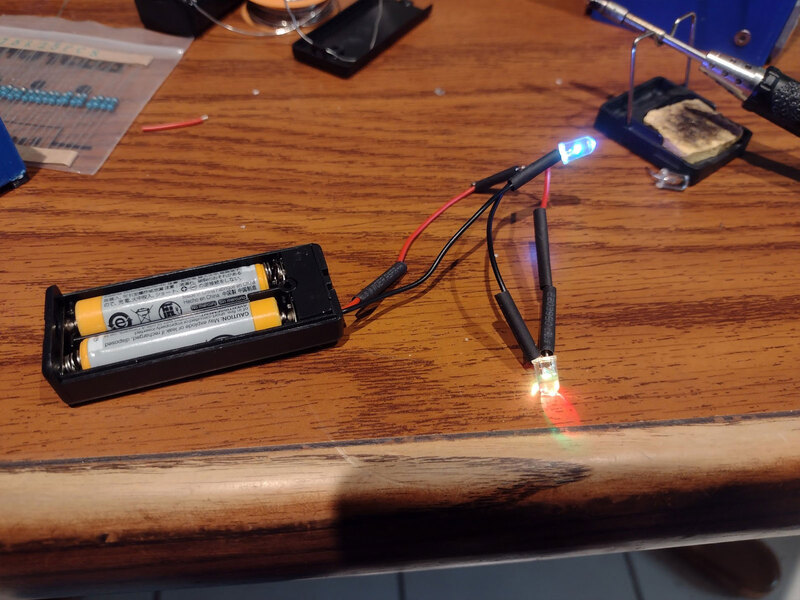
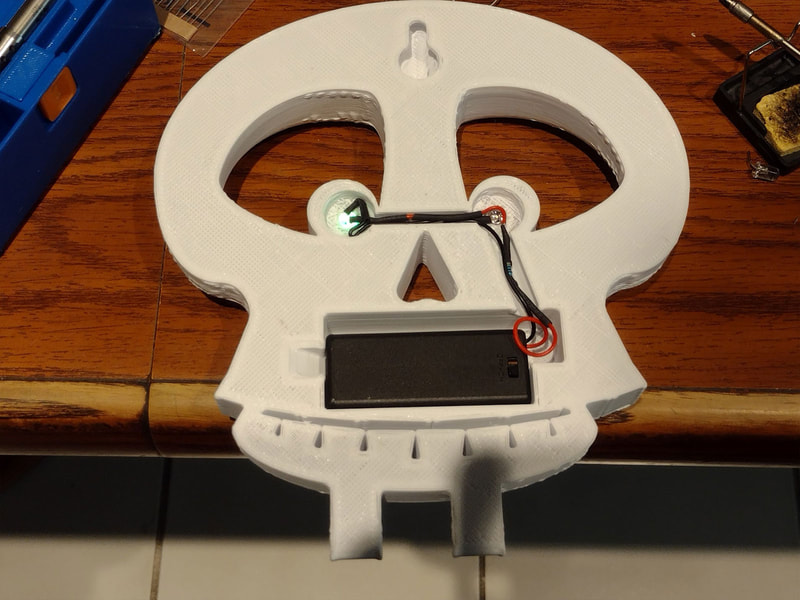
The LED's are connected to the 2xAAA battery holder in parallel, with a 75 Ohm resistor in Series with both the LEDs.
The LED's are connected to the 2xAAA battery holder in parallel, with a 75 Ohm resistor in Series with both the LEDs.
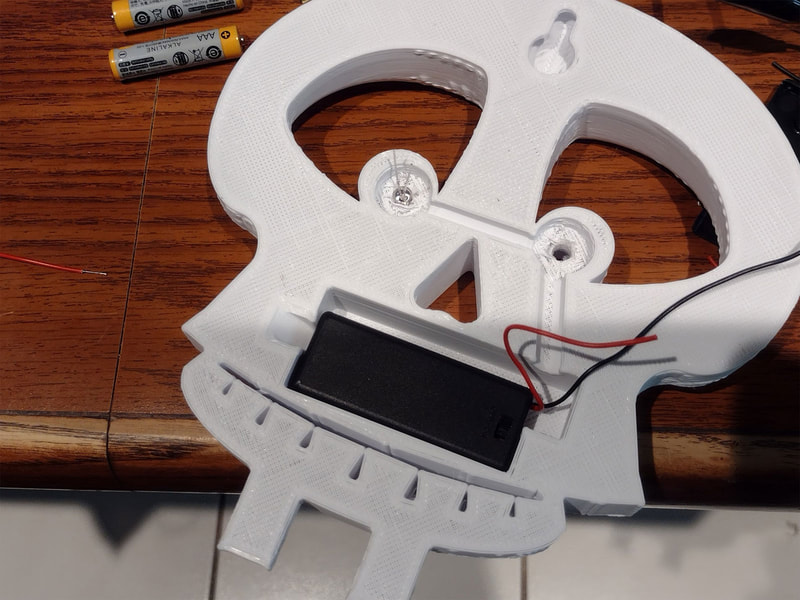
I used heat shrink over the connections and tried to tidy them up since there is not actually a lot of room to stuff them in there. Below are pics of how I assembled the LED circuit (they should be in order).
Please take care with the clear eyes and glue them in or maybe omit them if you cannot, since they are small and could be a hazard if they got loose and a kid thought they were candy. In any case, please make sure they won't come out of the finished model.
Printing Tips
Based on the way my prints turned out for this, nobody should listen to what I say about printing tips lol, but this is my Stoopid Stuff, so it won't stop me from trying.
The models were designed with some internal features which I hope will strengthen the hinges, but if slicing with a large nozzle (over 0.6mm) they may not work. I sliced most of the prints with a 0.6mm nozzle and it worked fine. I still used 15-20% gyroid infill on most parts to help with the overall strength. On some of the larger parts I used a stepped gyroid infill of 24% with 3 steps to speed things up. I also cut down the bottom layers by one on the larger parts to shave off some time.
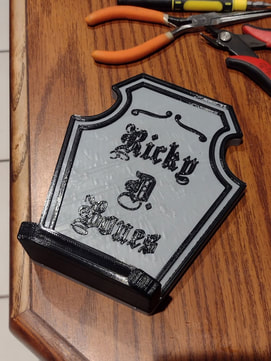
There are a couple parts which were designed to be printed with a filament change (those would be the sign and the tombstone).
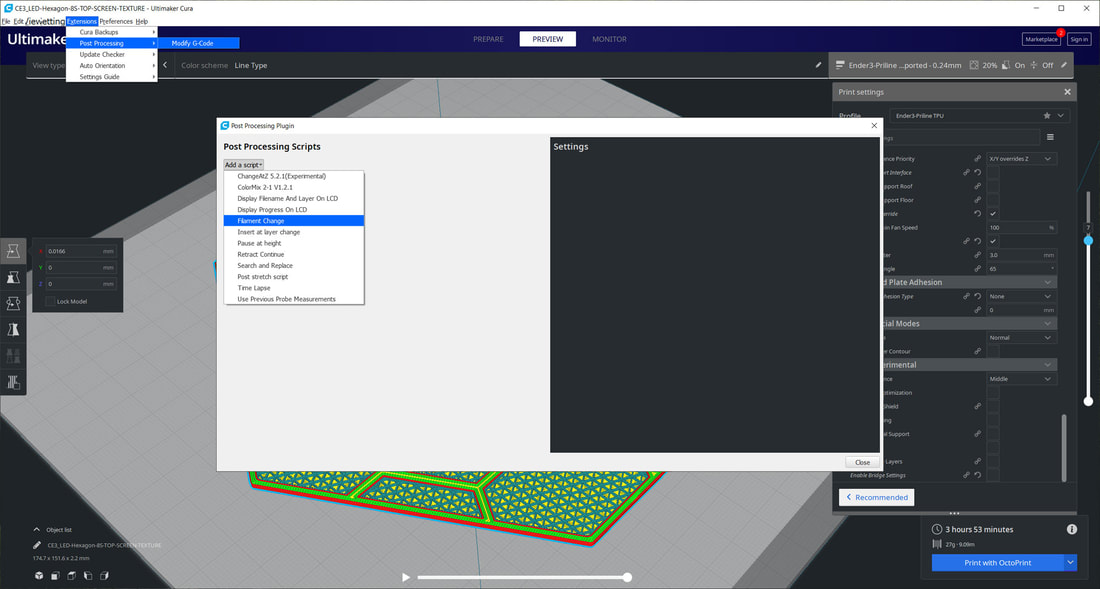
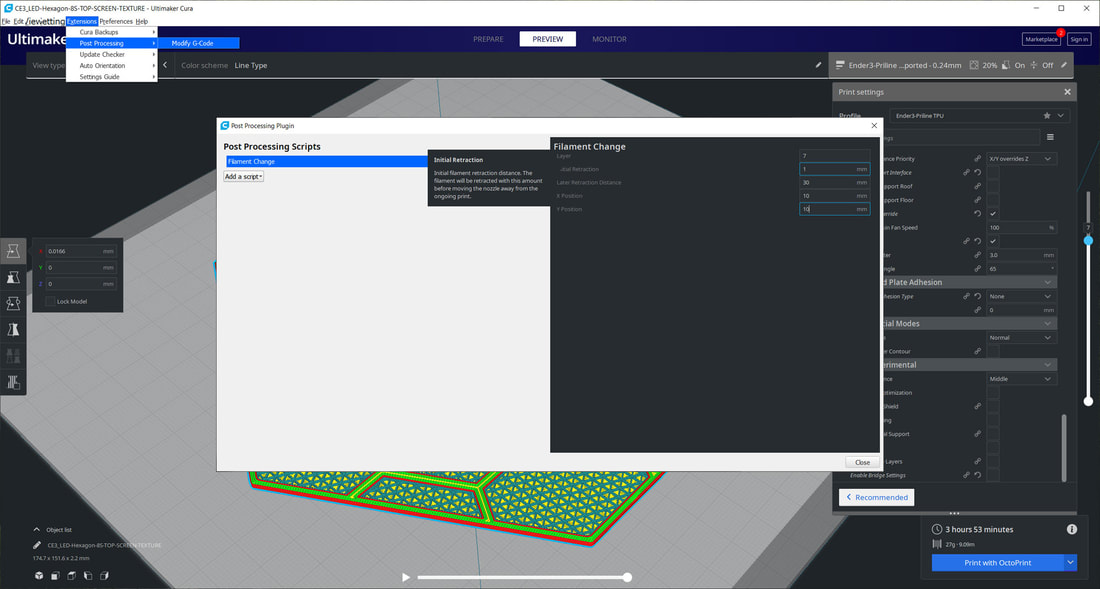
To do a filament change you can use the "Post Processing" extension in Cura. From the top bar menus select Extensions > Post Processing > Modify G-Code. That will bring up a menu called "Post Processing Scripts". From here, select "Add a Script" and then select "Filament Change".
In the "Filament Change" script, I used the following settings (you may need to adjust for your printer since things like Initial retraction and Later Retraction will be depending on if you use a direct drive or Bowden setup). I use a Titan Aero direct drive so my setting for retractions will be much less than on a Bowden setup. You may want to test a filament change with a simple part before diving into a longer print, since getting the retraction wrong can result in blobs on the print. I had the X and Y positions set as 10mm simply to avoid a hard stop when the printer moves the nozzle to the park position. To figure out what layer to make the change, slice the model normally and then use the slider on the far right side to view the layers and note where the change should occur. The pics below are from another project, but the basics are the same.
Layer (some number of the layer where you want the new color to start)
Initial Retraction (1mm)
Later Retraction Distance (30mm)
X Position (10mm)
Y Position (10mm)
Layer (some number of the layer where you want the new color to start)
Initial Retraction (1mm)
Later Retraction Distance (30mm)
X Position (10mm)
Y Position (10mm)
Once everything is good, select close and then slice and preview again. If all looks good then it is ready to print. When you do the filament change, be careful not to bump the printer while swapping the filaments, which can cause a layer shift.
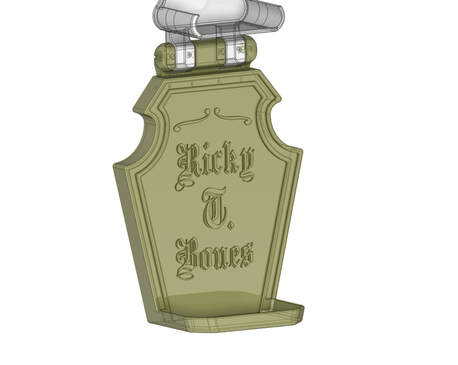
Update 10/26/2022: - I should have put "Ricky T. Bones" on the tombstone, so that is now updated on the models posted to Thingiverse and Printables.
Update 10/26/2022: - I should have put "Ricky T. Bones" on the tombstone, so that is now updated on the models posted to Thingiverse and Printables.
Hanging it Up
I have not completed this yet, but I would use a nail, and secure it very well (in addition, I may use some command strips along the "spine"). I don't want it getting pulled down so the more the better. Alternatives would be double sided foam tape but that can be hard to remove. I will post some pics when I get to the point of hanging it up.
Finally, I was initially planning to have this hold about a dozen treats, but after printing it, I have decided to split it into two (will print another skull and sign), so that it will be lighter and I can mount one lower and one higher. I don't think it would be a good idea to have too many parts since that will increase the weight, I'm thinking now 6 treats may be a good limit for this design.
Finally, I was initially planning to have this hold about a dozen treats, but after printing it, I have decided to split it into two (will print another skull and sign), so that it will be lighter and I can mount one lower and one higher. I don't think it would be a good idea to have too many parts since that will increase the weight, I'm thinking now 6 treats may be a good limit for this design.
