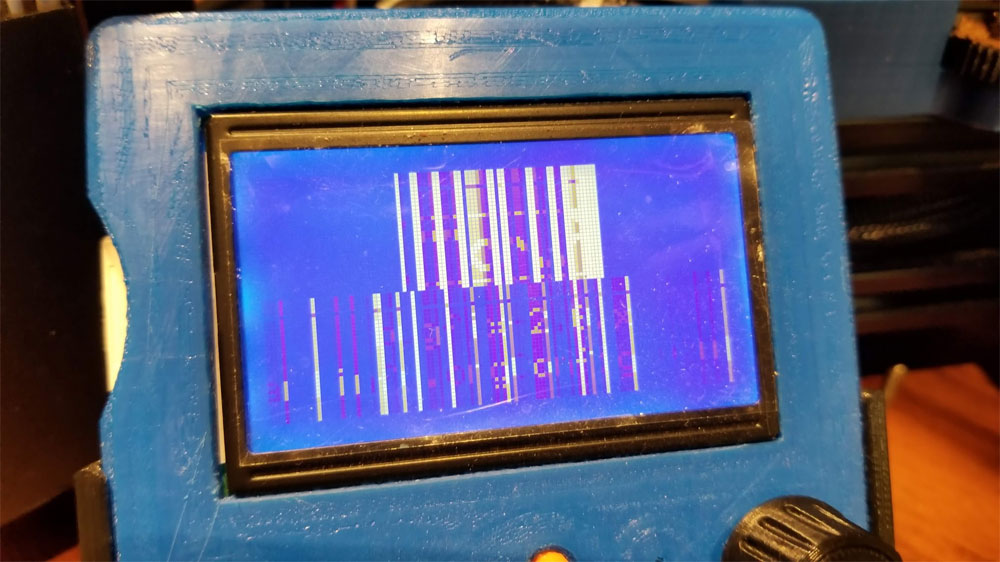
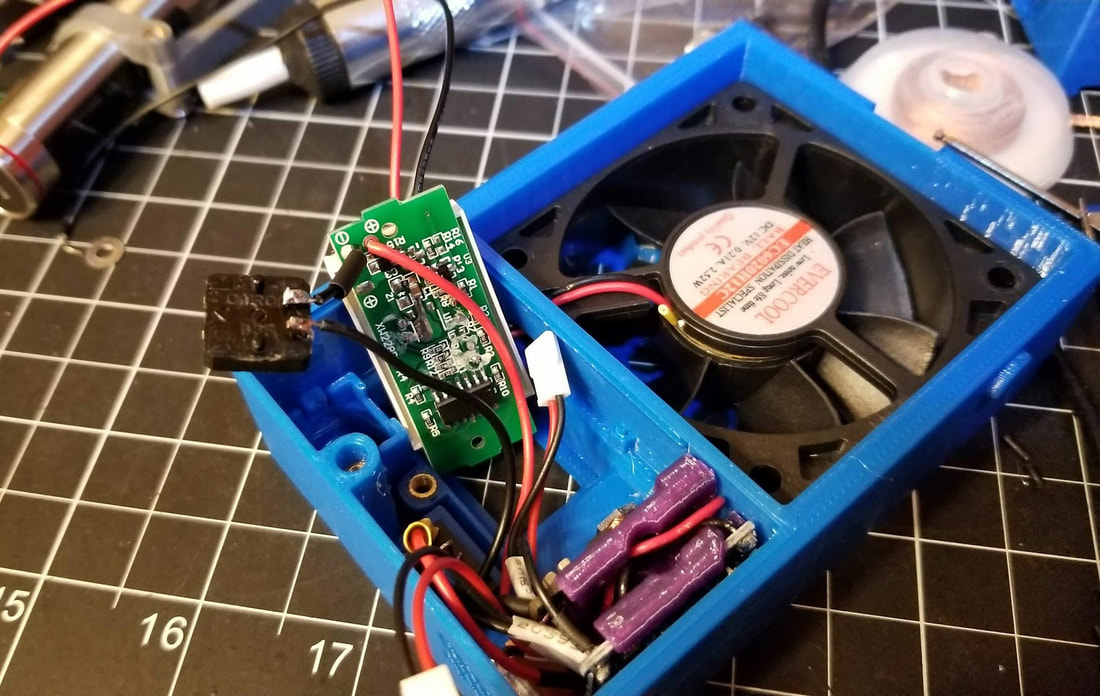
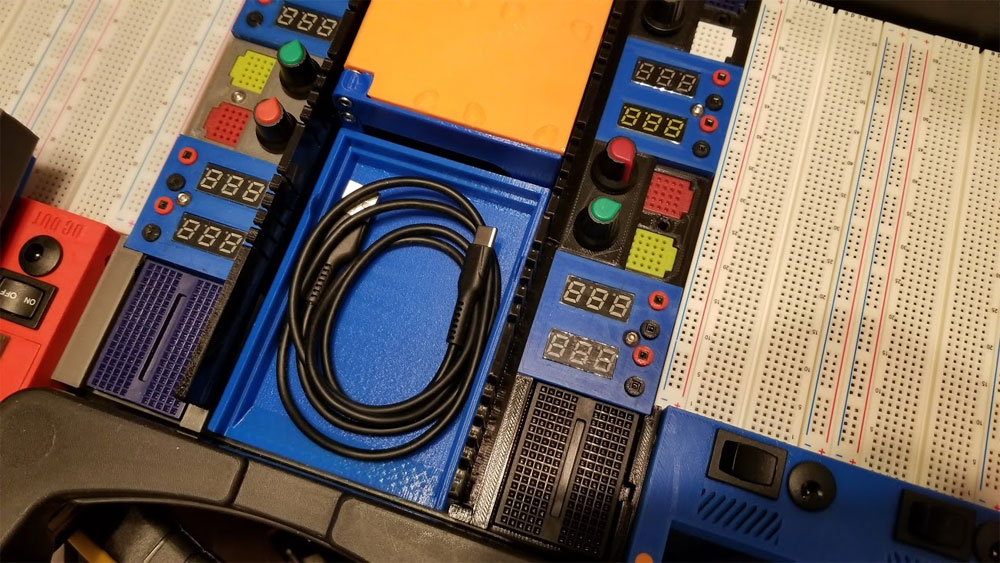
.I was working on installing a new effector on my Anycubic Kossel today when this happened... Static discharge killed my display and possibly my RE-Arm is also now toast, though it does seem to work - it (can auto-level). I have ordered a new display and will see if that is all that I borked up, but I don't have a good feeling about it. When I get it working again, I will also be making a new display enclosure to cover the ground terminal..err bezel which is what took the zap.
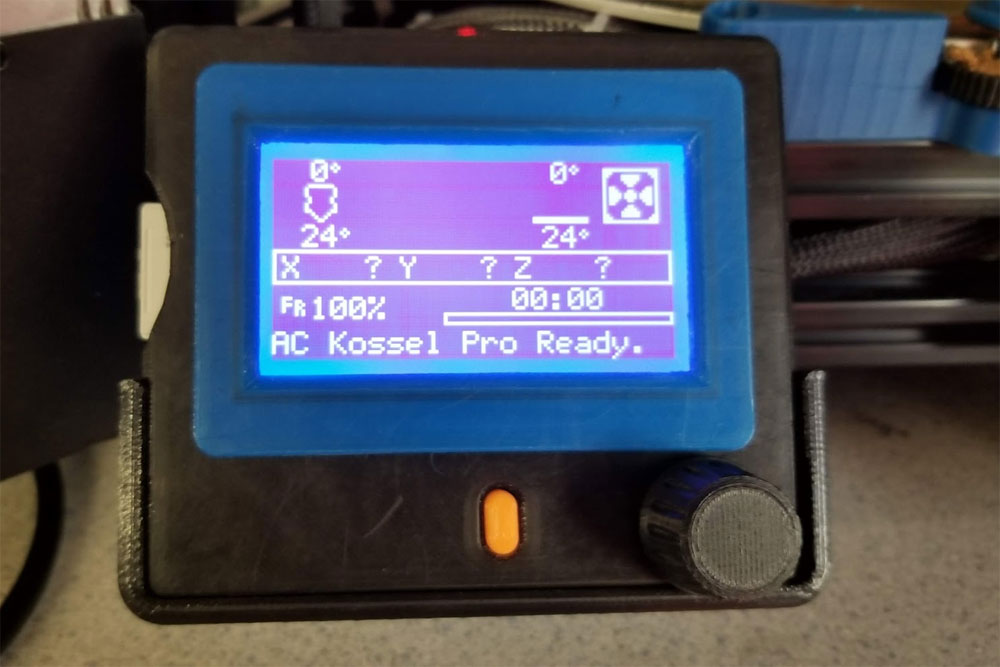
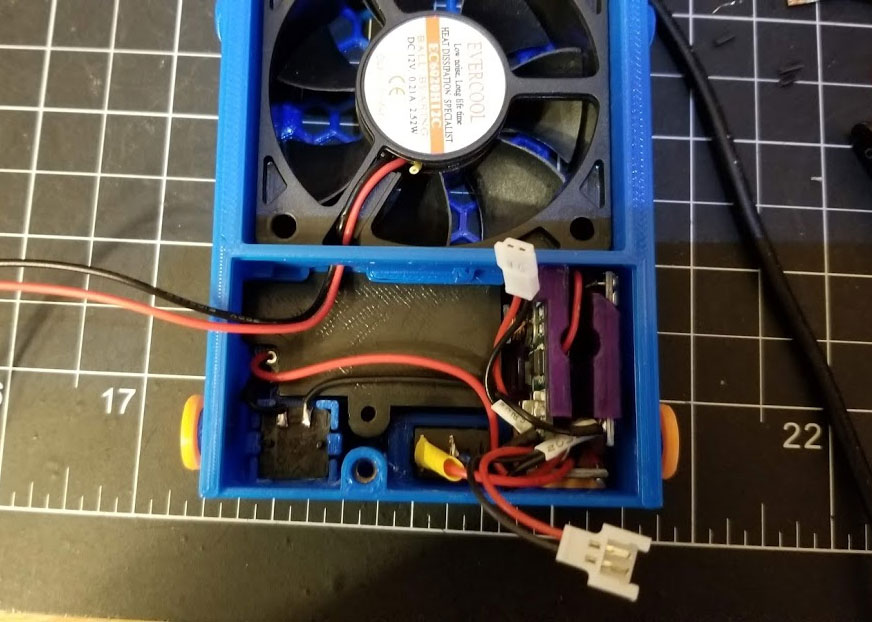
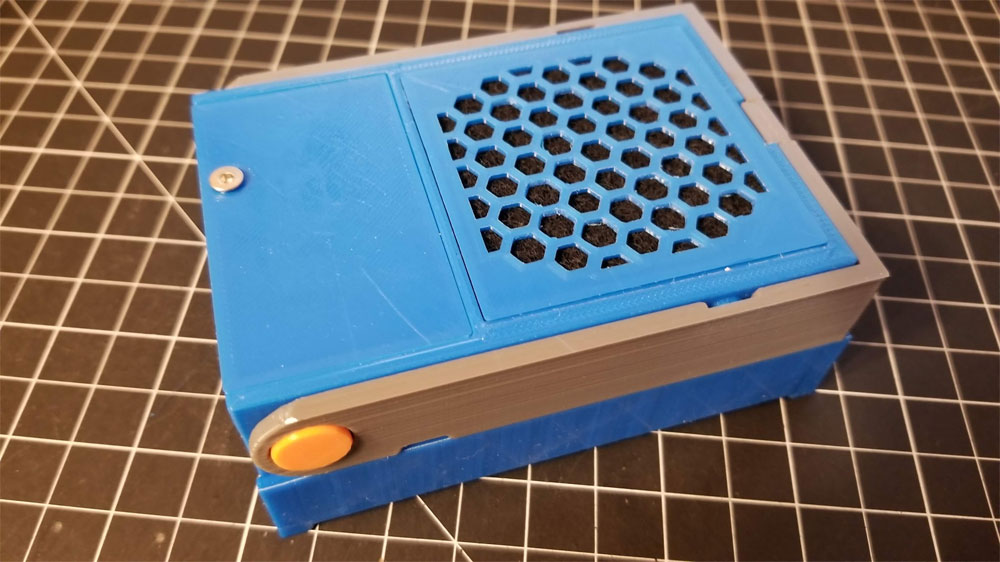
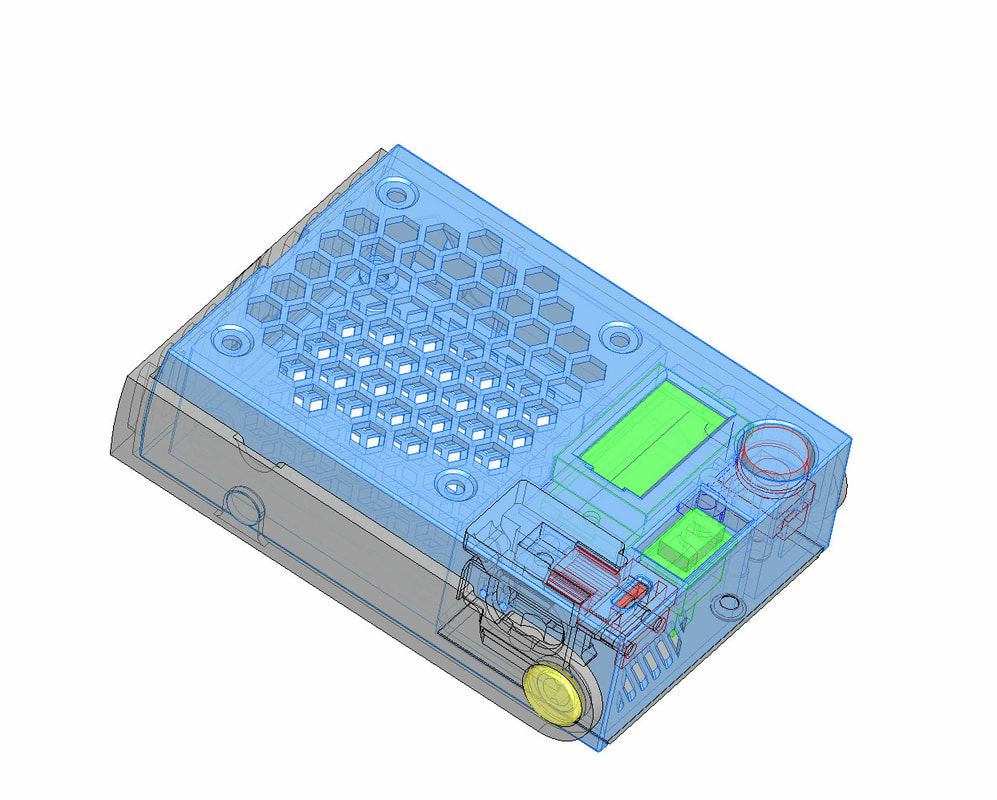
Update - the Re-ARM was spared :-D To avoid this happening again I remixed a new case with a bezel to protect the exposed metal on the LCD. Now to get the touch probe working.
Update - the Re-ARM was spared :-D To avoid this happening again I remixed a new case with a bezel to protect the exposed metal on the LCD. Now to get the touch probe working.
 |  |


 RSS Feed
