My Stoopid Stuff
  • Home
  • Projects
  • Blog
  • Lec'tronics
  • Links
  • CNC
  • Quick Recipes
  • 3D Printer Tips
  • Voron 2.4

DKRiser Remix (Top Glass Riser for the Bambu Labs X1C)

10/27/2023

4 Comments

 
Picture
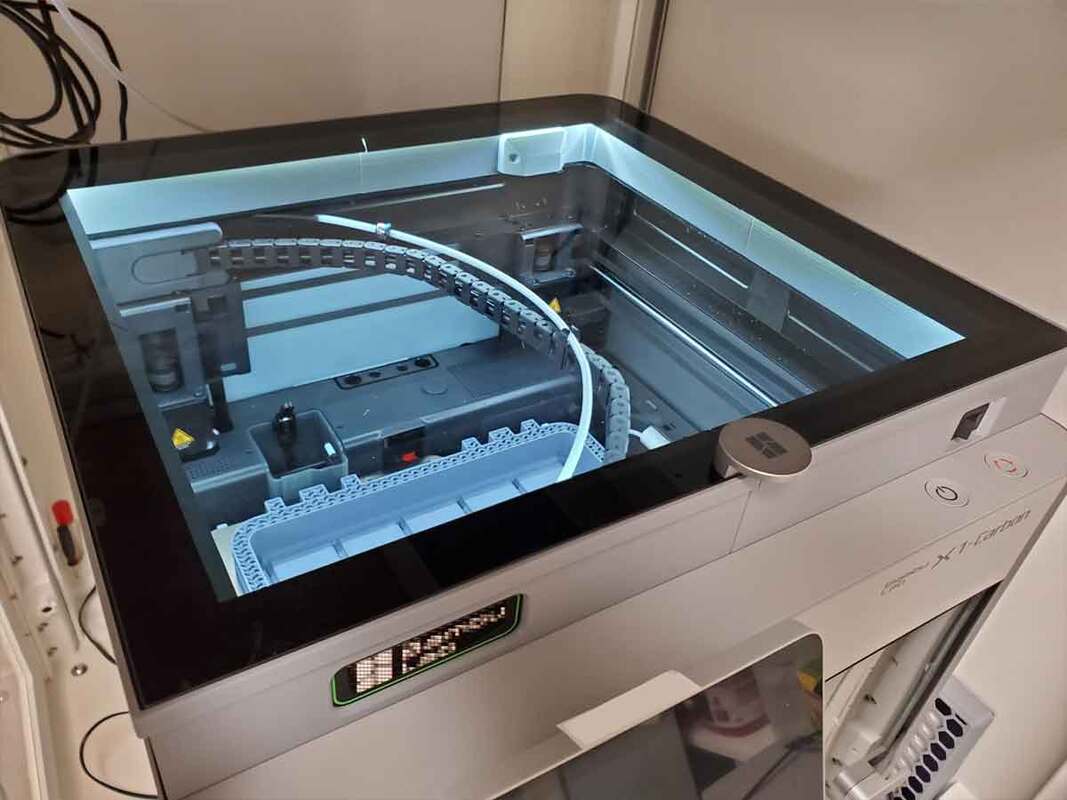
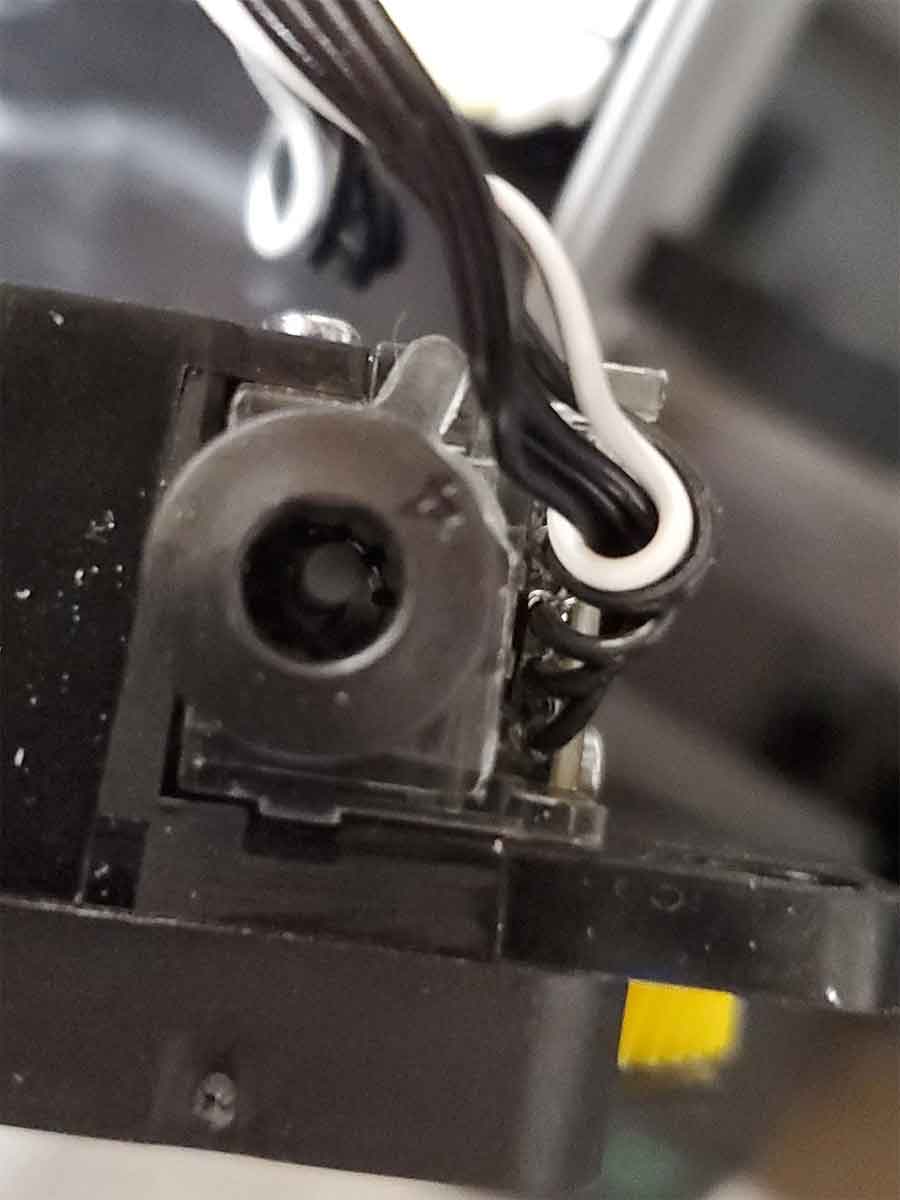
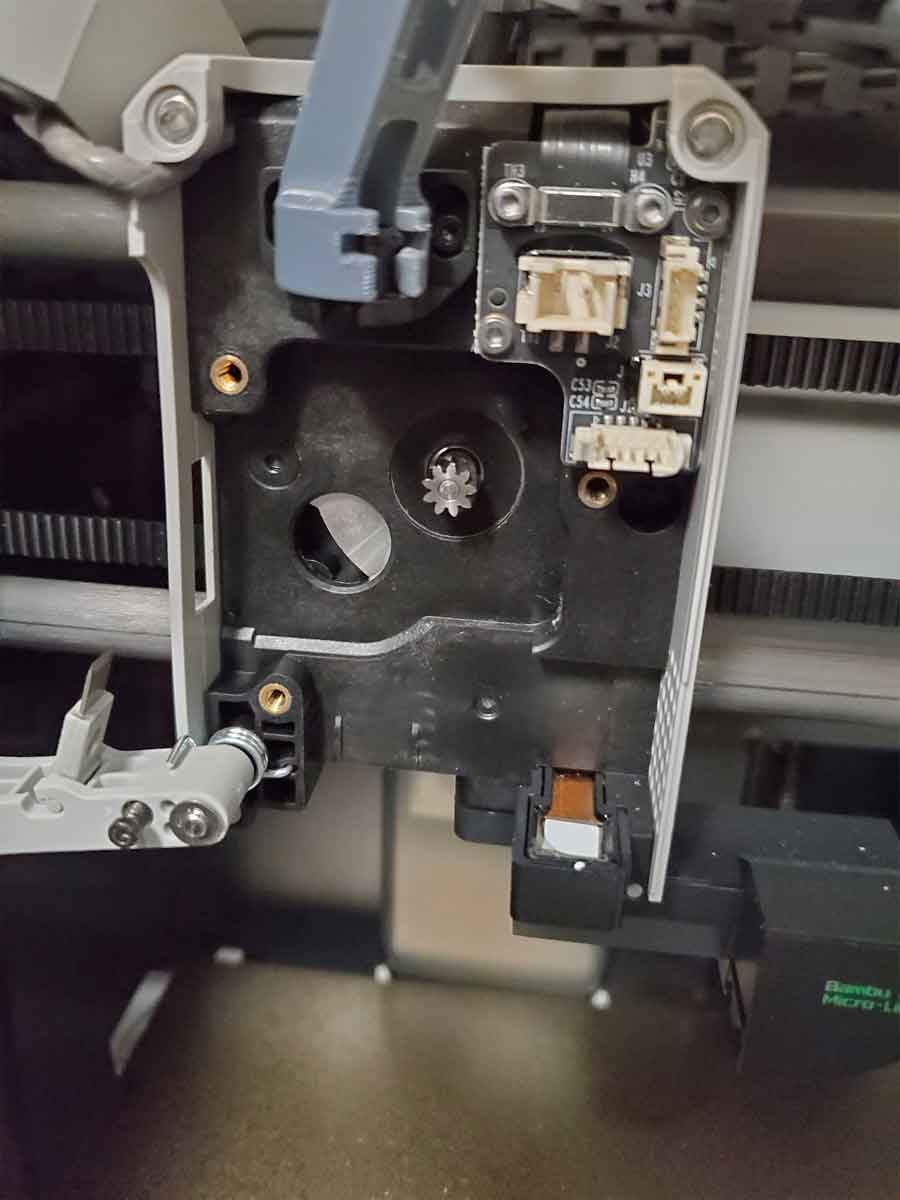
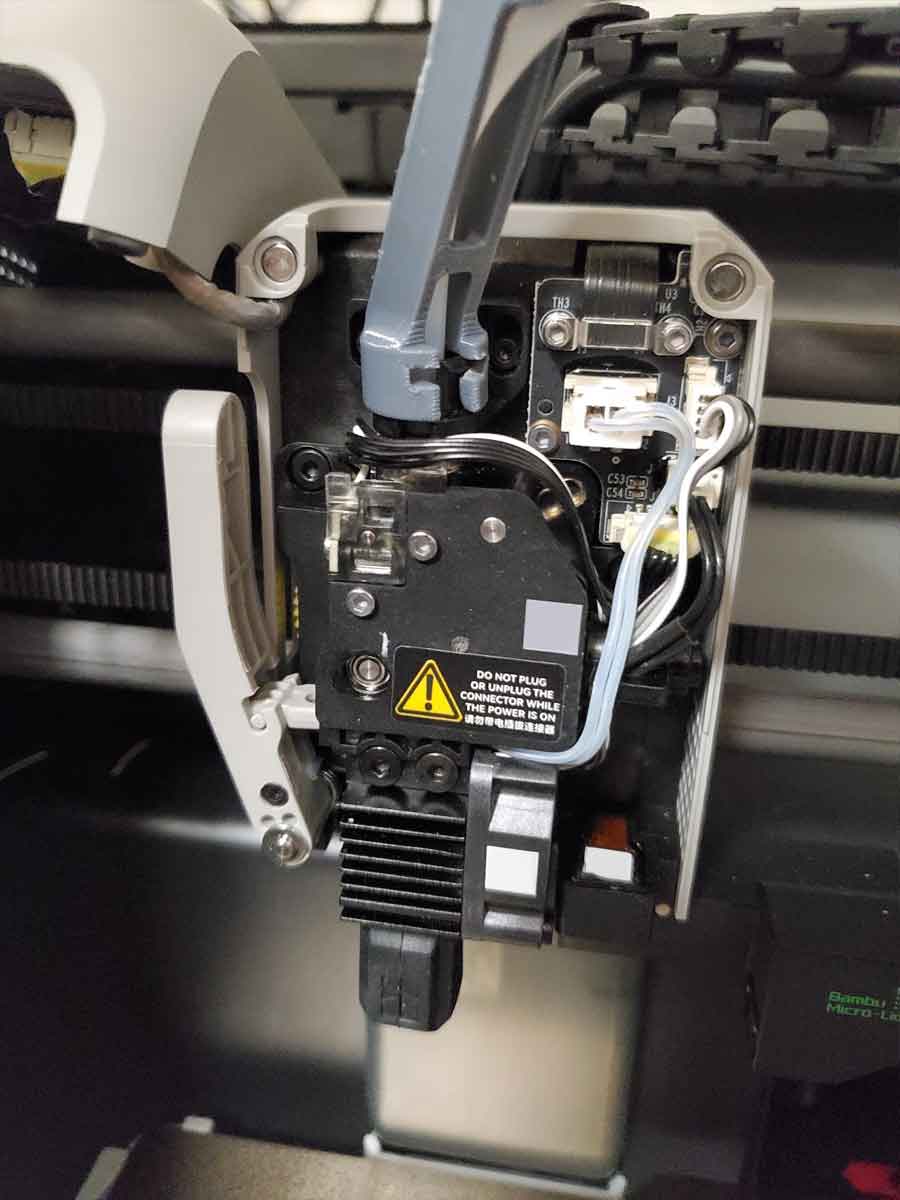
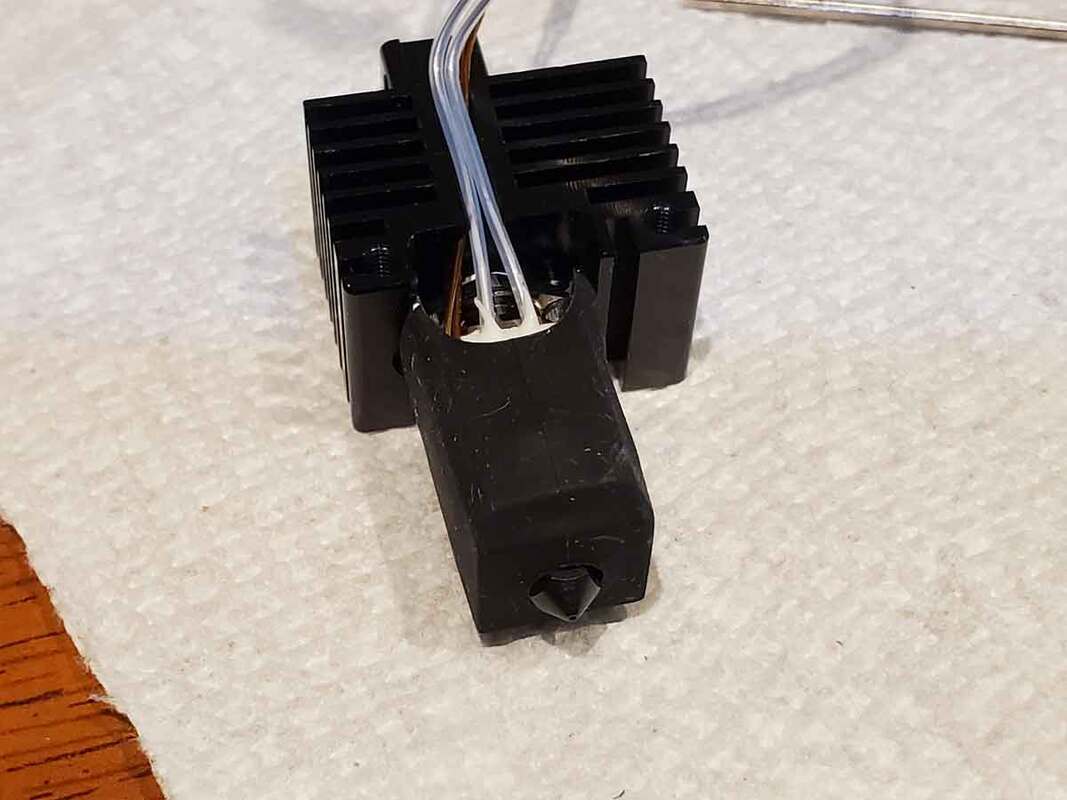
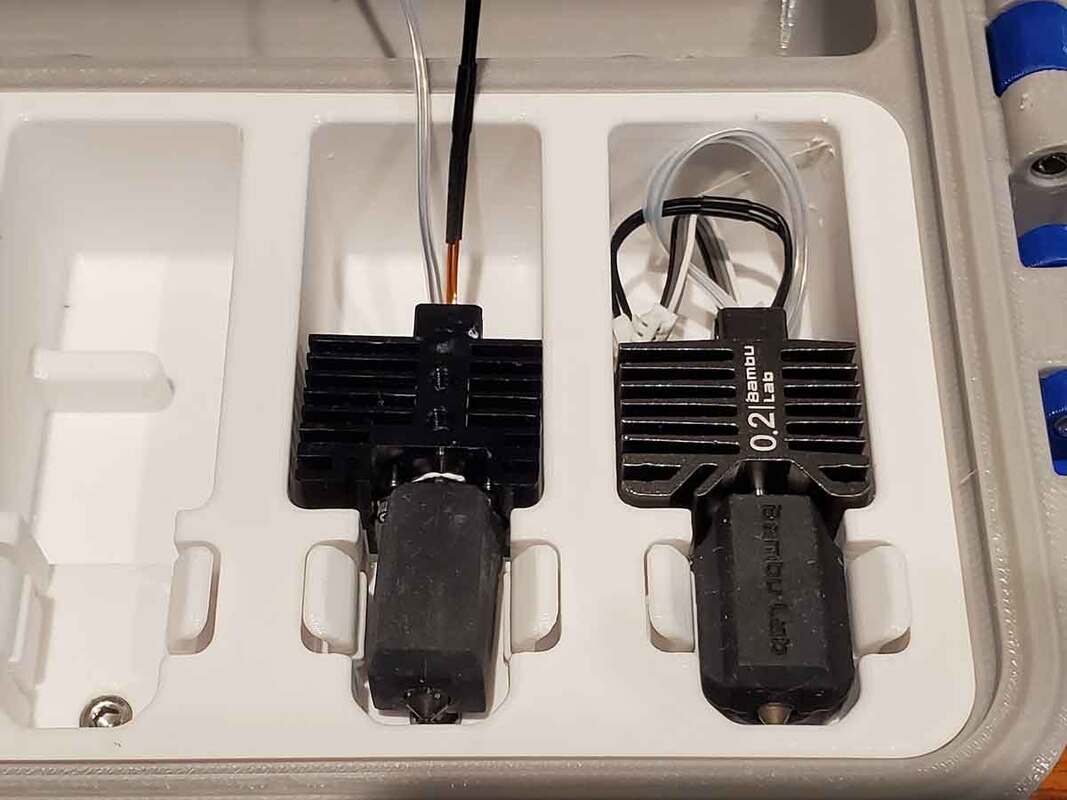
I recently had a clog in my X1C, and during the troubleshooting, I removed a bowden guide which I printed to help the tube make a more graceful bend into the effector.  However that part seemed to be creating a problem with filament getting stuck, and removing it helped.  The root of the problem though is not the guide, its that the X1C needs a Bowden guide in the first place.  The trouble is due to a very minimal clearance between the top glass cover and the effector, which results in a tight bend as the Bowden tube goes into the extruder.  When I went looking for risers, I found one that looks pretty amazing, it's called the DK Riser, and has some really good design work that went into it.  I was gonna print it, but realized that I don't want my printer to have any openings, even if they have cool TPU seals.  So I decided to remix that design a bit, to close the holes off.  I also added a power switch for the lights, and a DC input jack on the back.  When I thought I was done, I decided to increase the height just a bit more as well, so added 12mm to the thickness of the riser, which will give the Bowden tube even more clearance to move around and hopefully not hit the glass.  I need to test and print this of course, so it's gonna be a while before this gets posted.

Picture

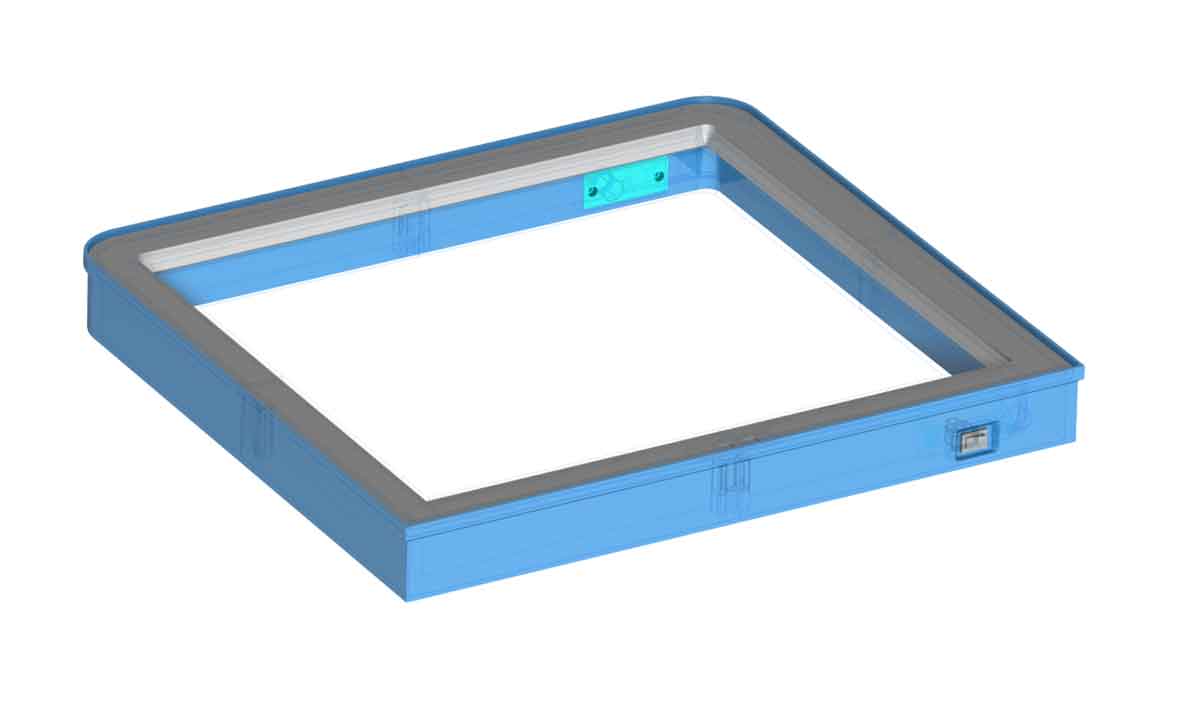
Update 10/28/2023: I think the design for the DK Riser Remix is completed, and am now printing the prototype.  Even though this remix will be a very bare bones riser (without any vents), compared to the original, I decided to spice it up a bit with a few extra features, including the following:
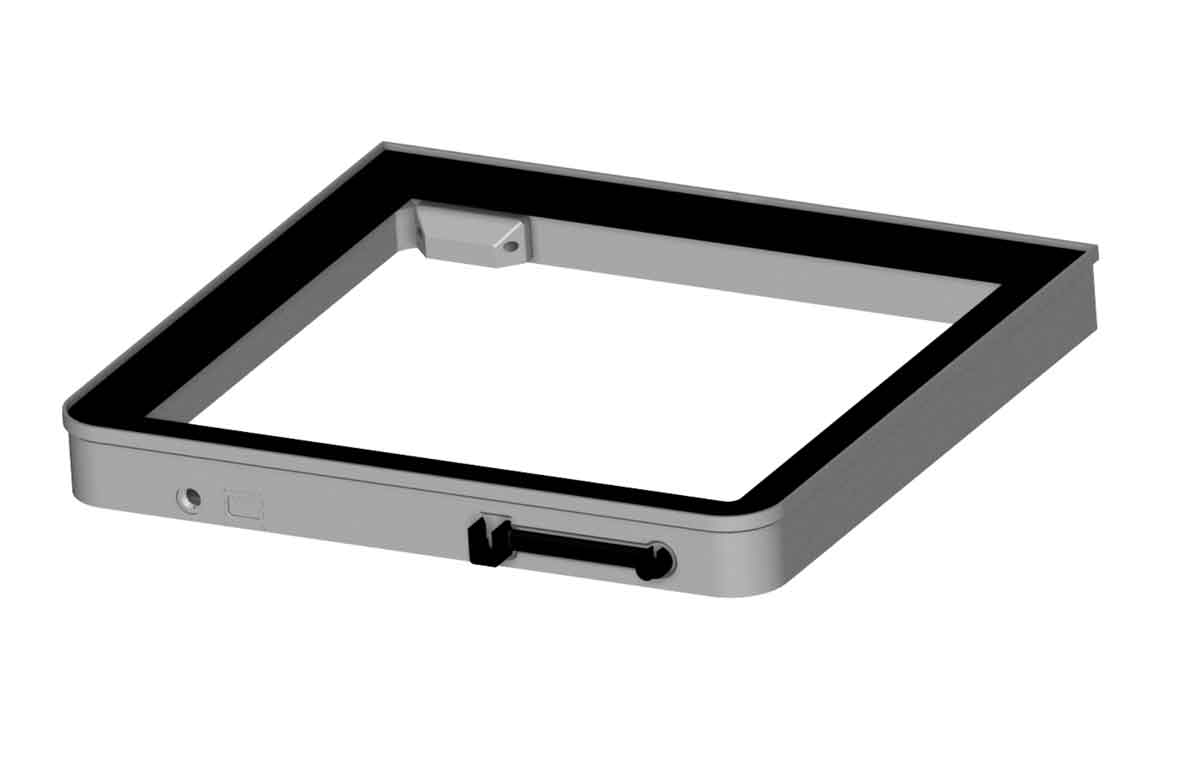
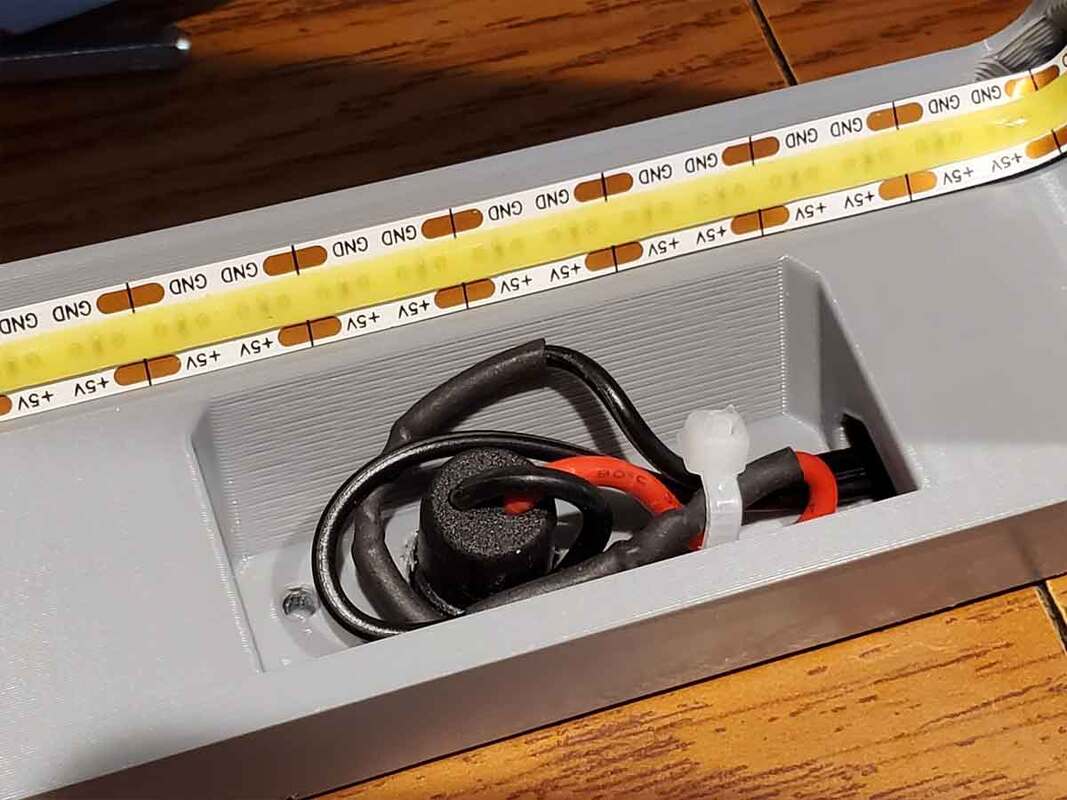
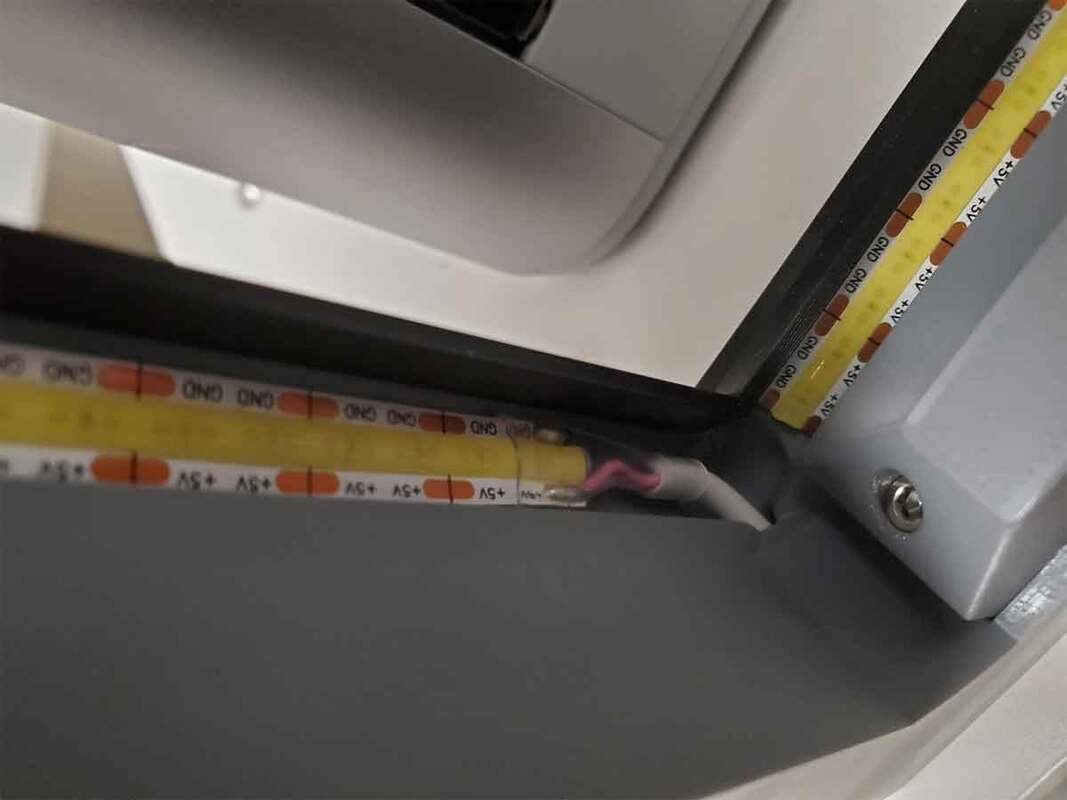
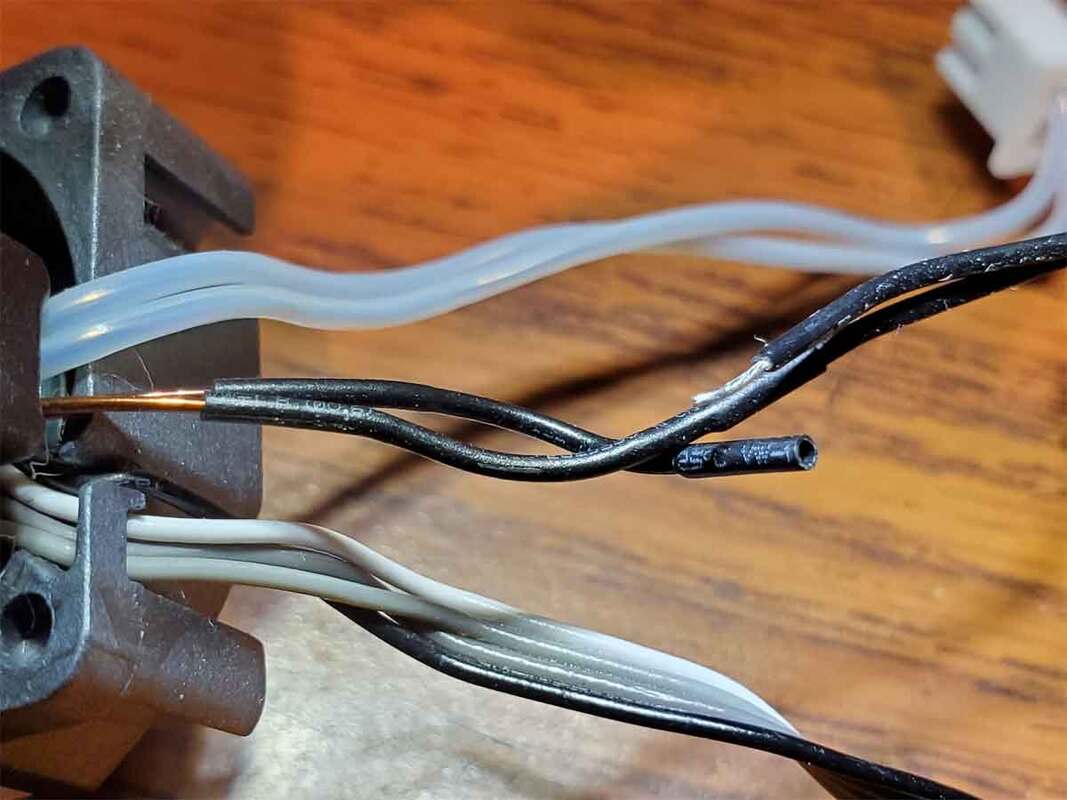
  1. A switch on the front, with a wire channel and covers, so there is no exposed wiring.
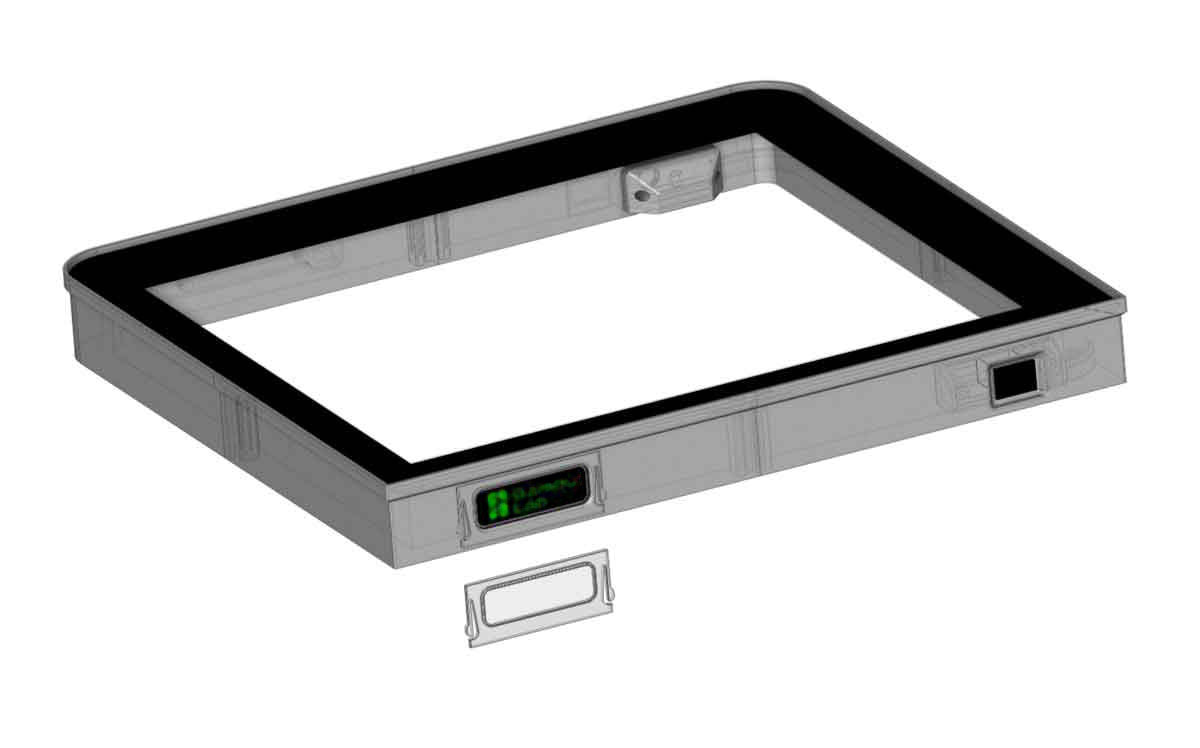
  2. Customizable label plate.
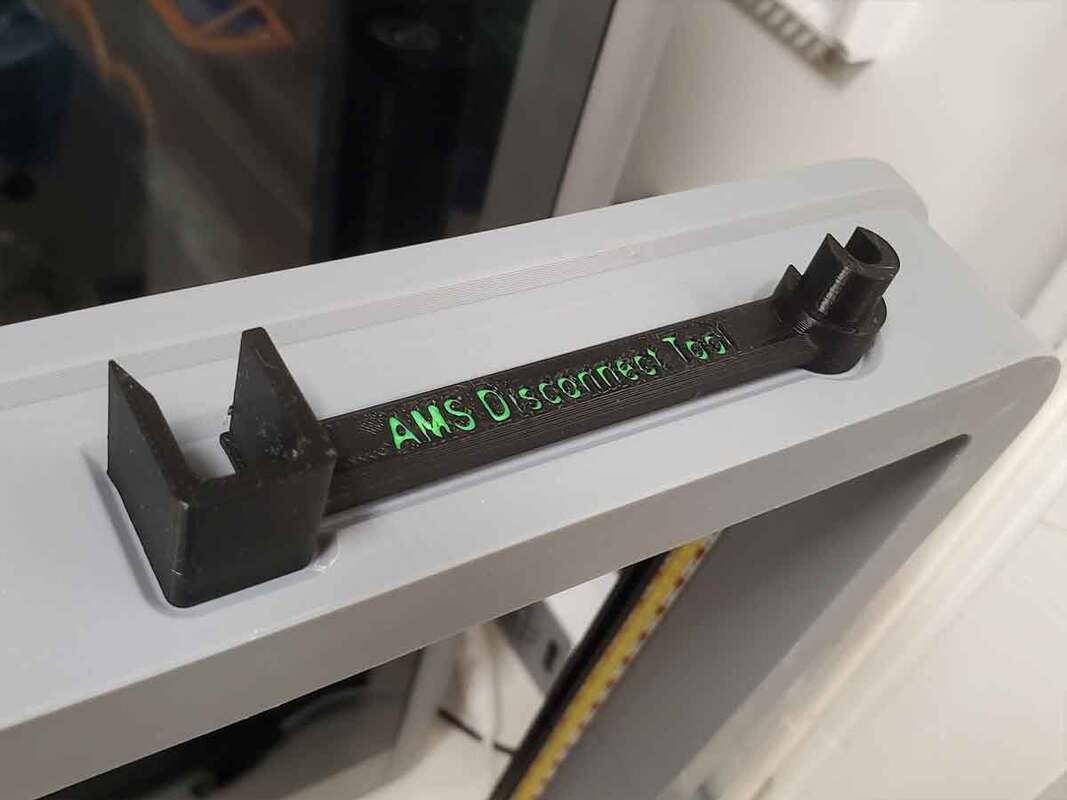
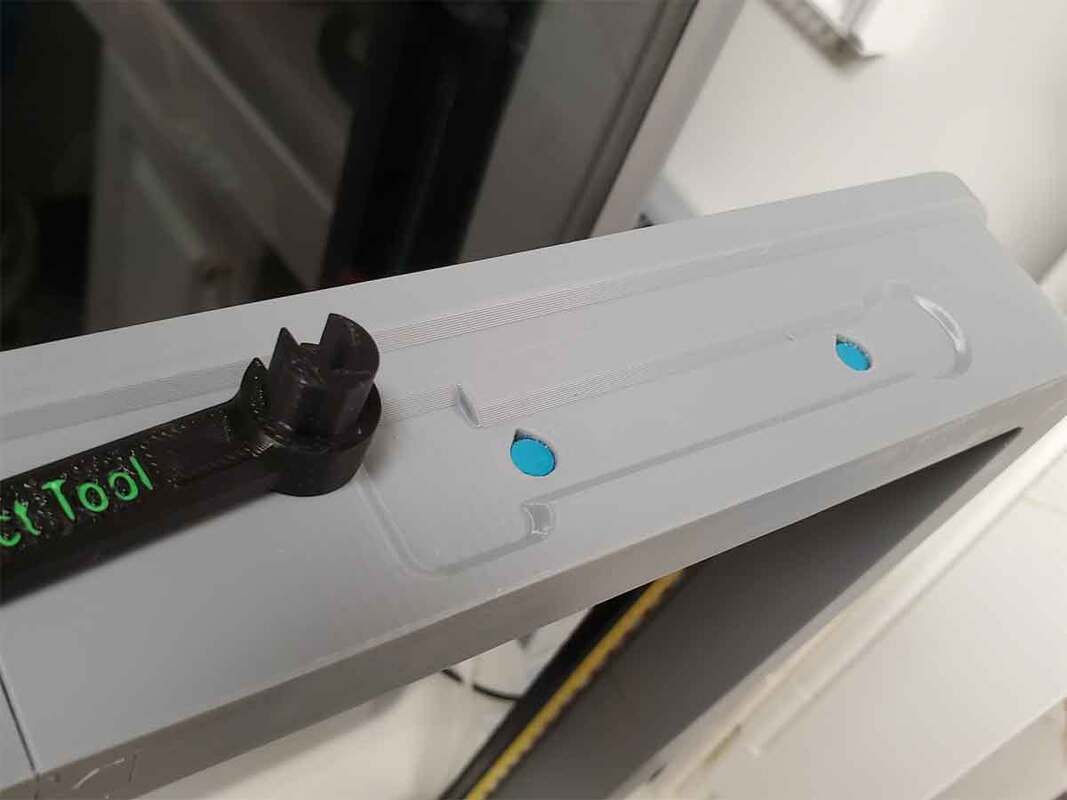
  3. Holder for the best tool for the Bambu printers with an AMS. 
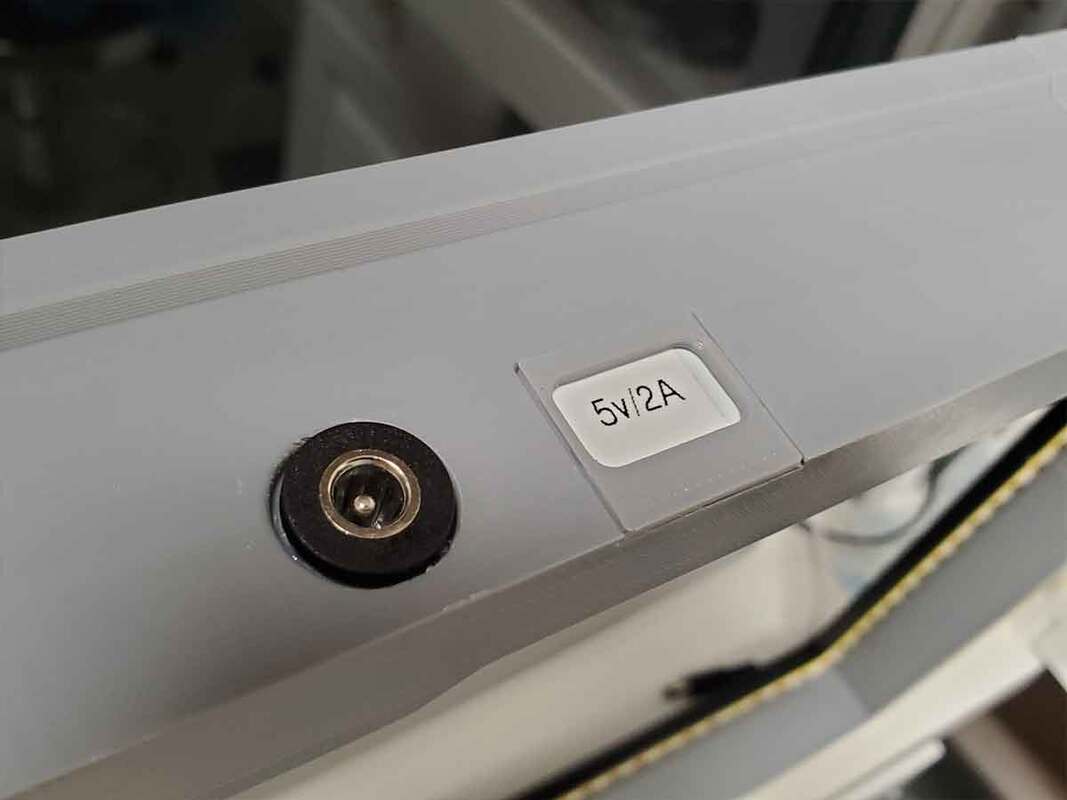
  4. A slide in frame to allow using a Brother P-Touch label to notate the voltage for the LED's (so the wrong power supply is not accidentally connected to them).  The frame just covers the edges of the label and makes it look a bit nicer. 
  5. There is also a DC input jack on the back, so there will be no wires hanging off the riser.
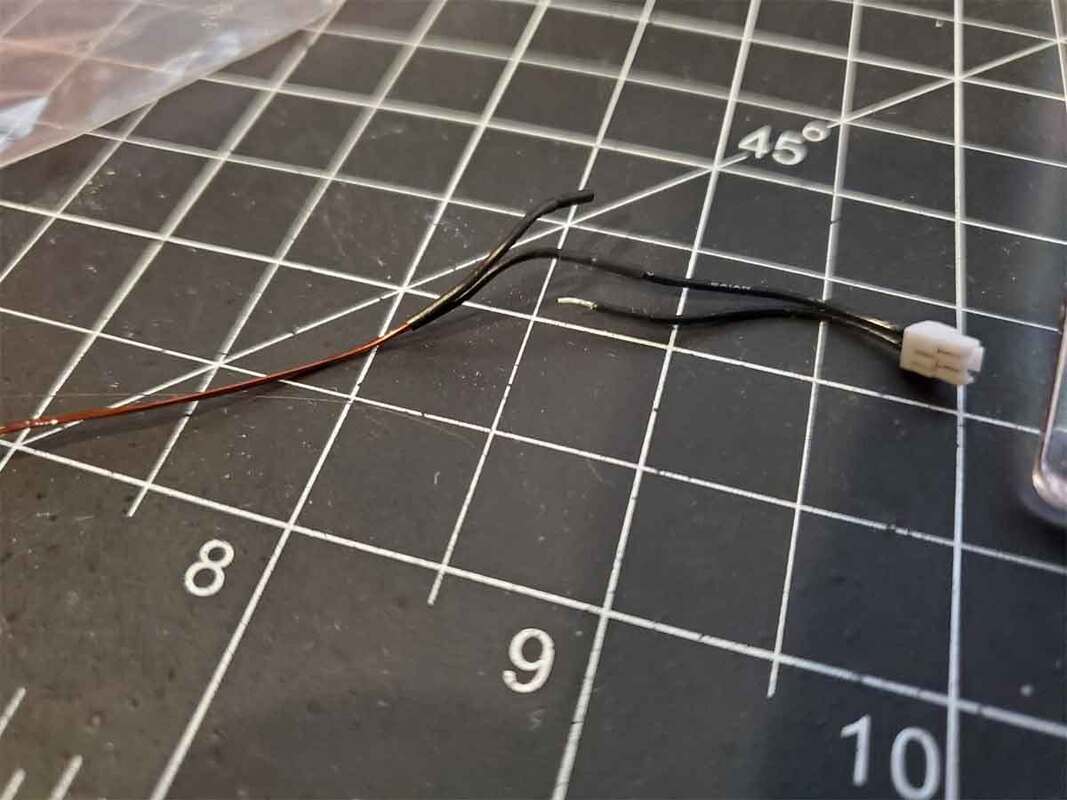
Update 10/31/2023: The design is pretty much done, I just need to install the LED's, which will be here tomorrow.  I went with some USB powered LED's, which I hope is not a mistake, but if they are a problem, I will figure out some other use for them.

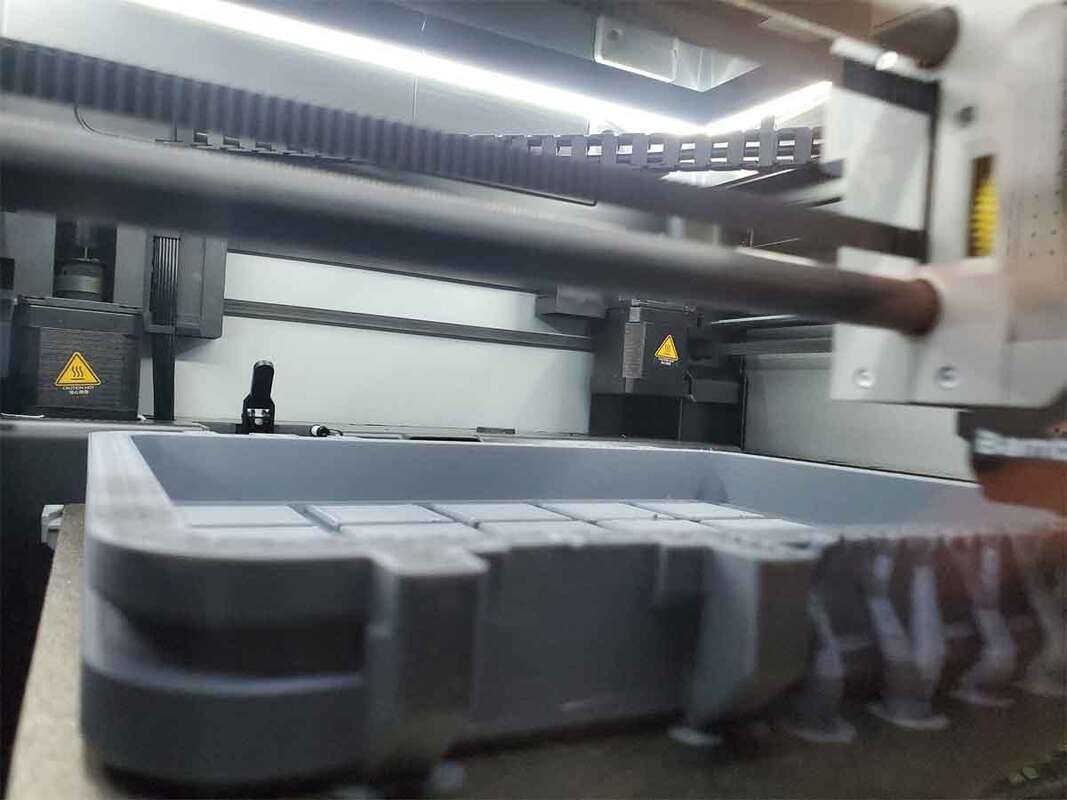
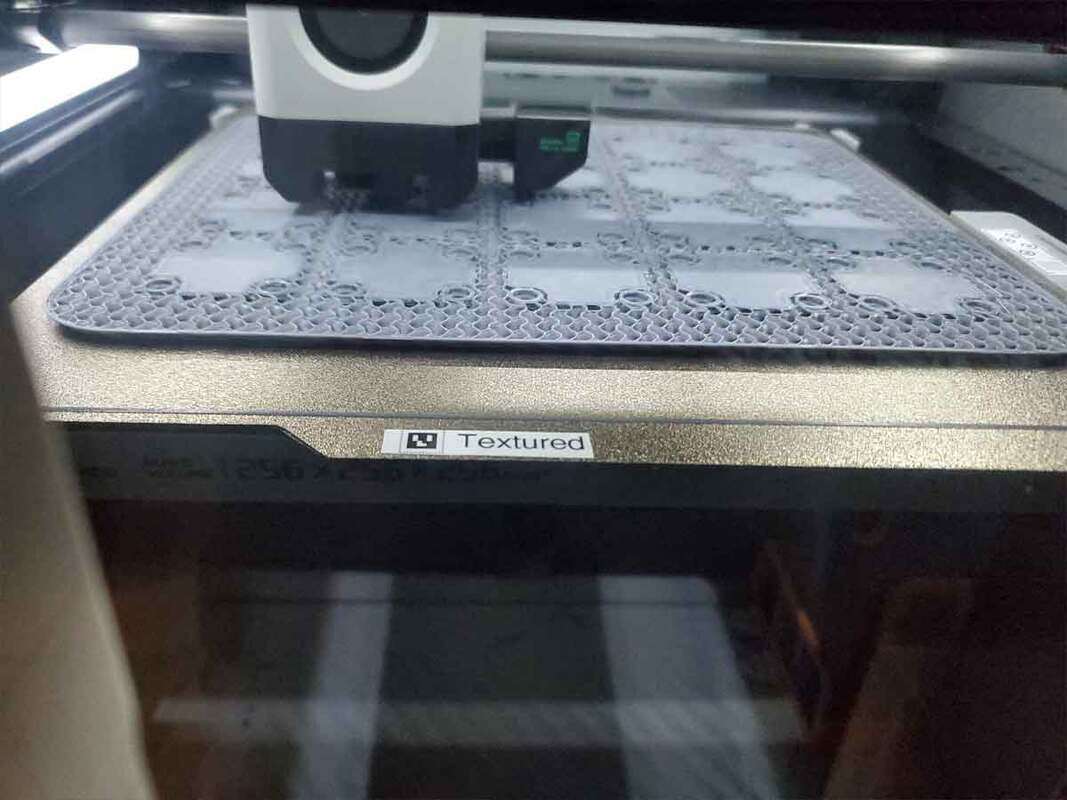
This prototype allowed me to update the design with some improvements related to installing the wiring.  The holes were a bit too small so while I struggle to install them, the design which will be uploaded will have much more clearance.  Other than that, its pretty much the same.  I'm really surprised how well TPU prints on the X1C, though getting it off (the cold sheet) is difficult.  I used the liquid bed "glue" as a release agent before each TPU print, and then dabbed on a bit of IPA to help remove the TPU parts, which helped.
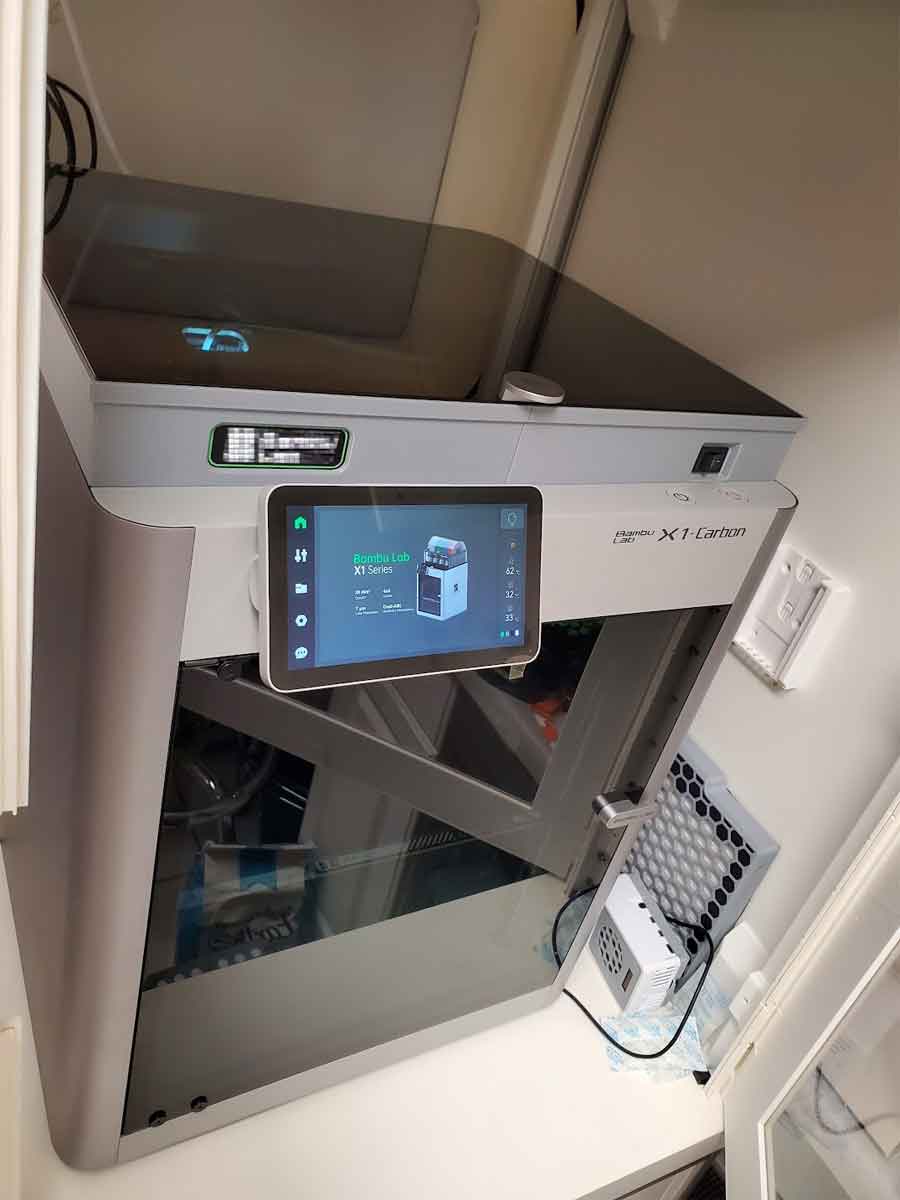
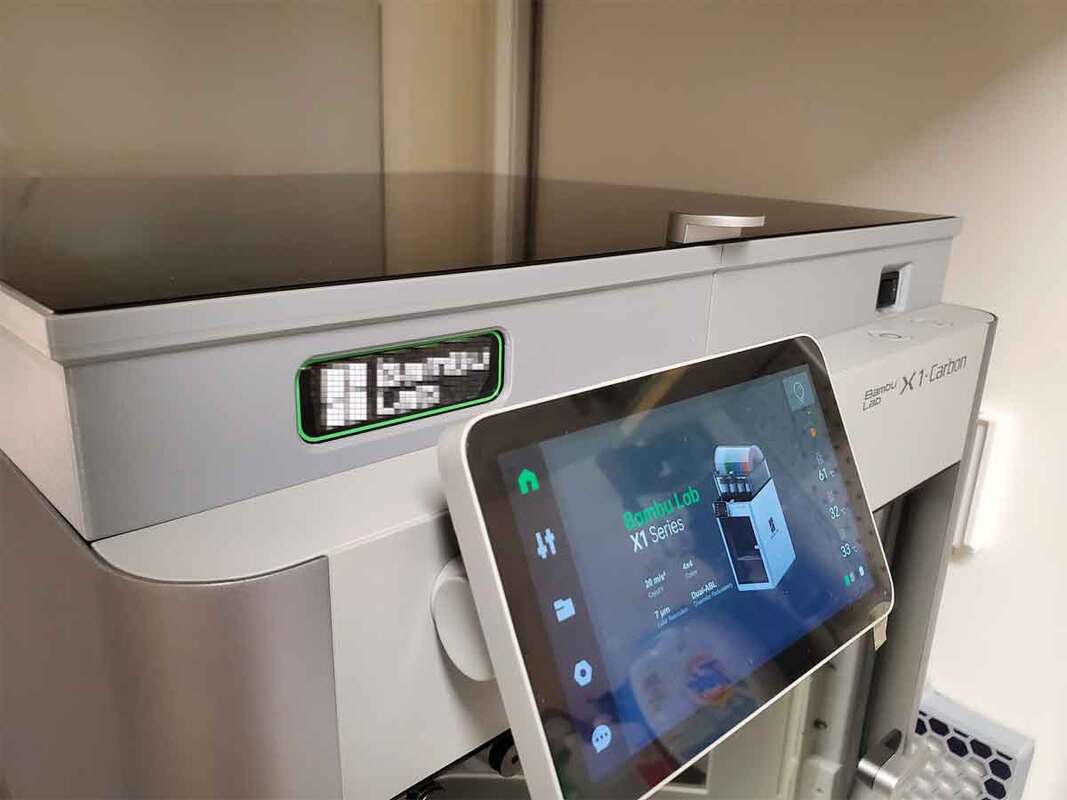
Update 11/1/2023: The prototype is completed and works.  I had to make some on the fly modifications to one of the covers, but that will be fixed in the finalized design which gets posted.  My prototype also had less space for wiring and running the wires, than the final design has, but even so, I was able to get it wired up without too much of a problem.  The USB LED's work great, and I can dim them using the remote, which also has a timer feature to set them to turn off after 4 hours.  The switch on the front can be shut off which does not seem to change the last state of the LED's.  So if I set the LED's to 50% brightness and shut off the front switch (which is connected to the LED strip), the LED's will come back on at 50% if I turn the switch back on.  I may check the power draw of the controller when the LED's are off vs when they are on to see how much standby power it consumes.  Overall though, I really like it, and especially like that the bowden tube has much more clearance to run free now, so I don't need to use any guides or worry about feeding issues due to the sharp bend.  The lights are also a nice upgrade.
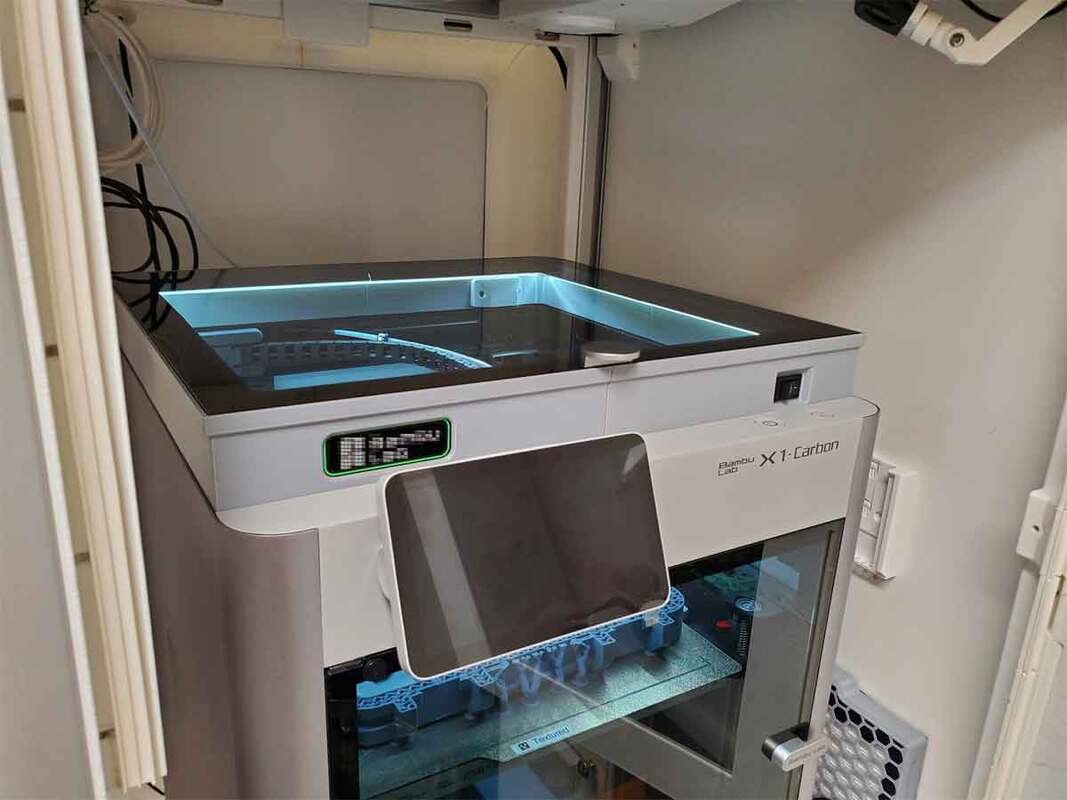
Update 11/2/2023: Just got everything done and took a few more pics.  There is one minor change I may add before I upload it, though it's not a huge deal either way. 
4 Comments

It was bound to happen sooner or later...

10/21/2023

0 Comments

 
The Bambu X1C has been pretty solid, but today it was having a fit.  It would not back out the filament (unload) from the AMS, and kept dropping an error about it.  I went through the basics, and after some investigation realized it had to be in the extruder.  Sure enough, some slightly wet PLA had broken (my bad), and there was a small piece of PLA stuck right over the extruder sensor, which is above the gears.  I'm not sure that's the end of the story though, but more on that later.  

The clog was a blessing in disguise though, since I had to remove the hot end to pull the extruder, I found noticed immediately that the thermistor wire was broken.  It really just fell apart, so was an easy thing to notice.  What is really strange though, is that there had been no thermistor errors, so there must have been a good mechanical connection.  In any case I swapped it, and in the process, learned how much I hate tiny connectors.  I also found that for some reason, known only to Bambu, they put some adhesive on the stepper connector, which must be unplugged to remove the stepper.  I was able to carefully pick it off, but it's sort'a annoying, I really hope that is not there due to some issue, and I will later regret having to do that, but it's the only way to get the extruder off to check it.  

When I got the extruder apart, I used a toothpick to clean out the gears, which had some rusty looking crud on them.  I also cleaned, and then added a very very tiny (like watchmaker tiny) drop of oil to the bearings and on the shafts in the extruder.  Getting it all back together was pretty easy, aside from the micro connectors which I can hardly see, and the hot end being very stubborn about seating where I could get the screws to slide in.  It is all back together though, and printing part of   

​
While I had a packet of thermal paste open, I decided to set up a new high flow knockoff hot end from AliExpress, which I picked up for about $10.  It includes everything but the fan, and I also bought a couple high-flow nozzles at the same time.  I'm not planning to use this right now though, since my goal was just to get the machine back up and running with as few variables changed as possible (and the only variable changed was the thermistor in this case).  The AliExpres hotend does look very nicely made though, and I have no doubt it would work, and may outperform the stock even - though with some drawbacks if using abrasives or filled materials (since it seems likely the third party high flow nozzles will clog easier).  Something I also noticed with the AliExpress spare hotend socks, is that they do not have the same profile as the stock Bambu socks.  That means the knock off socks will not work with my spares case, which is fine since I only have the one and probably will not buy any more.
And finally (maybe) after tearing it down and putting it all back, it had another error when trying to pull the filament back.  It's only happened on the #2 spool so far, and may be due to the bend right at the hot end.  I was able to clear the latest error by purging the hot end and then unloading/loading/unloading. I already removed a bowden guide, which had been on the printer from almost day one, but it did seem to be related to the filament loading/unloading issue most recently.  It remains to be seen if the other AMS spools will have this problem, or if maybe it's something else that has worn down and needs to be replaced.  I hope that's the end of the issues for a while, but the next steps will be to replace the bowden to the hot end, and maybe print a riser for the glass top to give more clearance there for the tube to bend.  I think the sharp bend in the bowden is the cause of some of these loading problems. 
0 Comments
    Picture

    Stoopid Me

    Welcome to my Stoopid corner of teh Internet.  It's mostly gonna be 3D printing stuff, but I also post some recipes, projects, and the occasional rant here as well.  More Stoopid stuff is updated regularly.

    I recently joined the Amazon Associate program, so some of the links on this site are Amazon affiliate links. This means that, at zero cost to you, I will earn an affiliate commission if you click through the link and finalize a purchase.  This will help to support this site, and pay for more Stoopid Stuff.

    Currently, there are no active authorized sellers of my designs.  If you see my stuff (such as my Dummy 13 Weapons) for sale on Amazon, Etsy or AliExpress, the seller is using my designs without permission.

    If you want to help out with my parts and filament budget, you can also "Buy Me A Coffee" using the link below.
    ​​

    Buy Me A Coffee

    Archives

    March 2025
    February 2025
    January 2025
    December 2024
    November 2024
    October 2024
    September 2024
    August 2024
    July 2024
    June 2024
    May 2024
    April 2024
    March 2024
    February 2024
    January 2024
    December 2023
    November 2023
    October 2023
    September 2023
    August 2023
    July 2023
    June 2023
    May 2023
    April 2023
    March 2023
    February 2023
    January 2023
    November 2022
    October 2022
    September 2022
    August 2022
    July 2022
    April 2022
    February 2022
    January 2022
    December 2021
    November 2021
    October 2021
    September 2021
    August 2021
    July 2021
    June 2021
    May 2021
    April 2021
    March 2021
    February 2021
    January 2021
    December 2020
    November 2020
    October 2020
    September 2020
    August 2020
    July 2020
    June 2020
    May 2020
    April 2020
    March 2020
    February 2020
    January 2020
    December 2019
    November 2019
    October 2019
    September 2019
    August 2019
    July 2019
    June 2019
    May 2019
    April 2019
    March 2019
    February 2019
    January 2019
    December 2018
    November 2018
    October 2018
    September 2018
    August 2018
    July 2018
    June 2018
    May 2018
    April 2018
    March 2018
    February 2018
    November 2017
    September 2017
    August 2017
    June 2017
    December 2016
    October 2016
    September 2016
    July 2016
    March 2016
    February 2016
    September 2015
    August 2015
    June 2015
    May 2015
    April 2015
    March 2015
    February 2015
    January 2015
    December 2014
    November 2014
    October 2014
    September 2014
    July 2014
    June 2014
    May 2014
    April 2014
    March 2014
    February 2014
    November 2013
    August 2013
    July 2013
    June 2013
    May 2013
    April 2013
    March 2013
    January 2013
    December 2012
    November 2012
    October 2012
    September 2012
    August 2012

    Categories

    All

    RSS Feed

Powered by Create your own unique website with customizable templates.