My Stoopid Stuff
  • Home
  • Projects
  • Blog
  • Lec'tronics
  • Links
  • CNC
  • Quick Recipes
  • 3D Printer Tips

Gazebo LEDs (Testing)

10/31/2020

0 Comments

 
Picture
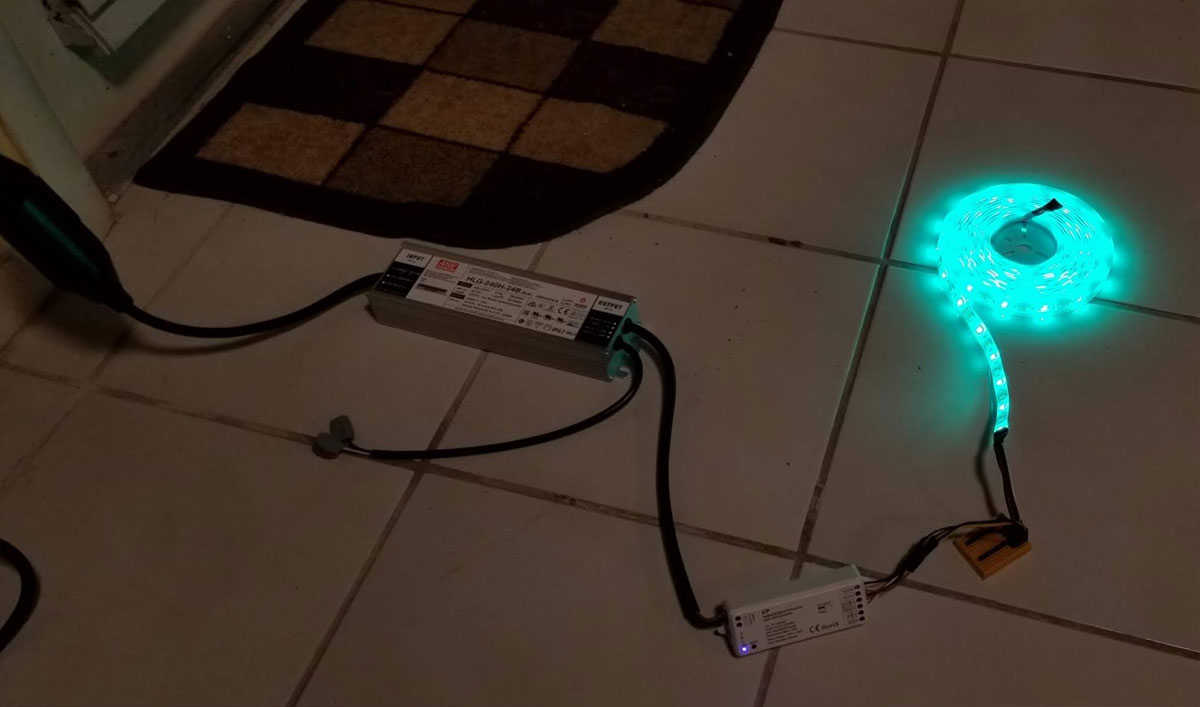
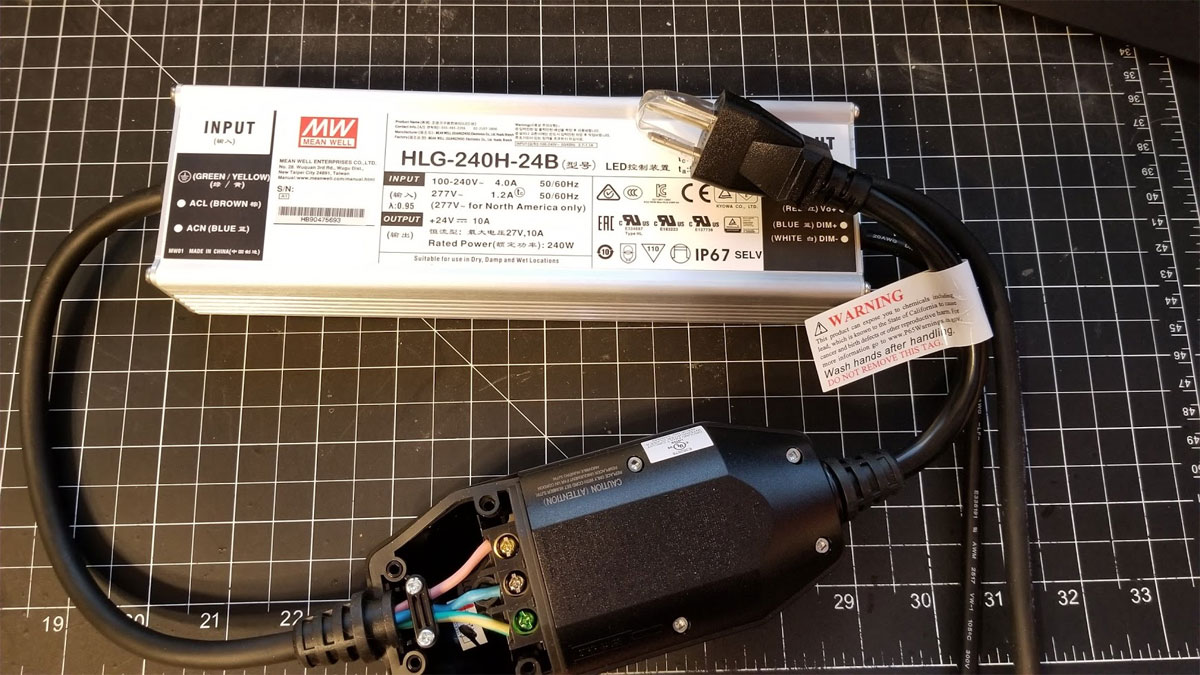
I received all the parts I need, aside from some nuts and bolts, to test the gazebo LED lights.  Nothing too complicated about these, but thought I would share some pics.  I'm really impressed by the 24V power supply and would rather buy this one time than buy 3 of the cheap ones as they go out.  This is also rated for outdoor use, and should be good for higher temps.  Meanwell is a reliable brand too.  I spent a bit more than a regular plug end and bought an IP65 rated GFCI plug end designed for a power washer which looks really well designed with several different size cable relief grommets. 

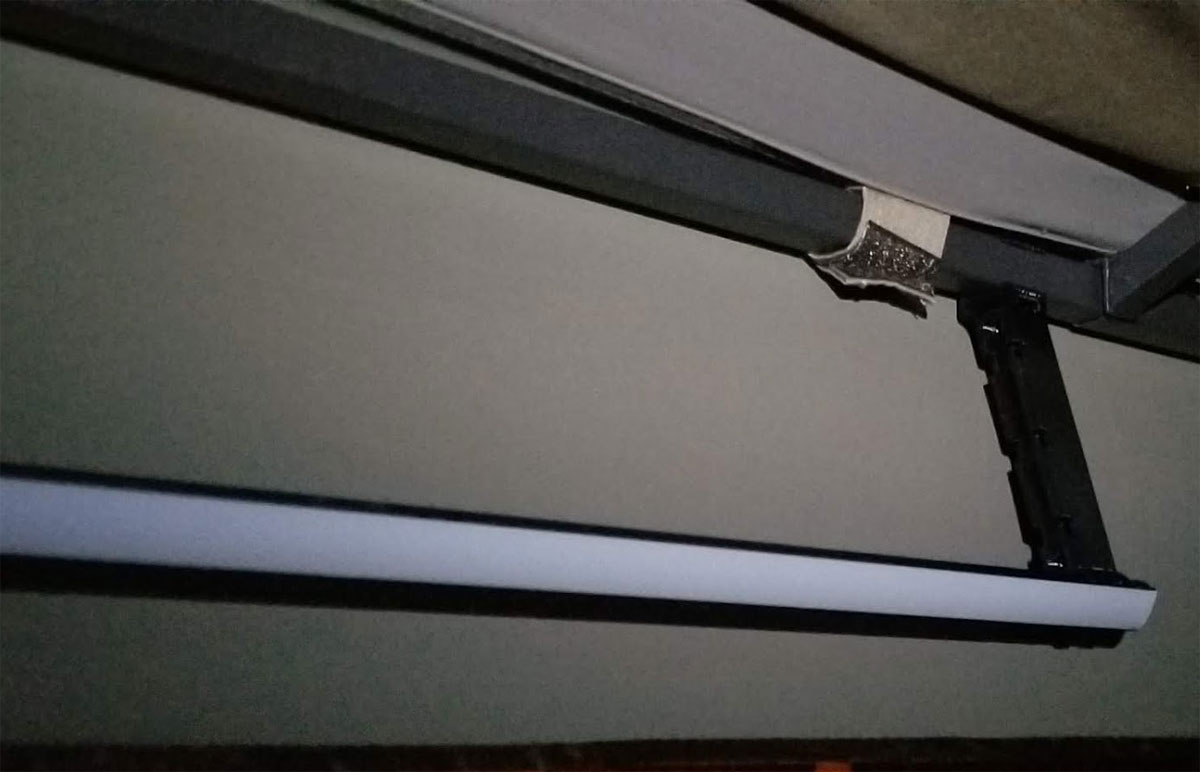
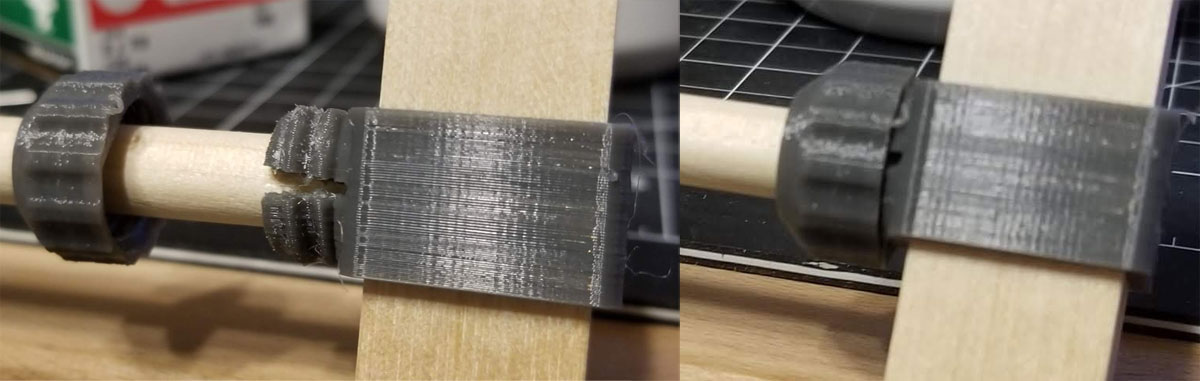
The RF LED controller works perfectly as well, and is easy to set up.  It is a good compromise between simplicity and functionality, and a good value at about ten bucks for a controller or remote on Ebay (and one remote can operate multiple controllers).  I've also been able to get my design for the LED rail hangers finalized, and tested one of them in place.  It is surprisingly sturdy though I'm not going to try to do a pullup on them.  The hangars were printed in PETG and I am really liking the eSUN Black Opaque PETG since it prints beautifully as long as you slow it down (which is required for all PETG I have tried).

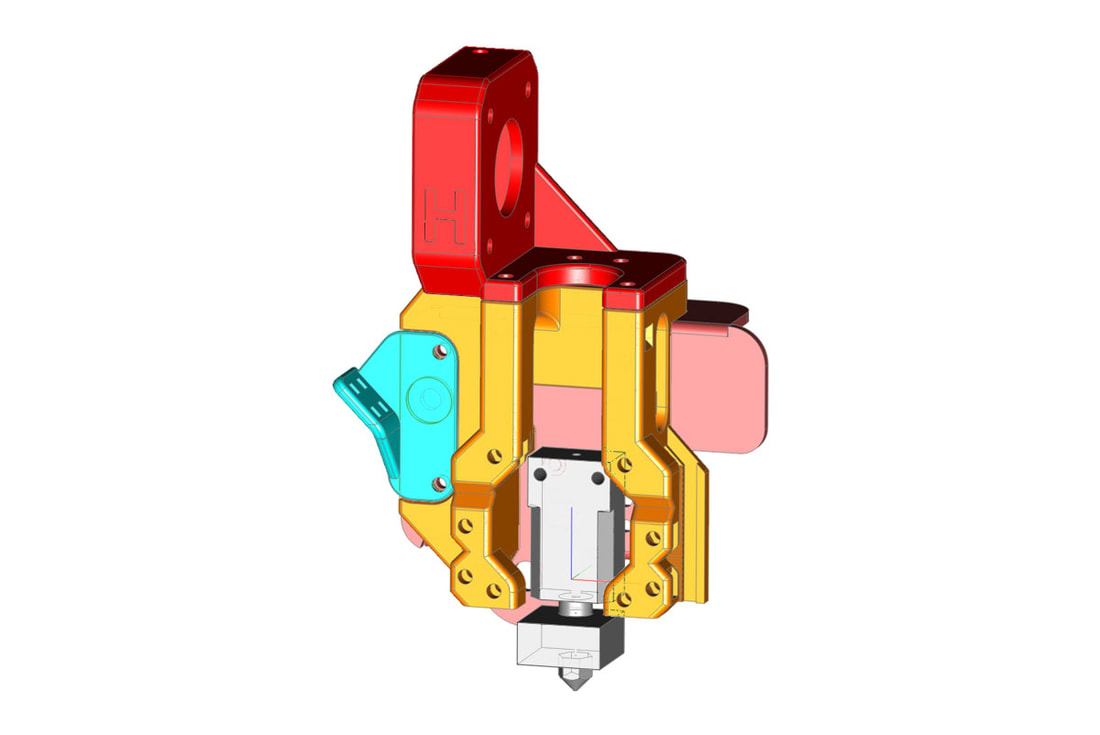
I just need to print 16 of the small hangars and another 20 of the larger ones, as well as 2 controller boxes.  I also have some end caps I need to test which will be printed in TPU (16 of those needed).  I expect that this project will require almost exactly one spool of PETG.  It's going to be a long couple weeks for the printers.  I will probably need to put the Hydra + BMG install for my CR10S PRO on hold for a bit while I get this project done, but I may go ahead and post it to Thingiverse as a work in progress since it's as done as possible without testing it. 
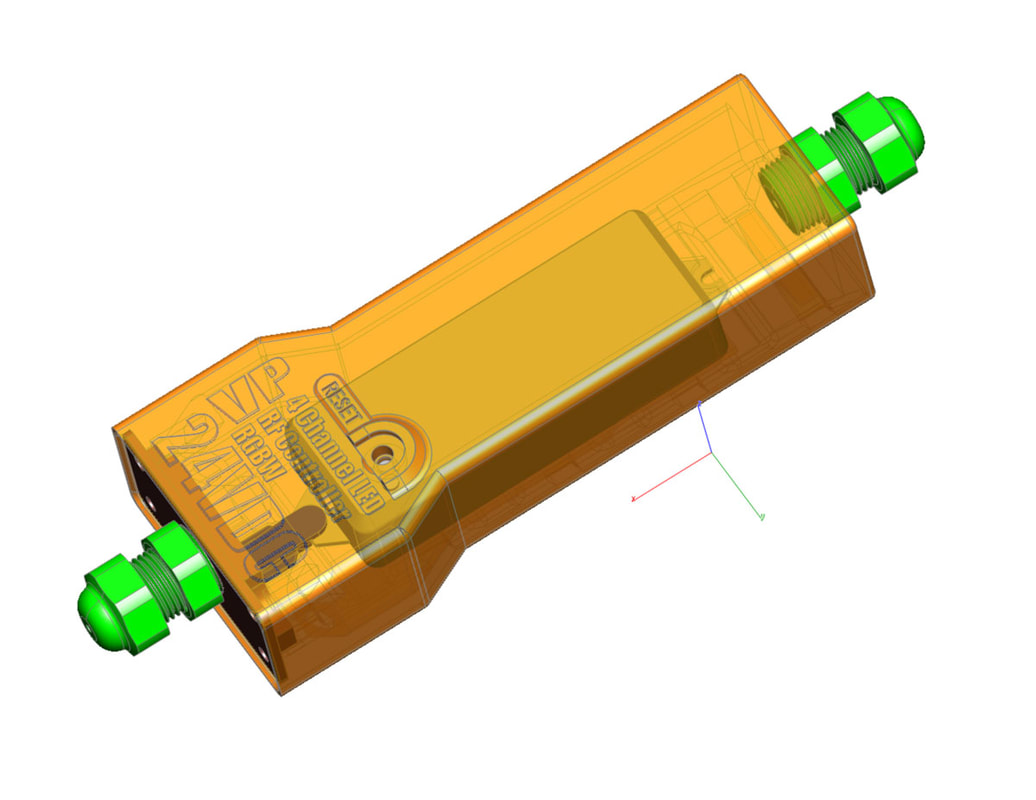
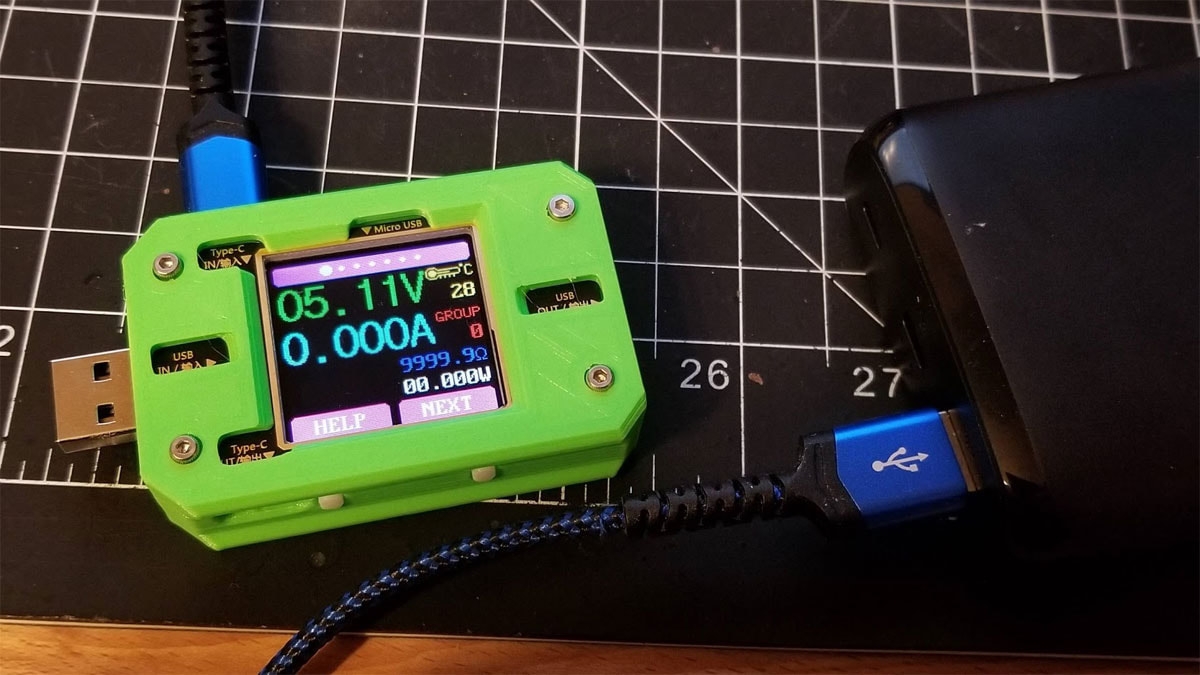
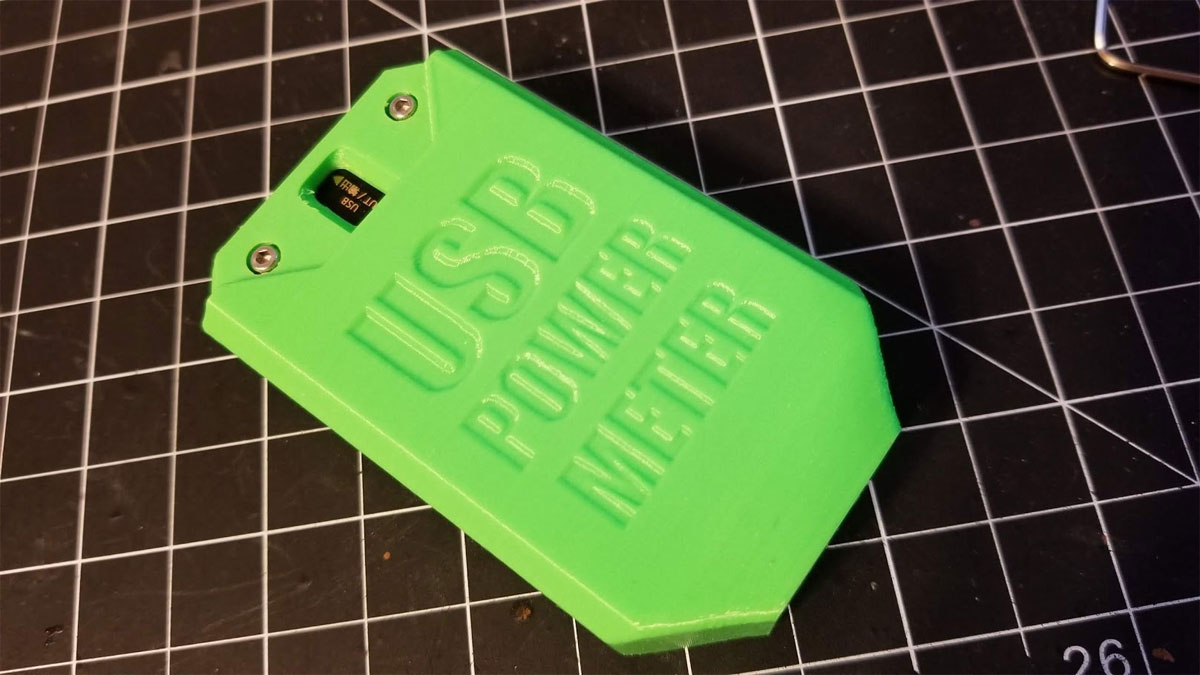
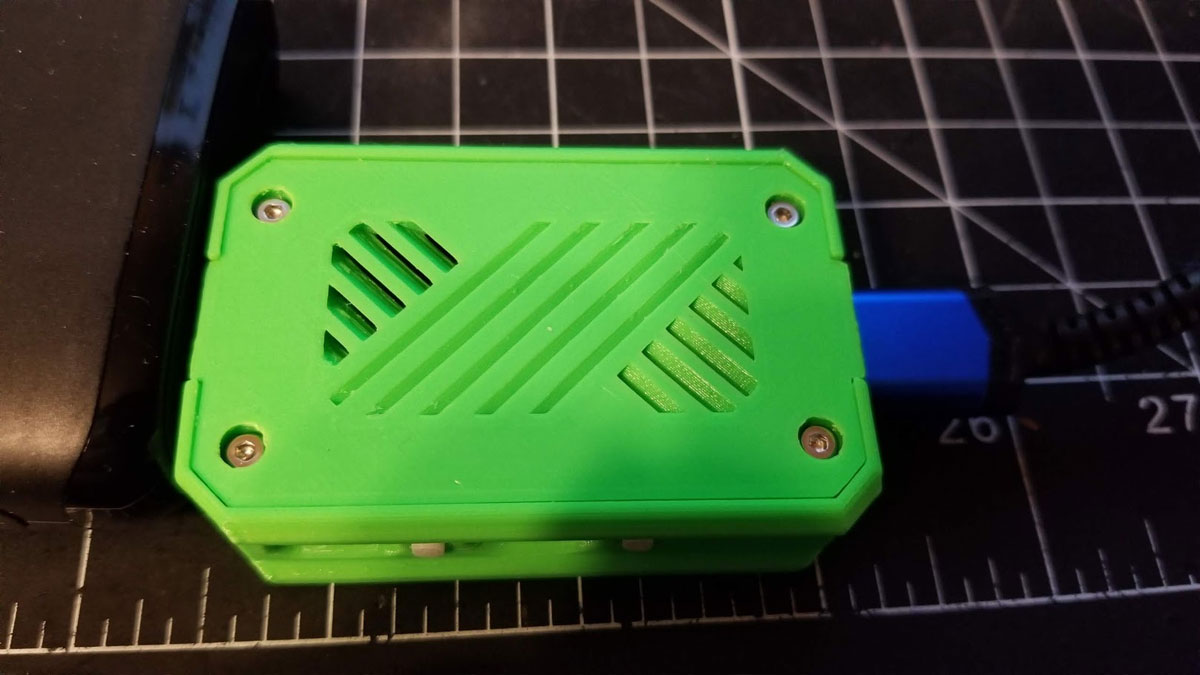
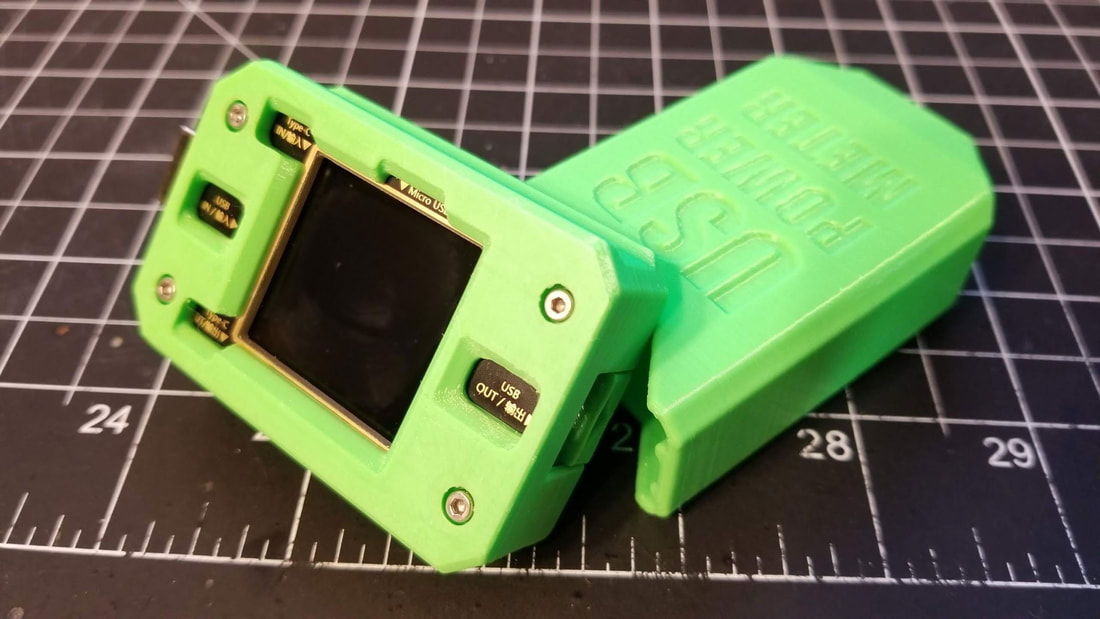
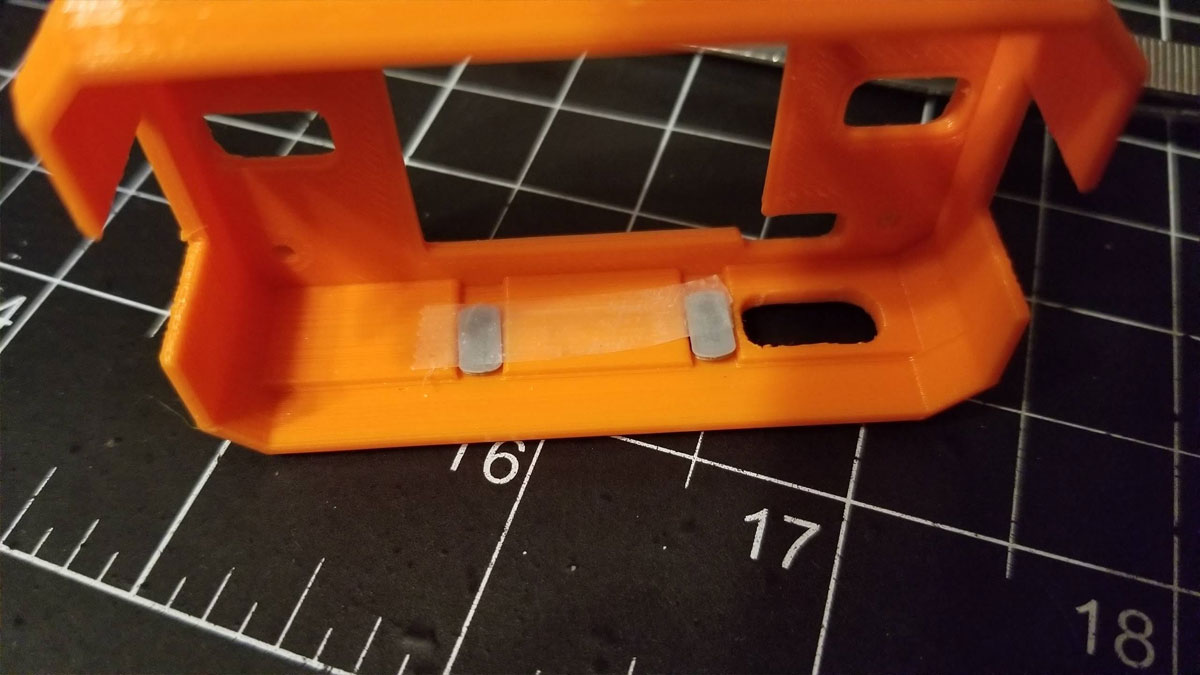
Update 11/8/2020 - The LED controller box works great, however there is one little problem I overlooked.  I had planned to split the output from the controller and run two strings in parallel, but the enclosure I designed only has space for one output line.  That is now fixed, but I need to print it.  I did print the single line version which I will be using in a future outdoor project, so it's not a loss and I was able to confirm that the cable glands fit perfectly, as does the method of securing the controller without screws inside the case.  I do need to tighten up the screw holes for the M3 lock nuts which secure the cover and the dual output version will clip into a holder which will secure it out of sight but still attached to the gazebo.  Overall very happy with the design so far.

I also installed 1/4 of the LED's for this project and they look pretty good, I think.  The controller is flawless and the ability to save colors is very nice.  I would have liked to have the chasing effects but that would have easily doubled the cost on an already expensive project.  I expect the works to be done in a couple weeks since I am still printing stuff for it.
0 Comments

CR10S Pro Hydra Remix - part 2

10/29/2020

0 Comments

 
Once again I spent way too much time on a remix which should have taken a couple hours... but I wanted to get the offset for the inductive probe closer to the nozzle.  I tried side mounting it and was still off by 56mm to the left, and then tried a fan mount which looks like it could work.  I'm also going to use the heatfixer (need to slightly remix that for my microswiss hot end).  If the probe is too much of an obstruction to the airflow I may put a 40x20mm fan on there.  The sound is not an issue since it's enclosed anyway.  I just need to print this now, which will take about 15 hours, then test it out.


Update 10-31-2020: I posted it here as an UNTESTED work in progress. 
https://www.thingiverse.com/thing:4640040
Picture
Picture
0 Comments

Hydra Fan Duct Remix for a CR10S Pro V1 (in the works)

10/28/2020

0 Comments

 
Picture
:My CR10S Pro V1 Hydra Fan Duct Remix is almost ready to test, though I had to make some additional changes to the screw holes for the hot end fan.  They will now use regular M3 locknuts instead of inserts.  I'm also considering other cable management ideas that could be easier to print, but getting close.

Update - I took the cable management clip off so it can print separately.  Now it should print without supports.  I will update with a link to Thingiverse once I have tested it out.

Update 2 (10-31-2020): I posted it here as an UNTESTED work in progress. 
https://www.thingiverse.com/thing:4640040
Picture
0 Comments

Several new projects in the works

10/23/2020

0 Comments

 
I have been slacking on uploading things to Thingiverse lately, but I still plan to.  Prepping things for Thingiverse takes a bit of work and it's not as interesting as designing (have to make a decent attempt at a description, try and recall if there were any gotchas when printing, re-slice tricky parts to check the best print orientations, find the correct version of a design, etc).  Most of the new stuff is either waiting on parts, or I have not been able to print (or test) due to other stuff taking priority.  Also my CR10S Pro has only recently gotten back into production (with extra huge thanks for MicroSwiss for assisting with getting it back up). 

My top project is getting some RGBW LED strips installed on a pair of new gazebos for my parents.  They picked up some strange LED rope lights at Costco which are pretty interesting, but very basic.  After explaining to them that the different types of LED strip lights and all the cool ways they can be controlled, they asked me to look into upgrading them (they only bought one set of 18ft rope lights to test).  I decided to go with the following setup since I want to do this right and the lights will be outdoors:

  • Mean Well HLG-240H-24B Switching LED Power Supply, Single Output, 24V, 0-10A, 240W, 1.5" H x 2.7" W x 9.6" L  @ Amazon
  • 4 Channel LED RF Controller RGBW/RGB/CCT/Dimming Multfunction Controller 12-24VDC  @ Amazon
  • Muzata Black LED Channel System with Milky White Cover Lens,Aluminum Extrusion Profile Housing for Strip Tape Light Diffuser Track Segments,40Pack 3.3ft U1SW BW 1M, LU1  @ Amazon
  • Muzata Extension Connectors for U1SW @ Amazon
  • 5050 RGB Strip (Waterproof) 24V RGBW (Warm White) 5m (qty 7) $78 @ Ebay (waiting on these from China)

I probably paid about $150 more for everything due to choosing a high quality, IP rated power supply (and not overdriving a cheap one), and also by getting the aluminum channels but I want this to last at least as long as the gazebos, but I saved some on the LEDs which I figure are going to be the most variable part quality-wise no matter where I get them.  The channels are necessary due to the design of the gazebos, but they will also help cool the LEDs which may help with longevity.  The plan is to make a hanger for them which will snap onto the frame of the gazebo and provide a bit of reveal for the LED strips below a fabric cover.  I only bought one of the RF controller receivers from Amazon and ordered a second from Ebay, since I want to test it out first and figure I can wait on the 2nd.  Each gazebo will have one controller and one 24v 10A power supply on 44 feet of LEDs (13.4m).  The RGBW strips I bought are 0.5A per meter (max) so that would be 6.7A per gazebo.  It is very unlikely I will drive them that high and I wanted a buffer so the 10A supply on each gazebo should work, with some amps to spare if I decide to run some addition strips of LED's in the future, off the existing set up. 

One remote will control both gazebos using the linked controllers.  There are 2 types of remotes for that system, one can control 4 zones independently and the other can control only one zone, both types can control several receivers.  I think Amazon only sells the combo with the single zone remote however.  I had also considered the Shelly REBW2 but decided against it since a physical (RF) remote was a requirement, and did not want to jury rig some switch/mosfet/relay thing to switch between controllers.   

 I'm currently waiting to test some hangers I designed to hold the aluminum channels several inches below the top frame rails of the gazebo, and also provide some cable management.  These will attach to spring steel clips which will connect to the aluminum extrusions which will hold the LED strip.  Even though the design is pretty well optimized, each of these will still take 3-4h to print and I will need 10 of the large ones and 8 of the smaller ones per gazebo:
Picture
Next up is to test and print an enclosure for the RF LED Controller.  These will use PG11 cable glands and will have an M4 screw which can be removed to poke something through to reset the controller if needed (an M5 screw could also be used without the insert).  It is designed to be printed without supports.  I plan to use some slicone to help seal the baseplate, though gravity should help keep rain out.  The mounting will be with zipties.

The second project has been a work in progress for a while and I am a bit stuck on it, but it is to add a drawer to my enclosure.  I'm trying to decide how to make some parts to connect the enclosure to the drawer rails on an Ikea drawer.  There have been several iterations of the design, but I'm trying to cut the cost and print time to the minimum and also avoid problems putting it together.  For something so simple I am making it much harder than it needs to be I think.

The third project is completed and installed, as of today.  It is a simple divider for a chest freezer.  I set up the fridge with a plan, and tried to keep some organization, but unfortunately all plans go out the window on first contact with the family.  In short the fridge is a mess.  I looked at freezer dividers which seem to be the best way to go, but those things are crazy expensive to get enough parts to outfit a fridge.  I decided to roll my own using wood purchased from Amazon and Walmart, some 3D printed parts. There are some silicone feet also from Amazon which I decided to use to protect the base of the freezer from any hard edges.  I am pretty happy with the result, which I call the bread jail because for some reason bread needs to go in the freezer.  With the 3/8" dowels from Walmart I could have made the width upto 12" (as shown in the pics), but that would have interfered with buckets already in the freezer, so the final design is only half as wide as shown.  Sorry no pics of it in action though, still a bit embarrassed by the mess in the freezer, and it's not much to look at when fully loaded up (unfortunately with bread).  Despite it being made of 3/8" dowels and 3/4" sticks it is damn strong, it would not be easy to pull it apart.  The dowels are clamped in by a threaded coupler and requires no gluing or holes drilled (see pic below).  There are however a ton of screws (and I did pre-drill for those).  I also added dowels to pin the corners but that was unnecessary.  The design allows for additional panels to be added to either side.

I plan to post this design up to thingiverse in the next week or two.

Update 10/24/2020: Uploaded the design to Thingivsers with some instructions.  You can find it here.
Picture
Picture
Picture
Picture
Finally, I have back-burnered a LED spice rack I was working on, which could possibly turn into just a cool piece of wall art.  Lack of printers and time to test it out has placed this one on hold for a while.  I expect this one to take a loooong time to print.  I had intended to use this with a battery powered RGB LED strip which would wind around through the base of the spice holders and shine through a clear diffuser.  The whole thing would be wall mounted and the battery pack would be hidden (ideally).  The problem was that the LED strip I had initially chosen for the project, though bright was not bright enough when placed behind the diffuser.  Due to that problem I decided to test it using a 12V battery used for CCTV testing, but that is still pending (waiting on the LED strip).  It would be really cool to use an arduino with some individually addressable LED's but really I'd be happy to just get the LED design completed at this point.  If it is down to practicability, any battery setup would have a short runtime and require some design compromises (make it smaller), so it may end up without a battery and just require an ugly cord and plug for power (or maybe it will only exist in my CAD software where I can power it with anything I want :-)
Picture
The modules will clip together (clips are pink) though bump outs than should be easily cut out since they are indented to have a very thin wall holding them.  There are also screw in clips (red) which will stabilize the whole thing.  I'm still working on the design for the LED holders since so far I have not been happy with the way the LEDs either don't show through enough or are producing bright spots.  It may be the printed diffuser is the part of the problem since it was printed in clear.
Picture
As usual it's the same old story, not enough time/money/printers, and too much crap to do.
0 Comments

Made a case for a USB voltmeter

10/2/2020

0 Comments

 
I have had a USB voltmeter for a while now and the one thing I did not like about it was the lack of a case.  Since I have a bad habit if ESD'ing things, it was a big concern for me.  I spent way too much time tweaking the design, and probably printed this simple thing a half dozen times till it was just right (still working on it but almost done).  If things work out, I may end up putting a few on Ebay or Etsy to see if there is any interest in them.

The first pic was a poor test print (had not dialed in my z-offset and the printer had to be re-leveled).  The second pic is a near final version. Changes will be to have the screws sit flush to the top (they are already flush to the base), tweaking the opening for the USB-C connectors, and also opening up the holes which show the printing on the board so they can be more easily read. 

Update 10/3/2020: The case is pretty much done, I just need to fix the method of securing a magnet in the outer case (the magnet helps hold the meter in the case, but is not really needed).  Other than that everything seems to work OK with it.  I have a couple more meters on order to check this against, in case there have been any changes to the design since I bought mine.

Update 10/23/2020: The case was finished up a day or two after the last update, and works great.  The case closes nicely and seems secure with friction alone.  I have a few more meters which I plan to case and either sell or give away as Christmas gifts this year.

Update 1/5/2021:  I gave a few of these out as gifts this year, but did not try and sell them.  Instead I posted it up to thingiverse here.
Update, made a few more, just a few new pics.
0 Comments
    Picture

    Stoopid Me

    Welcome to my Stoopid corner of teh Internet.  It's mostly gonna be 3D printing stuff, but I also post some recipes, projects, and the occasional rant here as well.  More Stoopid stuff is updated regularly.

    I recently joined the Amazon Associate program, so some of the links on this site are Amazon affiliate links. This means that, at zero cost to you, I will earn an affiliate commission if you click through the link and finalize a purchase.  This will help to support this site, and pay for more Stoopid Stuff.

    Archives

    March 2023
    February 2023
    January 2023
    November 2022
    October 2022
    September 2022
    August 2022
    July 2022
    April 2022
    February 2022
    January 2022
    December 2021
    November 2021
    October 2021
    September 2021
    August 2021
    July 2021
    June 2021
    May 2021
    April 2021
    March 2021
    February 2021
    January 2021
    December 2020
    November 2020
    October 2020
    September 2020
    August 2020
    July 2020
    June 2020
    May 2020
    April 2020
    March 2020
    February 2020
    January 2020
    December 2019
    November 2019
    October 2019
    September 2019
    August 2019
    July 2019
    June 2019
    May 2019
    April 2019
    March 2019
    February 2019
    January 2019
    December 2018
    November 2018
    October 2018
    September 2018
    August 2018
    July 2018
    June 2018
    May 2018
    April 2018
    March 2018
    February 2018
    November 2017
    September 2017
    August 2017
    June 2017
    December 2016
    October 2016
    September 2016
    July 2016
    March 2016
    February 2016
    September 2015
    August 2015
    June 2015
    May 2015
    April 2015
    March 2015
    February 2015
    January 2015
    December 2014
    November 2014
    October 2014
    September 2014
    July 2014
    June 2014
    May 2014
    April 2014
    March 2014
    February 2014
    November 2013
    August 2013
    July 2013
    June 2013
    May 2013
    April 2013
    March 2013
    January 2013
    December 2012
    November 2012
    October 2012
    September 2012
    August 2012

    Categories

    All

    RSS Feed

      Contact Form (Name is optional)

    Submit
Powered by Create your own unique website with customizable templates.