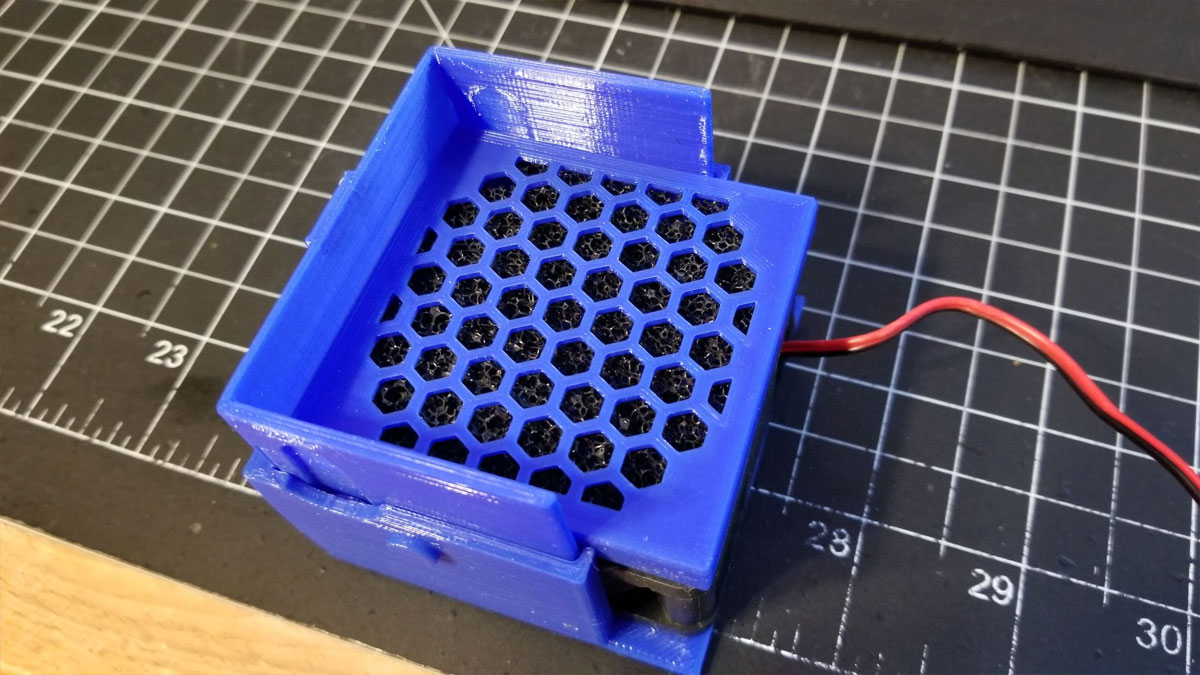
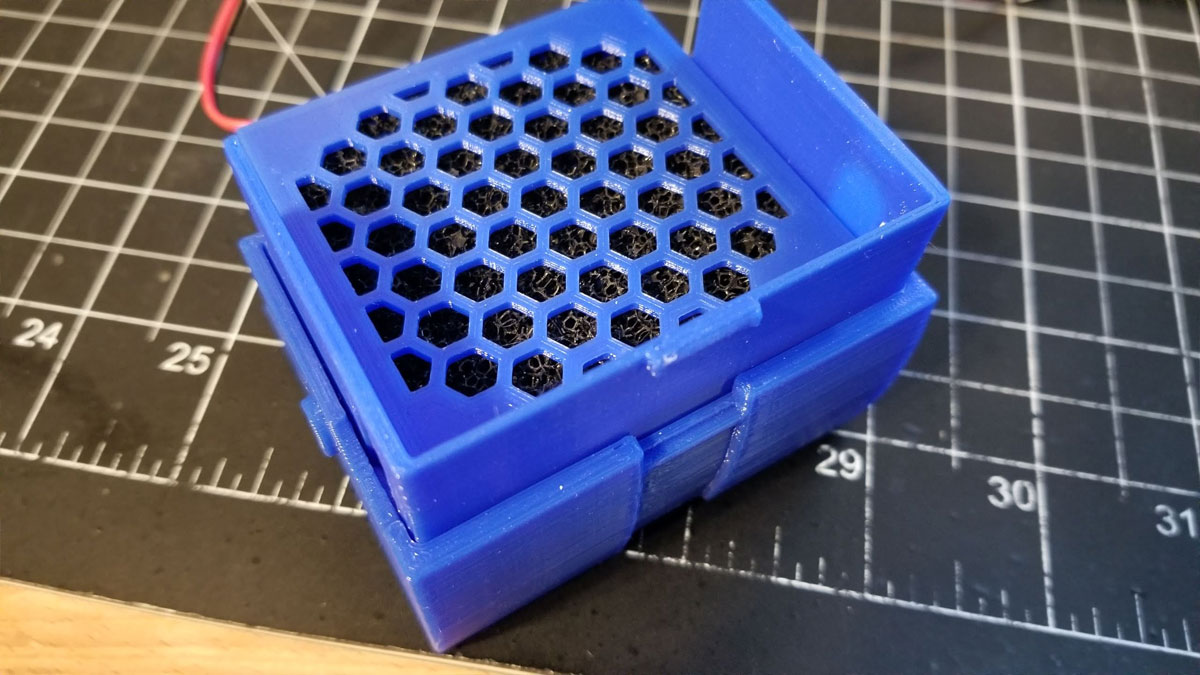
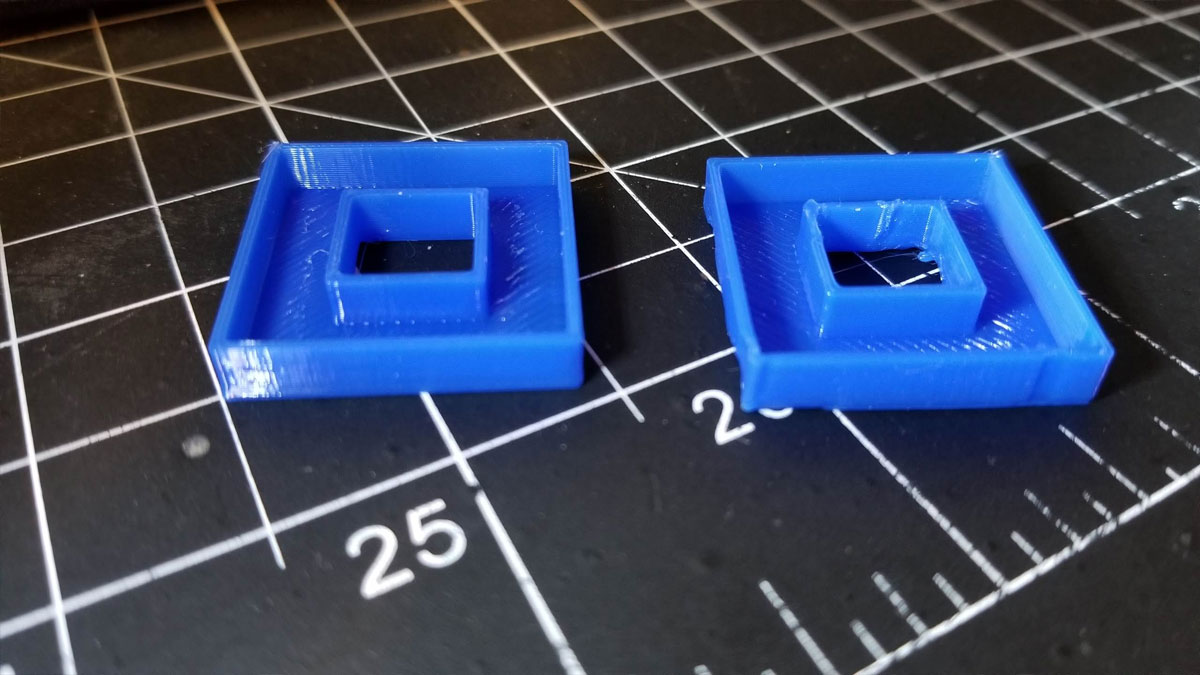
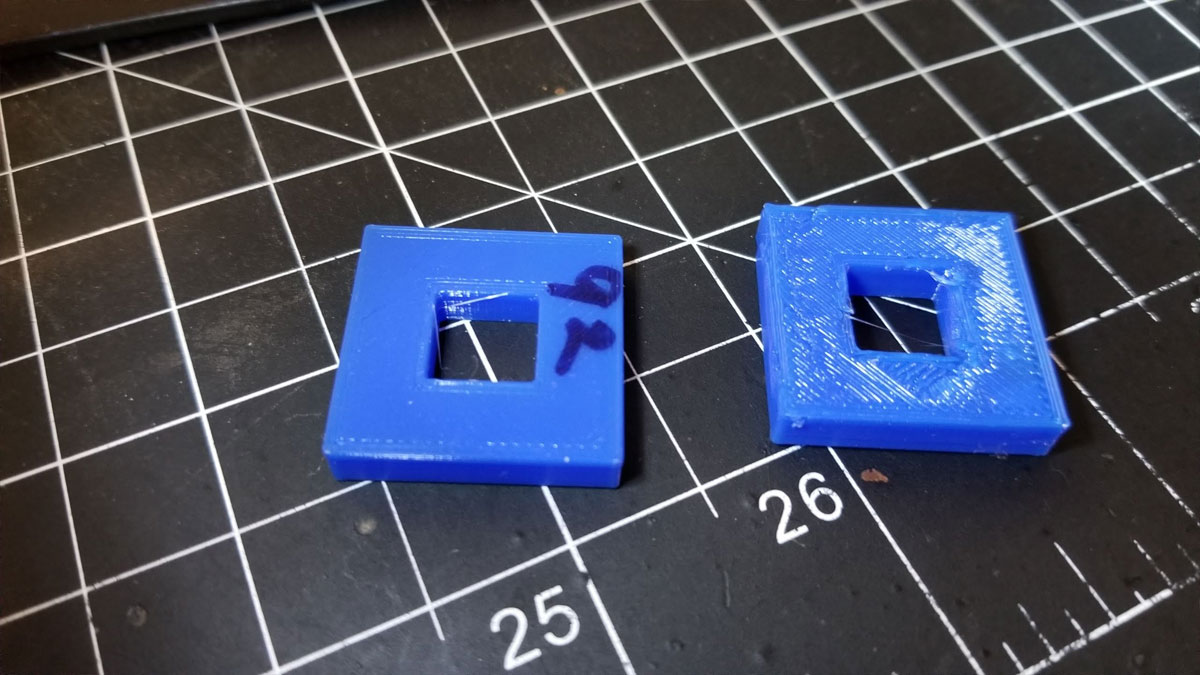
When testing the fan previously I noticed that some of the fumes seemed to loop up and over the fan when they were sucked away from the source of the smoke. I designed a couple methods to mitigate that problem but this one seems the most promising. It is just a thin pull out shroud that extends about 15mm from the fan face and should help keep the flow a bit more directed. The other idea was to have the handle swing to partly shroud the fan. The problem with that idea was that it would have been very leaky and probably would have been less effective. I have yet to test this, and the pics above are just test parts, but once I get the fuse holder, I can fully print and test the works.
|
Probably the most practical thing about a 3D printer is being able to print parts to fix minor annoyances around the house. I had to replace a gazebo cover which was wrecked by a storm, and found that the new cover was just a bit larger than the old one. I made some longer points to add to the gazebo, as well as some regular end points, which were just replacements for some that had gone missing. It did take several hours to print the parts and maybe 30 minutes to design and set up, which is really more like a hobby anyway, so it doesn't feel like working.
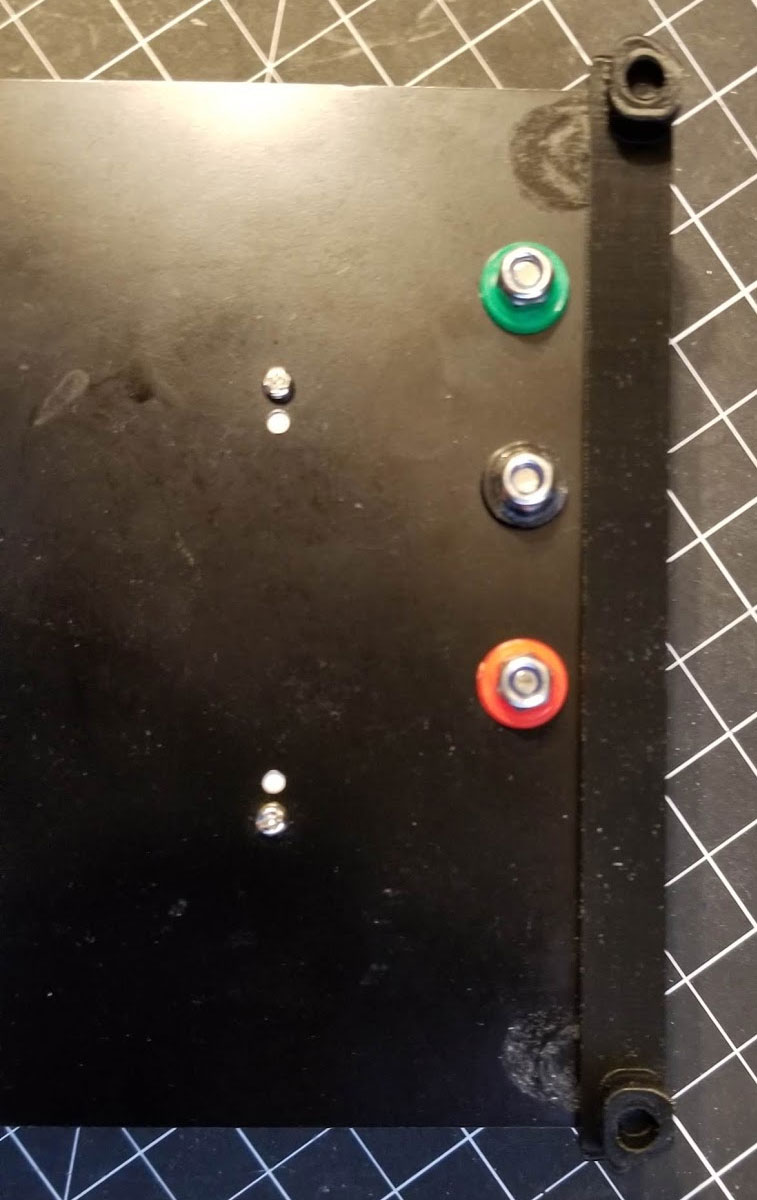
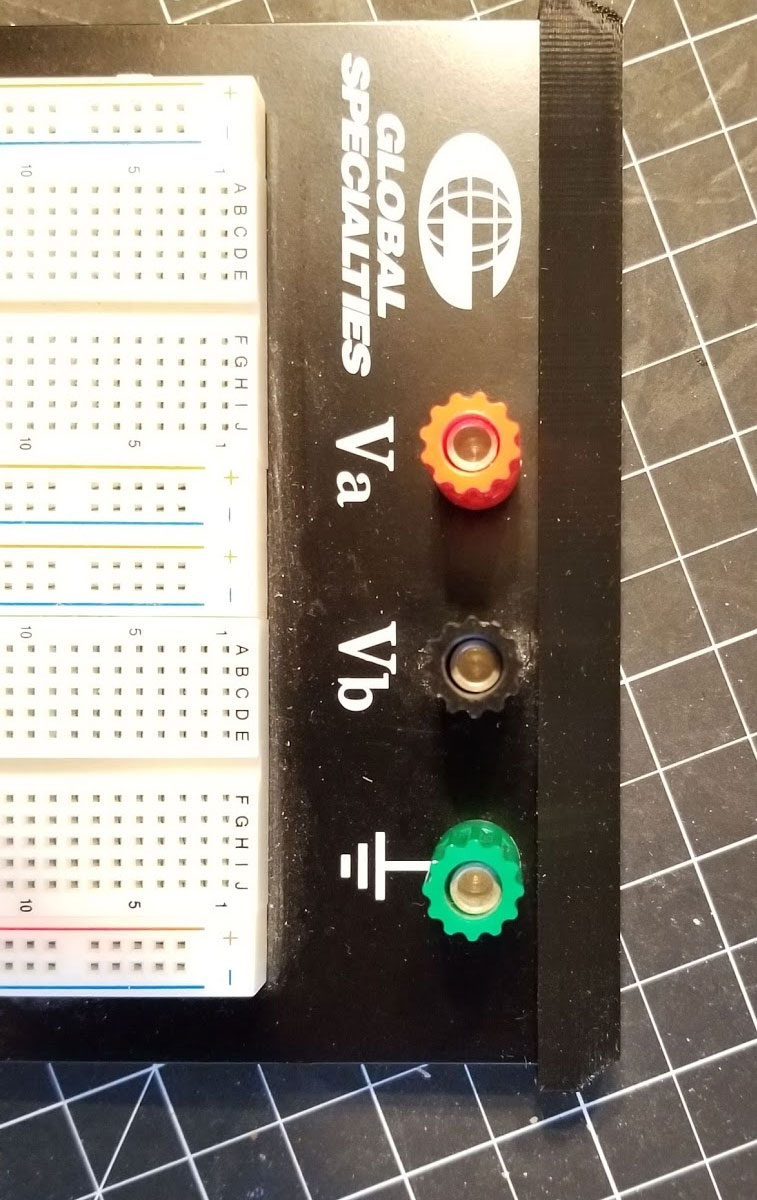
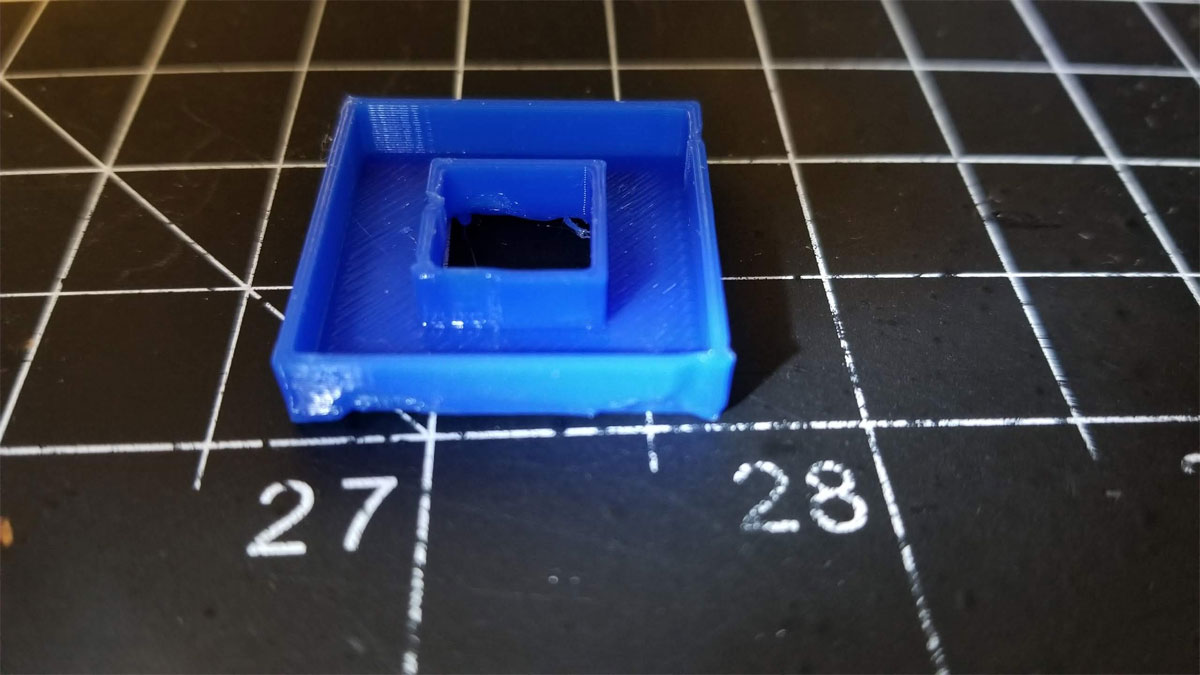
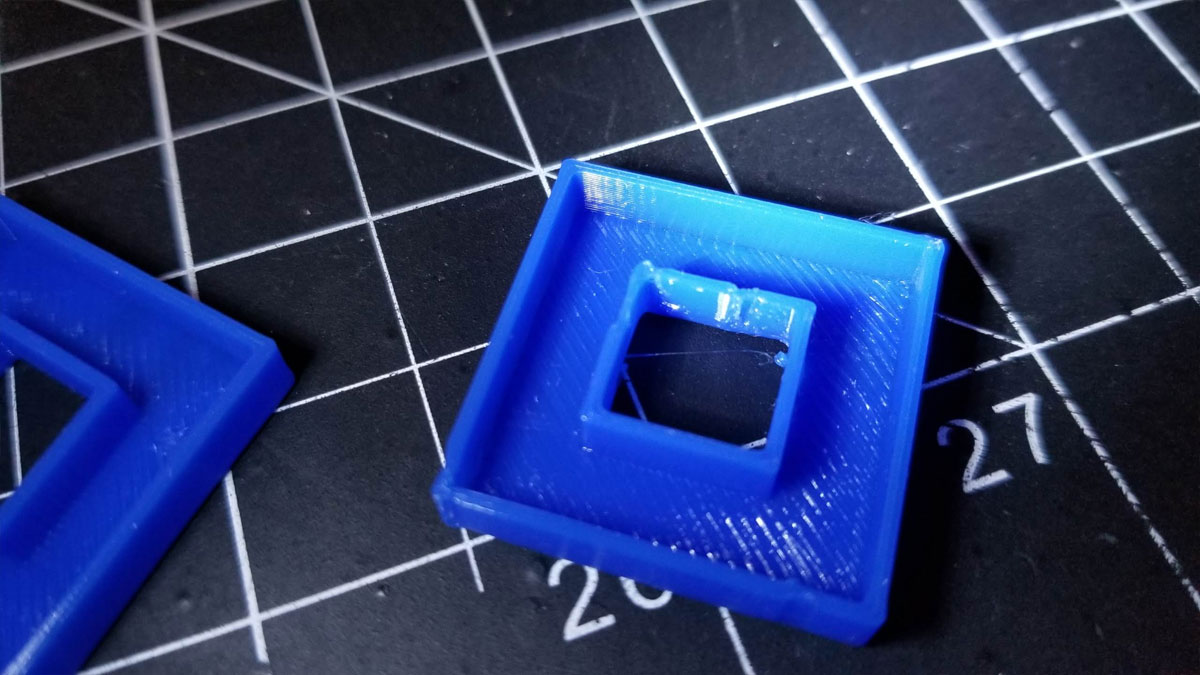
I also made a set of feet for a breadboard which had long since lost the cheap rubber stick on feet. Without the feet the breadboard would not sit flat due to some posts for the power connections, so this modification makes it much more usable now. Couple updates on the other projects - I'm still working on the solder fume extractor, and testing some changes to the design while I am waiting on parts (from China). The Hex LED panels is just waiting for some time to work on testing the electronics and code further, and then I will get to printing the rest of it (this project is gonna take a while though due to the amount of printing required). 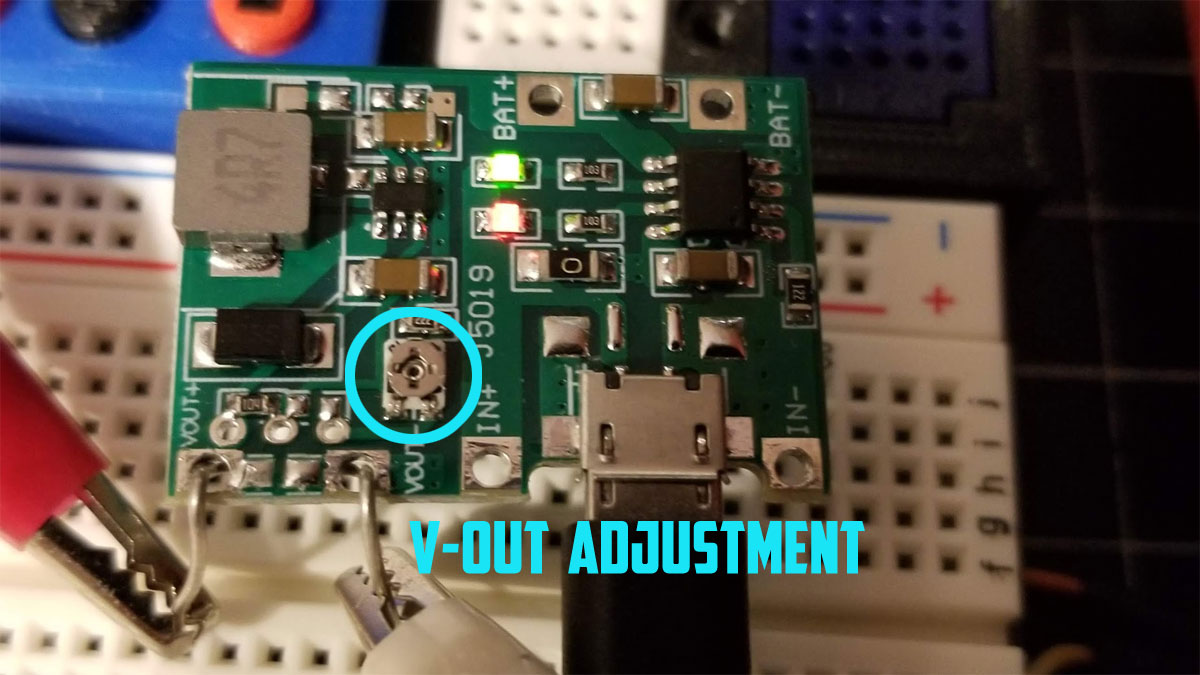 I added a post under the "Lec'tronics" section with info on testing the USB boost converter board that I plan to use with my new Stanley Solder Fume Extractor design. On USB power it seems like it will work, but I still need to test using the battery alone.
First let me say that this story does have a happy ending, unlike many of my printer stories. As you can see from the pics above a simple test cube to check flow (info here and here) and horizontal expansion on a new PLA I was trying, did not go so well. I had been having some issues with print quality on the Ender3 for a couple weeks, but it was good enough for the prototype stuff I was using it for, but now I need to actually print something nice and quality matters. The test print has several problems including bumps on the sides for no apparent reason and a very weird looking pattern on the base which just looks sloppy. I first swapped the nozzle and did not get much improvement, so I bit the bullet and went over the X-gantry again (has been a long time since I had to), and also tightened up all the wheels and cleaned the extrusions they ride on with a microfiber rag. That did the trick and below you can see a before (right) and after (left). I'm not gonna say that there is no more room for improvement since with printers there always is, but for this project this will do.
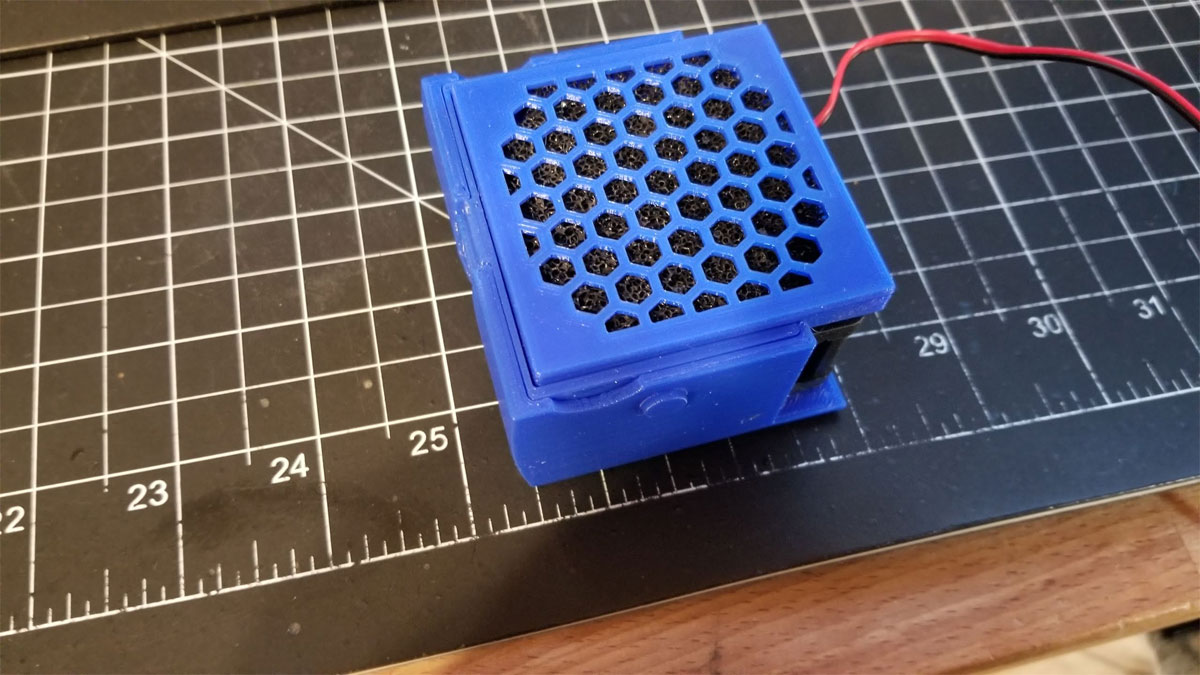
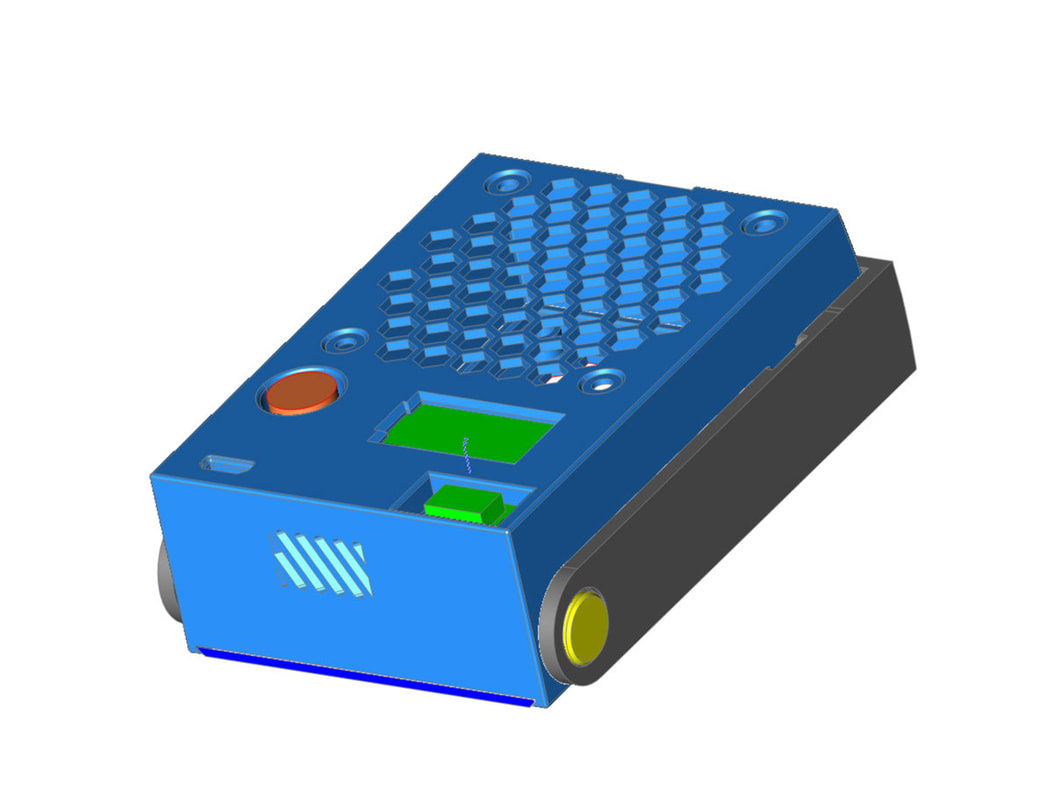
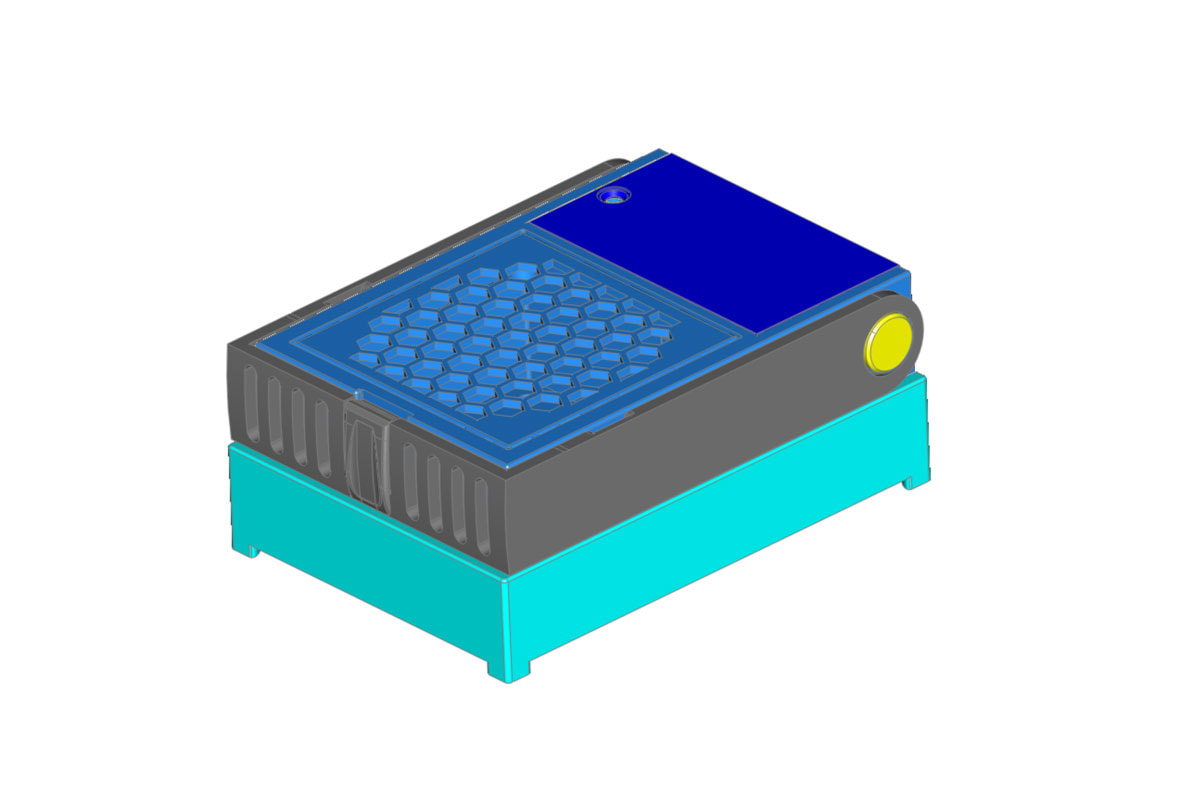
My first attempt at making a mini solder fume extractor fan was a bust, but I really liked the compact size which fit in my Stanley organizers, and the USB charging. The problem was the 60x20mm fan sucked and not in a good way. I also did not like how jam packed the electronics bay was which was largely a factor of needing two boards, one for USB charging and battery management and a second boost converter to jump the 3.7v of the battery to 12v for the fan. Recently however I found a board that should integrate the USB battery charging with a boost converter. It looks like they pretty much took both boards and put them side by side, but that's fine. I bought a couple of them to try out, along with a 12V 0.2A 60x25mm fan and a larger 1000mAh lipo cell. If it all works out then I may be able to get a decently powerful mini fan working in a few weeks. The pic above is the heavily re-worked design to fit the new components (it's not final though since I don't have the boards yet).
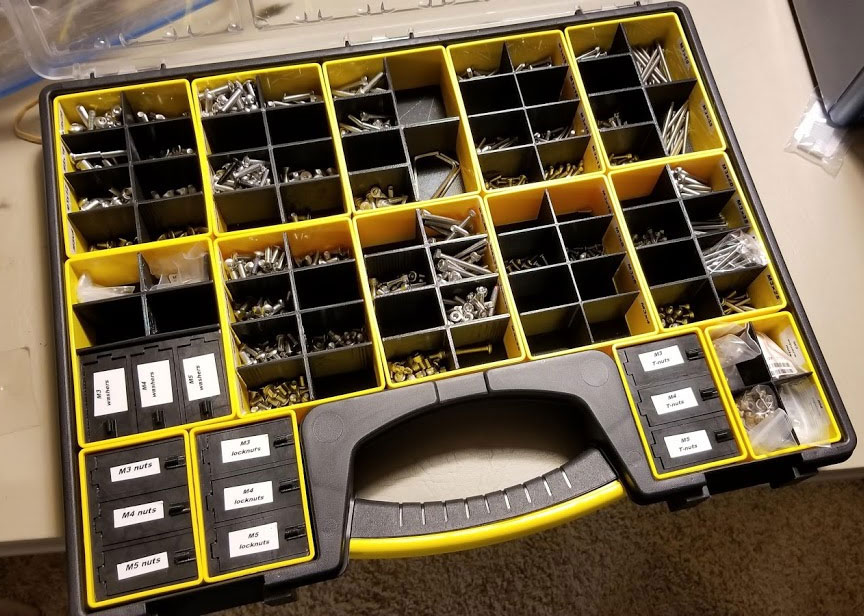 It has been a while since I posted the Stanley 014725R organizer bins on Thingiverse, and I have been pretty happy with them. I use them primarily to keep my M3, M3 and M5 hardware organized, and they saved me a ton of time over the years. Some folks however noted that the door hinges were not super strong, and I have popped one out accidentally when closing the lid on one that was open, so I tended to agree that something should be done. This week I had some time so I re-worked the hinges to use a large paperclip wire (straightened of course) as the hinge, and I think it will be the version I use from here since it is much stronger. The new versions are posted at the links below. Pic above shows the old versions, but there is no significant cosmetic difference (I only printed the smaller bin with the new hinge, and the larger one is just a slight modification so I don't feel I need to print that one to test).
This model has 3 bins with lids (fits the medium size bin): https://www.thingiverse.com/thing:4784172 This model has 3 bins with lids and 4 open bins (fits the large bin): https://www.thingiverse.com/thing:4785308 Original dividers can be found here: https://www.thingiverse.com/thing:3091544 Nothing much to say here, just that only Ford Engineers could make something like swapping a (12V) battery into a chore requiring 4 different tools:
T27 Torx bit (for the 3 bolts that hold the plastic cover over the battery compartment) Deepwell 10mm (again for the plastic cover over the battery compartment) 10mm wrench (for the battery itself) 8mm socket and extension - I used a 3" and 6" (for the battery clamp) My main PC was down a few days, had a problem of random lockups and my video card drivers were reverting to the generic windows drivers as well. I had thought it was the video card due to the drivers issue (multiple reloads of the driver often ended with a crash too). Also had checkdisk type errors pop up during boot, and eventually failed bootups and failed startup repairs. I even re-installed windows to see if it was something corrupted, but still had issues so rolled back to a backup image. For a while I thought it could have been my nvme drive, since I know they run hot and mine happens to be buried under the motherboard in a very small and tight case. Then I actually got some time to look at the hardware today, which thanks to the case is a bit of a chore. Noticed the CPU fan did not come on when I plugged it into power (just power nothing else). Tried giving it a spin and noticed it tried and stopped, so that was the DOH! moment. I had been chasing down issues with drivers and possible corrupt disks and it was my damn CPU overheating. Swapped the fan and running nice and cool since. Was also able to install a low profile USB 3.0 header extender for the case ports, which I had bought a while ago and never installed (had been using the USB2.0 headers for the case ports), so not a total waste of time. I may need to install a dashboard app to watch the CPU temps, or not, and just remember to check the simple stuff before diving into the more difficult stuff next time.
|

Stoopid MeWelcome to my Stoopid corner of teh Internet. It's mostly gonna be 3D printing stuff, but I also post some recipes, projects, and the occasional rant here as well. More Stoopid stuff is updated regularly.  Archives
July 2024
Categories |
 RSS Feed
