www.thingiverse.com/thing:4640040
|
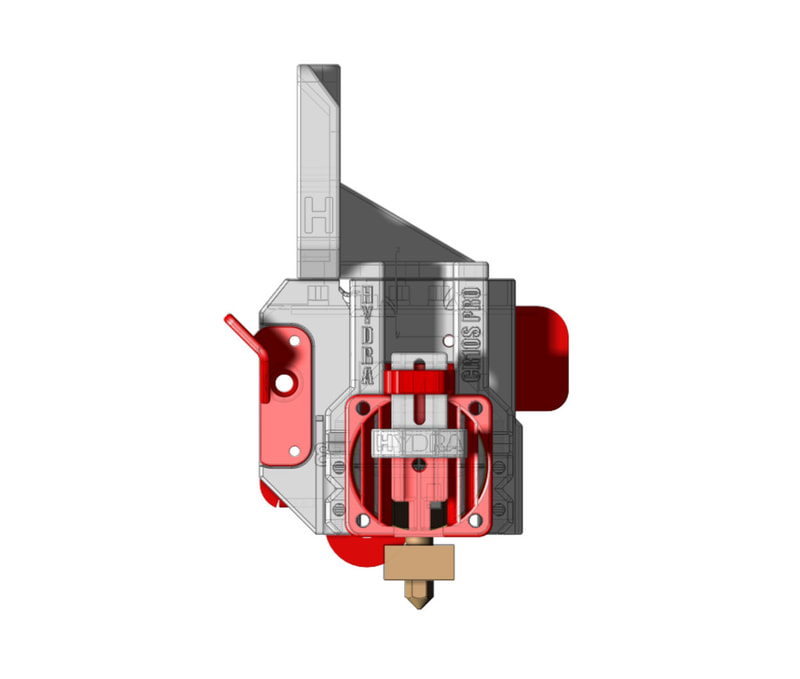
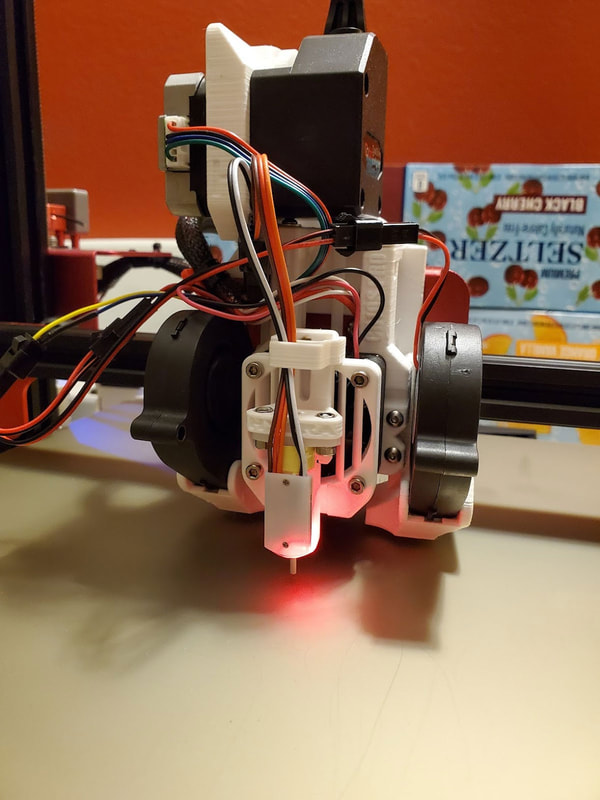
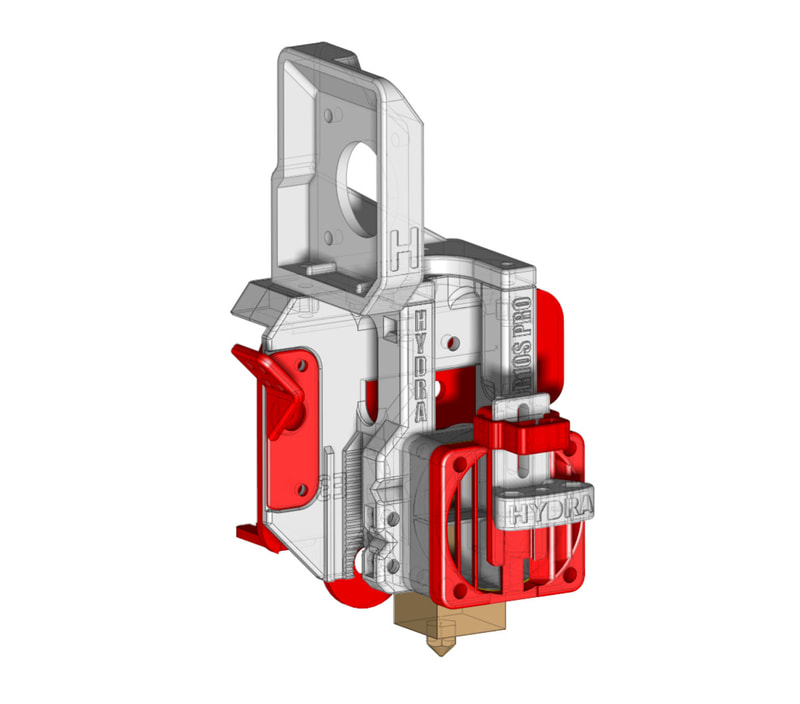
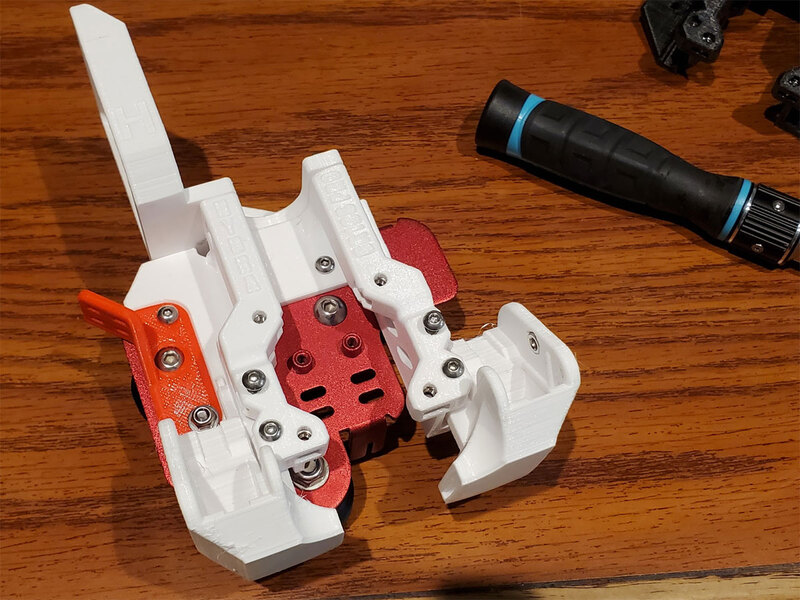
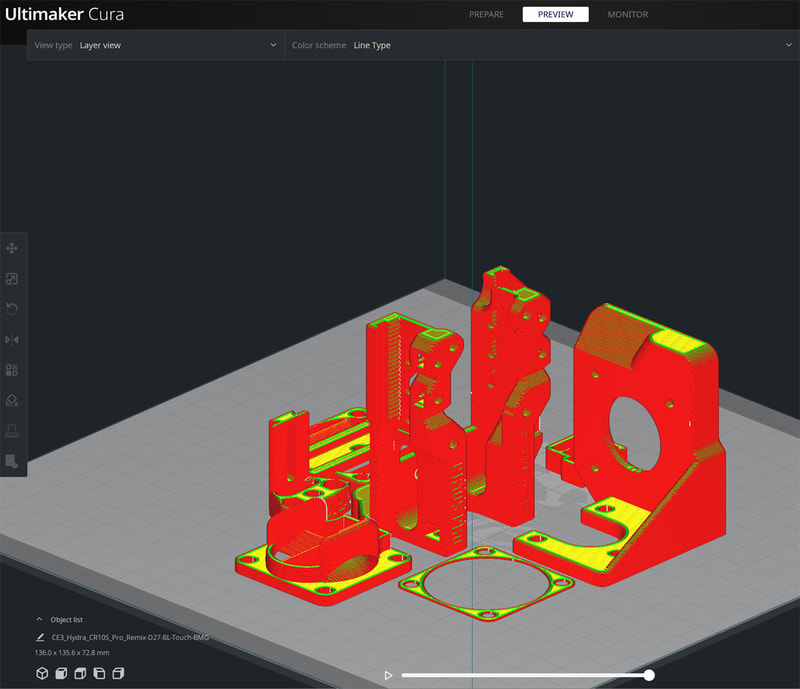
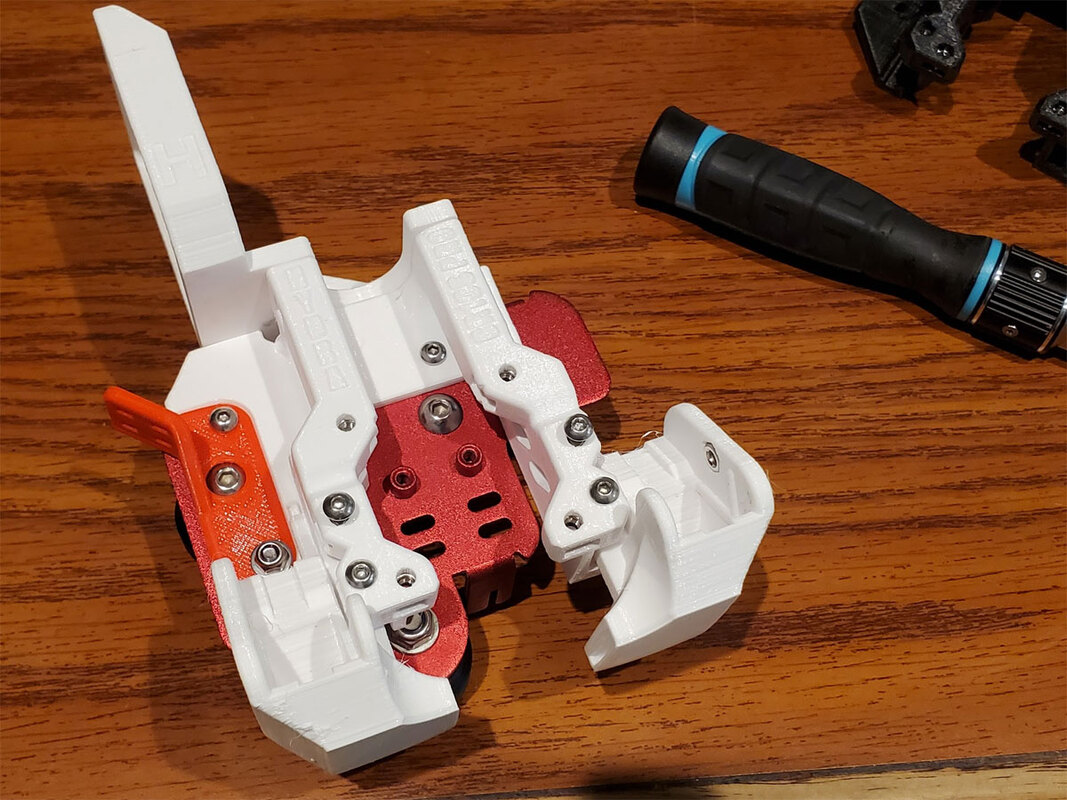
I just updated the design with the final versions of the models for my Remix of BoothyBoothy's Hydra Fan Duct System. My remix is for the CR10S Pro and includes an adjustable BL-Touch style probe mount, which I may also post separately. www.thingiverse.com/thing:4640040
0 Comments
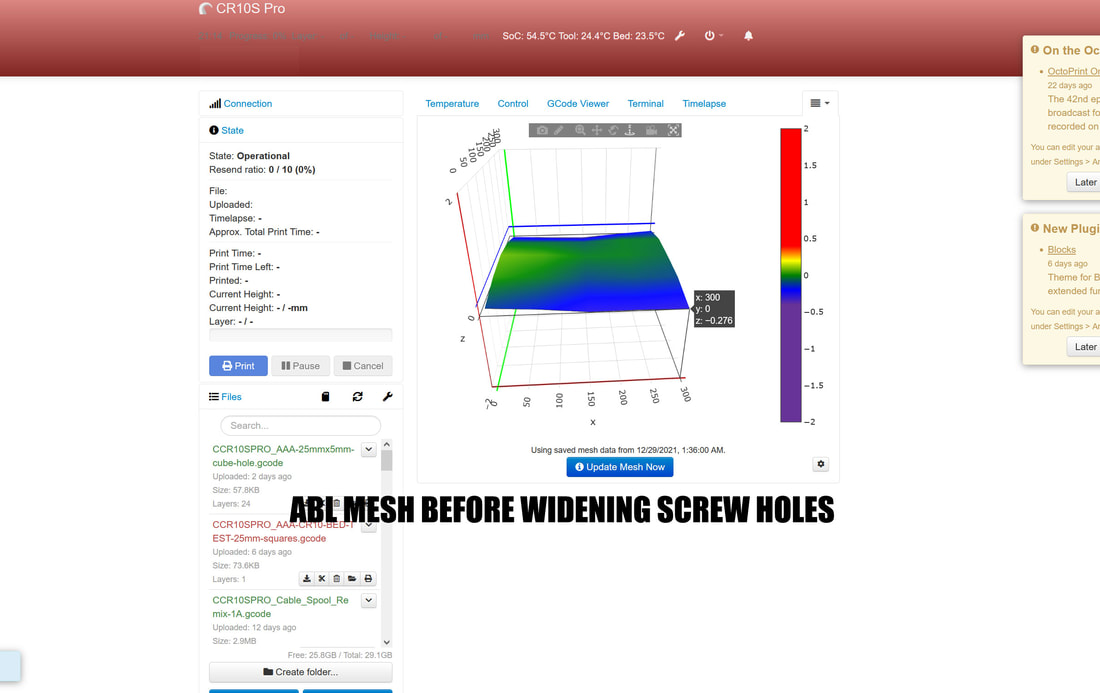
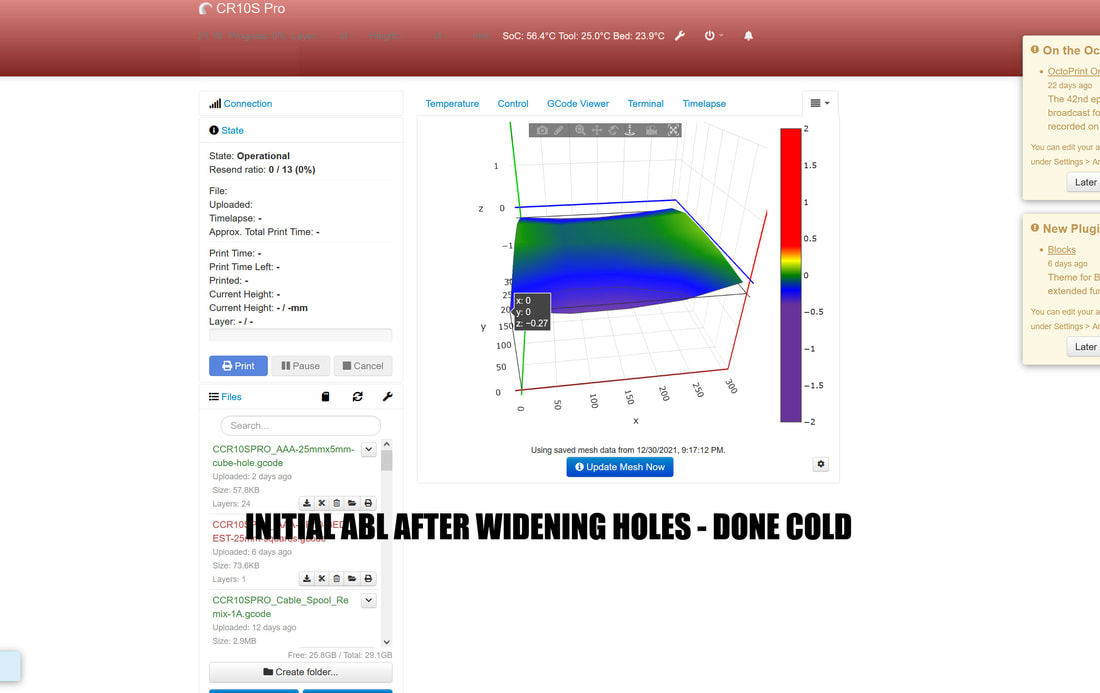
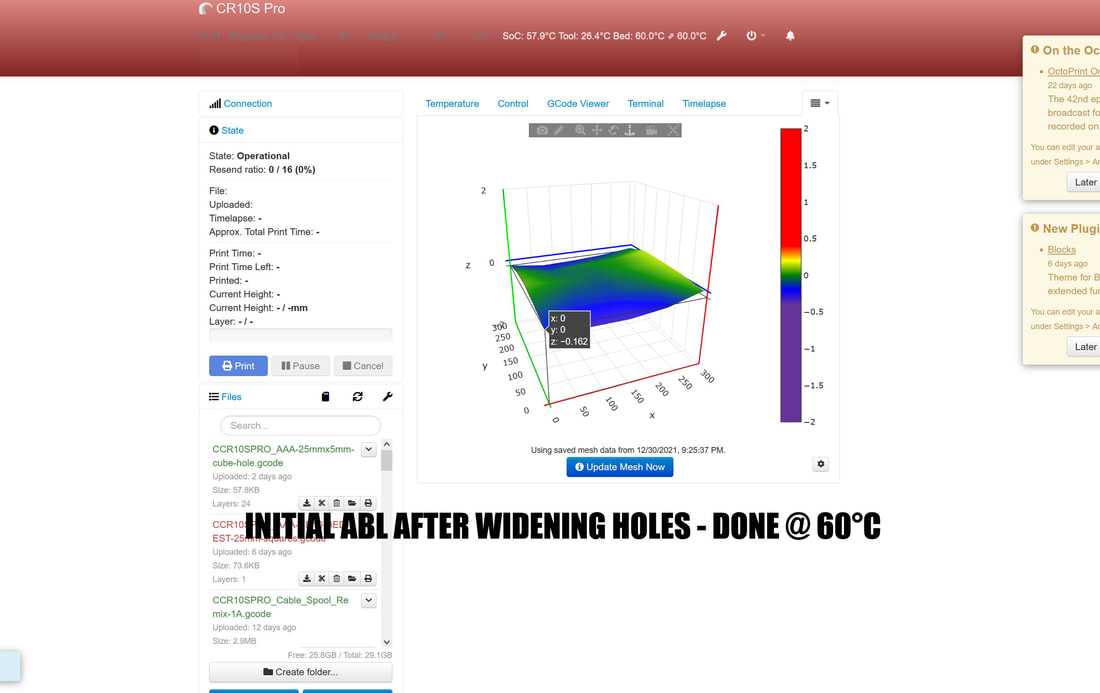
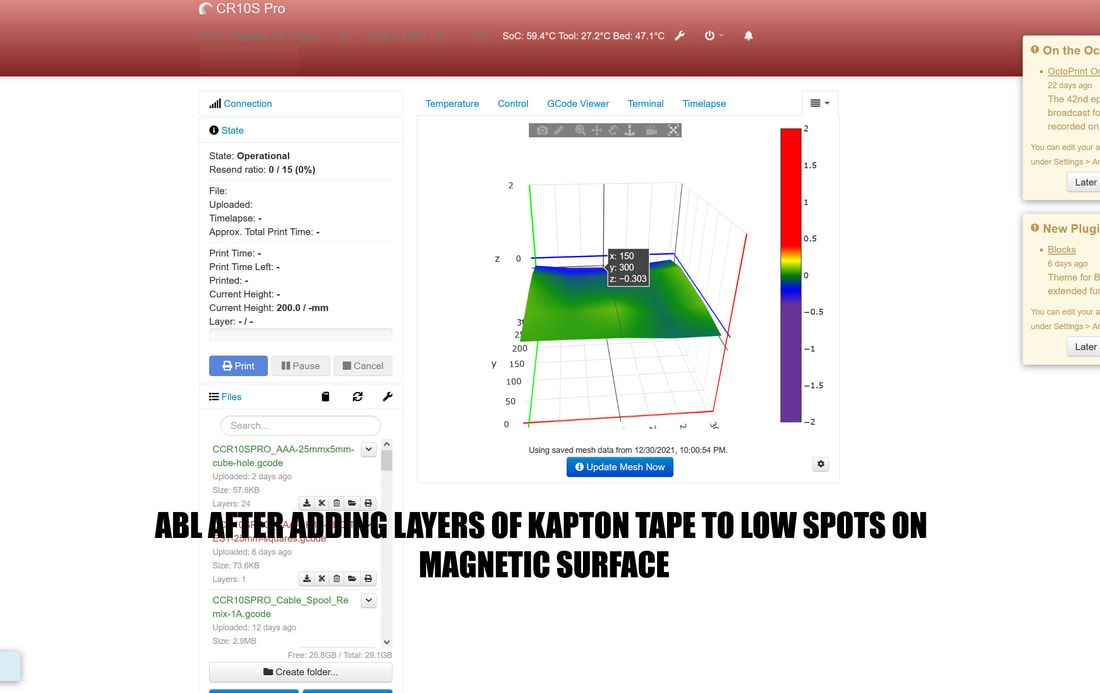
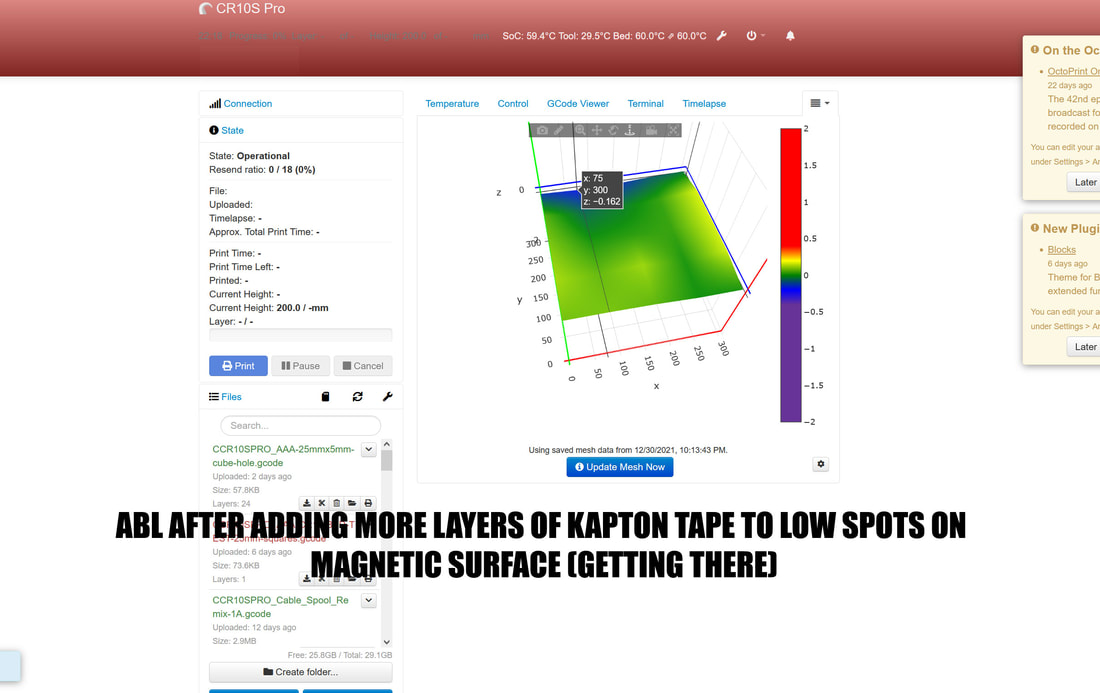
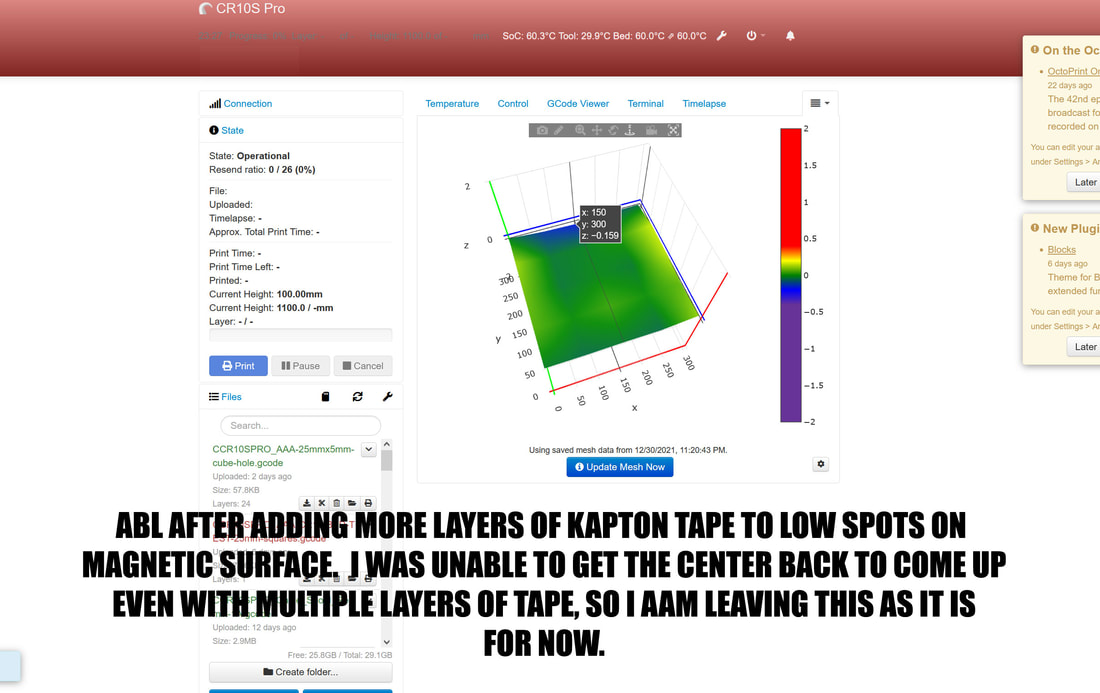
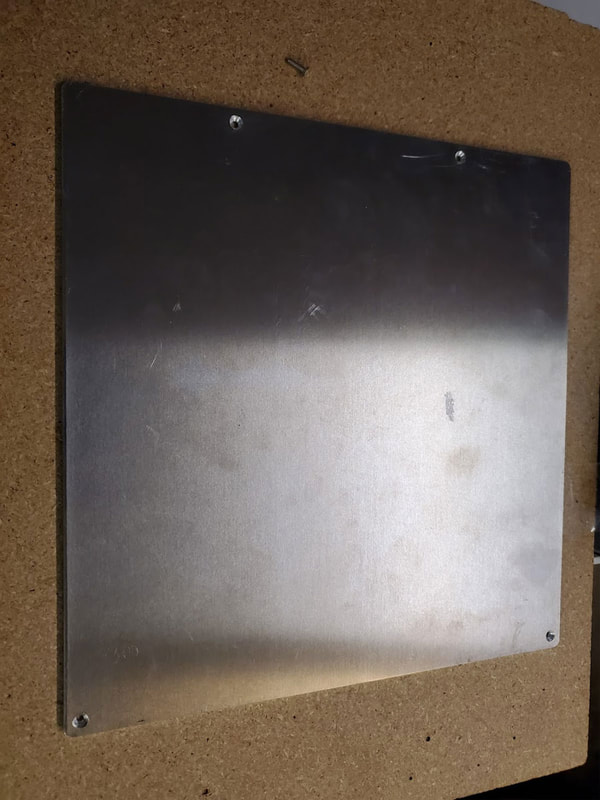
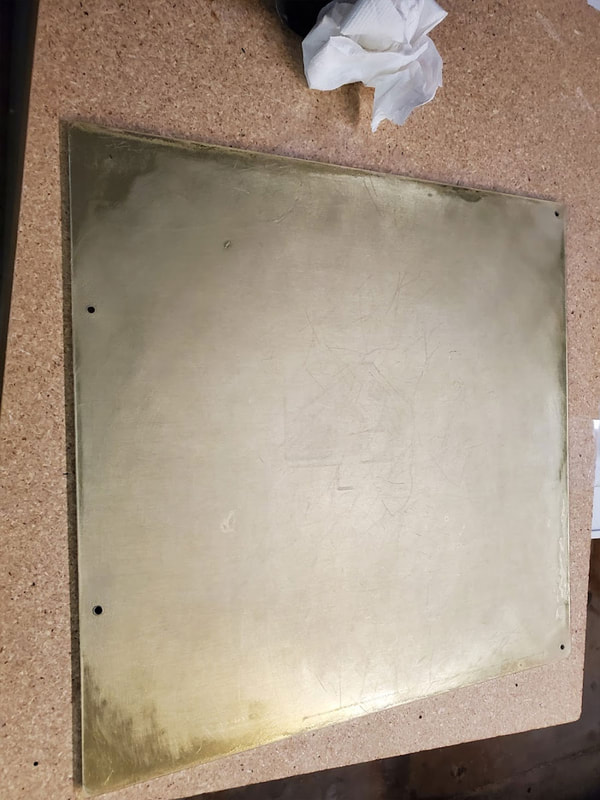
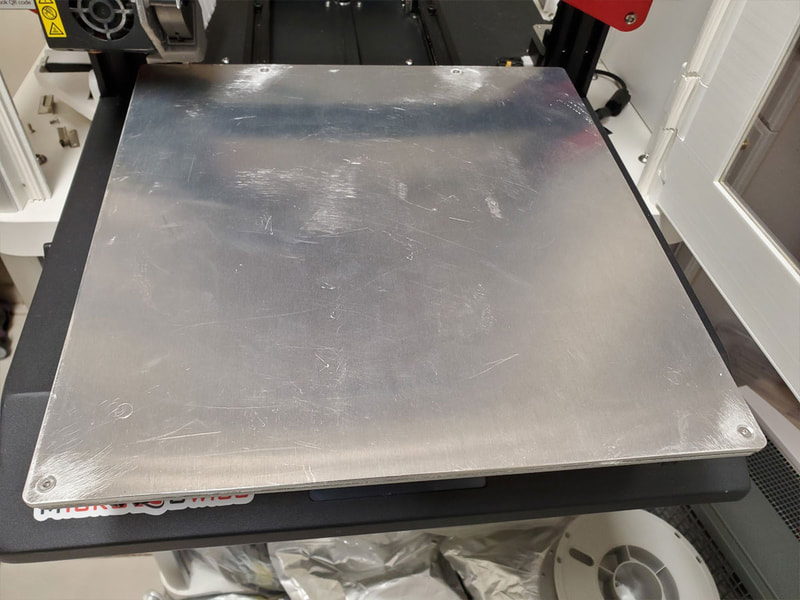
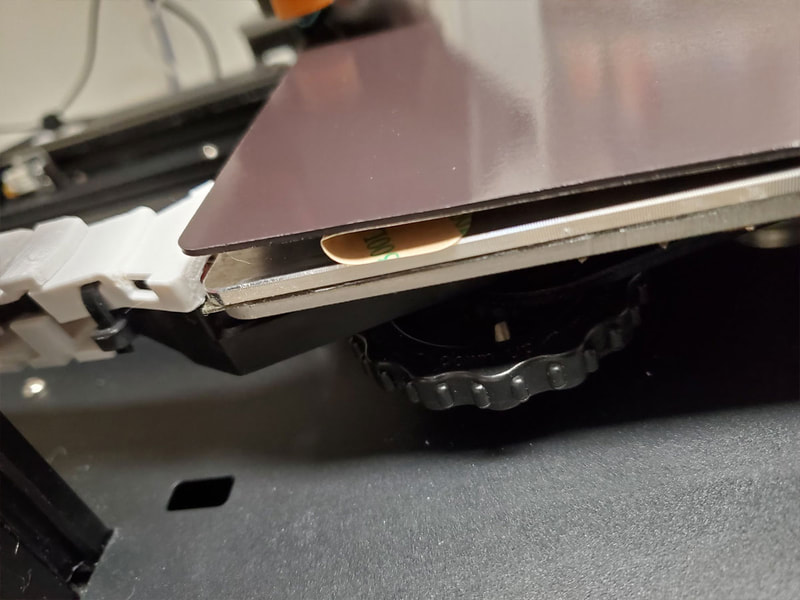
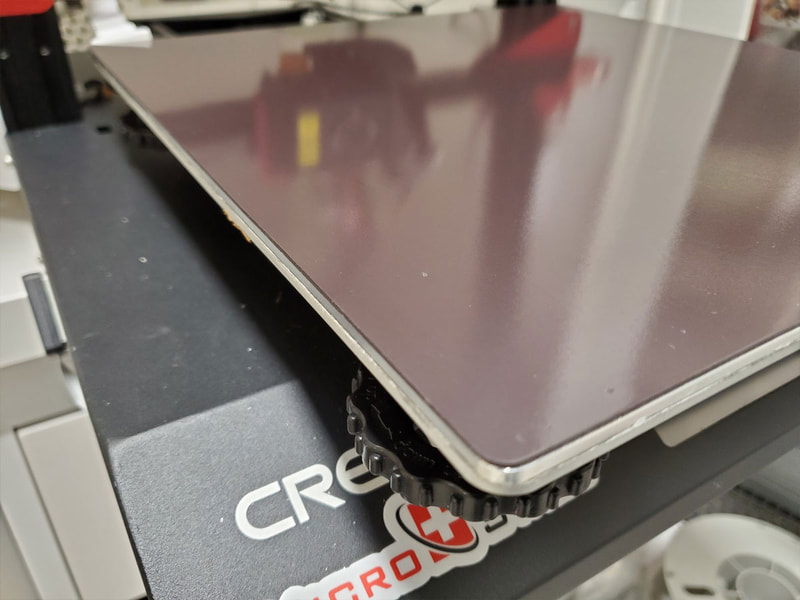
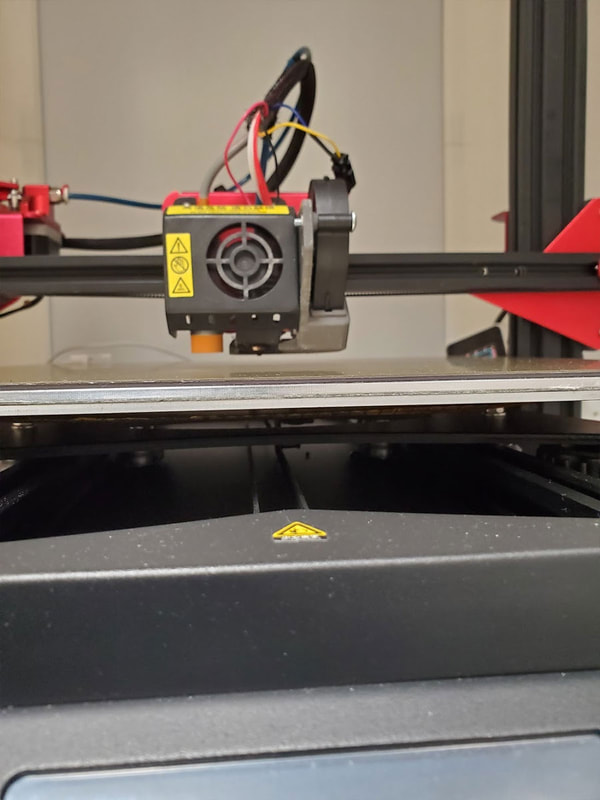
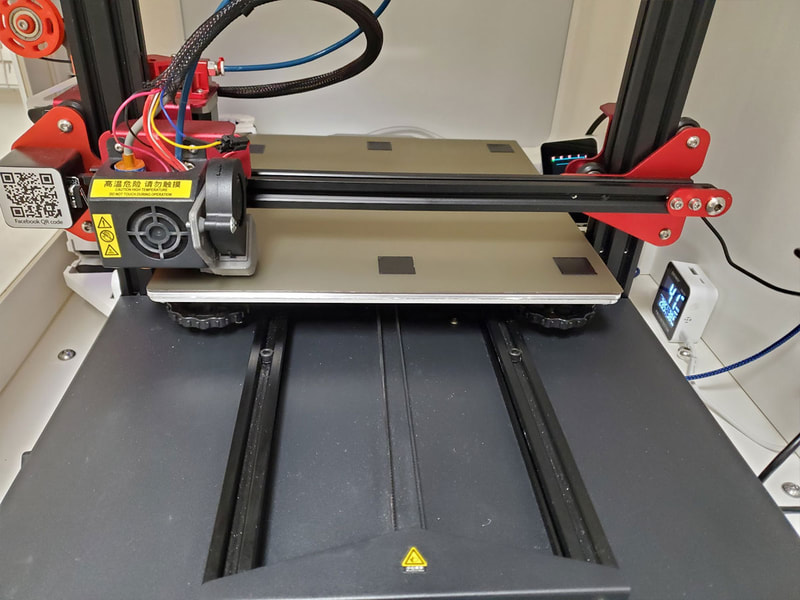
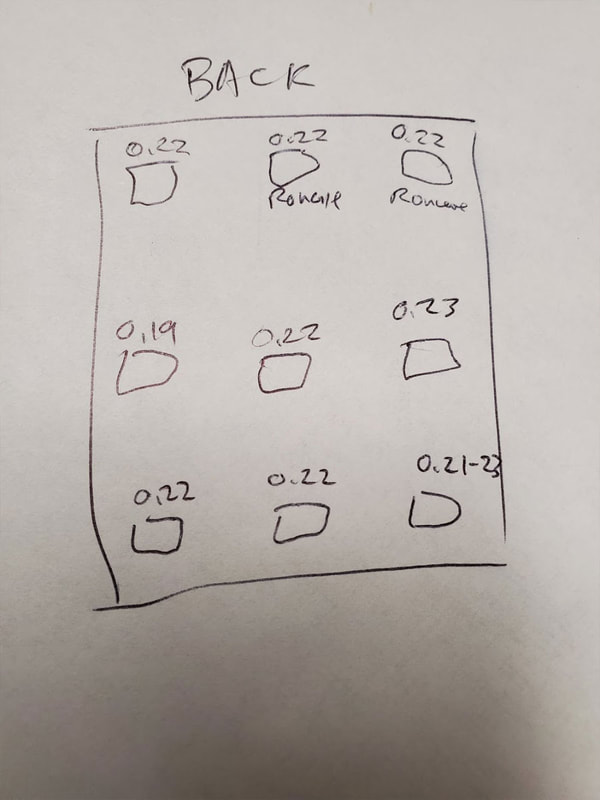
I posted earlier about upgrading to a spring steel magnetic build plate on my CR10S Pro. Due to the way this printer is set up with a thick aluminum build plate held on by clips, I had to choose whether to just remove the plate and slap the magentic sticker on the bed which is more of a sub-bed, or somehow use the aluminum plate. I decided to keep the plate and instead of holding it with clips, I used screws by drilling four holes through the plate and countersinking them. I still think that method will work, but unfortunately when I set my bed up the holes were probably too tight and so heating the bed likely warped it as it bucked up in the middle, that is my suspicion at least. I didn't immediately make the connection since at the time I also had an inductive probe and thought there was some trouble with the combination of inductive probe and magnetic bed, however the mesh with the inductive probe was similar to the mesh with the 3D Touch probe I later installed (though the 3D Touch probe seems quicker to probe the bed). My fix to stop the problem from getting worse was first to open the mounting holes I made in the plate, and second to only tighten the screws holding the bed snug, and not to torque them too much. The bed still feels solid and I don't expect anything to shift. I think these changes will allow the plate to expand and contract without warping further. That is just a theory though, and I may have warped the plate some other way, though I did not notice anything when working on it and it was always fully supported when drilling the holes (I used a backer of press board). In any case my bed is now warped and I'm not feeling like spending 60 bucks to swap it. I decided to try adding some Kapton style tape to the low spots, after getting the wheels set as best as they could be. This is what I had to start with, there is a high bulge right across the center which is parallel to the x-axis: Widening the screw holes did not help much since I suspect the damage was already done. I probably could have flipped the plate and tried un-warping it but who knows what I would end up with so I tried adding tape to the low spots. The tape was added in horizontal strips along X-axis and I just added more to bring up the low spots. I re-adjusted the wheels as well, a couple times in this process to try and tune things but the adjustments were minor. I found that I needed quite a bit of tape at the back of the bed, and finally gave up there since it was getting out of hand and I want to see if things will settle in at all.
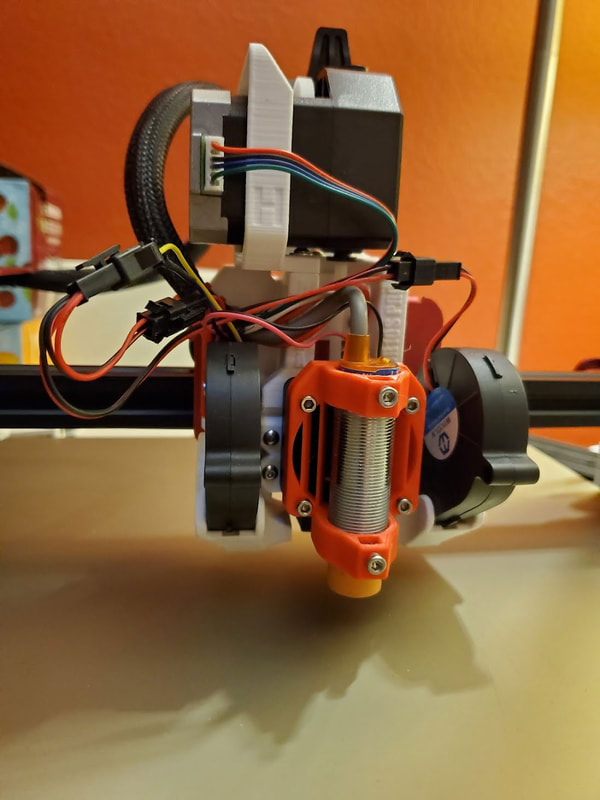
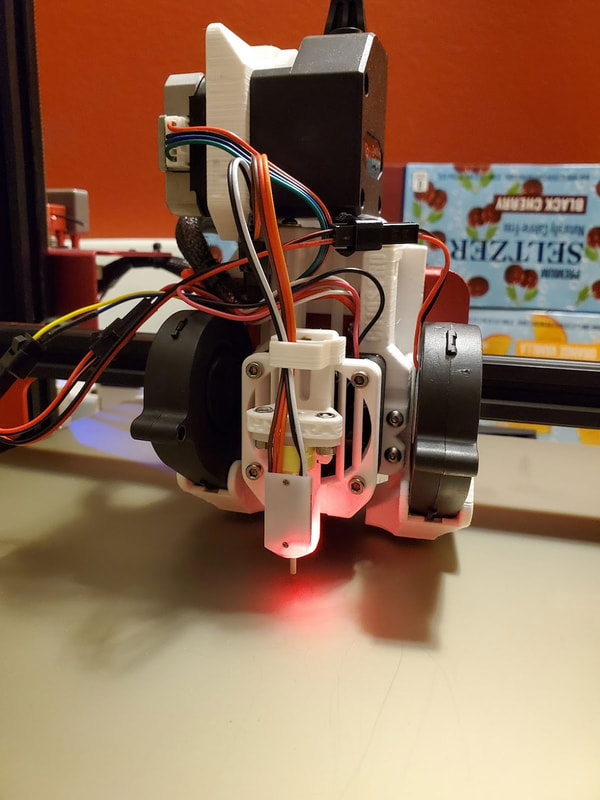
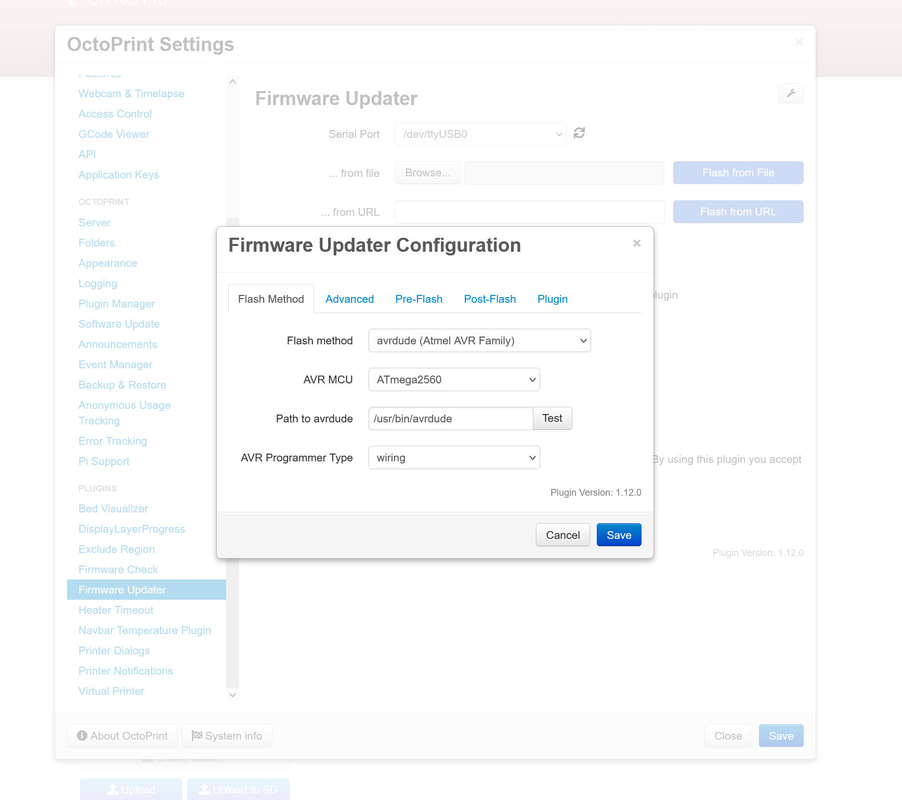
Seems like there is never a simple upgrade on a 3D printer for me. When my extruder arm busted and I could not find my Tinymachines updated part to replace it with, I got all excited about installing a BMG clone on my as then untested Hydra Remix for the CR10S Pro. Well it's tested now, and will be updated with some fixes though nothing too major that I couldn't make some changes on the fly to the prototype I tested (and am still using). But what sort'a messed me up was that after I installed the new magnetic bed, it seemed cool with the old setup and ABL seemed to be working OK, but when rebuilt the hot end it got all nutty and appeared that there may be some issue with the inductive sensor interacting with the magnet (which I sort'a expected though was suprised after the initial ABL did not show it. In any case, I had some old 3D touch probes around (and one bad one which is of course the first one I picked), so "upgraded" the inductive sensor to a 3D Touch probe. I also dropped in Tinymachines 7.4.3 for the CR10S Pro V2 which uses the Z+ endstop instead of a jumper and the Z- endstop when going from the old V1 I have to what is essentially now a V2 with the touch style probe. I also designed a quick adjustable probe mount since I did not feel like messing around with figuring out the specs for a fixed probe, though I did end up modeling that anyway. I plan to finish up testing and then will update the Hydra Remix. Although I'm happy that the Hydra Remix will soon be checked off the list and finalized, what a mess, and all from a stupid extruder arm I could have just replaced and kept on rocking. I'm not gonna do a writeup of how to install the probe since it is really well covered by Tinymachines here, and there is another great resource page here. I will just add this image below since I used the OctoPrint firmware updater tool to do the upgrade. It required installing AVRDude according to these instructions, and then I just set the following in the plugin options: After install, I just ran M502 (factory reset) and then M500 (save), then added these for the probe offset and the BMG e-steps:
M851 X0.00 Y-46.00 Z0.00 M92 E415.00 I ran a PID tune from the menus and set the probe z-offset using the menus as well. I removed all the contact forms on this site (that I could find) today, due to the increasing spam that is being sent though them.
It's been over a year since I designed (but never tested) a remix of the Hydra Fan System, which was modified for my CR10S Pro with a MicroSwiss hot end. I never felt the need to change since the original extruder was doing an OK job, but that changed this week when I found it was pretty much destroying itself. So I had some parts already printed, and a BMG clone so I decided to try it out and do the upgrade, now I'm just waiting on a cable to extend the stock cable. Everything fits though and I have a good feeling that this could be a beneficial upgrade. If it doesn't, it will be easy to fit a different extruder since the system is very modular.
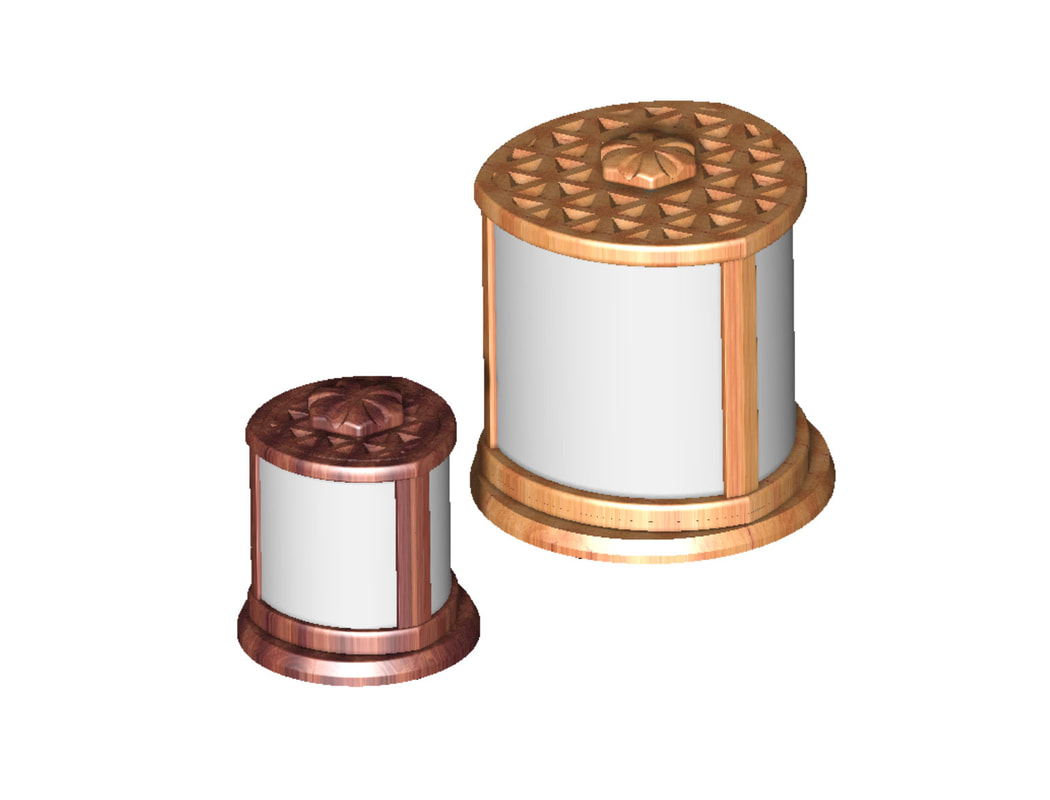
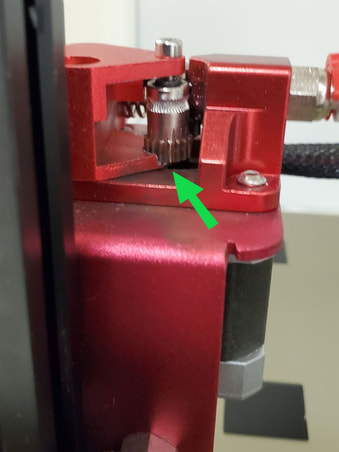
Noticed this today, thought I was good after installing the TinyMachines extruder fix but when I checked there was no sign of the bronze washers, so I dunno what happened. I thought that I had installed the new arm some time back, but looking at whats left of the part, I'm doubtful, and suspect it may not have been replaced after all. I know I had a spare extruder and may have installed the arm from a spare stock extruder by accident. In any case, I will chock this up to user error since either I did not really install the new arm like I thought I did, or the bronze washers went missing. This did throw a monkeywrench into my plans to print and test the lithophane night light re-design however.
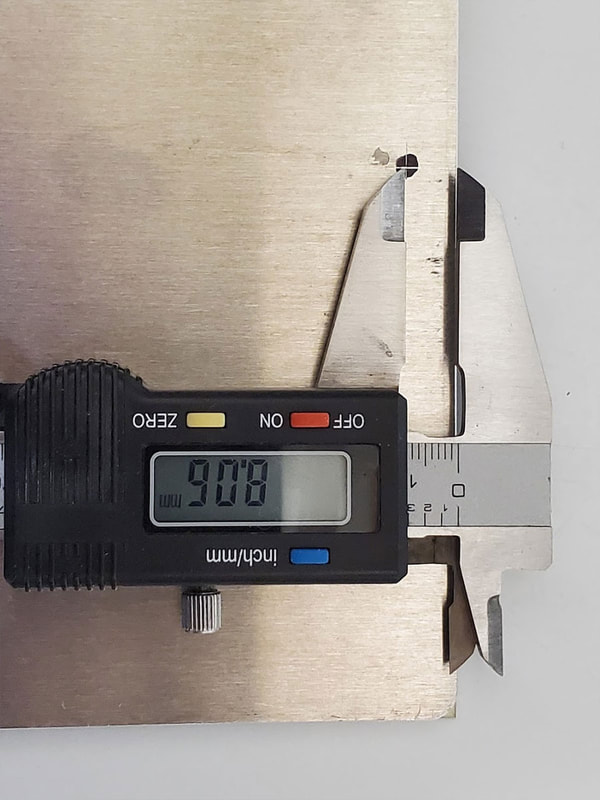
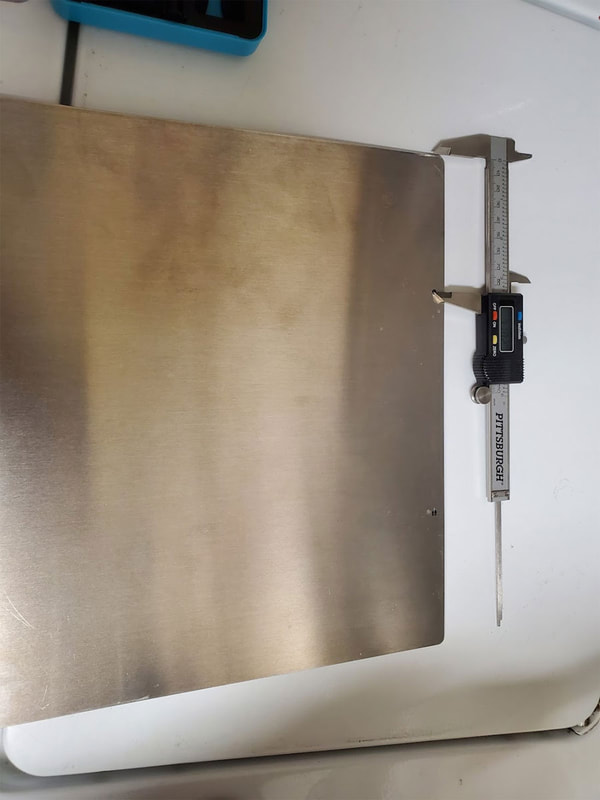
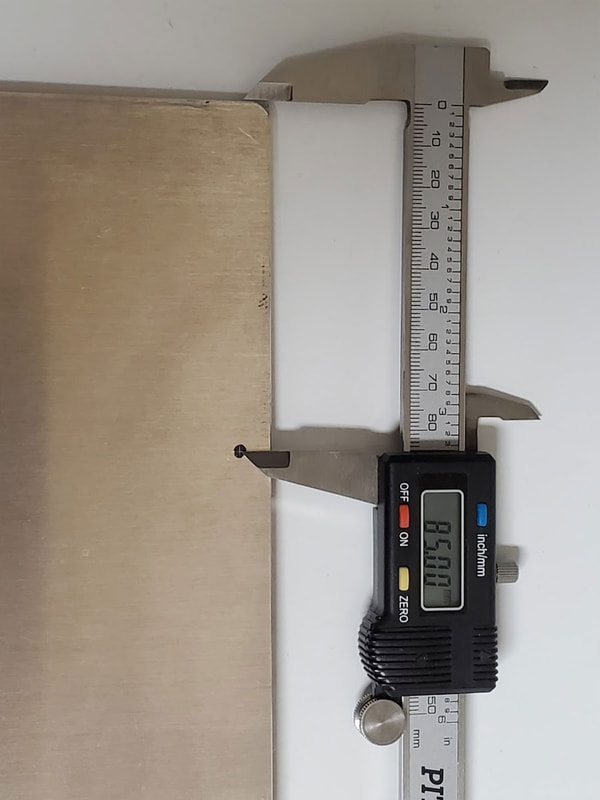
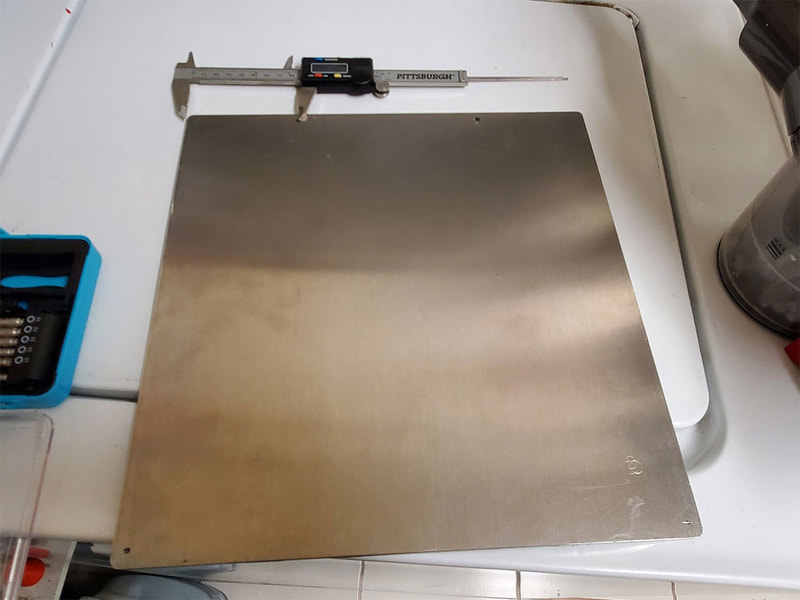
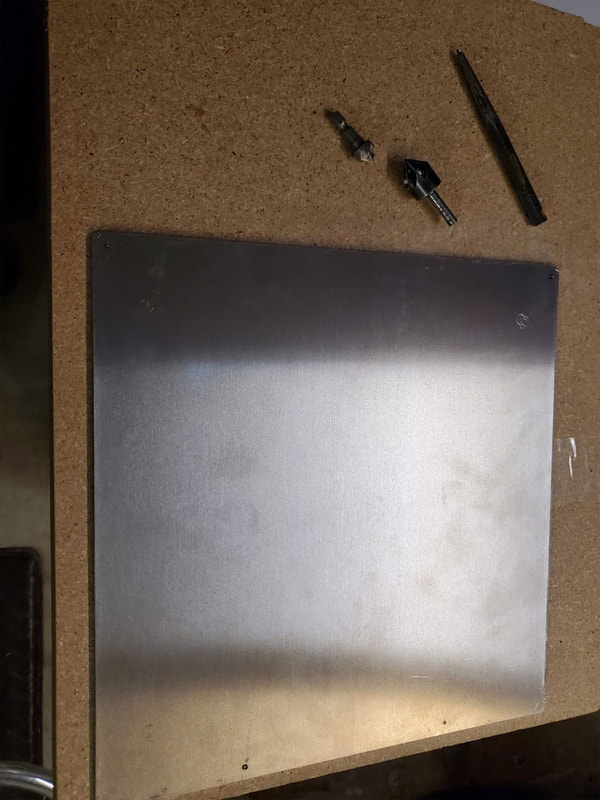
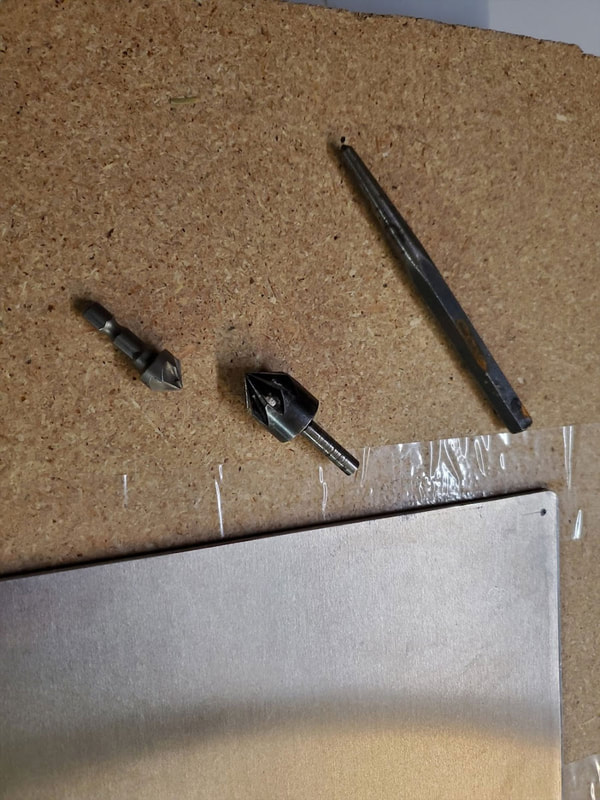
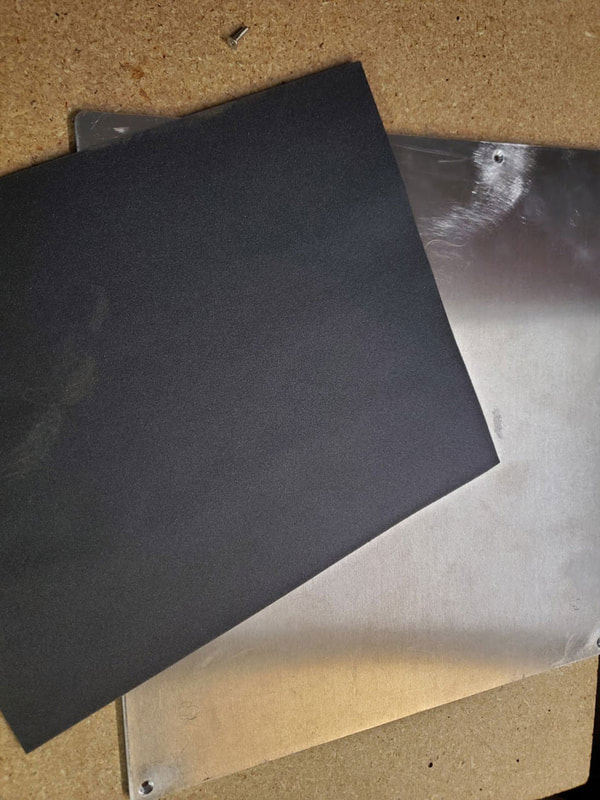
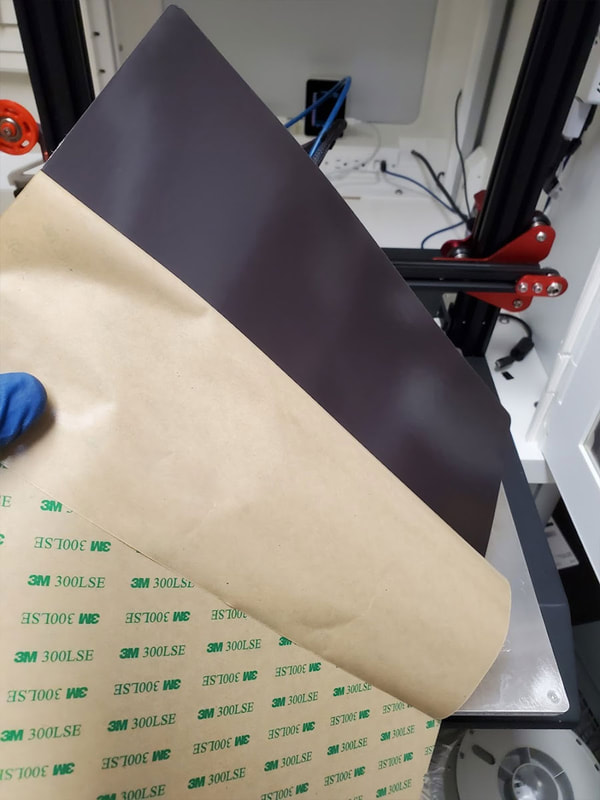
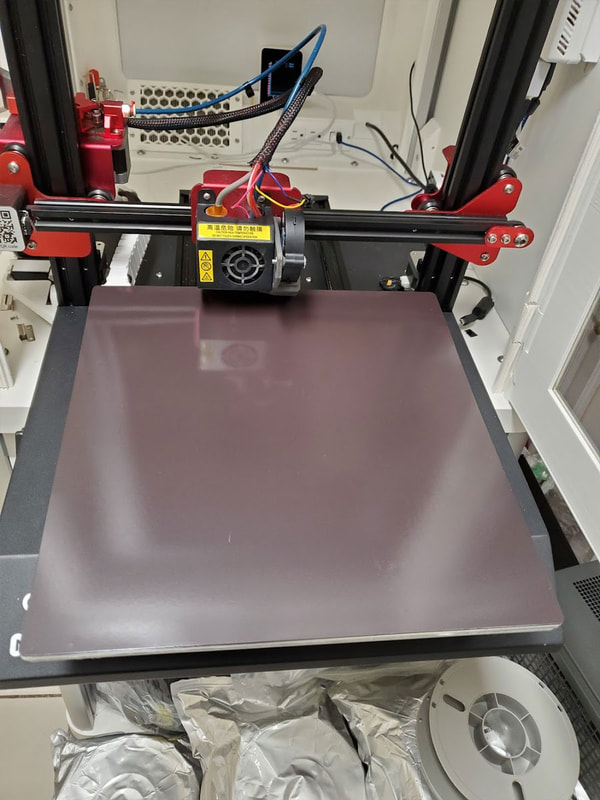
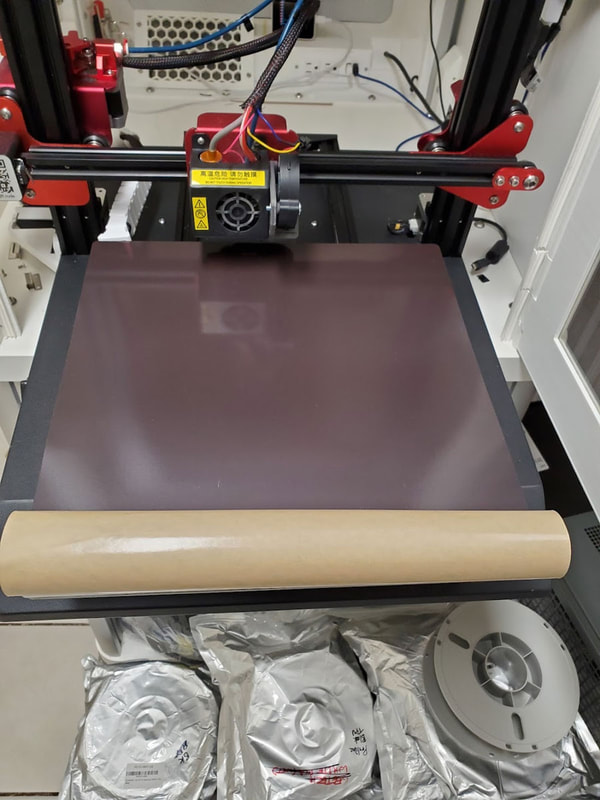
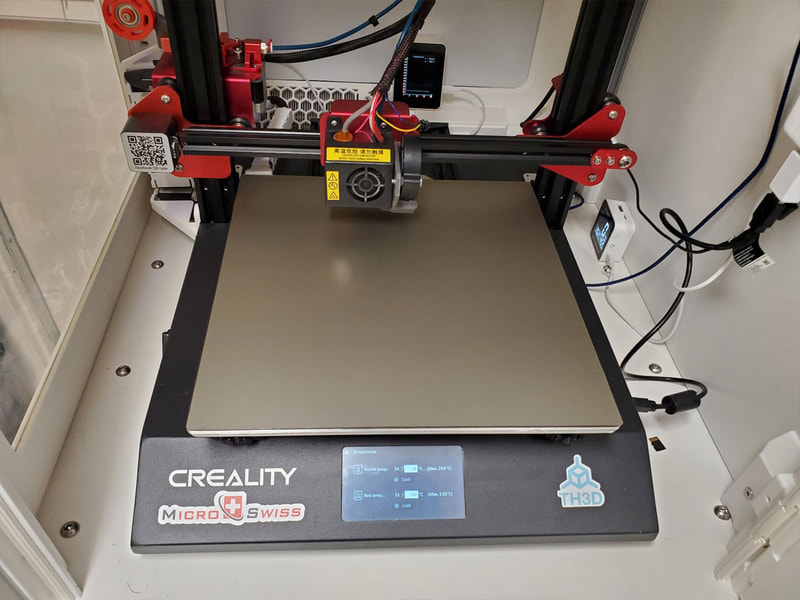
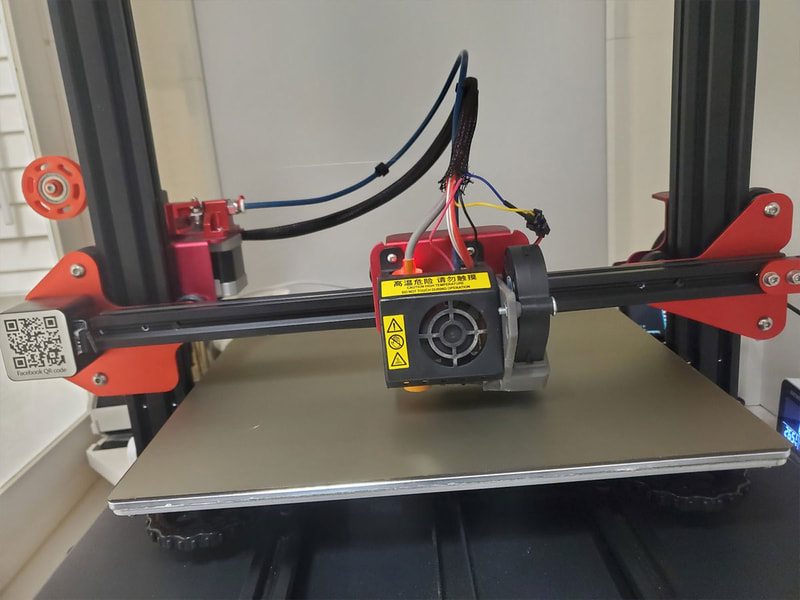
I cannot locate any other spare arms right now, so I will need to figure something out here. In the meantime, I went ahead and installed a new 310mm x 320mm flex steel build plate and the magnetic sticker which holds it in place. So far I'm liking this plate, which has a smooth PEI surface. I've been using one on my Ender3 and it is almost the perfect build surface, though I prefer the textured surfaces, but for the CR10S Pro a smooth plate was much less expensive. The CR10S Pro is a bit of an oddball as well, with a 320x310 bed, it is hard to find surface plates which fit properly. Of course I could use a 310x310 mm plate now, since the whole bed is magnetic. I was a bit concerned how the magnetic sticker would affect the inductive probe which I previously swapped in place of the stock capacitive probe, but aside from a much higher z-offset it seems to work fine. Another quirk of the CR10S Pro is that it has bed clips screwed into the heated bed, which hold a nice aluminum surface plate on. That system works well, but not so much for a flex plate install. I removed the clips, but still wanted to keep the flat aluminum plate, so I just drilled 4 holes to mount it the bed using some M3x12mm screws, washers and locknuts. That work perfectly and I just left the old PEI sheet attached to the other side of the aluminum plate (with the magnet sticker on the other side). I found that the screws are inset 8mm from the edge of the plate, and in the front the centers are 8mm from both sides. In the back, I chose to install one screw through the inboard holes for the clips and found that the centers of those holes are 85mm from the edge and 8mm inset from the back edge of the plate. I took some pics to show these dimensions. Then I just center punched, drilled some 9/64" holes, which were countersunk, then wet sanded everything with 220 or 320 grit sandpaper to get rid of any burrs of high spots. Installation was just putting the four M3x12mm flat head screws in through the top of the plate, then I added a washer and the locknut. The stock install did not have washers but it seems like a good idea since the nuts were tightening against the printed back of the heated bed plate (though not in an area where anything was happening. UPDATE 12/30/2021 - I'm not certain, but I think that securing the plate in this way (using screws) may have warped the bed due to the expansion of the aluminum plate during heating. The original clips allowed some play for the plate to expand and contract with temperature, but the screws may not have and caused it to buck up in the middle. Also possible is that I warped the plate in the process of making this change, though I cannot point to anything that occurred that makes be believe this happened. What I have done since, is to widen the holes used to mount the plate and only tighten the screws snugly. I also had to resort to using some Kapton (style) tape in layers on the magnet to help with the problem since it was quite bad, even after adjusting the wheels with little effect (due to the warping of the bed plate). After the tape application it has improved greatly and I will post some pics of the meshes through that process in a later post. To install the sheet I just peeled back some on the edge and stuck it down for about 1" at the back of the plate, then pulled the paper off and sort of rolled and smoothed it out. Then I just set the z-offset, did an aux-level and finally an ABL and printed some test squares which mostly look OK (surprised anything is printing with the extruder arm grinding away like it is though). Below are some pics of the build plate install on the CR10S Pro: I entered this in the "Anything Goes" contest at instructables, there is also a write up here with the same info. www.instructables.com/Triple-Pane-Lithophane-Lamp/
The instructables link was not working for a bit yesterday, after it was posted, but it is working now - and it's featured too! www.thingiverse.com/thing:5172186 I designed and am testing a remix of Findusdwarf's USB CABLE ROLLER - which is a remix of:
nrv005's Cable Reel (USB) which is a remix of Mcpea1477's USB Cable Reel which is a remix of Manabun's USB Cable Reel This is like the inception of Remixes lol. All of these remixes, and the original are very cool designs, but it needed some changes to work with my keyboard cable, and I made some adjustments while I was at it.
I'm still printing one more part and then I should be able to post this up to thingiverse (damn Thingiverse, why can't I quit you yet?). Update, it is done and works fine, so I posted it here: www.thingiverse.com/thing:5168552 Seems like the spam comments have ramped up lately, though I'm not sure why. Most of them seem to be using bogus or throwaway gmail accounts, go figure. I will keep trying to delete them and fight the good fight though.
|
Stoopid MeWelcome to my Stoopid corner of teh Internet. It's mostly gonna be 3D printing stuff, but I also post some recipes, projects, and the occasional rant here as well. More Stoopid stuff is updated regularly. Archives
July 2024
Categories |


 RSS Feed
