My Stoopid Stuff
  • Home
  • Projects
  • Blog
  • Lec'tronics
  • Links
  • CNC
  • Quick Recipes
  • 3D Printer Tips
  • Voron 2.4

Good deal on a CR10 Smart for $300 shipped

10/30/2021

0 Comments

 
I saw this over on Slickdeals today, and it is a great price for a CR10 Smart for $299 with a coupon code (SMT100).  I would buy one but I have no space and it is very similar to my CR10S Pro anyway. 

The positives that I see with this printer are:
  • zero offset probe (load cell type)
  • nicely design frame with extra stiffeners
  • seems like it is well put together inside and out, and easy to assemble
  • full size CR10 class printer 300x300x400 volume
  • Price is great at 300 bucks!

downsides are:
  • Will likely be more difficult to upgrade due to the color touchscreen
  • the USB port by default only works for a compatible camera (so no Octoprint in the stock config).  It is an easy fix but requires re-configuring some connections (but no soldering).  Also the mod leaves a hole in the case.
  • I have not heard great things about Creality's Cloud app and don't trust it.  It is a requirement if you want to print remotely with this printer - unless you do the simple mod to re-enable an actual USB port, or use the SD card to print.  I would definitely lock things down on the network if the stock network functions of the printer were going to be used.  Even barring nefarious stuff, they seem to have problems with software even when it is 90% written for them (Marlin), so I don't think I would trust their code for the network module, which is going to act as a client for their cloud service. 
  • Some poor reviews of the printer (though that is an issue with all printers more or less).  Still if planning to buy, it would be good to watch some videos of reviews good and bad.

Some other things to be aware of is that the bed is fixed and I have read some comments about the touch probe being difficult, but there are downsides to every printer.  I think if one is willing to do some simple mods to get the USB port back and bypass the need for Creality's cloud, then it is a very worthwhile printer for the price.  If you would like a printer to tinker with then it may not be the best due to the touchscreen and again the USB, but if you tinker with printers then you probably know how easy it would be to swap the board and the screen if needed.

Below is the link to slickdeals where I saw this deal today:

slickdeals.net/f/15365593-cr-10-smart-3d-printer-pre-black-friday-deal-100-off-100-off-discount-code-free-shipping-299?src=frontpage
0 Comments

Split Ethernet Cable Pass Throughs for my Enclosure

10/29/2021

0 Comments

 
Picture
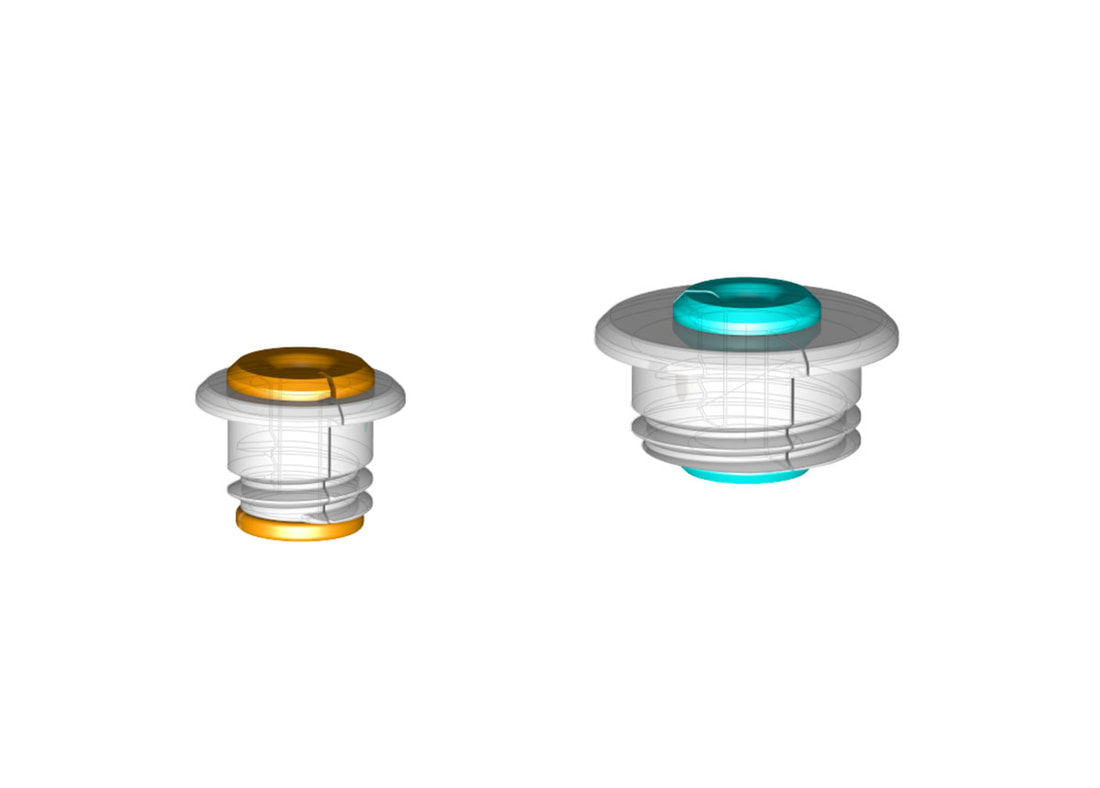
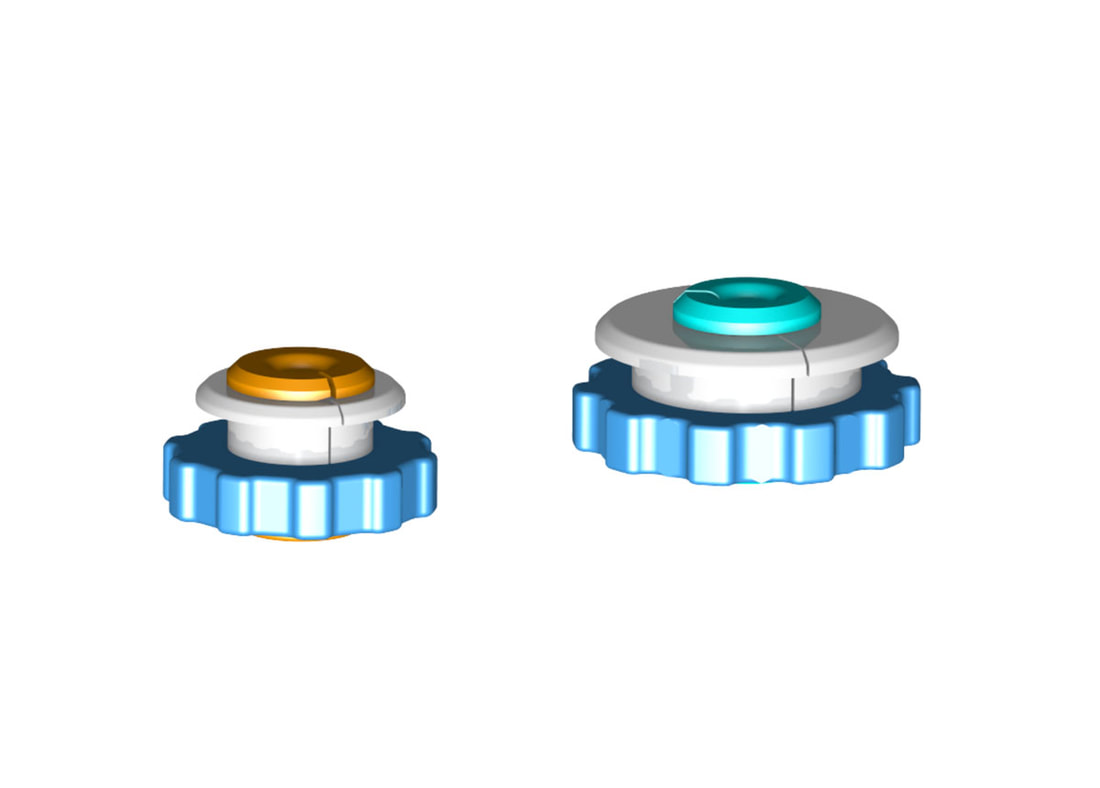
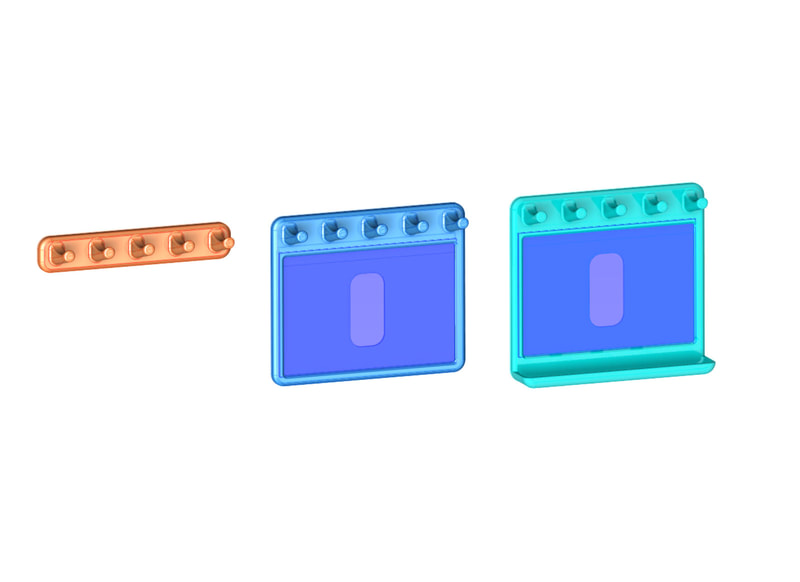
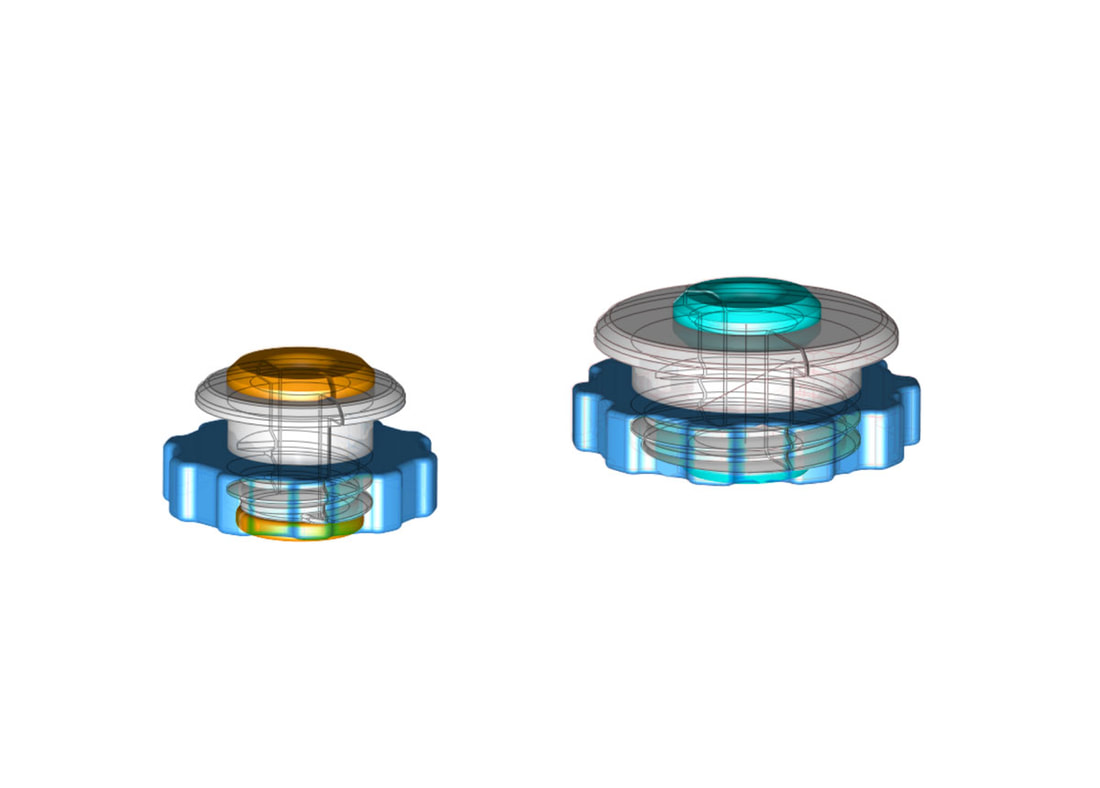
I need to pass an Ethernet cable through the back cover of my enclosure so I am making this.  It is to allow me to run the cable for the display for my JKTech Smart Controller, which I extended using Ethernet, into the enclosure (and then it will go into an electronics compartment I'm still working on.  The shell of my enclosure is 4mm thick so that's what these are designed for.  These pass through grommets are untested while I wait for a 7' Monoprice Slimrun Cat6 Cable. 

There are two versions shown, one is designed for a 3/4" hole and should pass the Ethernet RJ45 through, while the smaller one is only designed to pass the cable through.  Since I plan to cut one end off the cable anyway, I will be using the smaller design.  The split design is not really needed for the smaller one for my use, but I want to see if it will work (and I think it may be more handy for other types of cables like USB where I may not want to cut the end off).  The orange and cyan color parts are meant to be printed in TPU and will act as a cable strain relief and grommet.  I may post one or both of these if ithey work out OK.
Picture
Picture
Update 1/6/2022 - this works, I just have not had time to post it with the other projects (and I still need to install it).  I will add it to the ever growing list of stuff to do.
0 Comments

Skeleton Candy "Ladder" for a Socially Distanced Halloween (COMPLETED)

10/24/2021

0 Comments

 
Picture
Picture
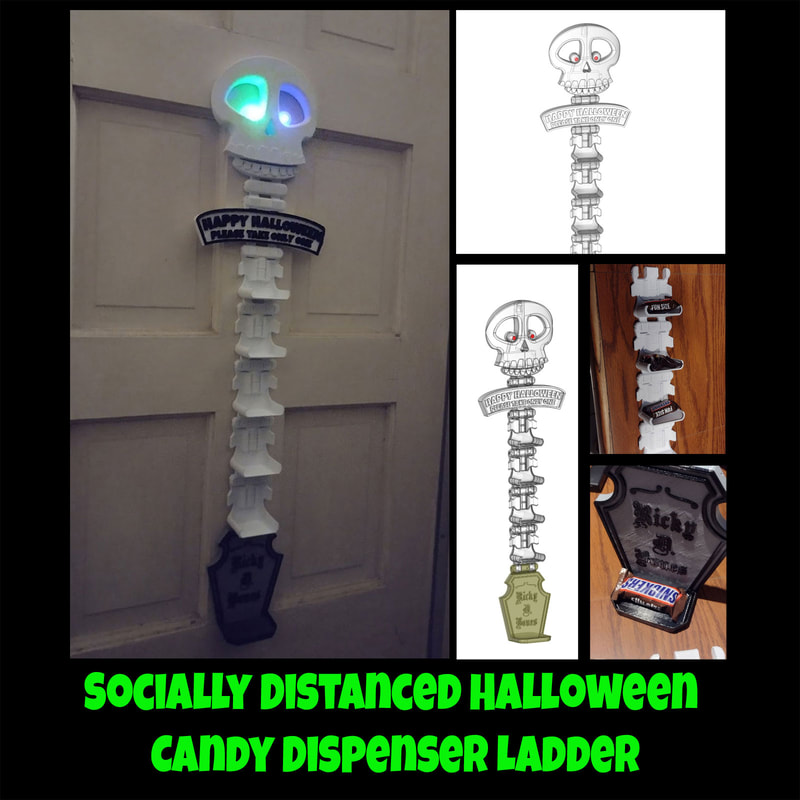
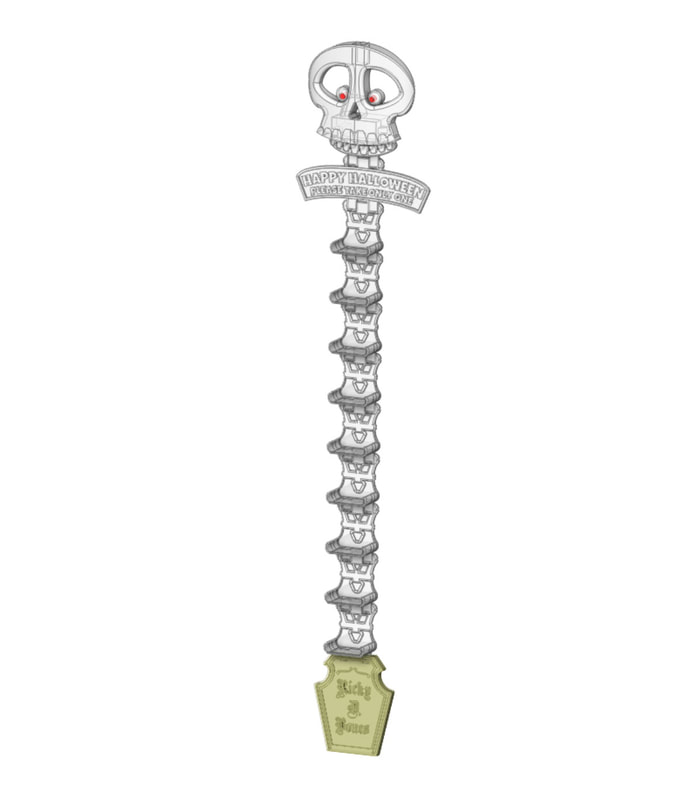
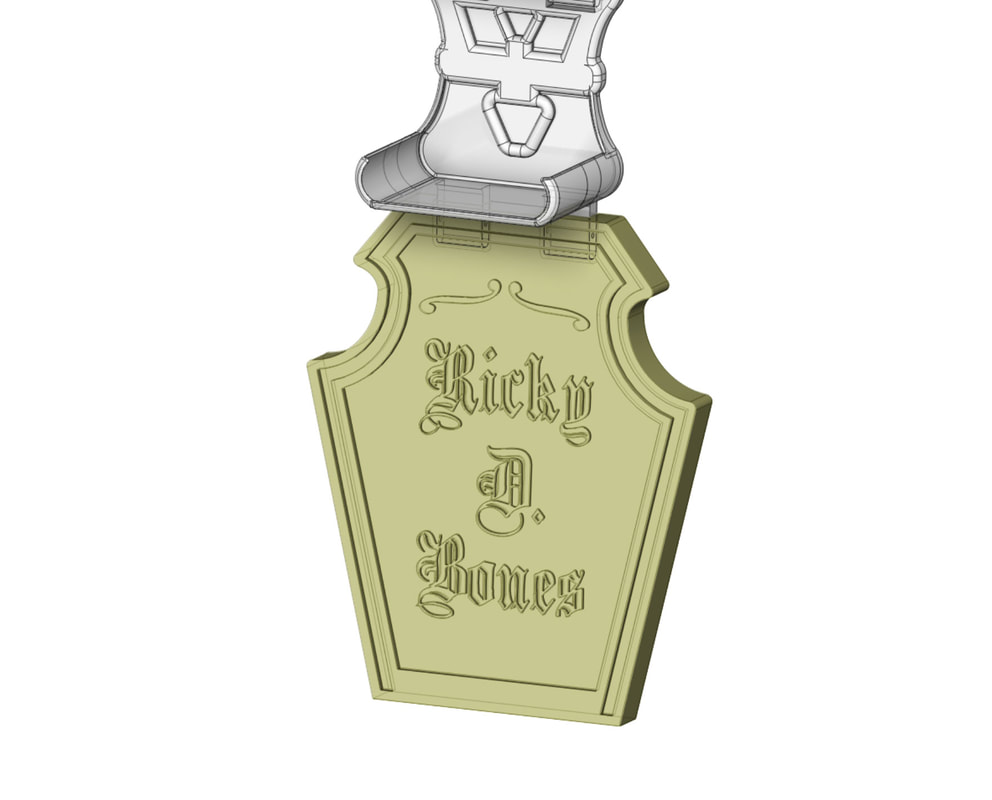
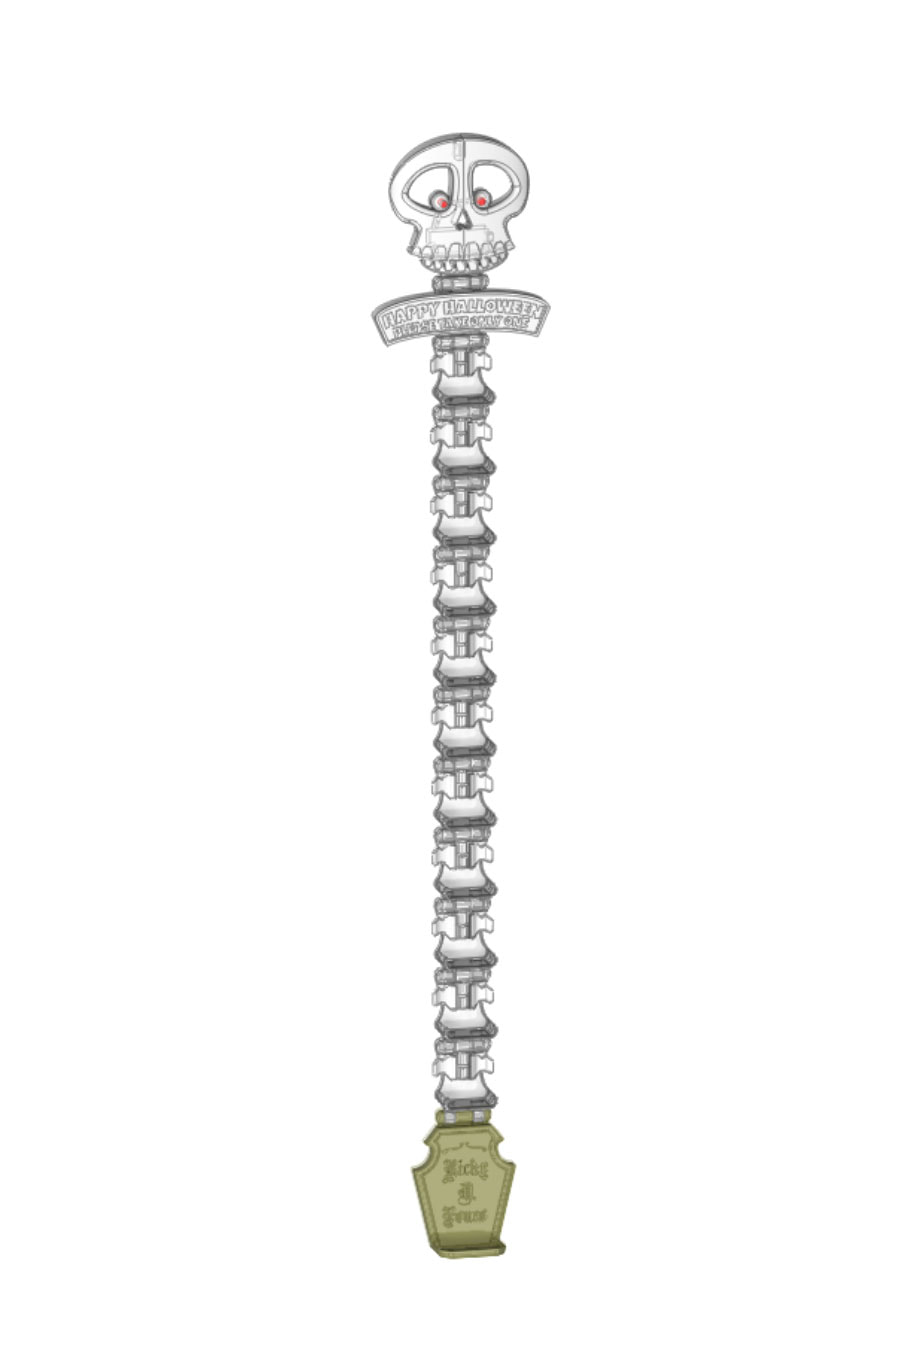
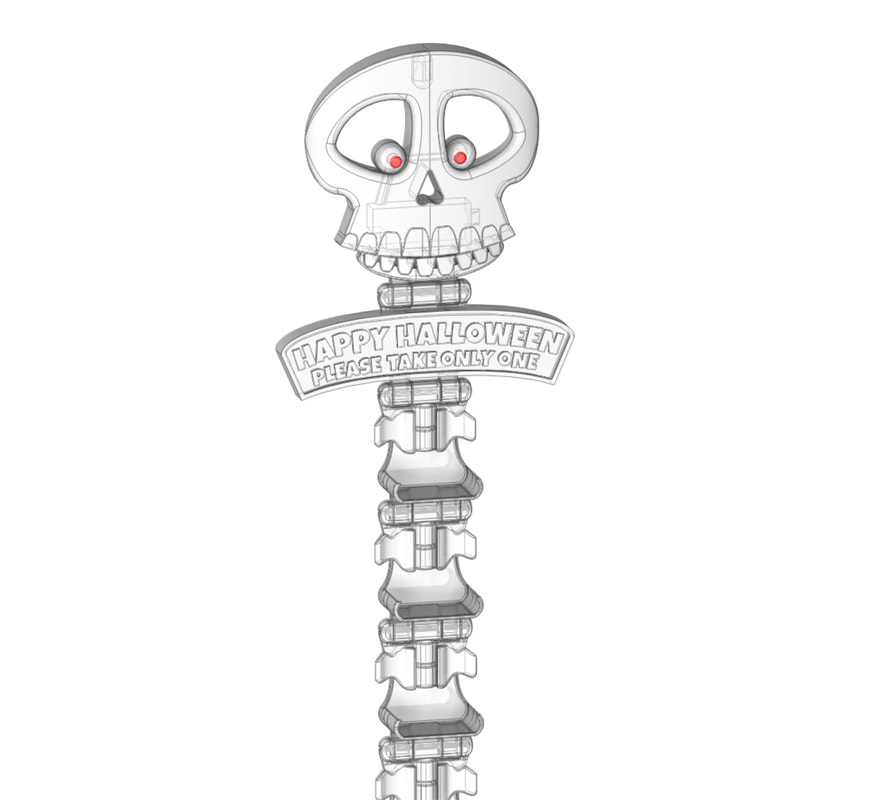
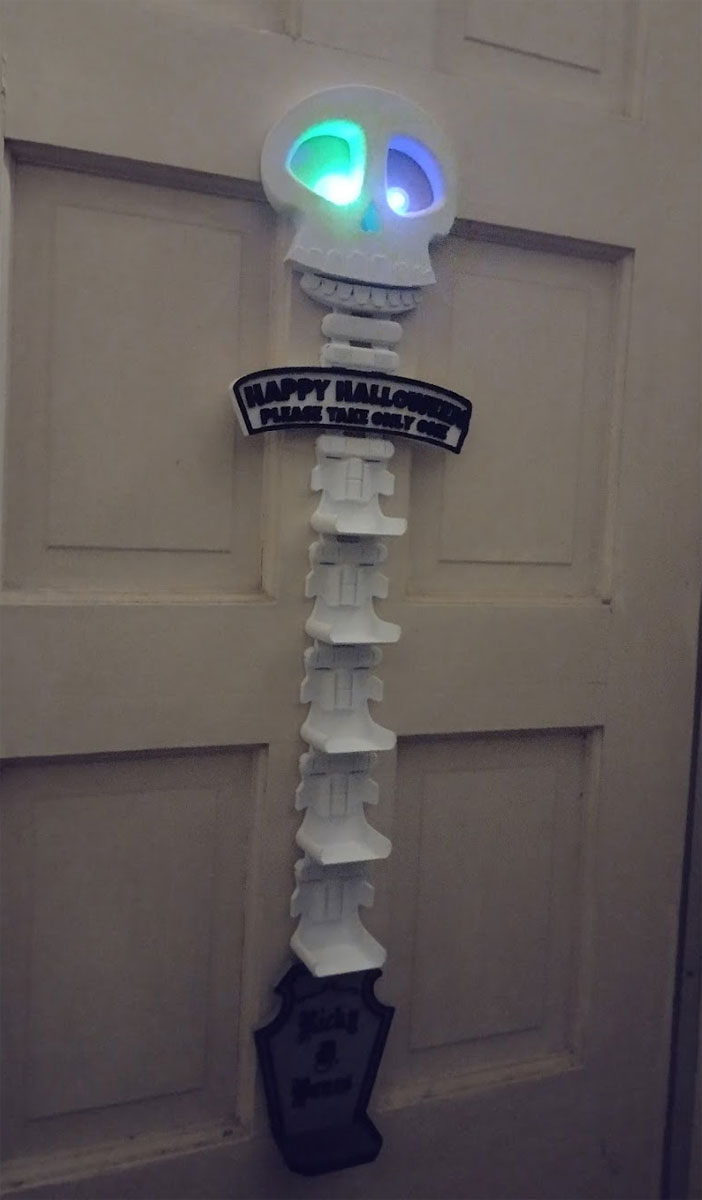
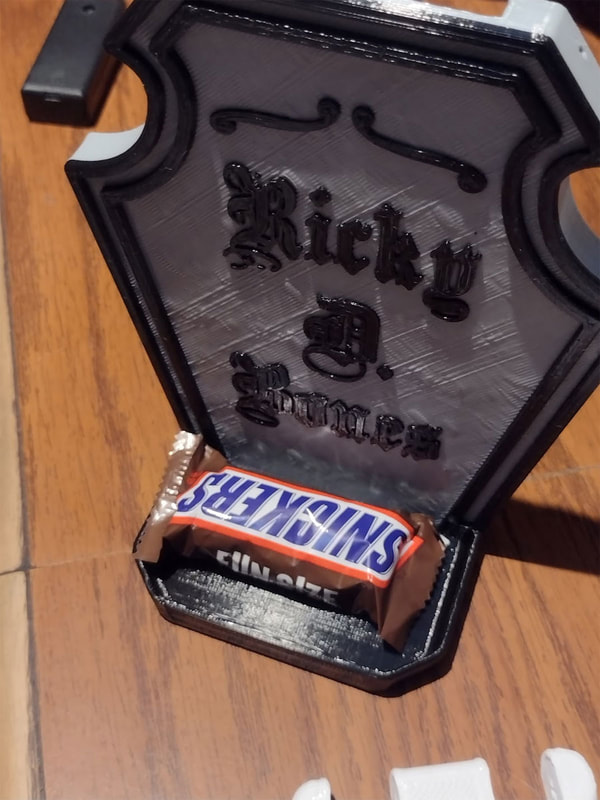
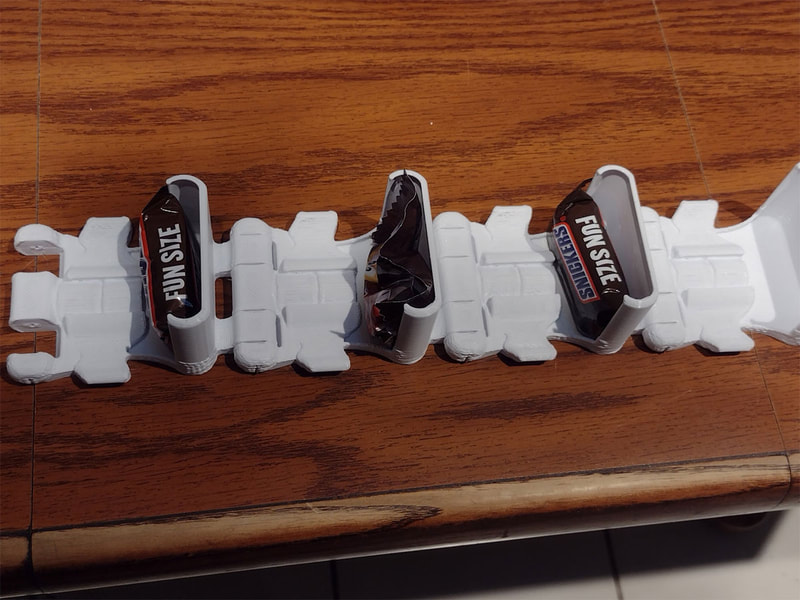
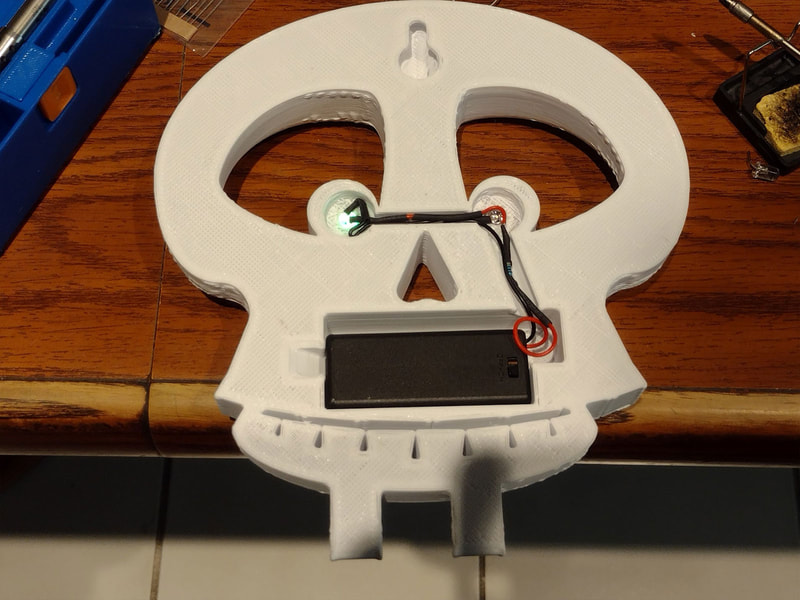
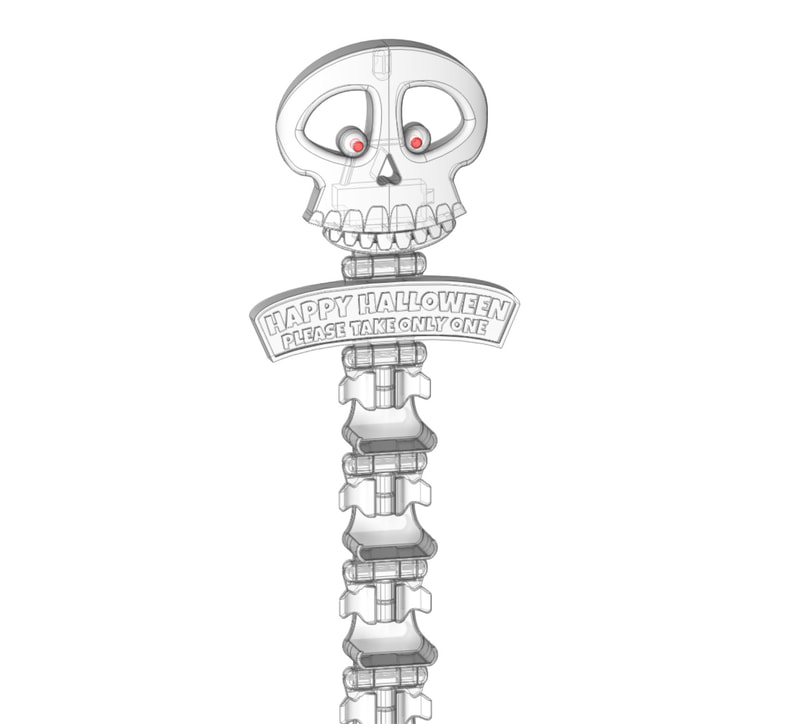
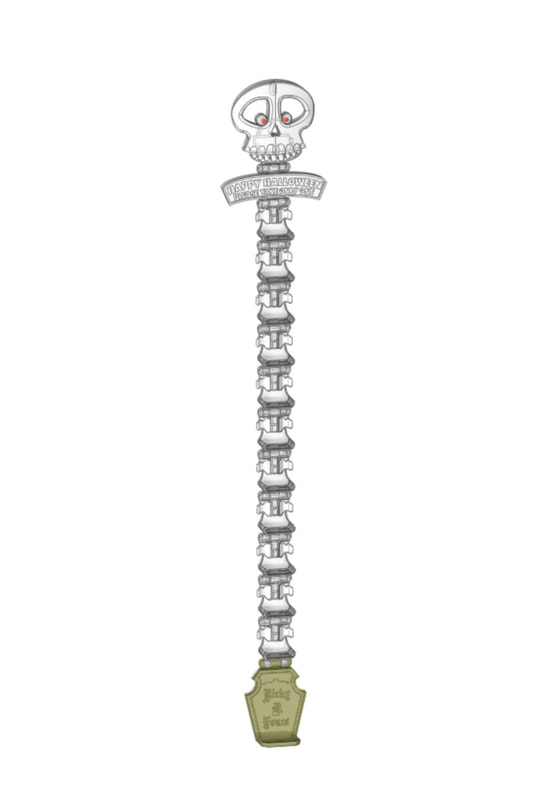
I wasn't sure what to call this thing, but I think "candy ladder" fits.  It's designed to have small trays to fit Halloween candies and I plan to mount it on the door for the kids to grab one (or probably all of 'em LOL).

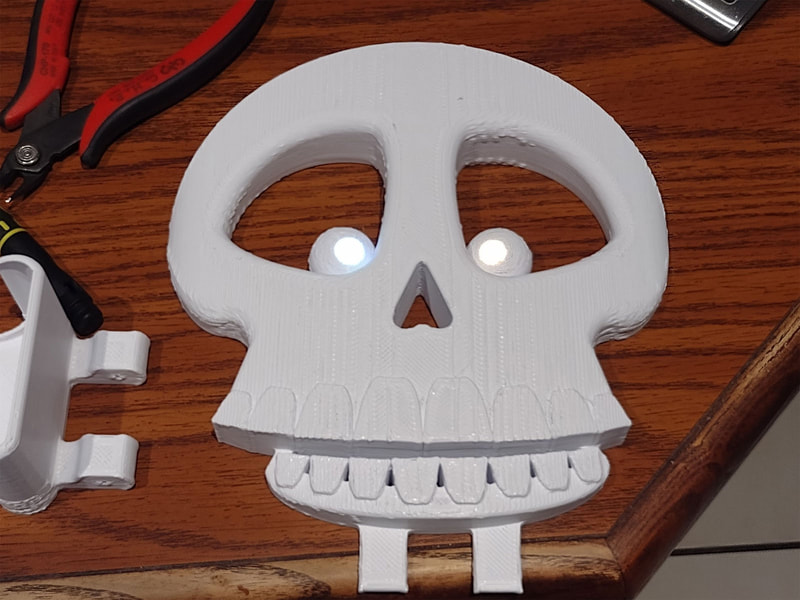
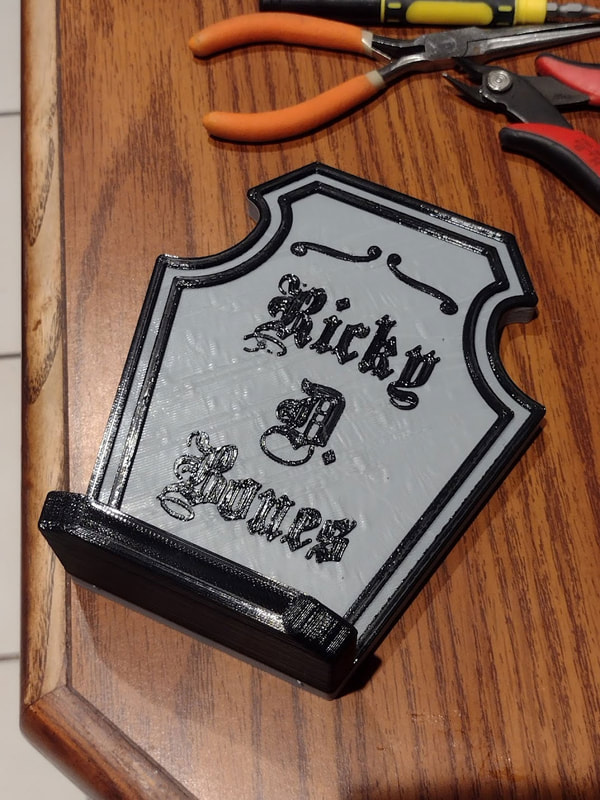
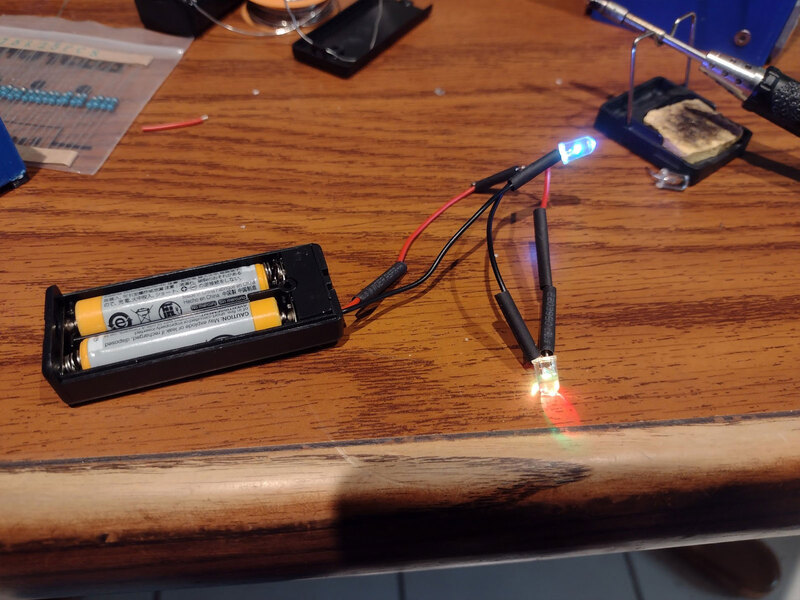
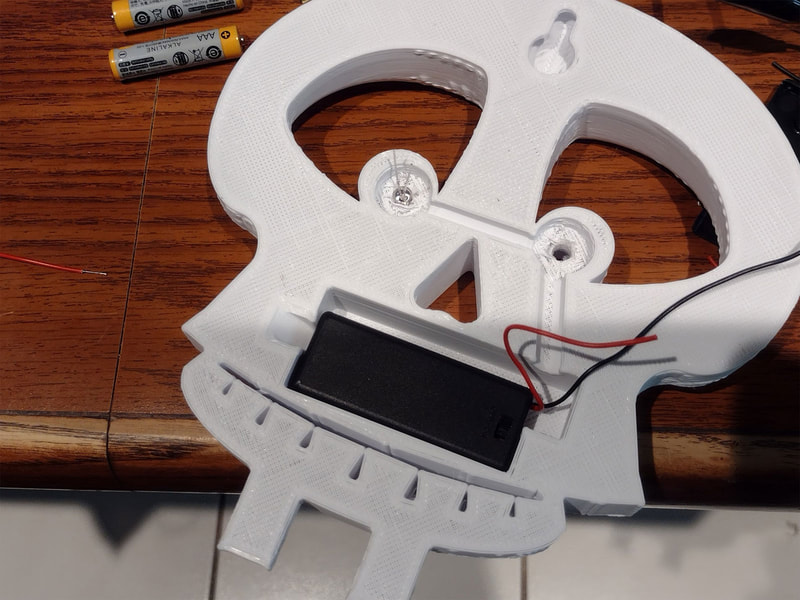
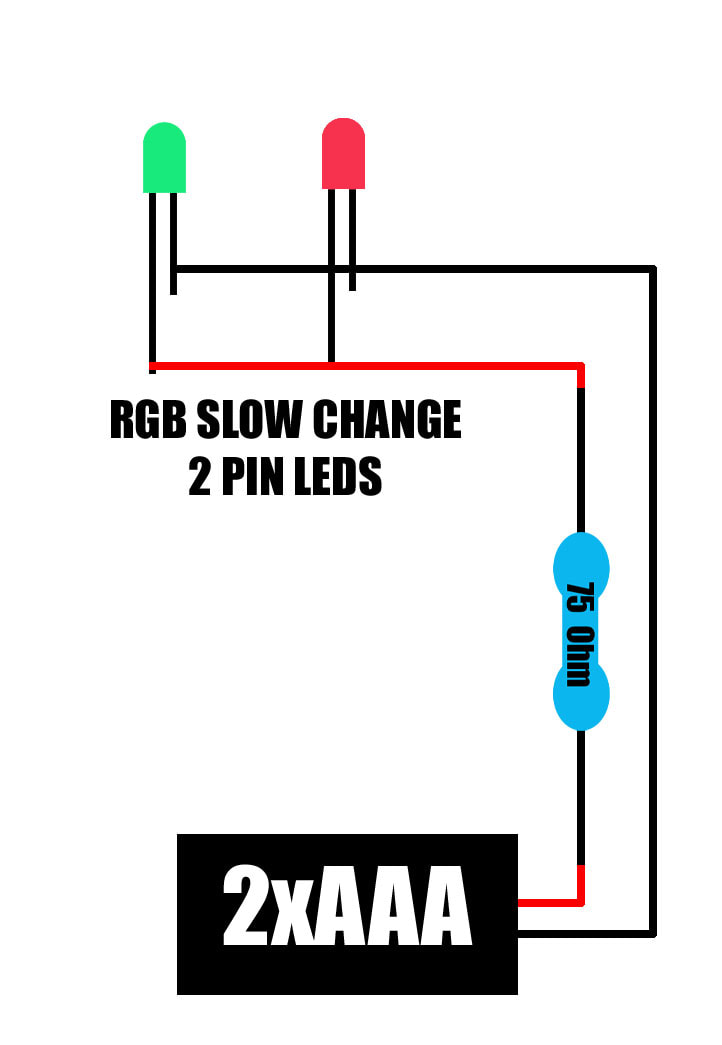
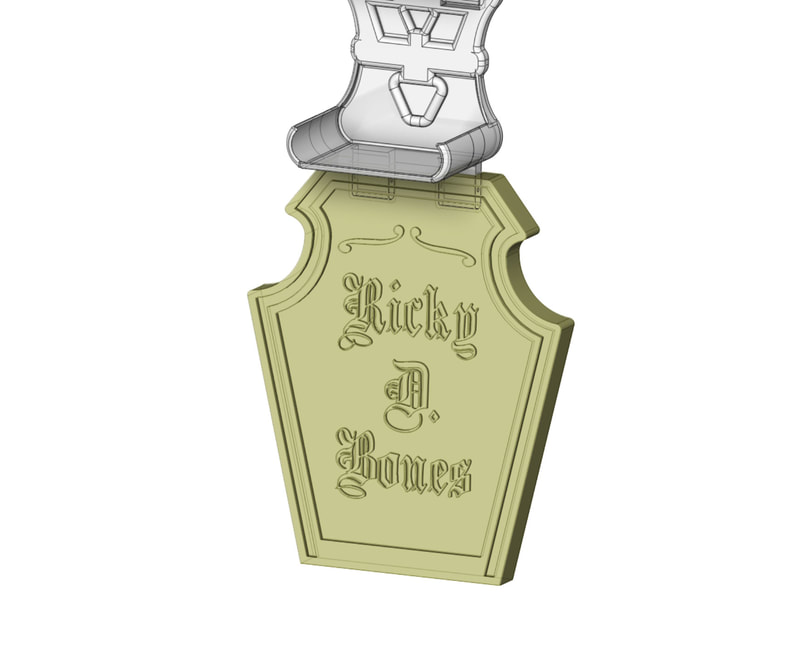
It will mount with a command strip (or could be hung with a screw or nail) which will stick to a custom hanger.  The eyes will light up using RGB slow changing LED's.  There will be a AAA battery holder which will power two (2 pin) 5mm RGB LED's in parallel, with a 150 Ohm resistor, all mounted in the skull.  The LEDs are optional since the eyes could be printed in any color as well as clear for the LED's.  The vertebrae are linked with small paper clips bent as the hinge pins, and I plan to add another command strip to anchor it on the bottom (on the tombstone).  

I'm not gonna be able to test this print prior to Halloween, but I will post it up once I can verify some of the parts fit.

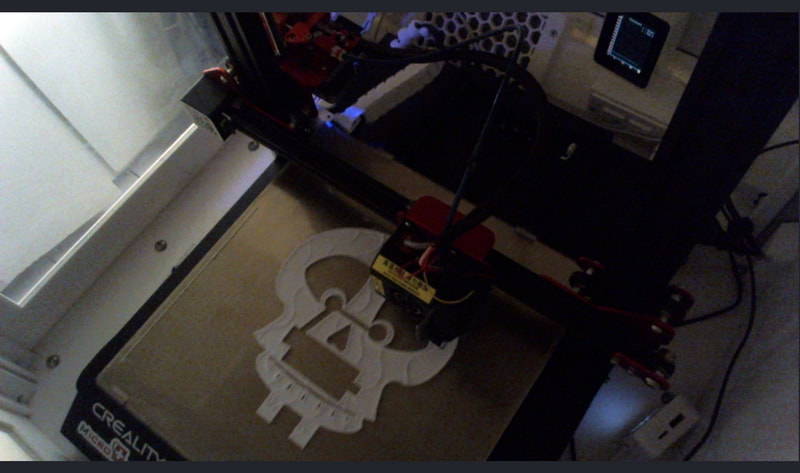
The print should fit on an Ender3 size printer.
Picture
Picture
Update 10/25/2021 - It's down to the wire, but I think I can get this tested and posted tomorrow.  I had printed some parts today, but they needed some refinements so I had to do a re-design of the vertebrae and the hinges.  The vertebrae will take longer to print, but they look better I think and may be stronger.
Picture
Picture
Picture
This is now uploaded, you can find it at the link below.  I'm gonna enter this into the Prusa Halloween Contest so if you like it please add a like over there (thanks!):

www.prusaprinters.org/prints/83424-socially-distanced-halloween-candy-dispenser-ladde

The version at Thingiverse has been updated recently with an updated version of the sign which can print in 3 different colors.  I didn't update the Prusa version yet because I think it would DQ my entry in the Halloween Contest (I noticed that when I made a minor update to my Solar LED's which were entered in the Prusa Halloween Contest, that the entry disappeared).

www.thingiverse.com/thing:5030838


The build guide is here.

0 Comments

Magnetic Key Holder and 4x6 Photo Frame (UPLOADED)

10/23/2021

0 Comments

 
Picture
Picture
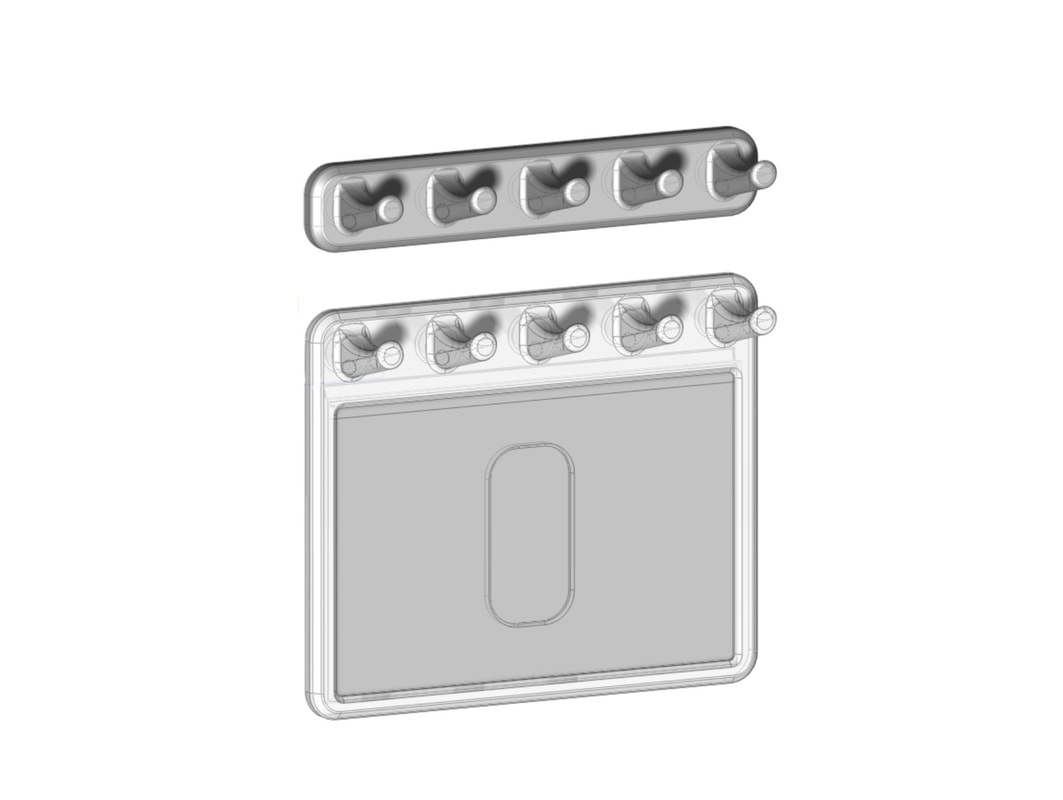
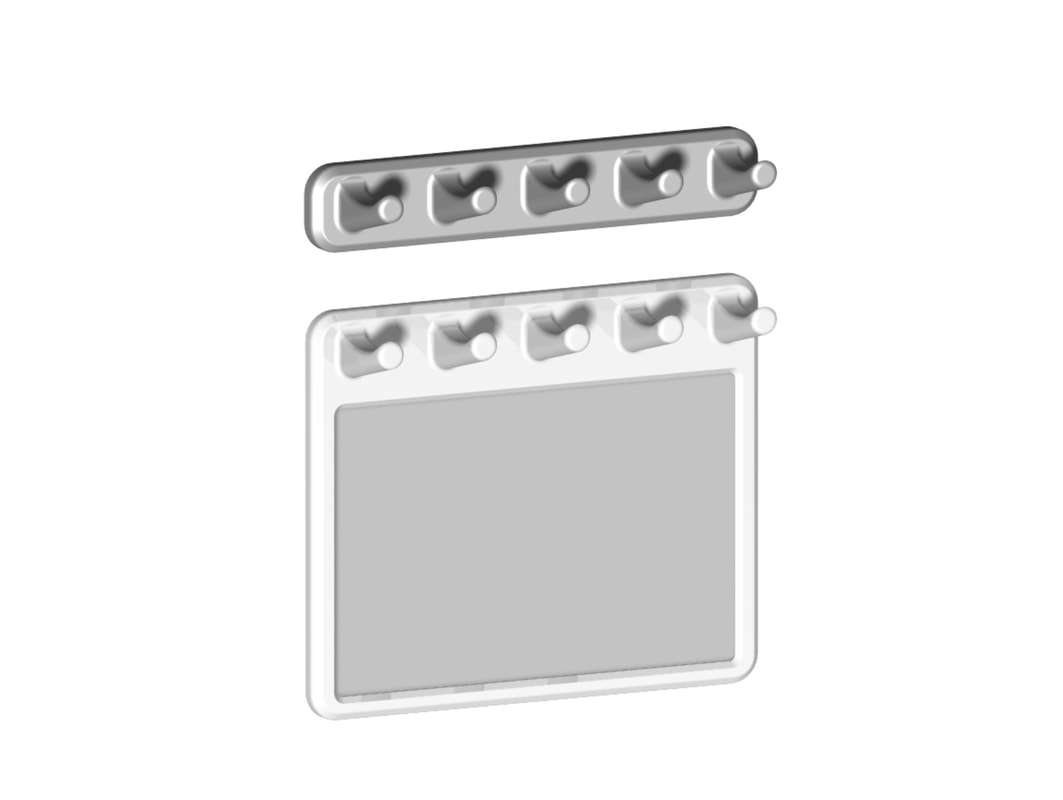
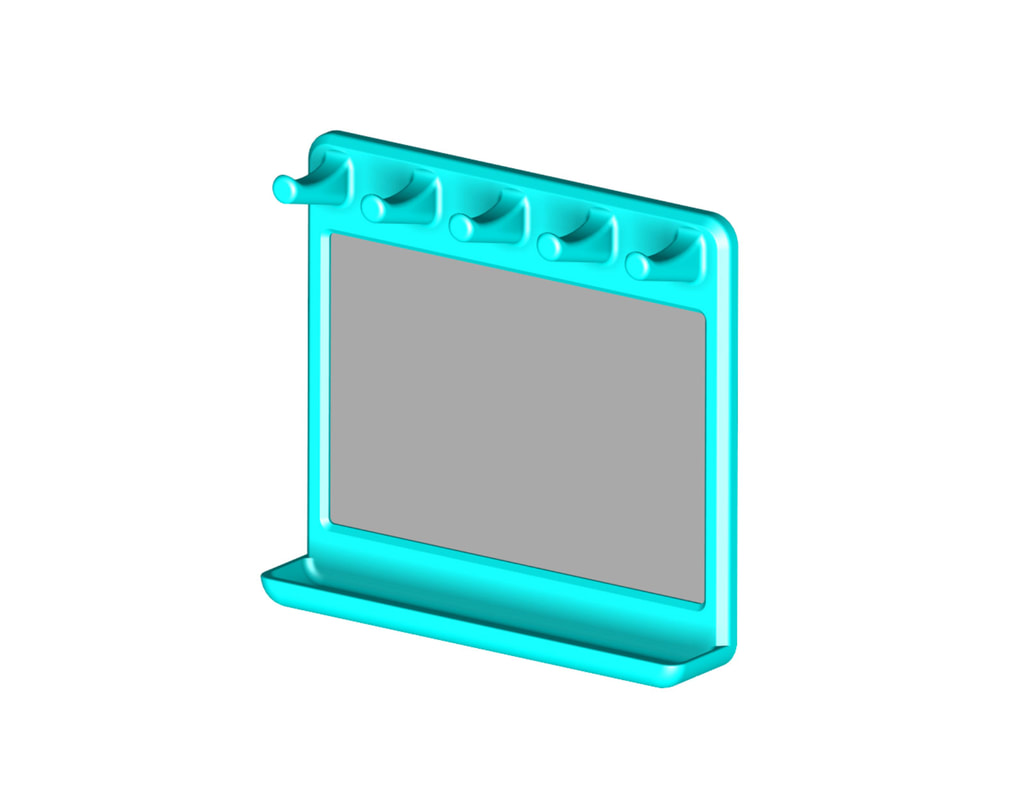
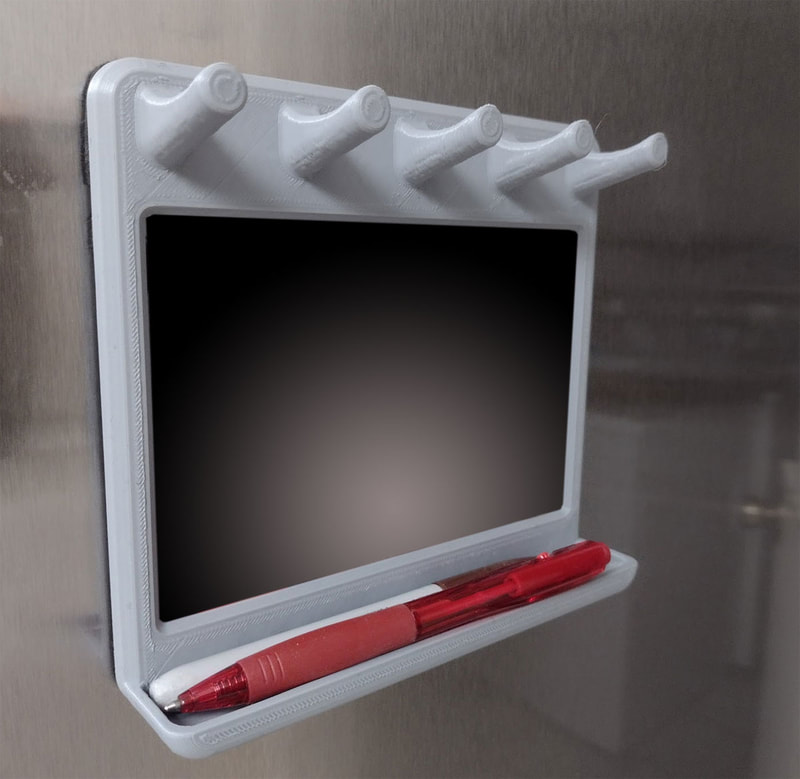
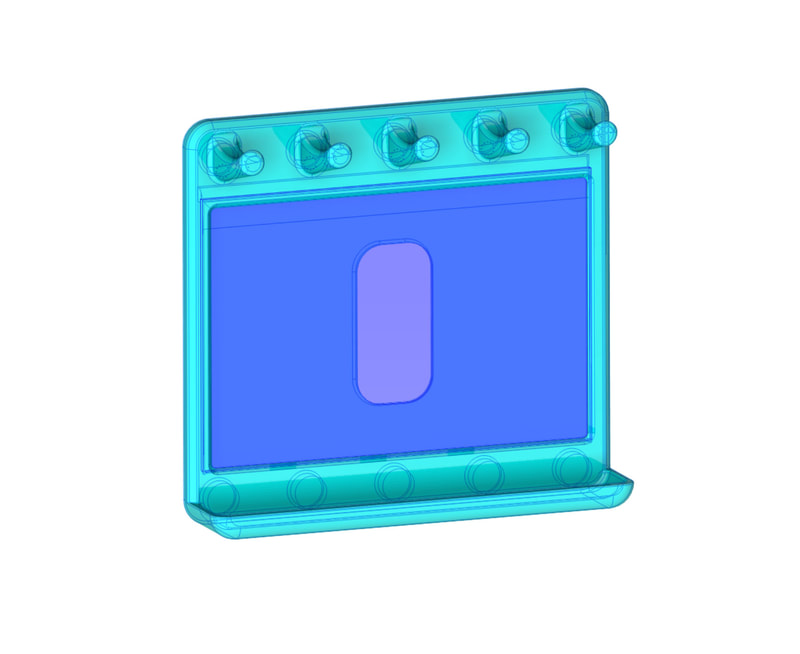
Quick project to make a magnetic key hook and 4x6 photo frame.  The Photo slides in from the back of the frame, and I plan to use some clear transparency film to protect the photo from the keys.  The frame will use five 12x3mm cylinder magnets  to attach it (to a fridge in this case).  I'm printing it now to test.

Edit - decided to make this instead:
Picture
UPDATE 10/28/2021

This is now completed and posted to PrusaPrinters at the link below.

www.prusaprinters.org/prints/83723-magnetic-key-holder-abd-4x6-photo-frame-for-5-keys

0 Comments

The Halloween Solar LED Toppers are Published

10/22/2021

0 Comments

 
Picture
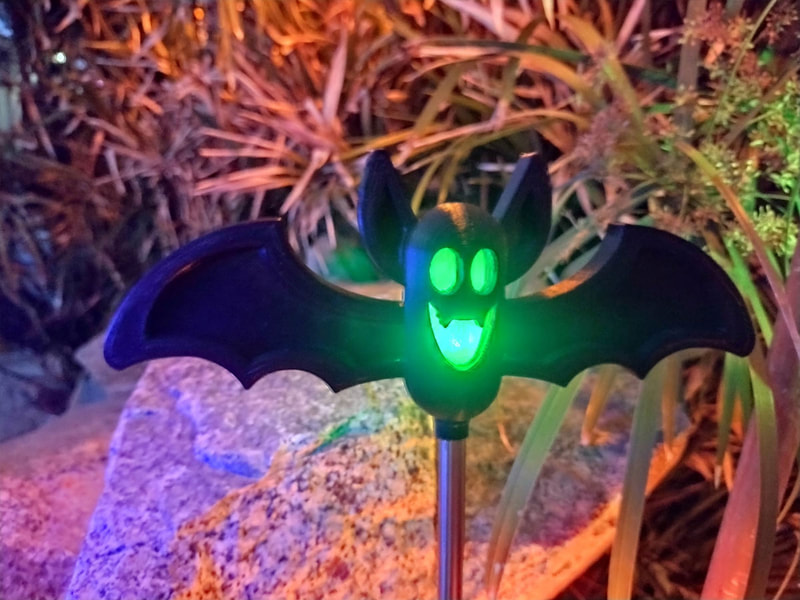
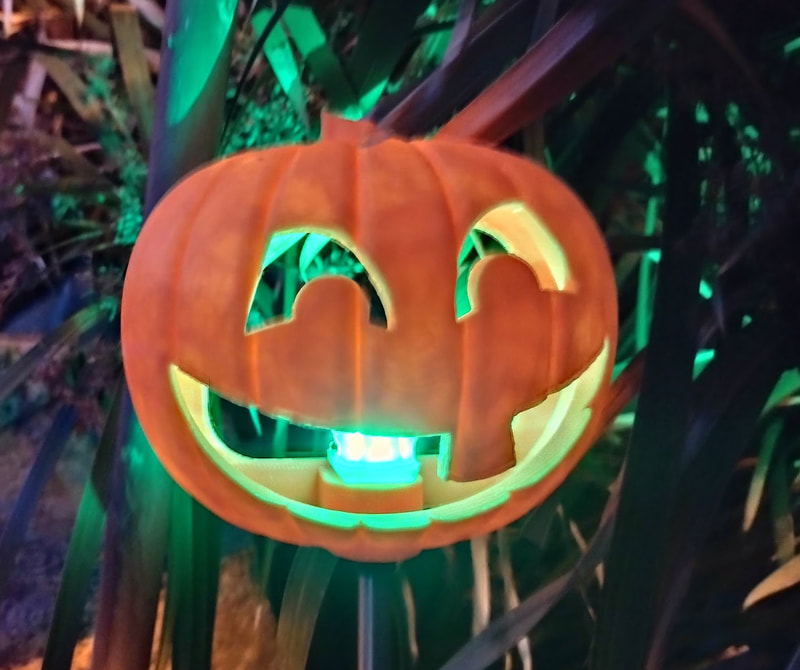
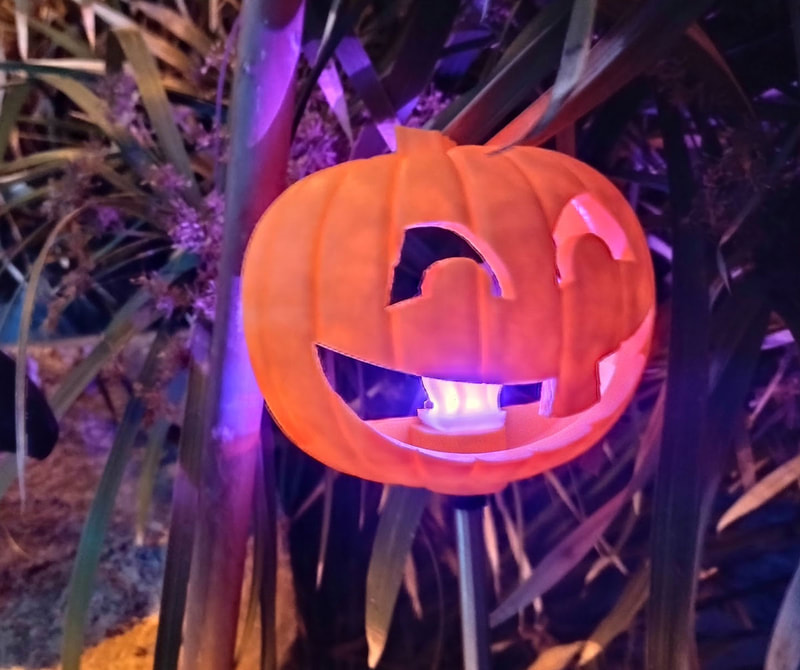
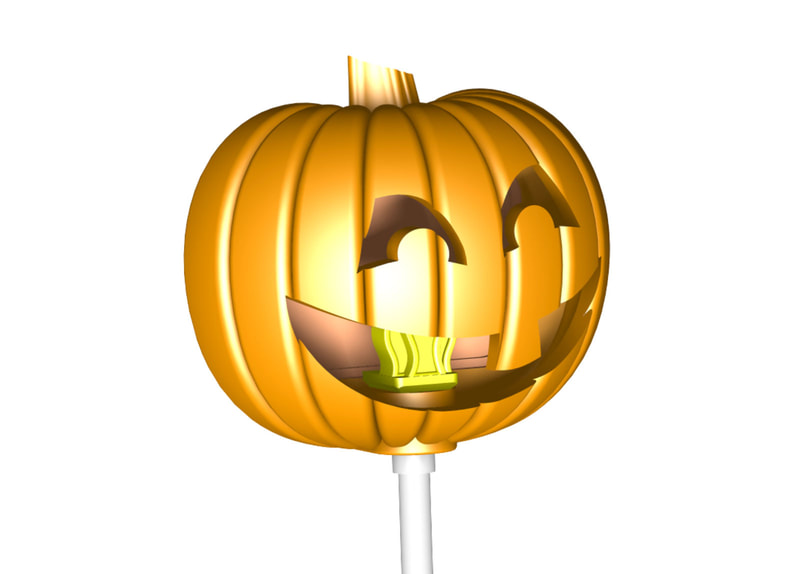
The Halloween Solar LED Toppers are now published on PrusaPrinters and Instructables.  I've entered this design in the Halloween contests at each site, so if you like them, please give them a like, and if you print them please post a print.  Although I entered the contest at Instructables, my post does not yet show up on their contest page because it is pending approval by their moderators.  I will post them in a few days on Thingiverse as well.  The STEP files are currently only on PrusaPrinters since Instructables does not like the .STP file format. 
www.prusaprinters.org/prints/82330-halloween-yard-solar-rgb-led-toppers-ghost-bat-and

www.instructables.com/Halloween-Yard-Solar-RGB-LED-Toppers-Ghost-Bat-and/

www.thingiverse.com/thing:5036069

Here is the link to the RGB Solar LED lights I used for this:
www.harborfreight.com/solar-decorative-led-lights-3-pc-69462.html
0 Comments

Well, there's yer problem...

10/21/2021

0 Comments

 
My Dad has an older BlueRidge (by Jacuzzi) model 45-400 spa that has been a real trooper, though I noticed that there are a lot of flakes from the finish now in the water, but that's another story.  So it is showing it's age, but he has kept it going and just repaired a leaky connection to the pump, which was either missing a gasket all these years, or it just disintegrated.  Unfortunately a couple days after refilling the tub, there was a PS1, and then PS2 errors on the display and it won't heat.  The P1 error only showed up once according to my Dad, and now it just shows a PS2 error (I only saw the PS2 error).  Looking that up, the error relates to the pressure switch on the heater, and after ruling out the easy stuff like clogged filters (which darned if they won't be with all that plastic finish floating around in there), but nope, it was not that.

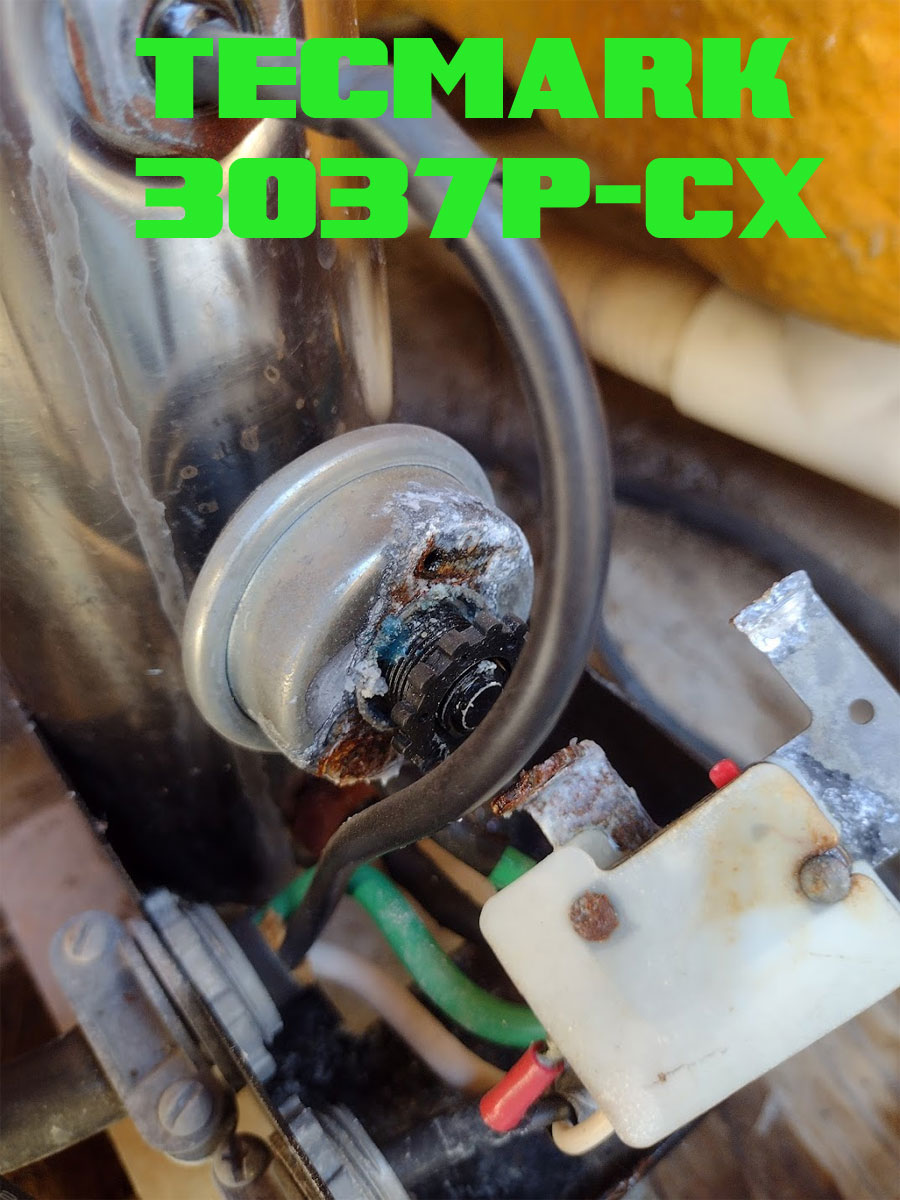
So I started looking for the pressure switch, and no, it wasn't under the cover with a wingnut like I saw in a youtube video, but it was under a black cover on the heater, which had I looked at it for 20 seconds, would have been an obvious place to check, since it was slowly dripping from the base of the cover.  After taking the cover off, this is what I found:
Picture
I didn't even need to test this to see it was busted :D  That part on the right which is hanging should have been welded to the round pressure switch on the left.  I have no idea how this was working till now, since clearly the diaphragm must have failed a long time ago. 

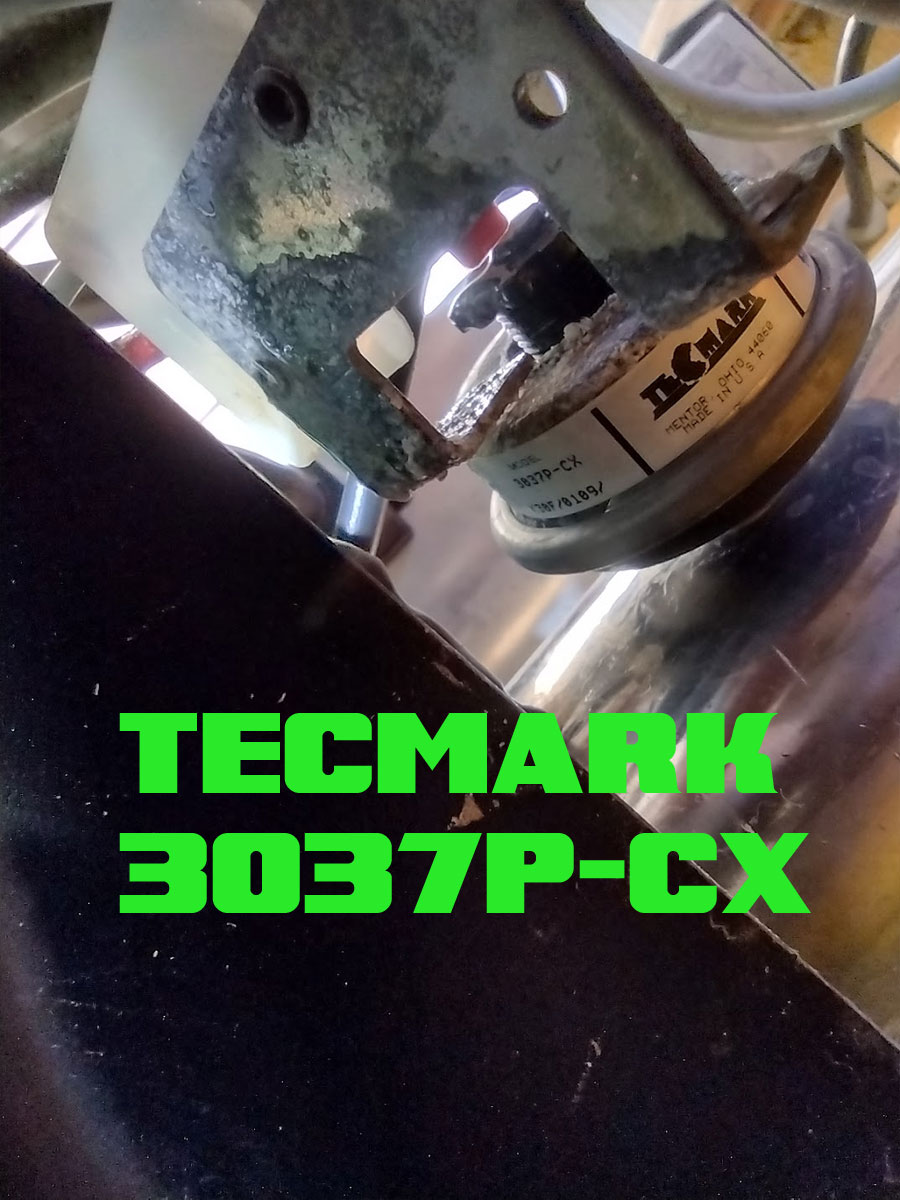
I took another pic of the label to get the model number:
Picture
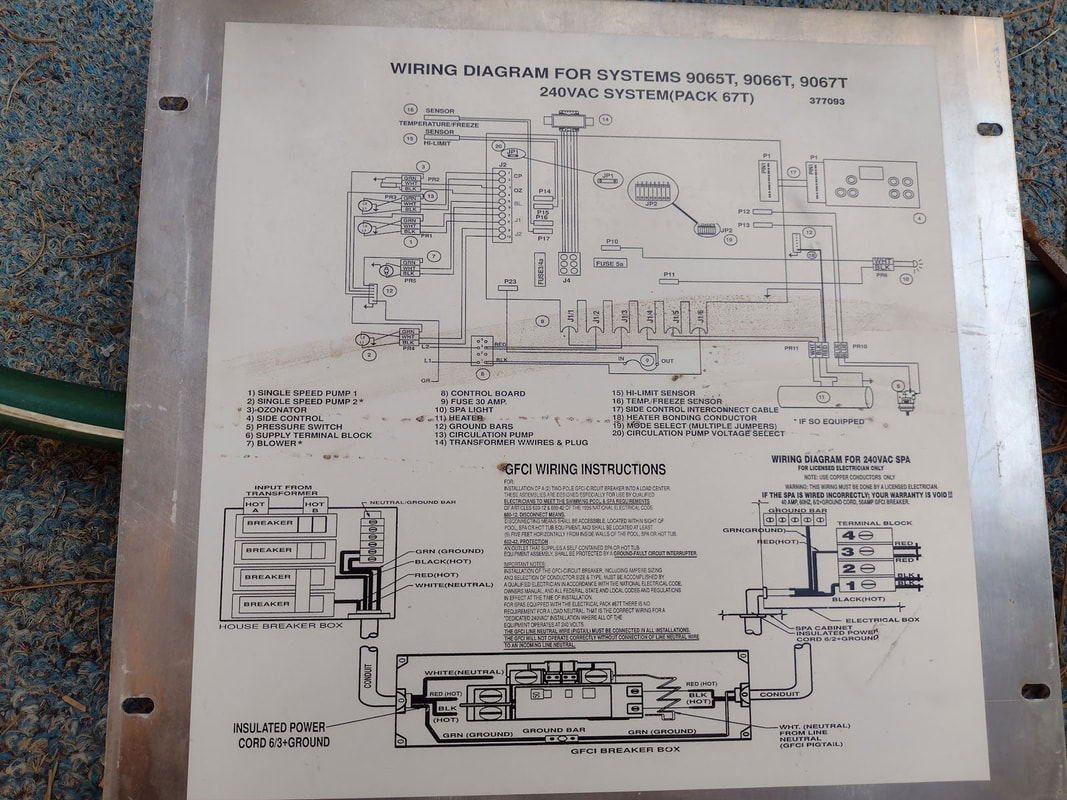
And here is a pic of the wiring diagram from the inside cover, note that the pressure switch shows going to P12, P13 which on this spa are blue wires going to the right side of the board.
Picture
I can't take the pressure switch out right now, since the spa is not drained, but I think it has a plastic 1/8" NPT connector and it looks like the range goes (edit) from 1 PSI to I don't know what, though it is really corroded and I can't be sure about that.  Unfortunately I haven't found the decoder ring to make sense of the model number, and I can't seem to find the exact model to replace it.

I'm still searching for a replacement, but will update here with what I find to swap it out with.

Update 10/22/2021 - I contacted the manufacturer and they provided me the info on the TecMark Model 3037P-CX pressure switch.  They advised that it was an older model for a company (which made the spa) that is no longer in business, but said that I could replace it with either a "4037P, or a 4010P", but also warned that I would have to "calibrate the switch on site."  They also noted that the "CX" specified that the original switch was set to change contacts (switch) on a pressure fall (edit) at 2.5 psi (+/- 0.5 psi).  So I will set the knob on the pressure switch to 2.5 psi to test it.

That was good news since I have purchased a 4010P, which looked like it fit the spec and was plastic (so it won't rust out), and has a range of 1-5 psi.  This is the one I bought.  It can be found a few bucks cheaper at other stores, but I have prime so shipping makes up for the slightly higher price.  My local spa place said they had some that would be compatible for under $40, but I wanted to make sure I got one that was at least OEM quality.

It should be noted that the way this switch works, simply replacing it without adjusting the pressure is not safe and likely would not work.  My understanding is that this switch is designed to trigger when water starts flowing through the heater element, and that is a safety feature.  It lets the processor know if there is a fault with the pump, and to shut down the heater (if no water is flowing over the heater).  That way the heater will not keep running with no water flow through it. 

After watching several youtube videos on this subject, I learned that there are some spas which use temperature probes to measure a differential of temperatures between the input and output of a heater element to perform a similar check.  But my Dad's spa shown here only has one temperature probe clamped to the heater, and one pressure switch which is also installed in the heater housing.  Based on what I have found regarding the error codes, I think the PS2 error he was getting right off the bat when turning on or resetting the spa, indicates that the normally open pressure switch (NO) was triggered (closed) with the pump off.   That is odd though, since it appears that there is no way for it to have been closed having the mount for the switch broken as it was.  Still it's clearly worn and faulty, so I will replace it and go from there if new codes pop up afterwards.

Update 10/28/2021 - My Dad installed the pressure switch and said it cleared the error.  I had set the switch to 2.5psi prior which is what I think the old one was set for.  From what I read, the spa will do a check every 96 hours and pop a PS2 error if it detects that the switch is on with the pump off, so it will be a few days to be sure it will not have a further problem, but he said he did a reset and did not see the error which is good news.

Update 1/6/2022 - I have not heard any complaints about the part so it seems to have been the fix.  Now the pool filter has been a problem though, it had a leaky elbow joint inside the filter, and a faulty gate valve that had to be swapped out, but it's back in business too.
0 Comments

Halloween LED Bat, Ghost and Jack-O-Lantern (Solar Powered)

10/16/2021

0 Comments

 
Picture
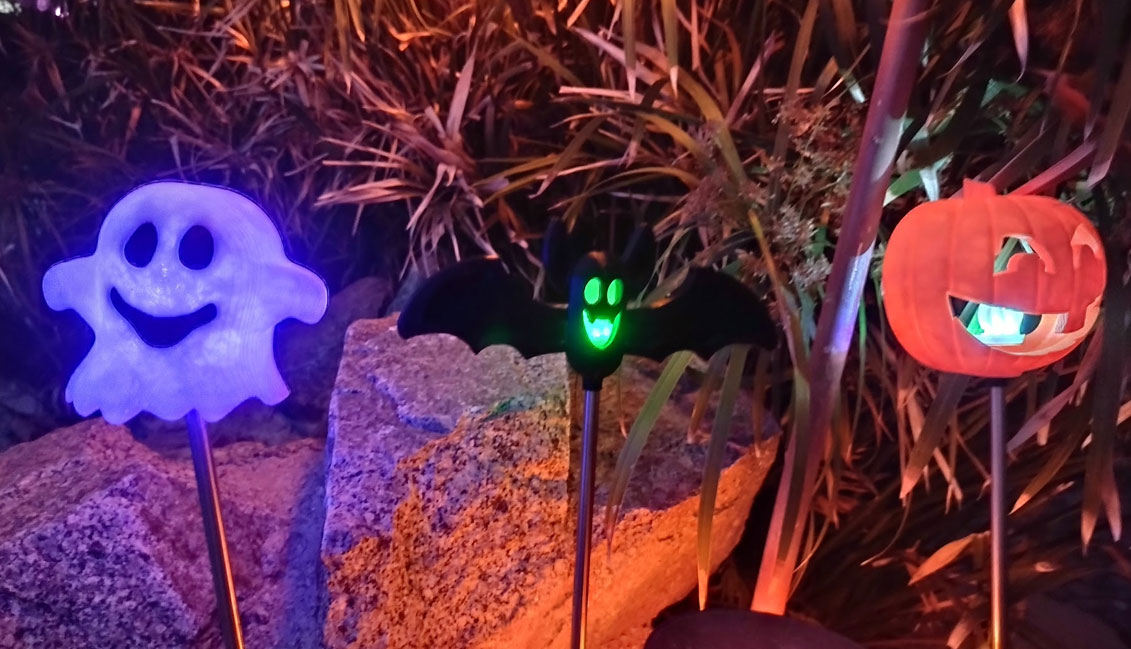
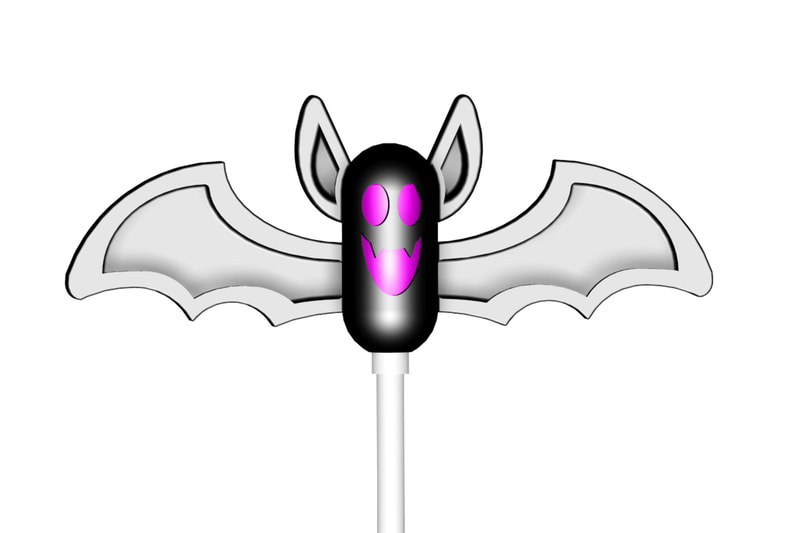
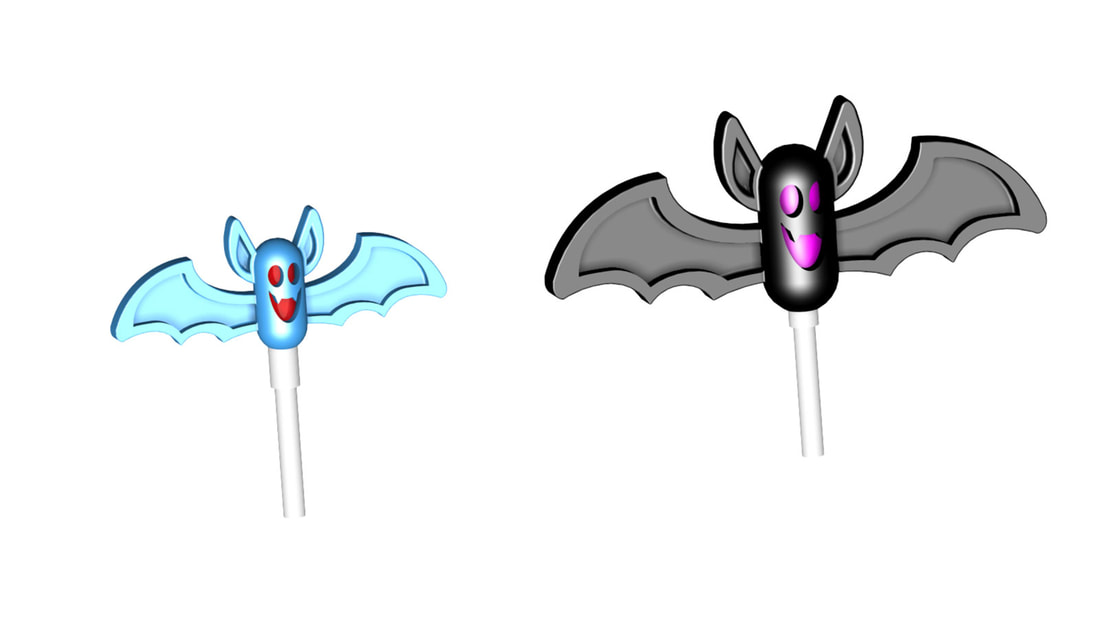
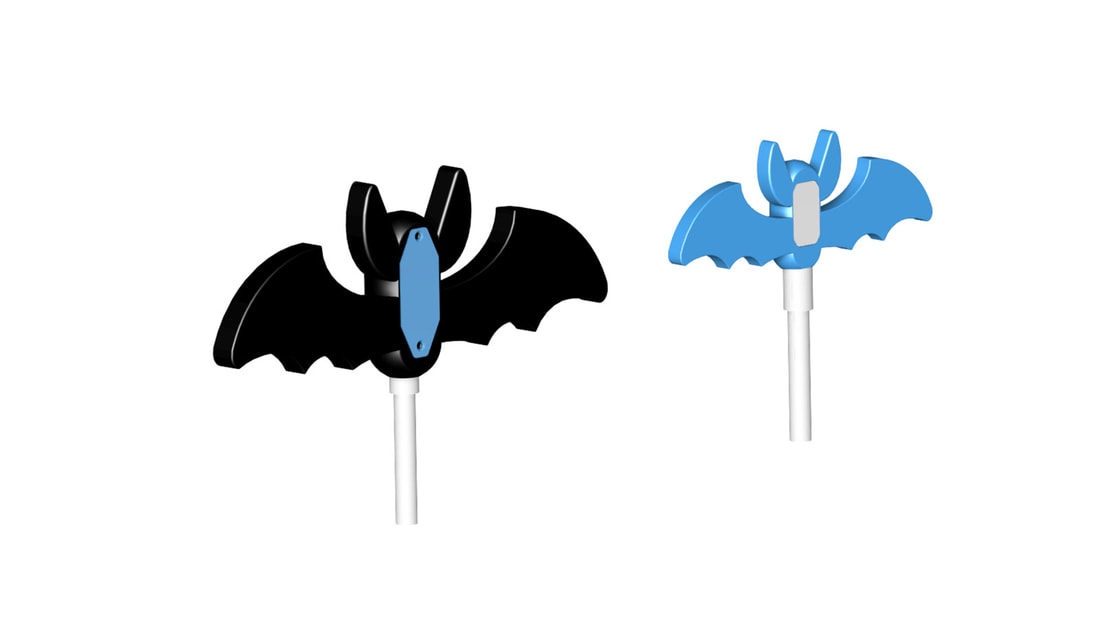
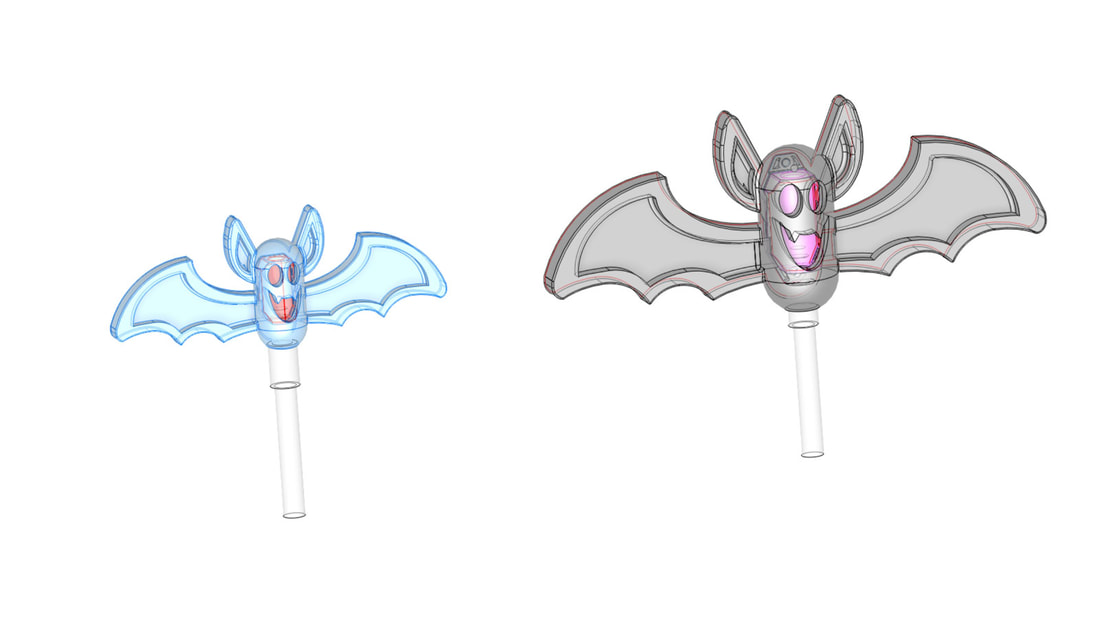
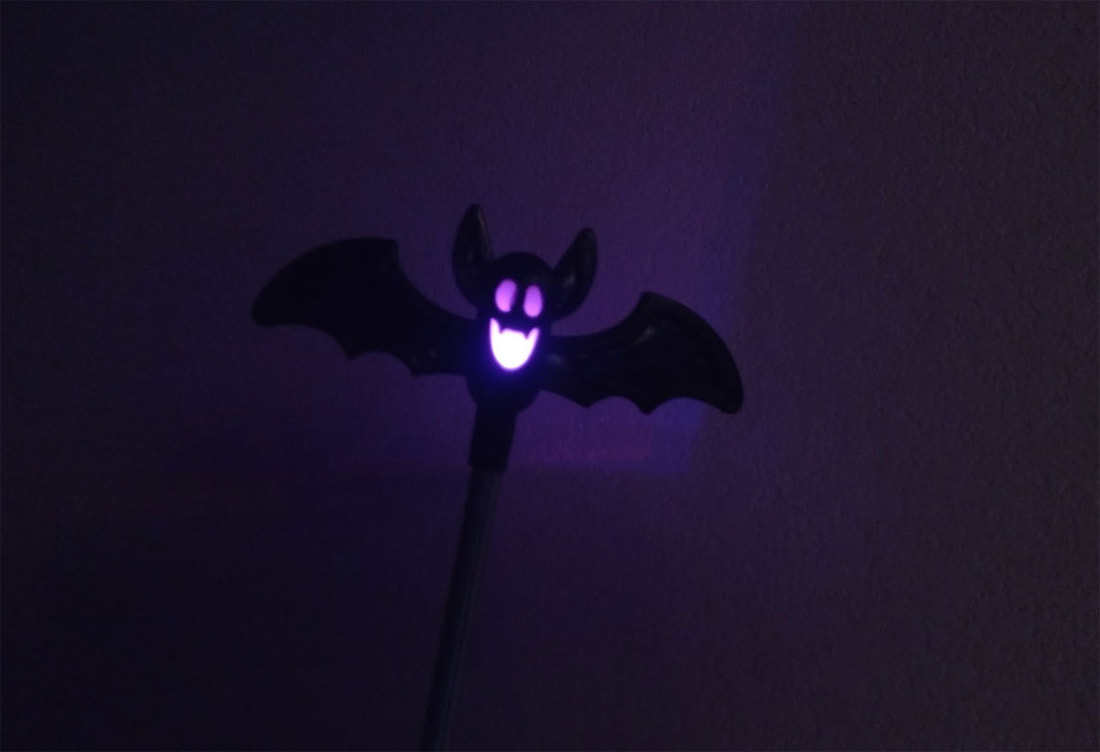
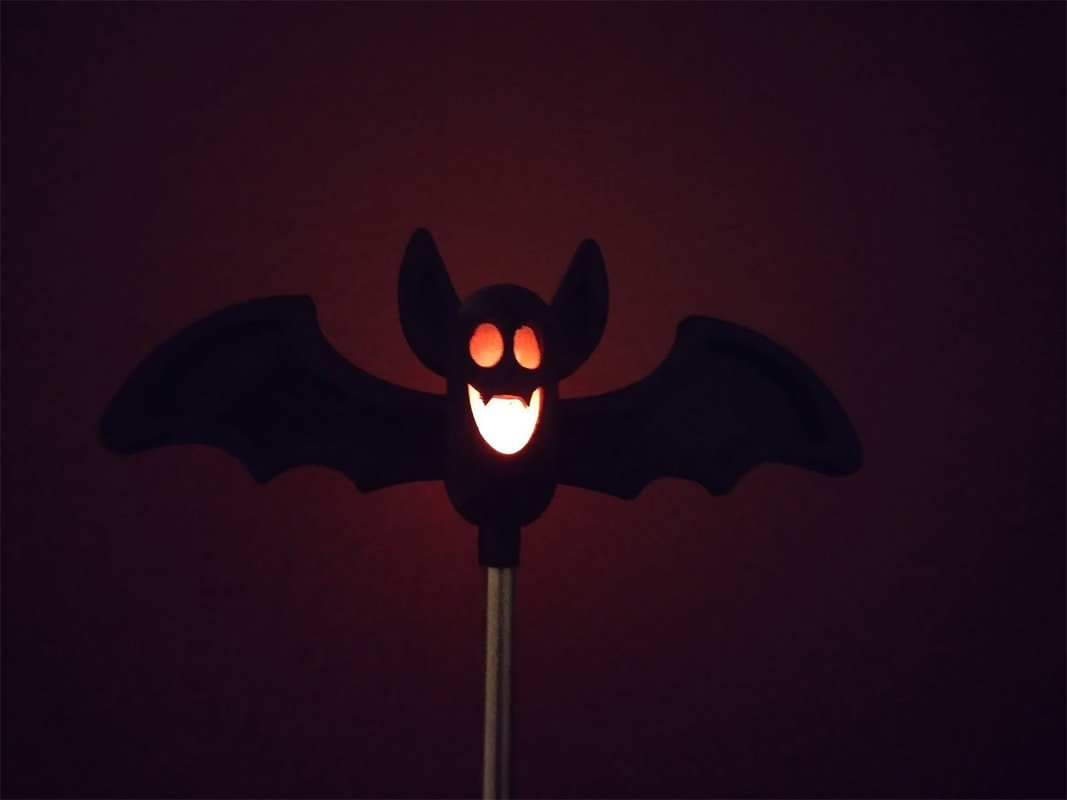
I had some time today so I modified my Halloween Big Bat to work with some solar yard lights from Harbor Freight (https://www.harborfreight.com/solar-decorative-led-lights-3-pc-69462.html).  These have mixed reviews on Amazon but good reviews at Harbor Freight, but I have seen them in use for a year or so at a neighbors, so I think they will work OK.  I just picked up some of these today and am charging them up, but in the meantime, I am also printing the smaller version to check the fit.

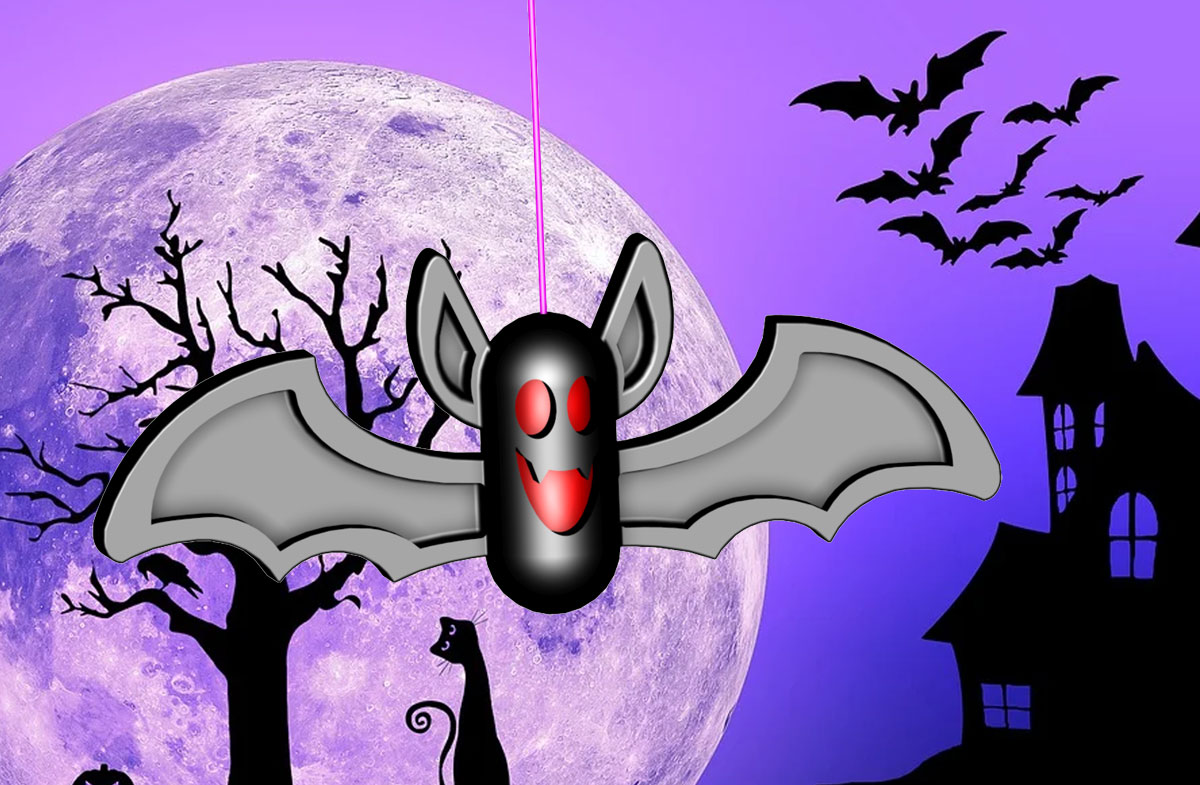
These will have 2 or 3 parts, with a bat, the back cover and an insert (to be printed in clear or possibly glow PLA).  The insert may be optional but I need to see how it looks without the insert to know for sure.  The larger version will require some M3x6mm screws (yeah it's a weird size but an M3x10 may work if a nut is added as a spacer.  As always, I will post this up to Thingiverse when it is ready, and I'm putting a rush on this since Halloween is right around the corner.
Picture
Picture
Maybe a few more if I have time to print them:
Picture
Picture

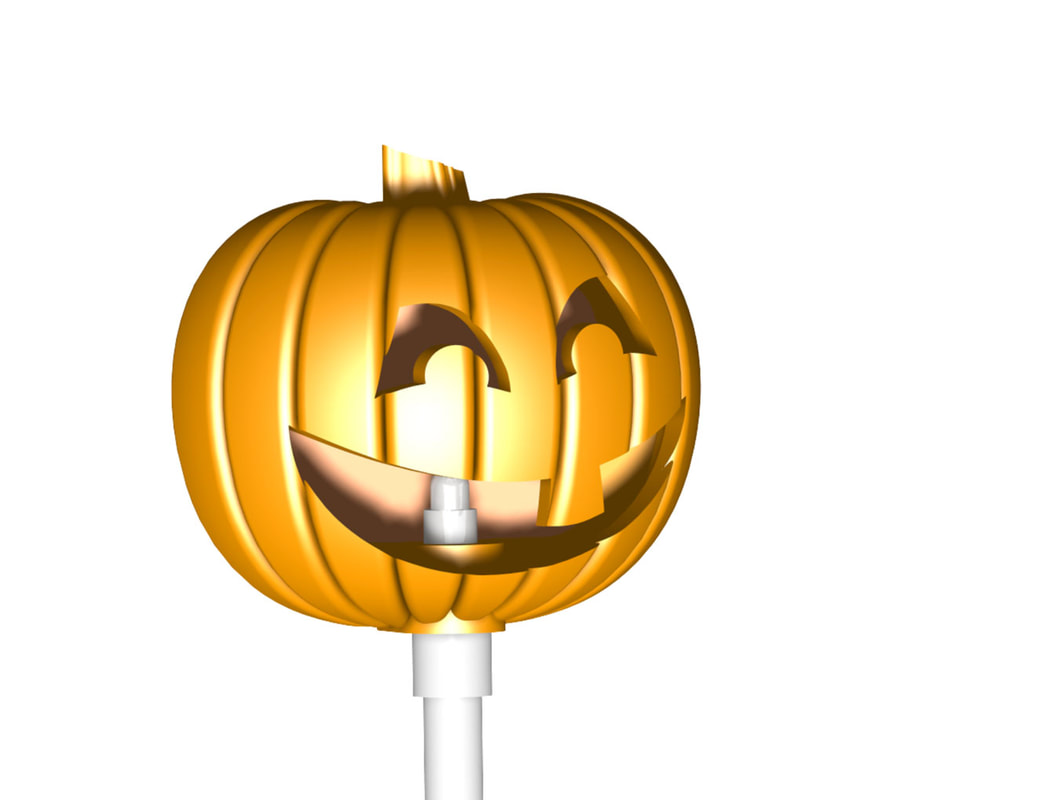
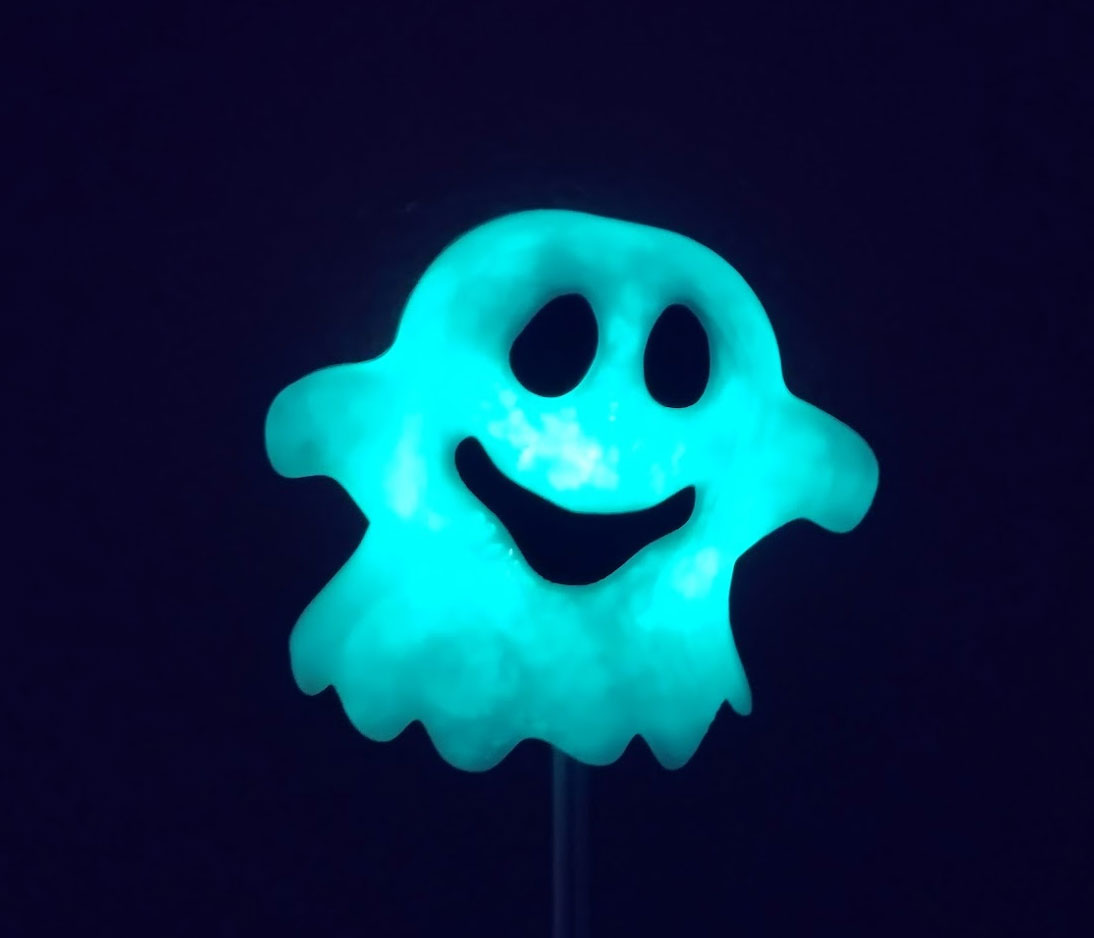
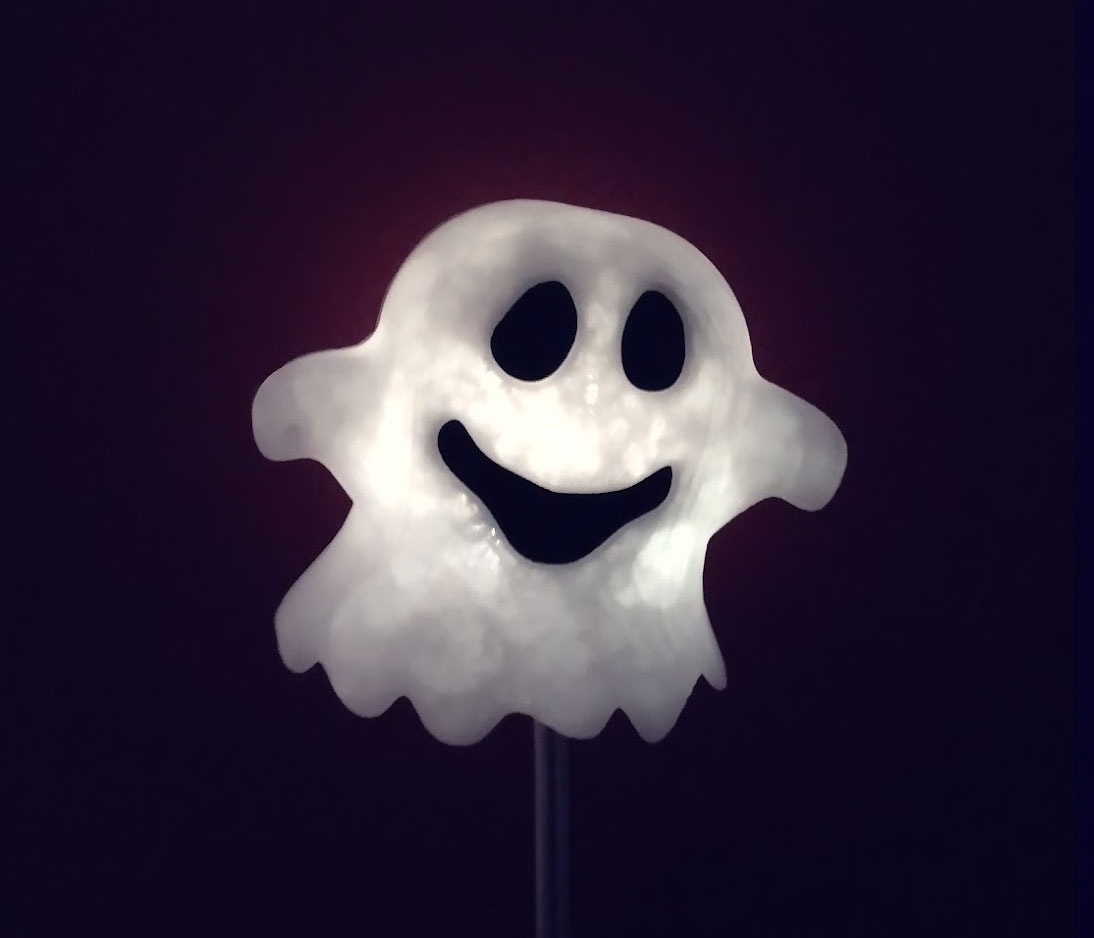
Update 10/18/2021: I think I have the designs finalized and have printed a couple of tests, but I still need to re-print everything to verify things work, so I will end up with a couple extra bats.  My test print of the ghost failed about 80% through since I had to use ABS and it popped off the bed (it was the only type I had in clear), but I got enough printed to confirm it will work and looks really cool with the LED inside.  I will reprint it with a brim next time.  The models should print with minimal supports, though obviously the Jack-o-Lantern will need some, it should not matter how ugly it looks inside (real Jack-O-Lanterns are stringy inside anyway :D).  I expect it will be the end of the week before these are tested and then I will post them up. 

These will need Black, Orange and Clear filaments (or they could be painted).  Clear is a requirement however since the LED's need to be able to show through the material. 

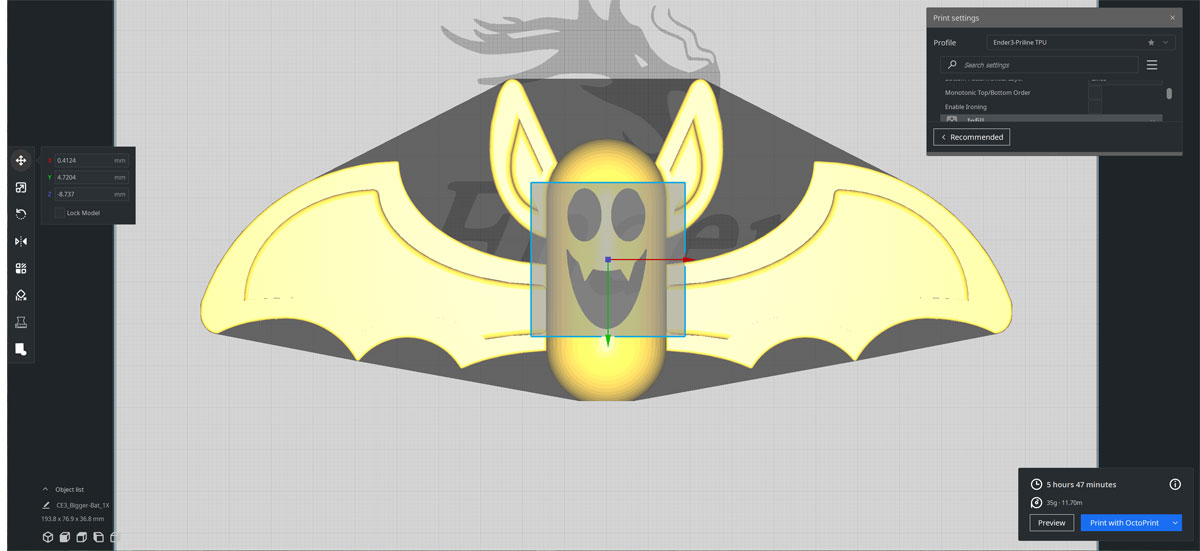
The pic below was a test of the smaller bat, the larger one will be 1.5x as large and I have made a few changes to the design as well (but the changes won't affect the overall appearance).
Picture
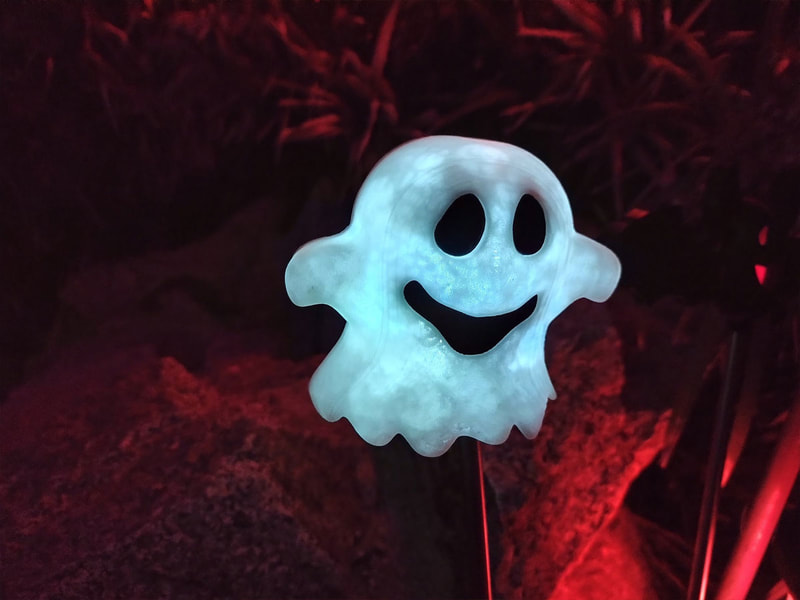
Update 10/19/2021: The Ghost was printed and looks great (I think :D).  I printed with 2 walls, 2 top layers which I probably should have used 4 or 6, but it still works, and I used 24% gyroid infill with 3 steps.  The infill and thin walls makes it look like there is something going on inside, but I'm sure it could be printed with other settings just fine (though I suggest sticking with gyroid for the infill on this).
Picture
Picture
I also printed a clear back for the Bigger Bat, which gives it a cool background glow effect.  I still need to print the Jack-O-Lantern and test it out but things are on track to post these up later this week.
Picture
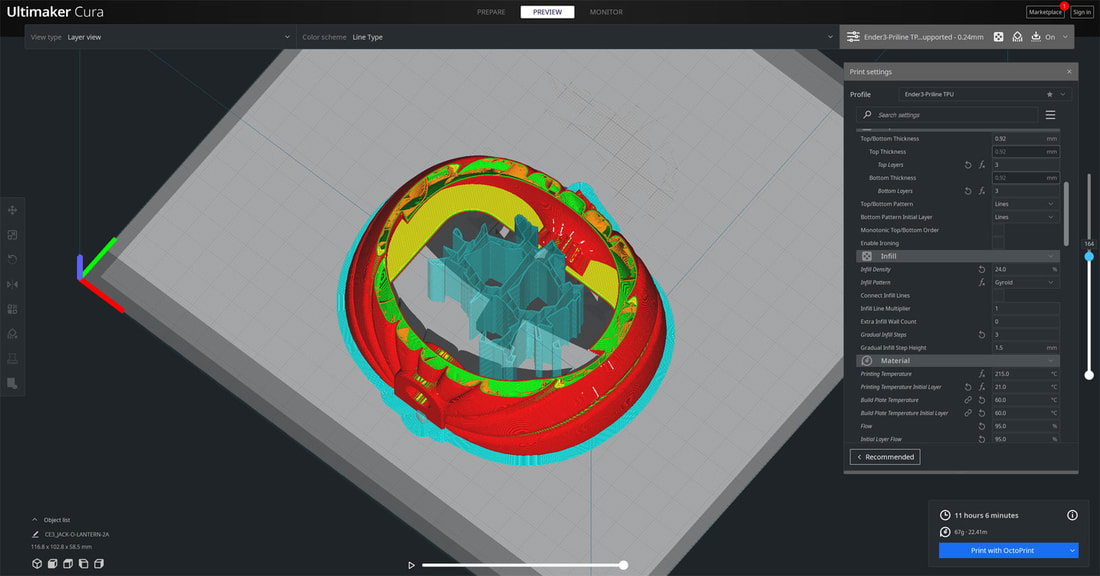
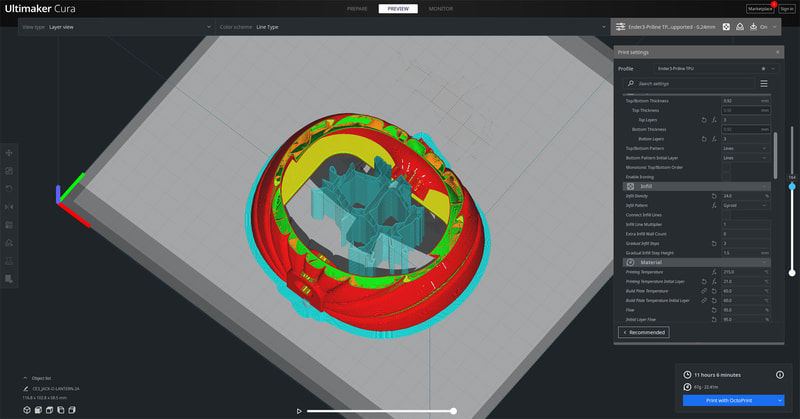
Update 10/21/2021 - the Jack-O-Lantern is on the printer now (this after one failed attempt to print it due to a clog with old filament).  The print will take about 11 hours on my Ender 3.  It would have been 14 hours but to save some time I used these settings:
  • 0.24mm layers (0.4mm nozzle)
  • 2 walls
  • 3 top and bottom layers
  • 24% gyroid infill (with 3 gradual infill steps at 1.5mm each)
  • speed 70mm/s
  • supports (56% overhang)

If it checks out I will post it up ASAP so folks can get them printed before Halloween.  I plan to enter it into the Halloween contests at PrusaPrinters and Instructables too.  I will post links for all the sites this is posted to once the models are all tested and ready to go, and would appreciate any votes given.
Picture
Update 10/22/2021 -  Everything is printed and posted now.  I only made some minor changes to the Jack-O-Lantern design to increase the strenghth of the model, specifically around the screw holes, so that low infill can be used and they will still be strong.  These are posted at both PrusaPrinters and Instructables:

https://www.prusaprinters.org/prints/82330-halloween-yard-solar-rgb-led-toppers-ghost-bat-and

https://www.instructables.com/Halloween-Yard-Solar-RGB-LED-Toppers-Ghost-Bat-and/

These are also entered in the Halloween contests at both sites.  If you make one please post your prints to either of those sites.  I plan to upload this to thingiverse soon.

0 Comments

Thingiverse Hacked (Updated)

10/14/2021

0 Comments

 
According to this post and Reddit too (so you can take it as gospel), Thingiverse was hacked.  Best to change your password if you have an account there to be safe.

More info here:
https://www.databreachtoday.com/thingiverse-data-leak-affects-228000-subscribers-a-17729

Update 10/19/2021: And it keeps getting worse, but at least it's bright and sunny in the reality where Thingiverse seems to reside.  Unbelievable that they don't even care enough to add any notice to their main page to notify users, many of whom may be using the same user and passwords across multiple sites, and now are in danger of real problems.  There won't be any consequences in this country for the way they have handled this I'm sure, but maybe the laws in the EU will at least get them to make the proper notification and come clean about what was taken.
I have been trying out some alternatives to Thingiverse and the latest problems have only accelerated things.  The best alternatives I have seen so far are Cults3D and PrusaPrinters.  Neither are perfect and their communities seem to be less active, so I will probably be (unfortunately) sticking with Thingiverse as a primary location for files.  Cults3D allows selling of files (which is not currently something I care too much about), and Prusa has contests (including one I have entered some designs into) and seems to have a much more engaged management.  Both the sites mentioned will automatically download designs from my Thingiverse account which makes it very easy to migrate.  I did not copy everything over however, since many of my things are remixes and I need to make sure they are pointing back to the original sources.  Anything I have that is original though, should be up on Prusa and Cults3D.
0 Comments

Halloween Bat Thing

10/12/2021

0 Comments

 
Picture
I just posted a quick remix of my Halloween Bat Bead, but this one is 2x the size and has an insert which can be printed in a contrasting color to give the eyes and mouth some contrast with the rest of the model.  There is also a version which has a hole for hanging it up.  The model is about 130mm across.

I have not tested this yet, but since things are tight right now and I'm not sure if I will get the chance to print it prior to Halloween, I wanted to get it posted.  There may be LED version of the bat if I somehow get the time, but that's up in the air right now (pardon the pun).

You can find it here:
https://www.thingiverse.com/thing:5019145
0 Comments

Some MonoPrice PLA+ Deals on Amazon

10/11/2021

0 Comments

 
I was just looking for some PLA and picked up some spools at Amazon.  I have used Monoprice in the past and it has been pretty good in the past and right now it looks like a good price.  The cheapest colors are the green and light blue ($12.35), but the black, white and orange are only $15.44.  The white PLA+ which I bought previously from Monoprice was actually white too, not like the milk jug white that many cheap PLA's seem to call "white".  I picked up a few spools since I have been burning through white PLA for the Ikea Alex Organizers I have been printing.
Update - looks like the prices on the black, white and orange have changed, but the green and light blue are still a good deal.
0 Comments
<<Previous
    Picture

    Stoopid Me

    Welcome to my Stoopid corner of teh Internet.  It's mostly gonna be 3D printing stuff, but I also post some recipes, projects, and the occasional rant here as well.  More Stoopid stuff is updated regularly.

    I recently joined the Amazon Associate program, so some of the links on this site are Amazon affiliate links. This means that, at zero cost to you, I will earn an affiliate commission if you click through the link and finalize a purchase.  This will help to support this site, and pay for more Stoopid Stuff.

    Archives

    March 2023
    February 2023
    January 2023
    November 2022
    October 2022
    September 2022
    August 2022
    July 2022
    April 2022
    February 2022
    January 2022
    December 2021
    November 2021
    October 2021
    September 2021
    August 2021
    July 2021
    June 2021
    May 2021
    April 2021
    March 2021
    February 2021
    January 2021
    December 2020
    November 2020
    October 2020
    September 2020
    August 2020
    July 2020
    June 2020
    May 2020
    April 2020
    March 2020
    February 2020
    January 2020
    December 2019
    November 2019
    October 2019
    September 2019
    August 2019
    July 2019
    June 2019
    May 2019
    April 2019
    March 2019
    February 2019
    January 2019
    December 2018
    November 2018
    October 2018
    September 2018
    August 2018
    July 2018
    June 2018
    May 2018
    April 2018
    March 2018
    February 2018
    November 2017
    September 2017
    August 2017
    June 2017
    December 2016
    October 2016
    September 2016
    July 2016
    March 2016
    February 2016
    September 2015
    August 2015
    June 2015
    May 2015
    April 2015
    March 2015
    February 2015
    January 2015
    December 2014
    November 2014
    October 2014
    September 2014
    July 2014
    June 2014
    May 2014
    April 2014
    March 2014
    February 2014
    November 2013
    August 2013
    July 2013
    June 2013
    May 2013
    April 2013
    March 2013
    January 2013
    December 2012
    November 2012
    October 2012
    September 2012
    August 2012

    Categories

    All

    RSS Feed

      Contact Form (Name is optional)

    Submit
Powered by Create your own unique website with customizable templates.