My Stoopid Stuff
  • Home
  • Projects
  • Blog
  • Lec'tronics
  • Links
  • CNC
  • Quick Recipes
  • 3D Printer Tips

I should have named her "Lucky"

2/23/2018

0 Comments

 
Picture
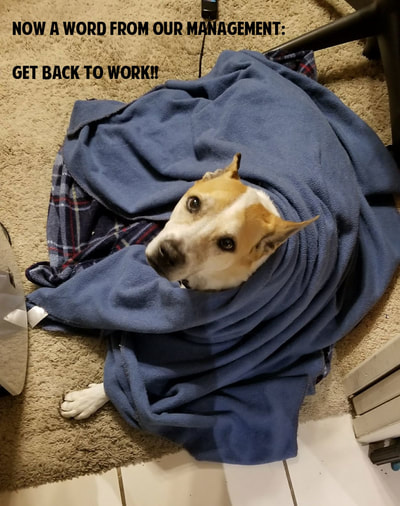
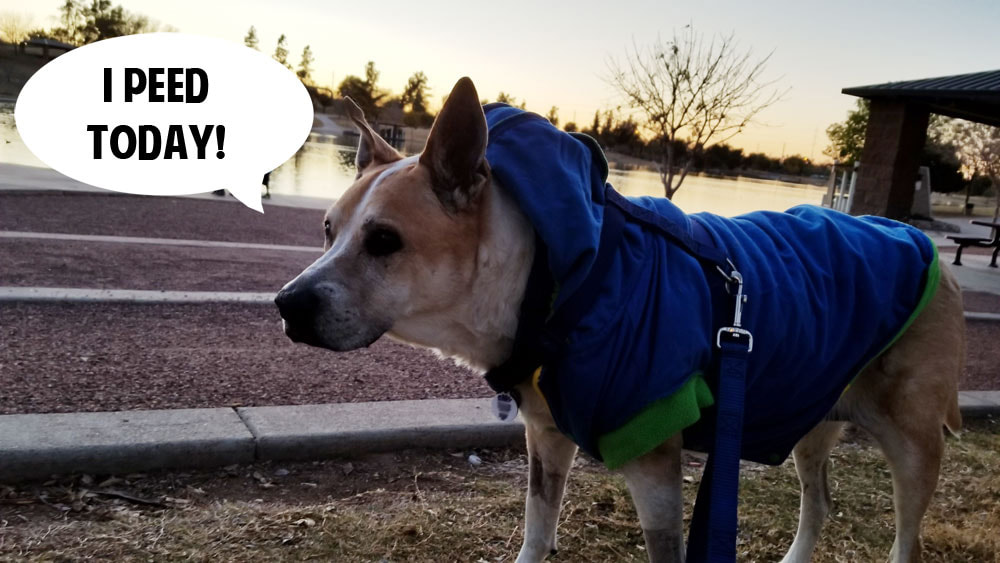
This past week and a half has been a roller coaster with Superpisser.  It began the Monday night before last, when she was not able to pee and was clearly in distress.  I took her down to an emergency vet and they put a hard catheter in, gave me the talk, which was all good, but I wanted her to be comfortable at home before we euthanized her (also wanted to give her a couple days at home with a catheter to see if she could pull off another save).  As it turned out, she was not happy with the hard catheter to the point of removing it herself the following night at the vets, so they tried again and failed to put another catheter in as they were running smack into the damn tumor (I had requested they use a foley which has a balloon and is soft, but they could not get the harder type in either).  So with bills mounting, and a dog with 12 hours of unspent urine in her bladder since the night before's failed attempt, I was about to put her down at the hospital which she hates, and in pain (a completely shitty situation).  I decided to call another vet that knows her case, and was given the name of a specialist (Dr. Aguirre with Salt River Veterinary Specialists) who does laser ablation for bladder tumors (aka UGELAB) in dogs with TCC, and he was not far away either (he is in Scottsdale, AZ).  Considering the timing and utter lack of hope at that point, I was cautiously hopeful.  So I sprang for a more specialized vet at the emergency hospital to install the foley catheter using a scope and get her though till the consult the next day.

As it turned out she was still miserable and having frequent urgency and peeing around this softer foley catheter all night when I had her back home (good times).  Next day, got her in for a consult with Dr. Aguirre, expecting to be told there was not much left for her, and was surprised to find out that the part of the tumor which was blocking her from peeing was mostly growing into and not attached to the urethra (though it had encroached at one point near the bladder).  It was like a finger extending from the bladder into the urethra with a lot of blood clots to boot.  Last Friday she had the surgery to unbock her and she had a bit of a bumpy recovery, but got through it and is getting back to her old self now.

There is still tumor in there, but this has both bought her time and also made her more comfortable, which I consider a win, win, except for my credit card balance.

Had the emergency vet got the foley in the first night, I may not have made the call a couple days later when she was out of options, and found out about Dr. Aguirre.  Dr. Aguirre is a great vet who was able to save Sunny's bacon one more time.  After discussing her case I found out that he has a lot of experience working on tumors and kidney stones for dogs, and applies some techniques used in human surgery for similar problems he deals with in dogs and cats.  It is not often that I have met a vet at his level, and of course, I would highly recommend him. 

Superpisser is not out of the woods yet, but she is in a much better place to find her way out.
Picture
0 Comments

3D Printer is almost done...

2/18/2018

0 Comments

 
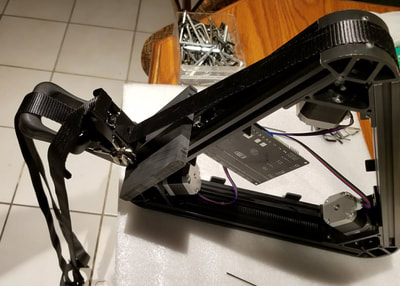
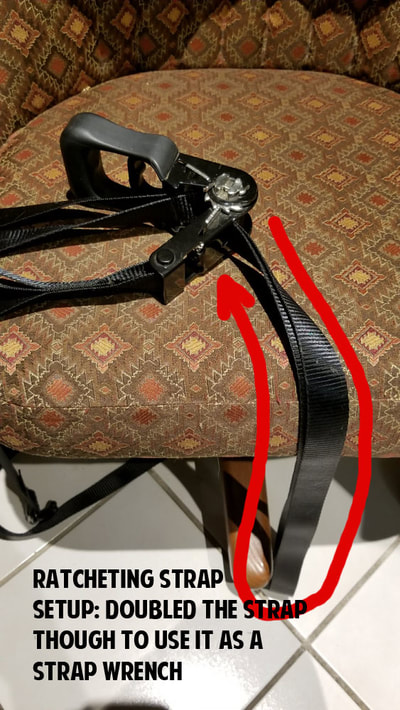
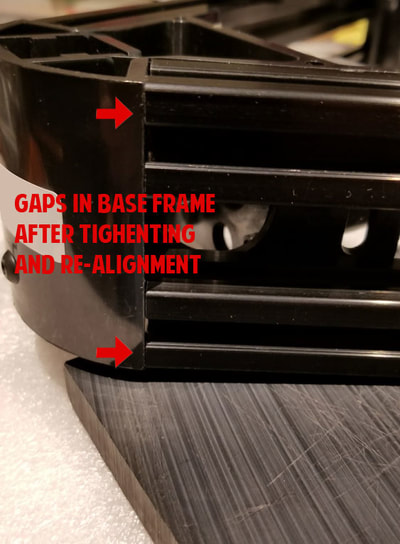
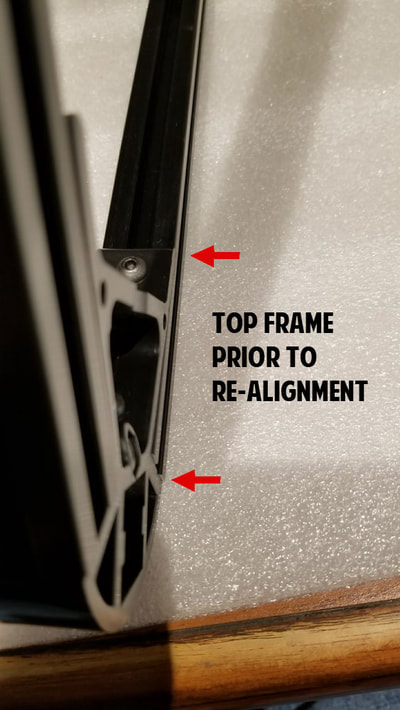
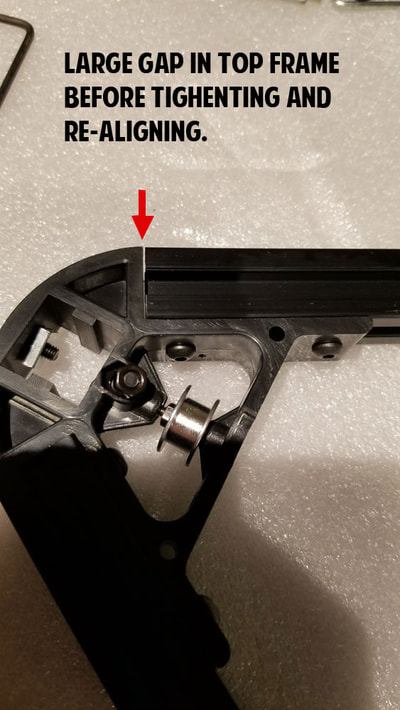
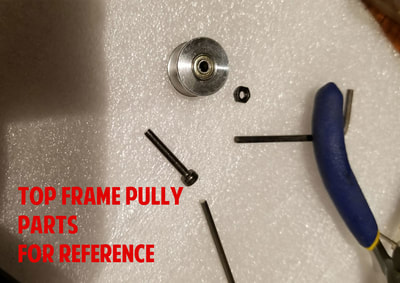
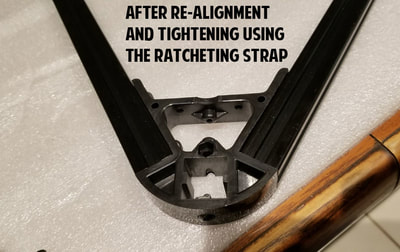
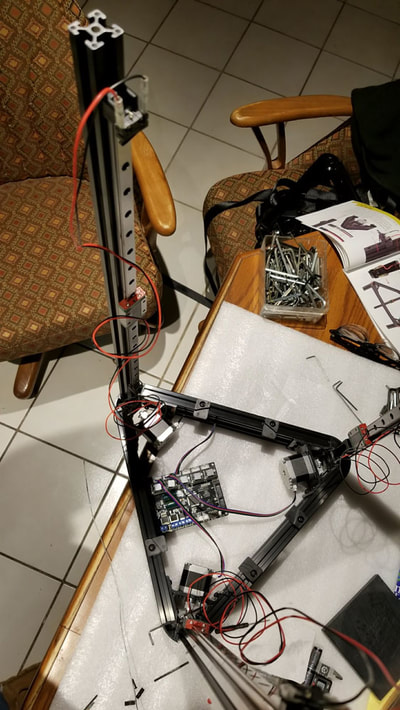
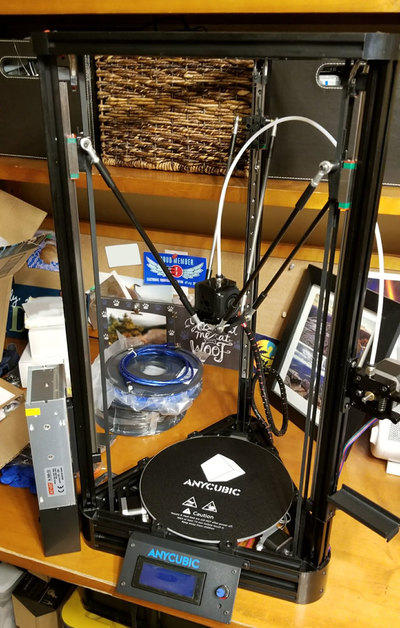
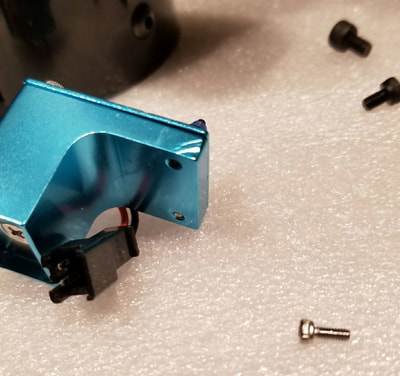
After spending several hours getting the linear rails to a minimum level of acceptability, i found a few more problems with the Anycubic Kossel Plus kit.  The base and top frames had some gaps that I needed to fix by loosening things up and using a ratcheting cargo strap to pull the frame tight.  This was pretty simple, but it took some extra time.  Looking back at the pics I can see that I could have done a better job on the base frame, but for now I will just see how it goes before I do any more work on that.  I also have a problem with the leveling sensor which should be an easy fix, it has a screw stripped out in one corner which will affect it's accuracy if I don't fix it (again simple fix though).  The power supply also has a mild chemical smell, so I am leaving the printer in the garage a few days to air out. 

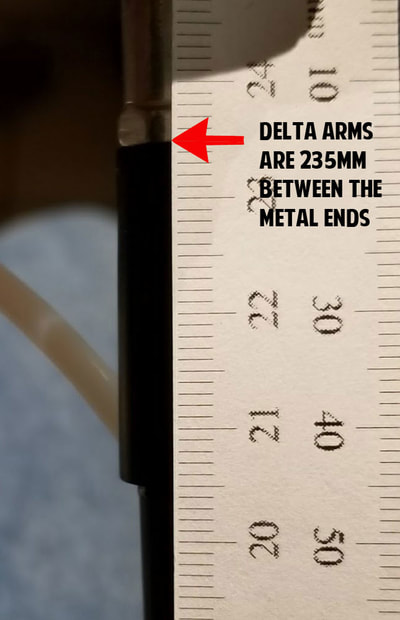
So even with these issues I would still probably buy it again.  Although I haven't turned it on yet, I am impressed with the kit.  For the price, the components and accessories (spool of PLA, flush cutting wire cutters, scraper, and metric ruler) make for a great value, and the company seems to stand behind the product.  There was a lot of thought that went into making the kit easy to build, it is only let down somewhat by the QC, though that can be overcome with some effort, and really I don't mind most of the work to get it built properly.  On the positive side though, with respect to QC, I found that the all delta arms were exactly 235mm between the metal ends, which is great since those would be difficult to fix - this makes up for any issues with frame alignment which are easy to correct (in my view). 

If I wanted something to print out of the box I would have bought a monoprice printer, so a few problems is fine with me.  The only real problem was the rails, and getting good linear rails seems like a bit of a lottery from what I have read online, but if that problem can be overcome it is a great kit so far - again I have yet to turn it on and actually print something so I may regret saying it is a good value yet :D  
0 Comments

Anycubic Kossel Linear Rails problems

2/17/2018

0 Comments

 
Picture
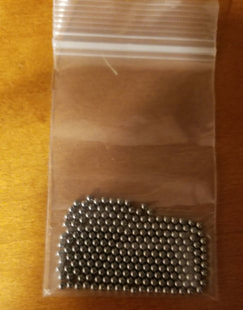
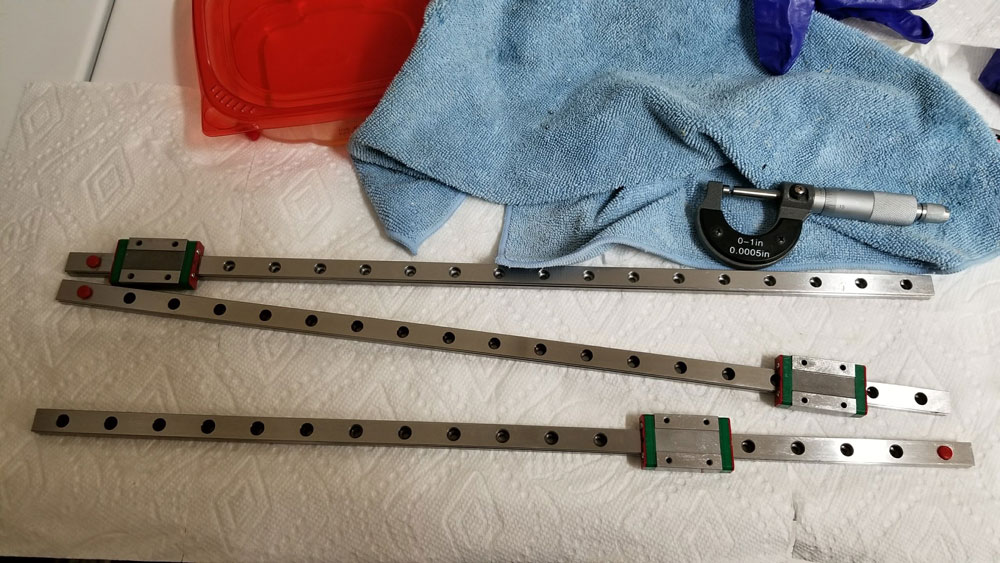
Two of the three linear rails for my Kossel 3D printer were not good so I ordered some 3/32" ball bearings which I had hoped would fix them.  When I originally measured the bearings that were installed in the carriages from the factory, I noted they were undersized, so it was not super surprising that the the new ones did not fix the "crunchyness".  However I bought enough spare 3/32" bearings that I was able to sacrifice some to the gods of automation by using them, with some Clover lapping compound to smooth out the races in the carriage and the rails.  To do this, I first removed the original bearings and set them aside so they would not mix with the new bearings.  Then installed the new 3/32" bearings with some superlube and a bit of clover mixed in.  Then I cycled them probably a hundred times until I could feel things smoothing out.  After that I cleaned the heck out of the carriage and rails and discarded the bearings which were pretty much ruined by the clover.  After that was all done, and I had things thoroughly cleaned, I installed the old bearings (and packed them) to see and noted it was a bit loose feeling but it probably would have been fine.  I did not like the looseness however and replaced the old bearings again with the new 3/32" bearings but initially they snug, but after cycling a couple dozen times with a good amount of superlube, they smoothed out considerably.  So now that the worst bearing seems usable, at least until I get the replacements, I am starting to assemble the printer.

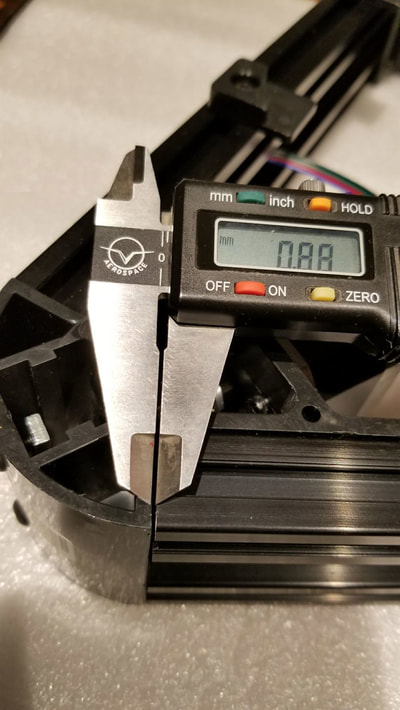
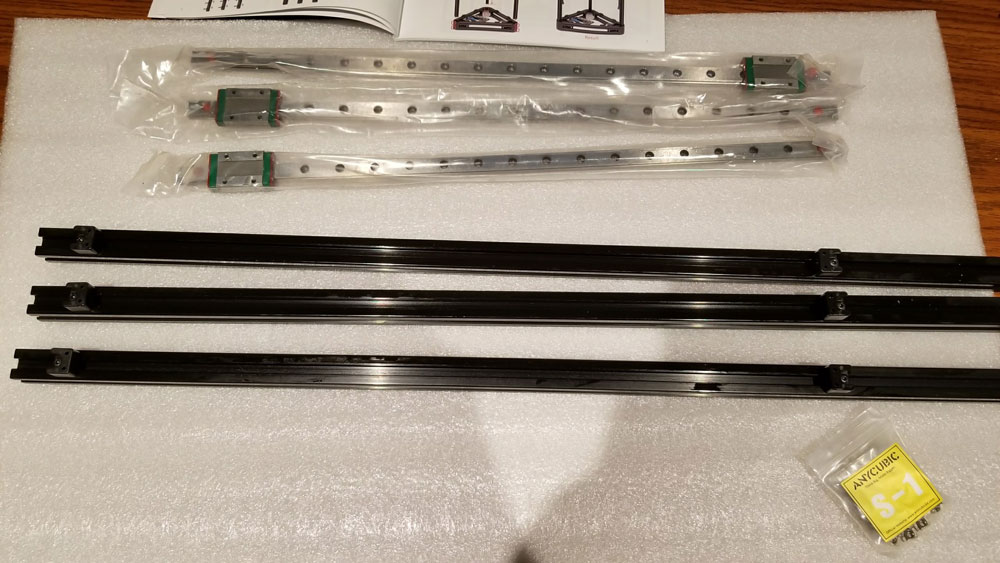
The first step was to install the rails on the 3 structural posts for the printer.  This should be easy, and is, however there is some fine tuning since there is some variance between stops on the parts I received, which I decided is not a problem.  However when installing the rails on the square tubing I decided to try and get them centered as best as I could.  For this a vernier caliper is a necessity.  Since the tubes are 20mm and the linear rails are 12mm, I set it for just a shade under 4mm, and used the end that extends from the back of the caliper as a gauge to center the rails, top and bottom, then tightened everything down.   Not a big deal, but hopefully something that could avoid some issues down the road.  I would have liked them to include some tips in the manual on improving the build since it seems like any additional accuracy that can be built in will only help, but it seems that the manual is focused on just the basics of constructing the printer.  I have some ideas where to focus on accuracy however:

1. squaring the vertical tubes to the top and base
2. verifying the length of the rods from the carriages to the printhead is consistent and correct
3. checking for excessive play in the end joints for each connecting rod
4. verifying the bed is level and perpendicular to the rails - or as close to it as possible.

For these, I will try and make adjustments as needed, though at some point I will just get it done regardless.  I am setting this aside for the next few days, but will update when I get some more time to complete the printer.

0 Comments

Finally bought a 3D printer

2/9/2018

0 Comments

 
Picture
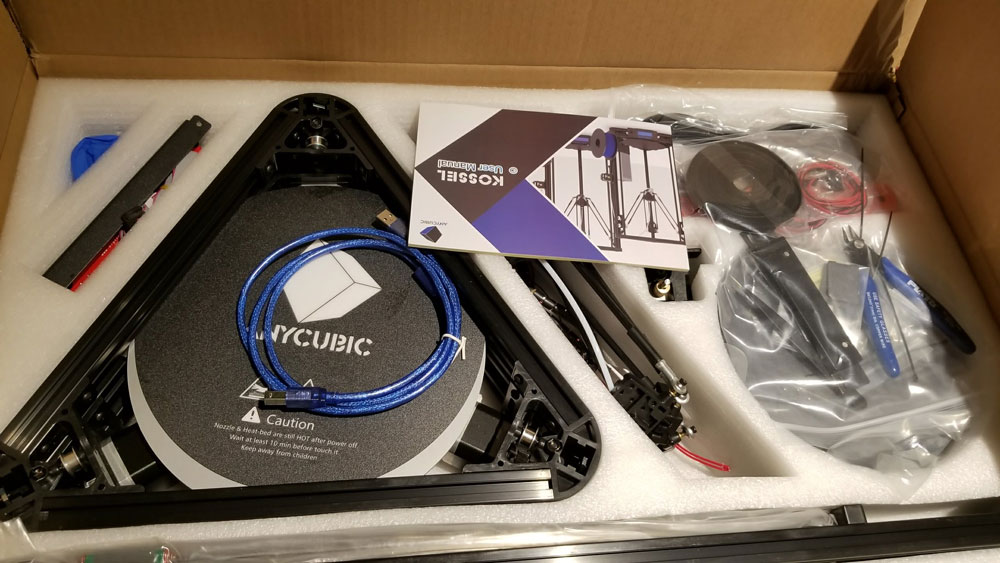
A coworker bought a 3D printer and made a whole bunch of cool stuff with it, and although I tried to resist buying one, it did not take long before I was shopping for one.  There seems to be a lot of utility to 3D printers and I like the idea of being able to produce 3D models or just downloading something from thingiverse and printing it out.  Time will tell if I made a good choice on this Anycubic Kossel Plus with linear rails.  So far I have not been able to start building it since the linear rails are pretty crappy.  After cleaning them and lubing them with "Super Lube" as well as cycling them, there was an improvement for sure, but still only one is good, one is marginal and still sticks, and one is crap.  I am checking with the company I purchased from to see if they will replace the rails that are bad, and if I can get good ones then will proceed with the build. - Update - looks like they are coming through with some replacement linear rails so I hopefully I won't need to swap the bearings.    My backup plan would be trying some replacement 3/32" chrome steel grade 25 ball bearings if the replacement rails also suck.

Update - If they don't want the old linear rails back, I may see if the worst one can be salvaged using some lock-tite clover lapping compound. I used the clover previously to lapp the steel shims in the mini-mill X andY axis (these are the parts that the set screws push against to adjust the tightness of the X or Y axis on the mill).  Basically it is applied like grease and run though to smooth out any high or rough spots - just need to be careful to clean it all out when done.  That could well destroy the linear bearings so even if it does clean up the races, the ball bearings would need to be swapped out, which is probably OK since the ball bearings that these shipped with are probably part of the trouble anyway.  So my plan to salvage the worst rail (if the seller does not want the faulty linear rails back), is:
1. swap the bearings with some G25 chrome bearings I ordered, and re-pack with Super Lube, then see if that fixes it.
2. swap back in the original bearings and pack with clover and then run them to lap the races a bit, clean out all the cover and bearings, install new  G25 chrome bearings and super lube and re-test.

I will post an update when I try this, assuming the seller does not want the faulty bearings back.

Picture
Picture
0 Comments

This for no reason at all...

2/7/2018

0 Comments

 
Picture
0 Comments
    Picture

    Stoopid Me

    Welcome to my Stoopid corner of teh Internet.  It's mostly gonna be 3D printing stuff, but I also post some recipes, projects, and the occasional rant here as well.  More Stoopid stuff is updated regularly.

    I recently joined the Amazon Associate program, so some of the links on this site are Amazon affiliate links. This means that, at zero cost to you, I will earn an affiliate commission if you click through the link and finalize a purchase.  This will help to support this site, and pay for more Stoopid Stuff.

    Archives

    March 2023
    February 2023
    January 2023
    November 2022
    October 2022
    September 2022
    August 2022
    July 2022
    April 2022
    February 2022
    January 2022
    December 2021
    November 2021
    October 2021
    September 2021
    August 2021
    July 2021
    June 2021
    May 2021
    April 2021
    March 2021
    February 2021
    January 2021
    December 2020
    November 2020
    October 2020
    September 2020
    August 2020
    July 2020
    June 2020
    May 2020
    April 2020
    March 2020
    February 2020
    January 2020
    December 2019
    November 2019
    October 2019
    September 2019
    August 2019
    July 2019
    June 2019
    May 2019
    April 2019
    March 2019
    February 2019
    January 2019
    December 2018
    November 2018
    October 2018
    September 2018
    August 2018
    July 2018
    June 2018
    May 2018
    April 2018
    March 2018
    February 2018
    November 2017
    September 2017
    August 2017
    June 2017
    December 2016
    October 2016
    September 2016
    July 2016
    March 2016
    February 2016
    September 2015
    August 2015
    June 2015
    May 2015
    April 2015
    March 2015
    February 2015
    January 2015
    December 2014
    November 2014
    October 2014
    September 2014
    July 2014
    June 2014
    May 2014
    April 2014
    March 2014
    February 2014
    November 2013
    August 2013
    July 2013
    June 2013
    May 2013
    April 2013
    March 2013
    January 2013
    December 2012
    November 2012
    October 2012
    September 2012
    August 2012

    Categories

    All

    RSS Feed

      Contact Form (Name is optional)

    Submit
Powered by Create your own unique website with customizable templates.