My Stoopid Stuff
  • Home
  • Projects
  • Blog
  • Lec'tronics
  • Links
  • CNC
  • Quick Recipes
  • 3D Printer Tips
  • Voron 2.4

Designing pockets for Heat Set Brass Inserts

2/17/2023

0 Comments

 
Picture
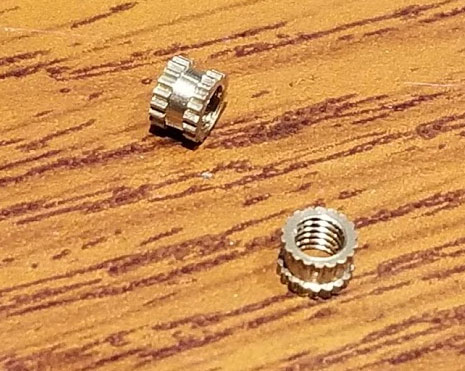
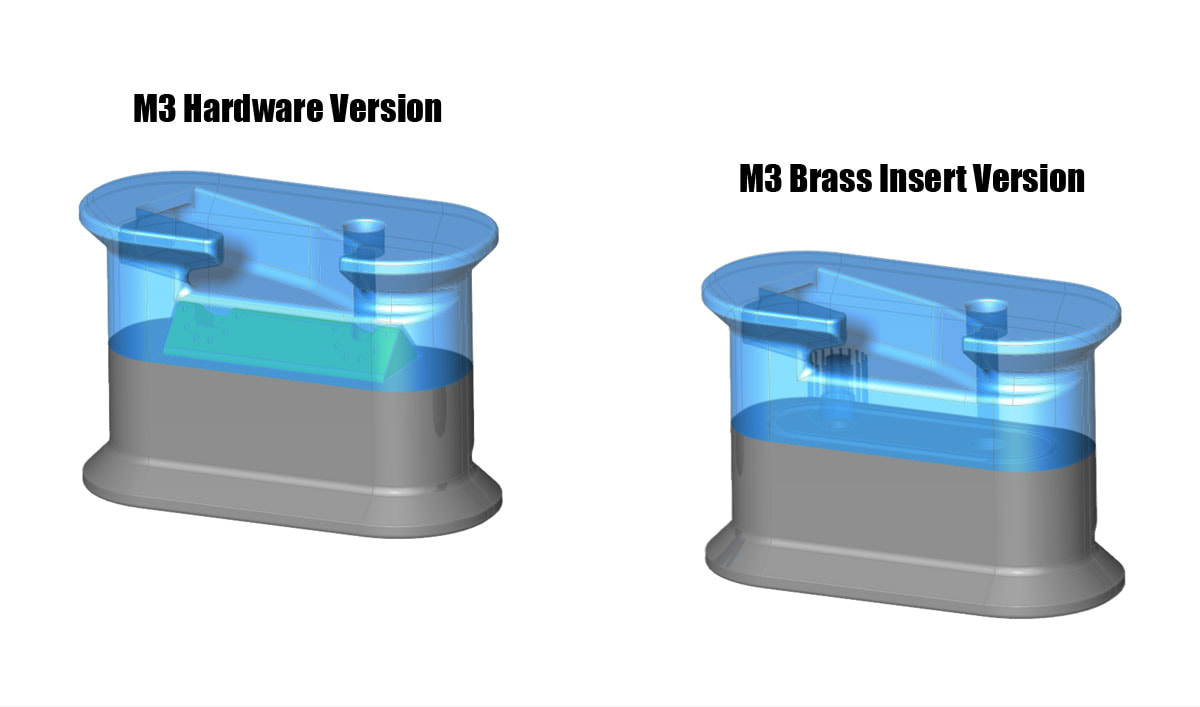
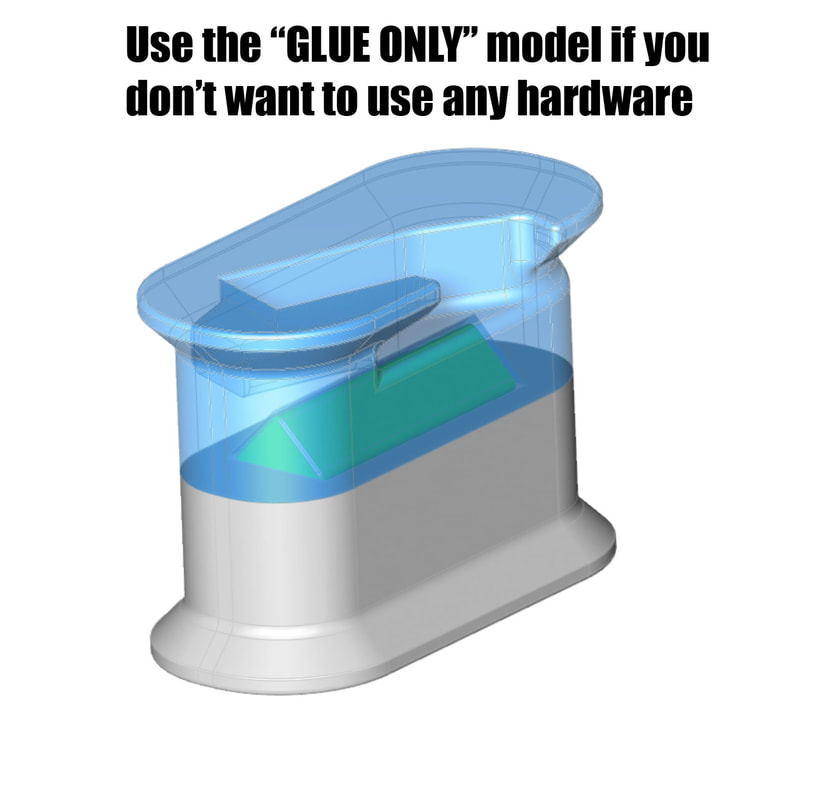
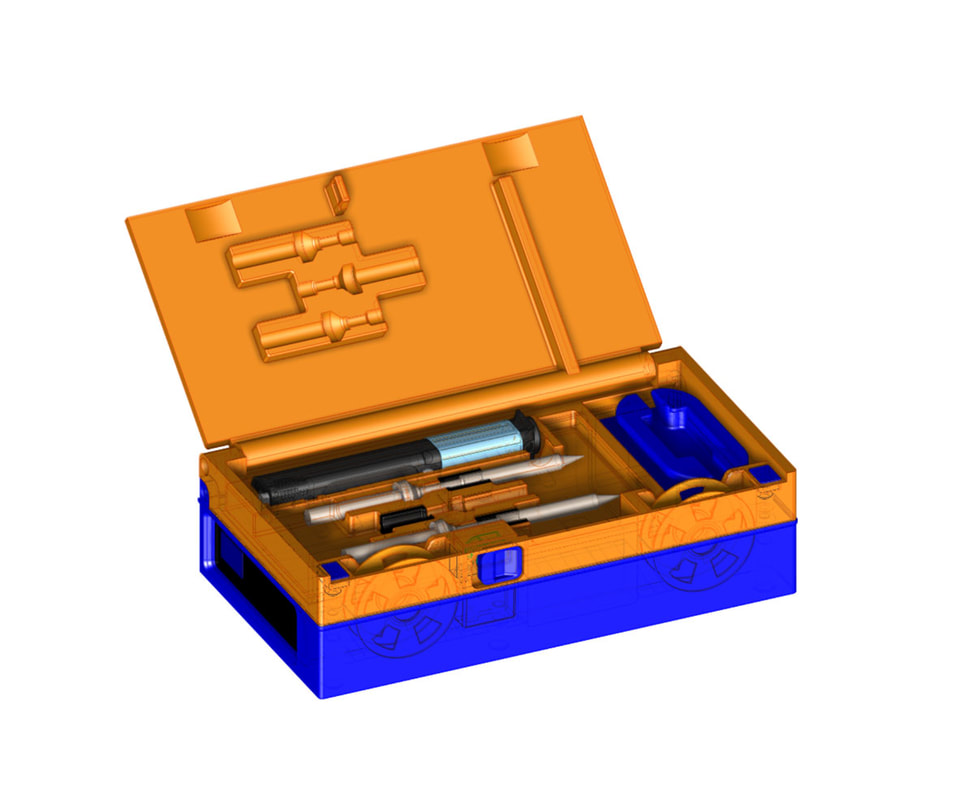
I was looking for info on setting some brass inserts today (specifically the best temps an iron when using ABS), and found the link below, for a markforged blog post on using heat set inserts.  It has some good tips on designing the pockets for them as well.

https://markforged.com/resources/blog/heat-set-inserts

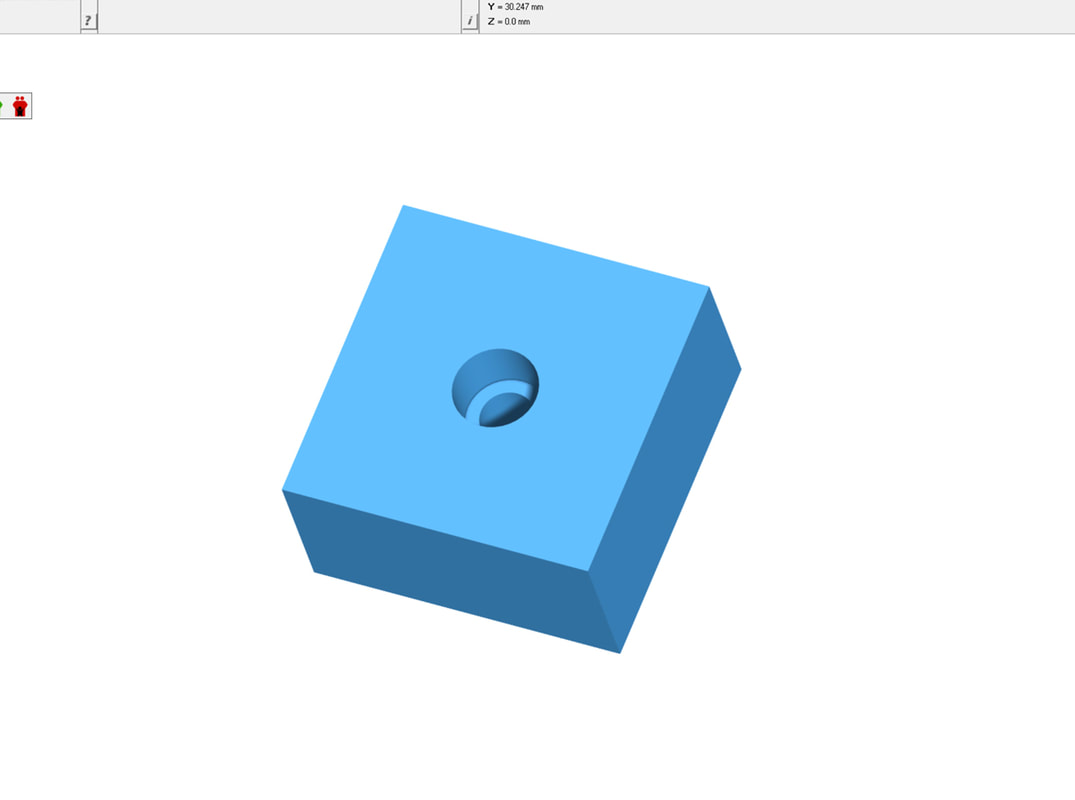
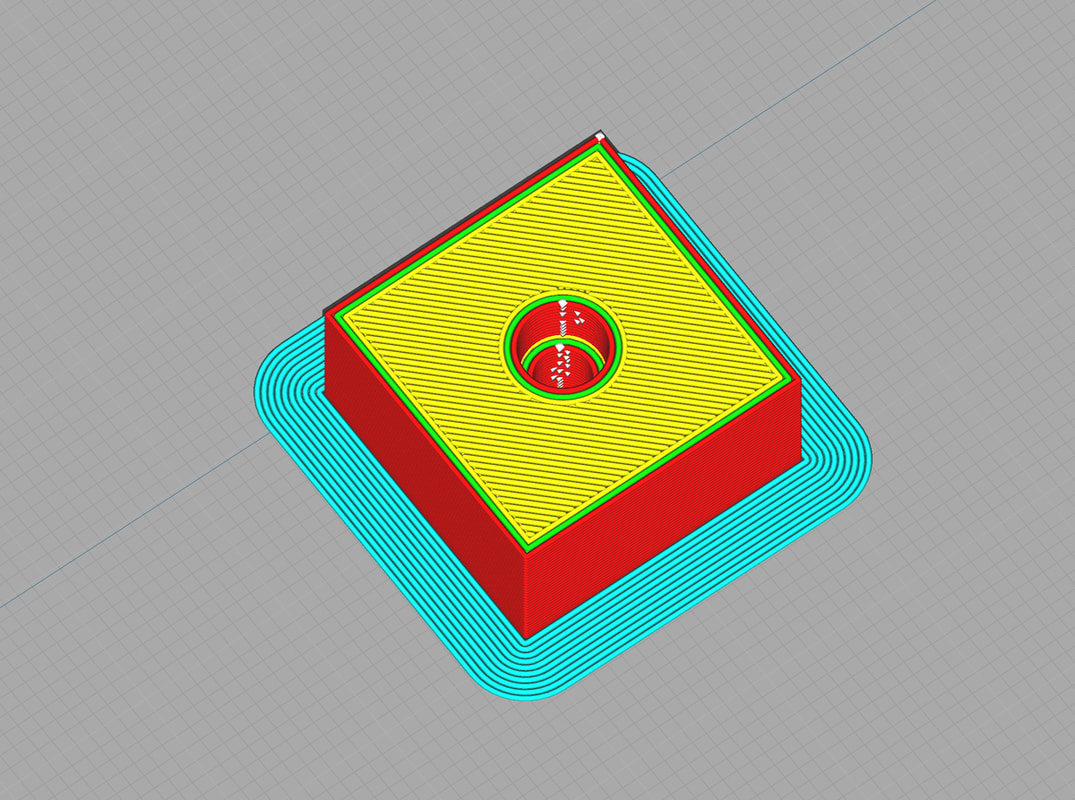
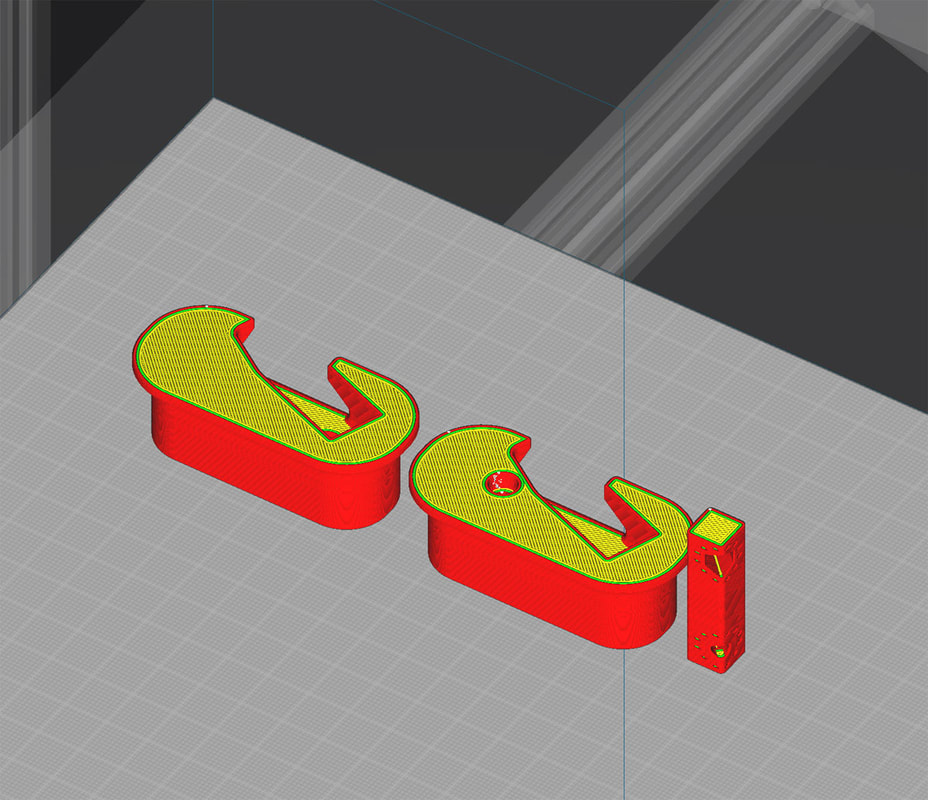
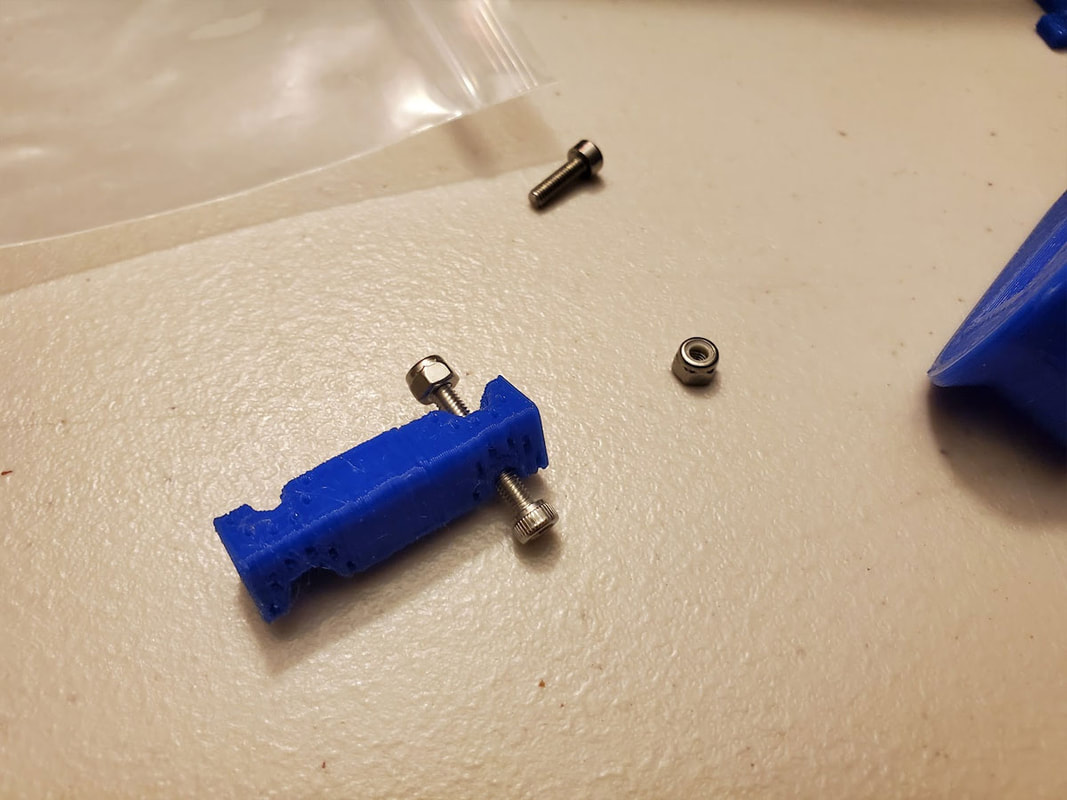
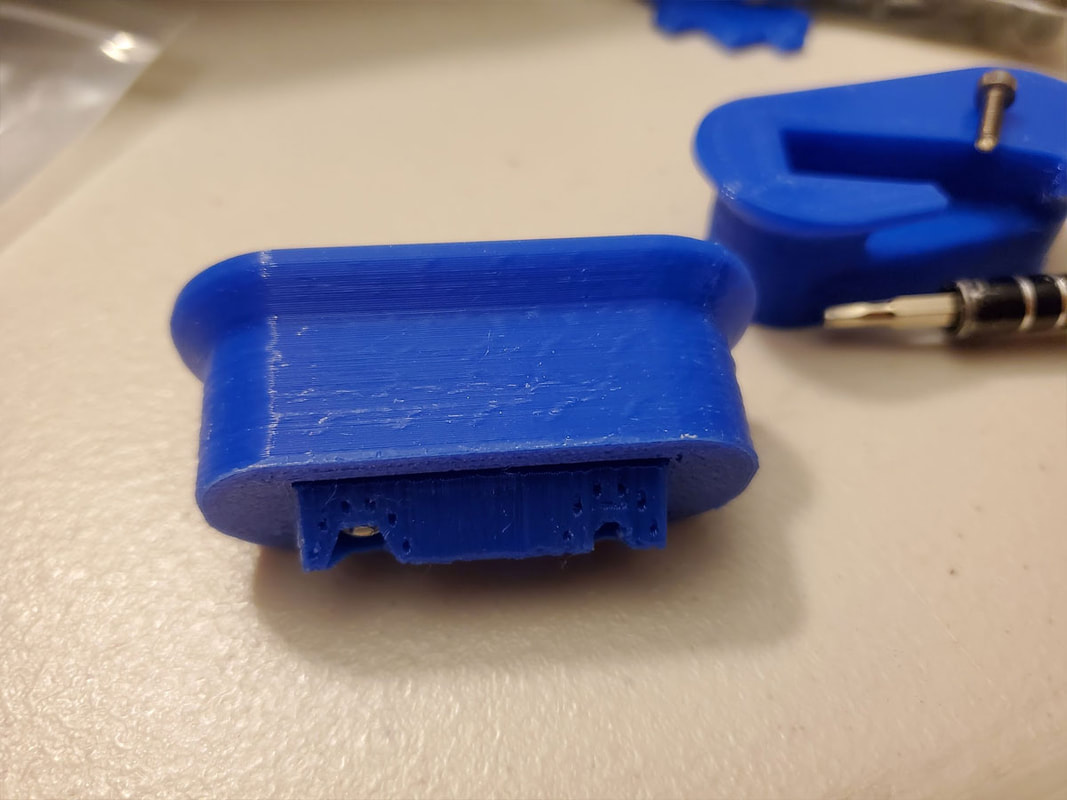
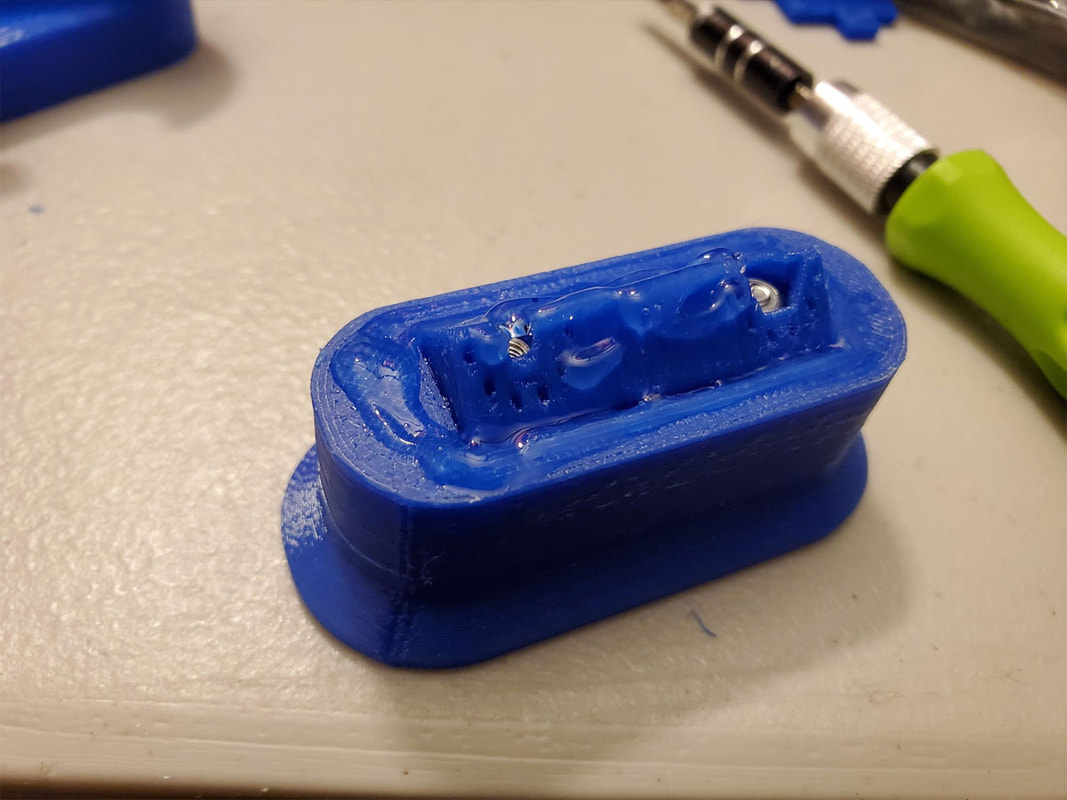
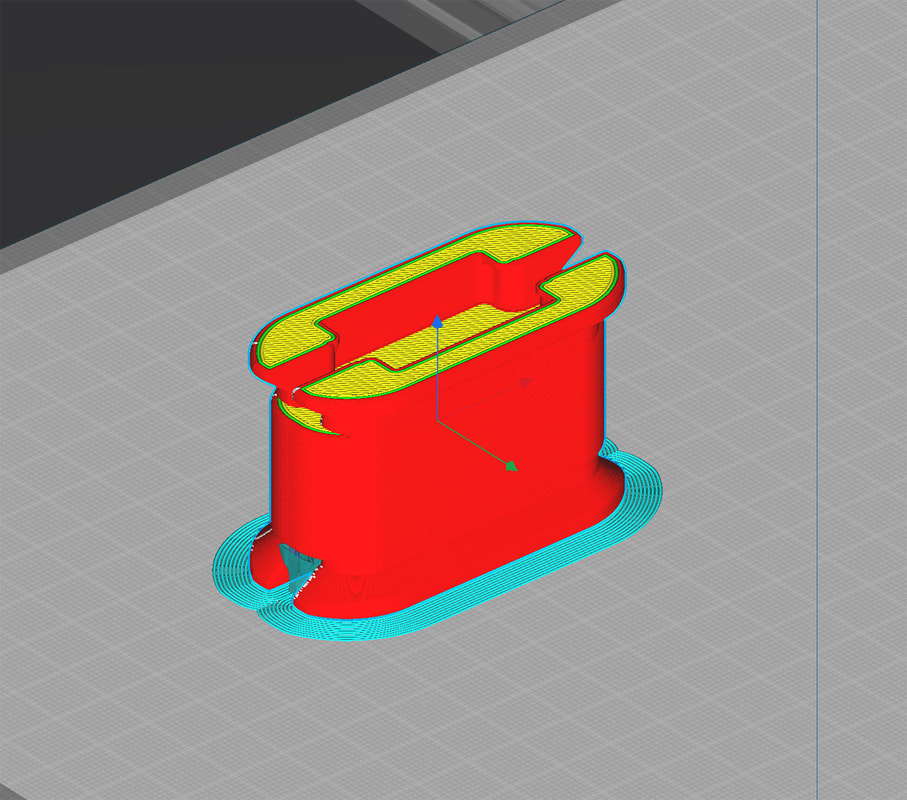
It was mentioned in the article that using additional re-enforcement around the hole will help.  The way I have done this when designing parts using heat set inserts (or even for through holes intended for use with bolts), is to add some slicer independent thickening of the space around the holes.  To do that, I will add an array of through or almost through holes, with a very small diameter (0.4mm or the nozzle diameter is enough).  These holes are placed at a distance from the hole equal to about 1.5-2x the estimated wall thickness.  So for a wall of 0.4mm x 2 lines (or 0.8mm walls), I'd place the holes around 1.2-1.6mm from the holes.  This way the holes will create an almost solid area around the hole and provide extra strength to the part.  It allows the rest of the part to be printed with lower walls and less infill, since using just 2 walls may not provide enough side support to the insert once it is melted in place.  The holes can be placed so they will not show on the surface, by burying them just below, so the top layers will seamlessly go over them.  This same technique can be used to add internal bolstering to a model, but it should be anchored to a wall or surface so it will not free float in the infill.

​One caveat to using this method is that slicers may ignore the holes depending on settings for things like nozzle diameter and wall thickness.  So it helps to know what nozzle size is planned to be used, and an idea of how many walls and surface layers may be used in printing the part.  If in doubt, making the holes slightly larger should get them to show up in the slicer.
​
0 Comments

Pinecil Soldering Iron Case (work in progress)

2/11/2023

0 Comments

 
I made a case for my TS-80 which has been great, but my Pinecil (v1) has been a bit neglected.  The Pinecil works almost as well as my TS80, and is better in some ways (it supports PD where my TS80 only supports QC).  The Pinecil also uses tips which are easier to find (since they are the same as what is used in the TS100).  My TS-80 case has been very handy, so I used it as the basis for a case to hold my Pinecil.  But I designed the TS-80 case with a constraint that it is able to fit into a Stanley case, which limits it somewhat.  For my Pinecil soldering iron, I want to have a case that will contain the following things:
  • 100W power bank
  • Silicone USB-C cable
  • At least one spool of solder
  • A Mini-T stand
  • A Pinecil with a M2x4mm thumbscrew (used to secure the tips)
I had considered adding a space for a small tin of flux, however I have not found any that are small enough to fit, without making the whole design much larger. 

What I've come up with so far is the result of hacking and stretching my existing case design and adding some features to allow it to be more simply updated for different irons.
I just received the 100W power bank, and need to do some testing with it to make sure it will work, but so far it seems like it will.  The design feels like it is completed, but generally when I think a design is done, it just means I need to print it to find out where I screwed up :D  

Thanks to Daniel Soussi at GrabCAD for the 3D model of the Pinecil iron.  I use the model to help define a slightly larger cavity to set the iron into.  The tray will also accommodate a Pincel with a thumbscrew to hold the tips (M2 x 4mm similar to these).

Update 2/18/2023 - I've printed a couple test parts and they fit, but I have a few more parts to test before I print the whole thing (and then will upload it to Printables if it works).

Update 2/24/2023 - I printed the base to test it out and the battery fits well.  However I decided to get the Pinecil 1M USB cable, since my current silicone USB cable (though really nice) is just a bit too long to fit in the case without some alterations.  I'm gonna wait until the Pinecil gets back in stock on Feb 27 before ordering the cable (it's a good deal for the cable, but the shipping is a bit much for just a cable, unless ordering a few things at the same time).  I plan to design a small spool to hold the cable, which should fit inside the case.

Update 3/30/2023 - I received the 1M USB cable and have designed a spool to hold it, which will fit in the case.  I uploaded  the spool first as a separate item, since it can stand on it's own as a model which could be useful. 

Update 3/31/2023 - After some helpful feedback on Reddit, the design is getting a do-over from the ground up, to hopefully increase the bend radius of the cable ends.  This little cable spool seemed like a minor part of a larger project, and so I just roughly copied existing designs to avoid doing the actual work of designing it.  As it turned out, what should have been a simple part is now a bit of a project in itself.  But that's fine with me, since I hope the end design is an improvement, and worth the plastic.  I left the current model up with the STEP file for now, but it will get updated with a Version 2 once I have it printed and tested.  Below is a pic of Version 2, which is in the works (this is not the final design, since I'm still verifying the dimensions, but it will look similar).

Update 4/1/2023 - The new and improved USB-C spool holder is now uploaded to Printables and Thingiverse (actually three versions since I don't know when to stop sometimes).  It was probably more trouble than it was worth, but I think the final version is much improved, thanks to the feedback on Reddit for the initial version.
Now back to this project... ​​I am re-printing the case again, to make sure everything fits and works together, but I feel the design is about 95% done.  Anything left, will be related to the fit of the soldering iron and tips, the rest is tested and works.  Fortunately the design is modular, so it is not hard to modify it to accommodate a different iron (as long as it fits), and I plan to make the STEP file available for the project so folks can remix it.  Below are a couple pics from the latest iteration of the model (version 8G if that tells you something about how long this project has taken).  Hopefully the next update will be the printed case with a link to download the STL's (and STEP files).
Update 5/1/2023: Quick update on this, the prototype was printed and mostly works, but for some reason the latch, which worked well in an earlier design, is not so great anymore.  The latch therefore needs to be re-worked.  I'm also re-considering the entire case design, and may try something else based on a ruggedized case, but will still hold everything.  That's just a concept for now, and I have some other things going on which are further along so this project is sadly I cannot say when I can get back to this one.
0 Comments
    Picture

    Stoopid Me

    Welcome to my Stoopid corner of teh Internet.  It's mostly gonna be 3D printing stuff, but I also post some recipes, projects, and the occasional rant here as well.  More Stoopid stuff is updated regularly.

    I recently joined the Amazon Associate program, so some of the links on this site are Amazon affiliate links. This means that, at zero cost to you, I will earn an affiliate commission if you click through the link and finalize a purchase.  This will help to support this site, and pay for more Stoopid Stuff.

    Currently, there are no active authorized sellers of my designs.  If you see my stuff (such as my Dummy 13 Weapons) for sale on Amazon, Etsy or AliExpress, the seller is using my designs without permission.

    If you want to help out with my parts and filament budget, you can also "Buy Me A Coffee" using the link below.
    ​​

    Buy Me A Coffee

    Archives

    March 2025
    February 2025
    January 2025
    December 2024
    November 2024
    October 2024
    September 2024
    August 2024
    July 2024
    June 2024
    May 2024
    April 2024
    March 2024
    February 2024
    January 2024
    December 2023
    November 2023
    October 2023
    September 2023
    August 2023
    July 2023
    June 2023
    May 2023
    April 2023
    March 2023
    February 2023
    January 2023
    November 2022
    October 2022
    September 2022
    August 2022
    July 2022
    April 2022
    February 2022
    January 2022
    December 2021
    November 2021
    October 2021
    September 2021
    August 2021
    July 2021
    June 2021
    May 2021
    April 2021
    March 2021
    February 2021
    January 2021
    December 2020
    November 2020
    October 2020
    September 2020
    August 2020
    July 2020
    June 2020
    May 2020
    April 2020
    March 2020
    February 2020
    January 2020
    December 2019
    November 2019
    October 2019
    September 2019
    August 2019
    July 2019
    June 2019
    May 2019
    April 2019
    March 2019
    February 2019
    January 2019
    December 2018
    November 2018
    October 2018
    September 2018
    August 2018
    July 2018
    June 2018
    May 2018
    April 2018
    March 2018
    February 2018
    November 2017
    September 2017
    August 2017
    June 2017
    December 2016
    October 2016
    September 2016
    July 2016
    March 2016
    February 2016
    September 2015
    August 2015
    June 2015
    May 2015
    April 2015
    March 2015
    February 2015
    January 2015
    December 2014
    November 2014
    October 2014
    September 2014
    July 2014
    June 2014
    May 2014
    April 2014
    March 2014
    February 2014
    November 2013
    August 2013
    July 2013
    June 2013
    May 2013
    April 2013
    March 2013
    January 2013
    December 2012
    November 2012
    October 2012
    September 2012
    August 2012

    Categories

    All

    RSS Feed

Powered by Create your own unique website with customizable templates.