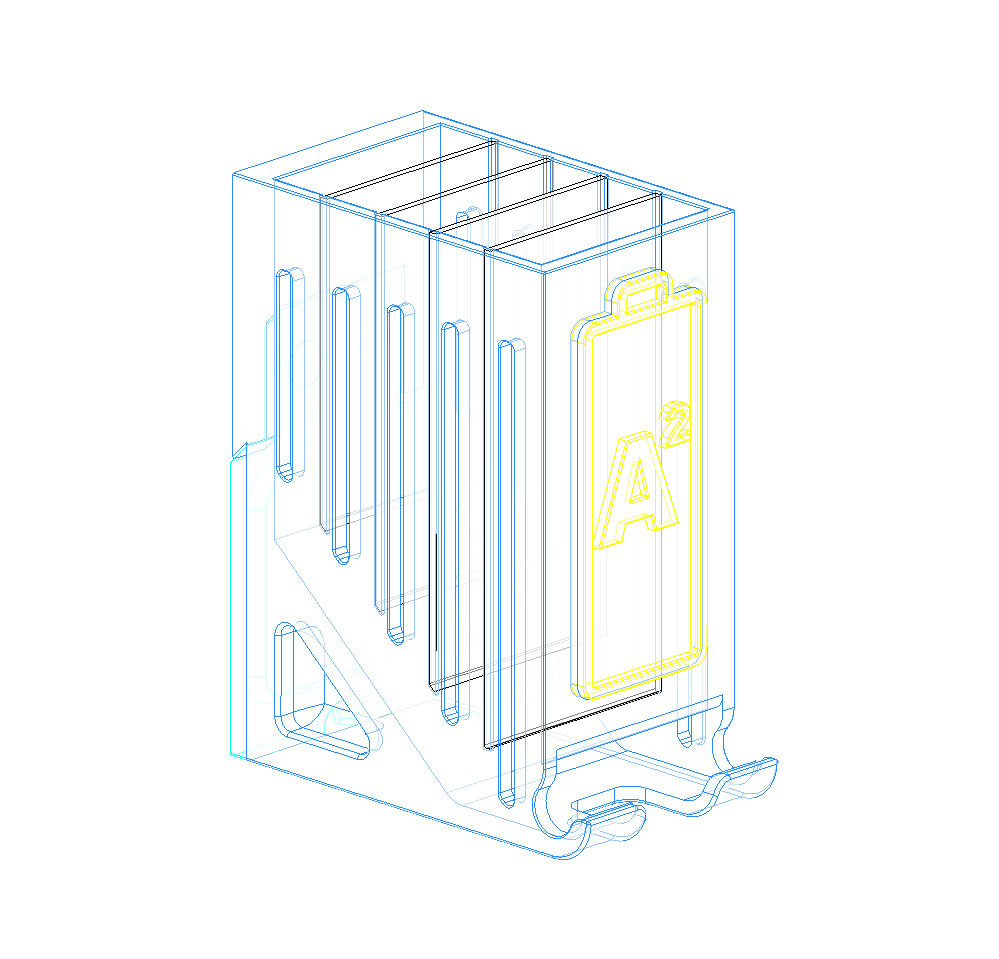
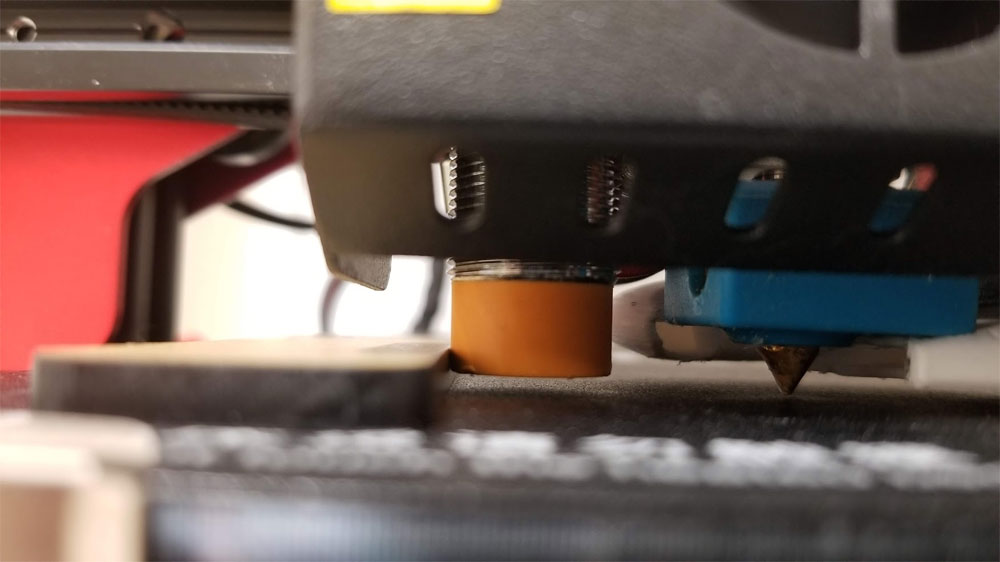
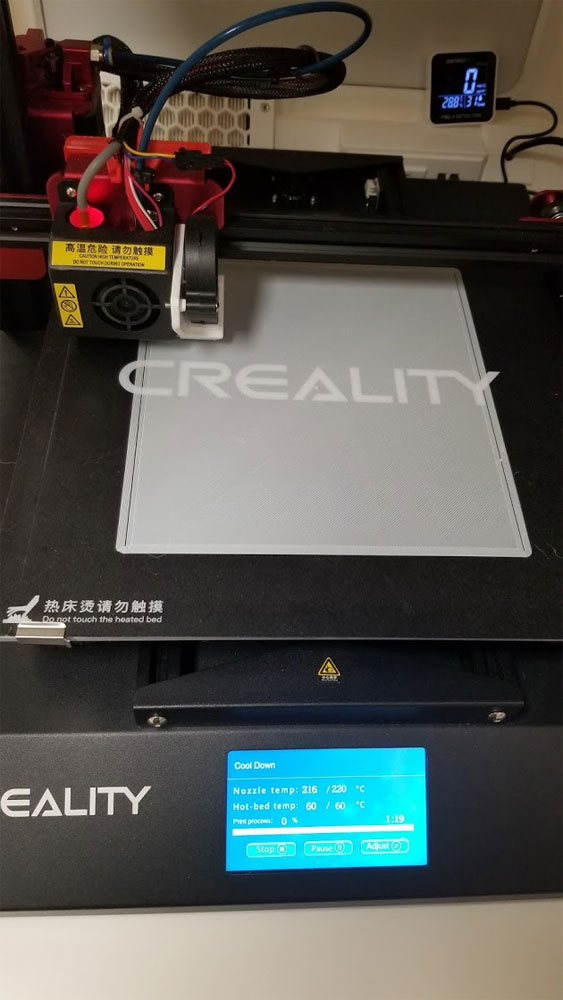
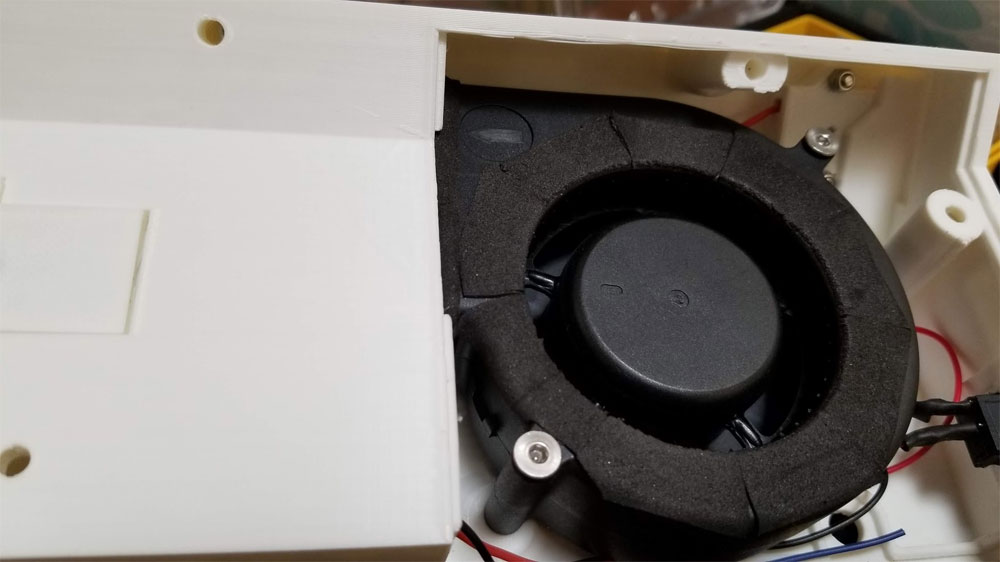
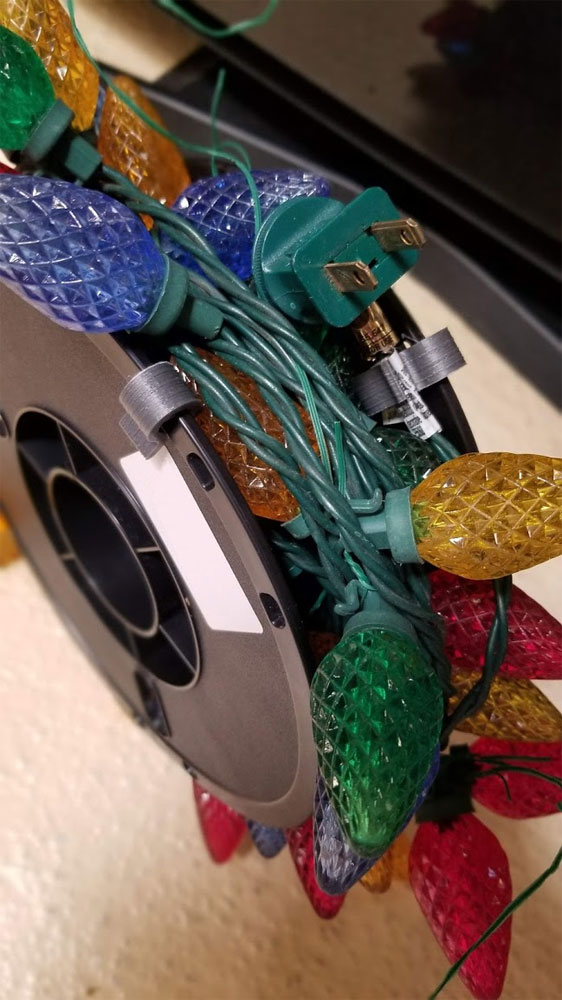
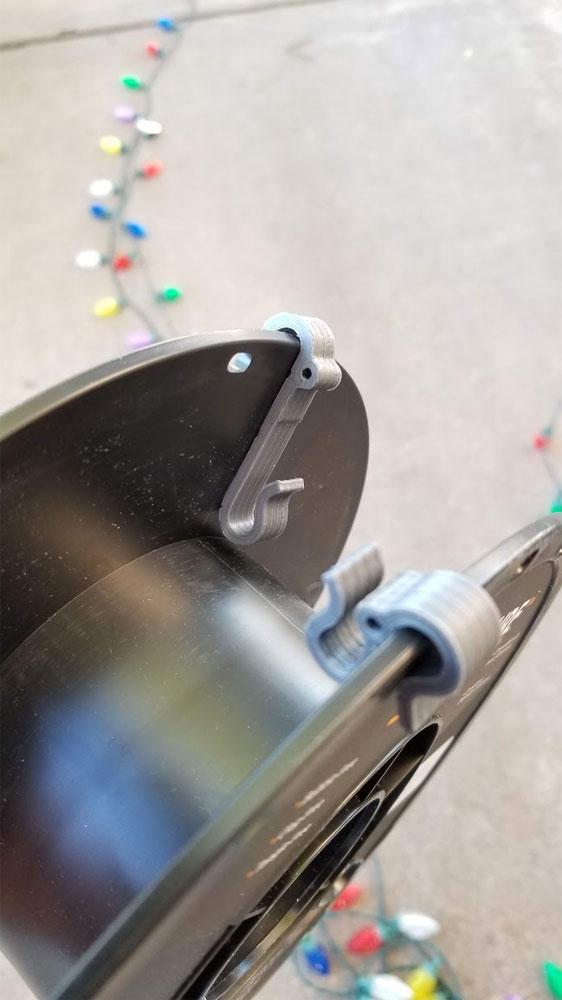
Some pics of a few things I have been working on, some are not published yet (Thingiverse has problems again and it is not worth the timeouts to try and load new designs right now). The AA Battery holder is printed but has some issues feeding so I may need to work on the design a bit more.
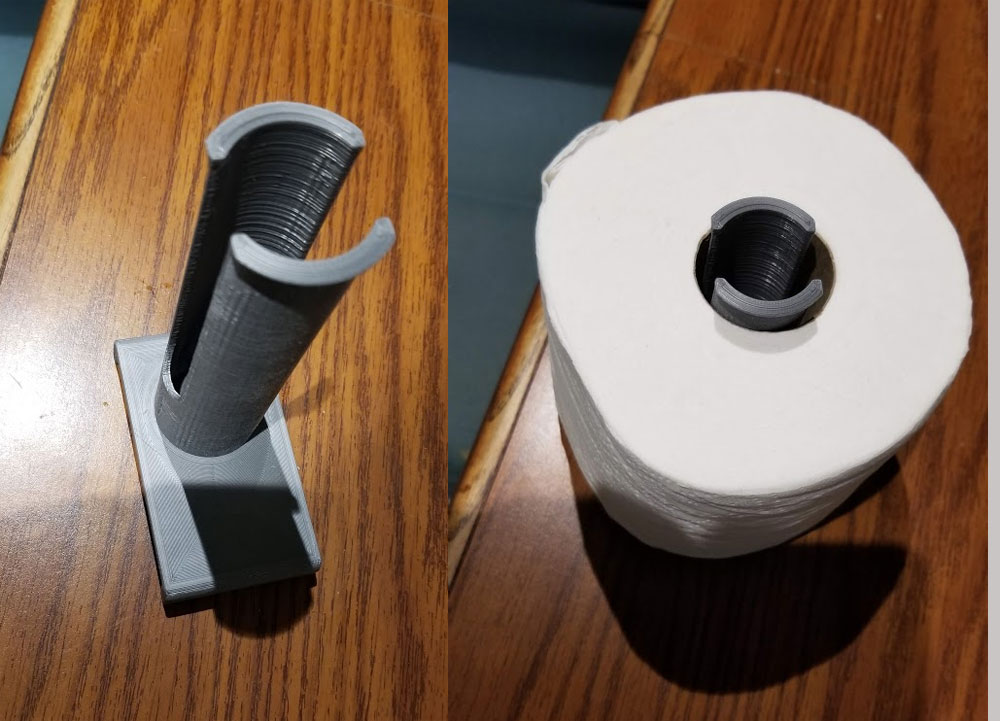
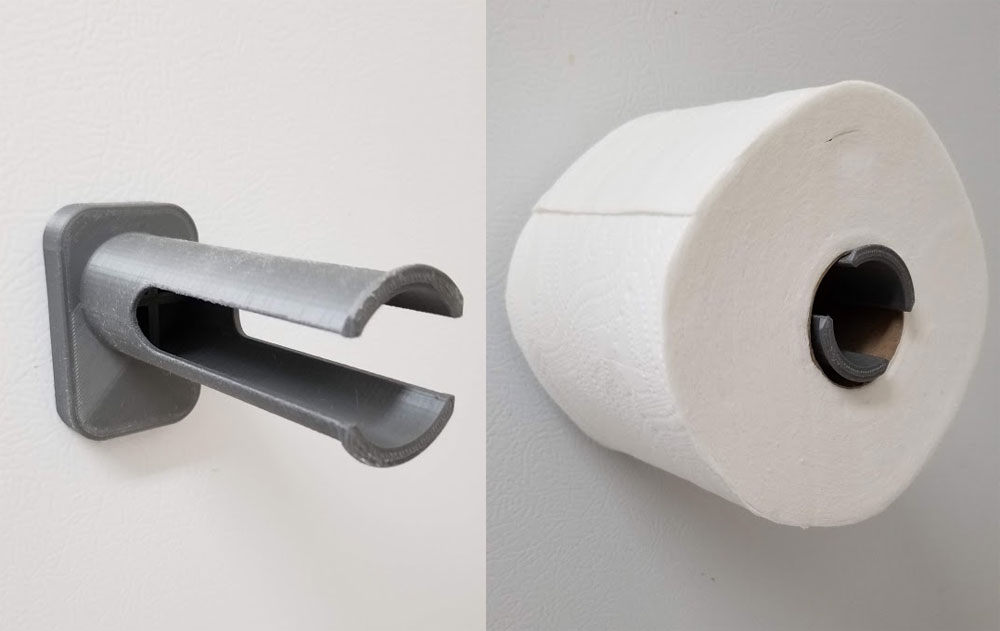
And yes, that is a magnetic TP holder :D
And yes, that is a magnetic TP holder :D


 RSS Feed
