My Stoopid Stuff
  • Home
  • Projects
  • Blog
  • Lec'tronics
  • Links
  • CNC
  • Quick Recipes
  • 3D Printer Tips
  • Voron 2.4

Dummy 13 and Christmas Kit Cards

11/22/2023

0 Comments

 
Picture
I have been looking for cool "card kits" to throw in as gifts for friends and family at Christmas, and found several really cool models on Printables.  I've printed a few different card kits already, as well as a remix of Dummy 13, which is an excellent model.  The Dummy 13 model is a complex model, but there is a very handy video, that shows how to assemble it.

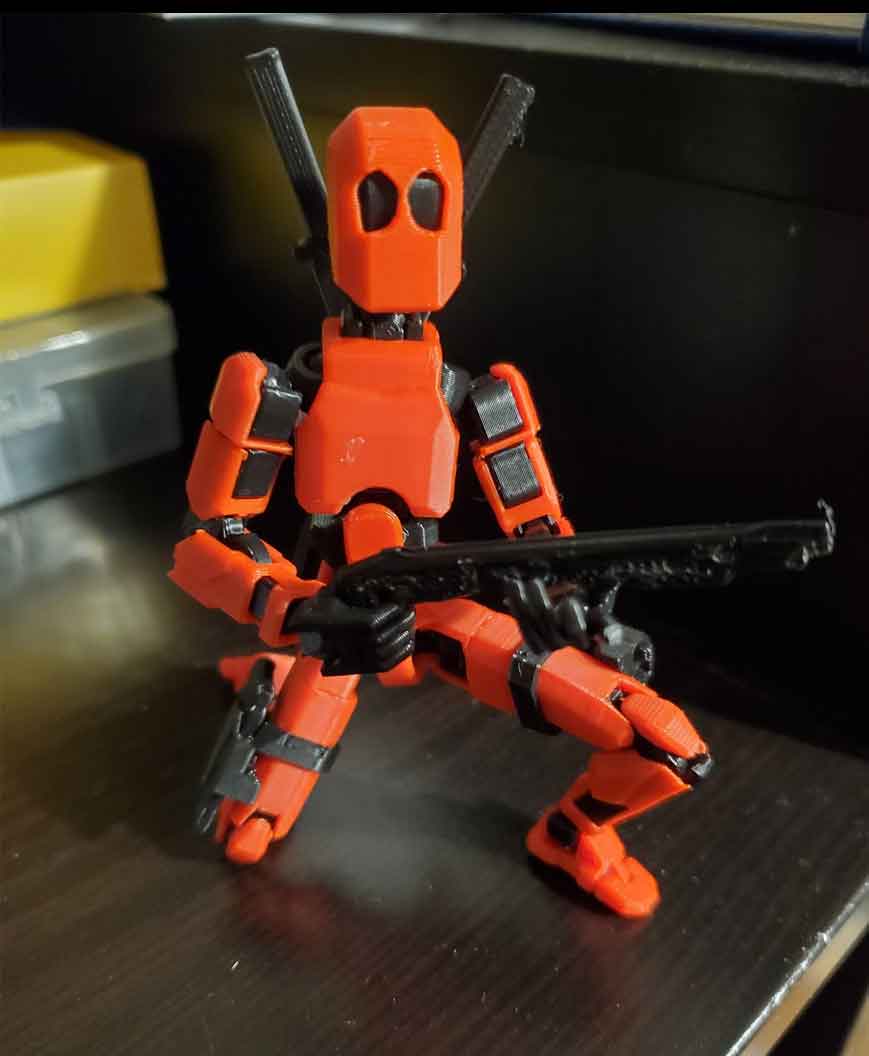
I specifically built the Dummy 13 (Beta) On Runners (Easier to print) models and the DUMMY 13 goes to COMIC CON - Deadpool remix by Mici (unfortunately no card kit version of the remix).  I've never actually seen the Deadpool movies, but the figure is gonna be for a coworker.  To test the model though, I decided to make one of the figures.  Building one would also allow me to explain how to assemble the figure to the person receiving it (but I'm keeping the one I built, since it's also very cool).  There was only one real tricky part in assembling the Dummy 13 model, which is that there are two very similar frame parts, which go into the torso and pelvis of the Dummy 13 model.  The part that goes into the pelvis is the slightly shorter one.  Other than that, the Dummy 13 model, and the remixed parts all went together perfectly and the figure is extremely poseable.  I made a minor remix of a weapons pack for the Dummy 13 model, which is posted here. 

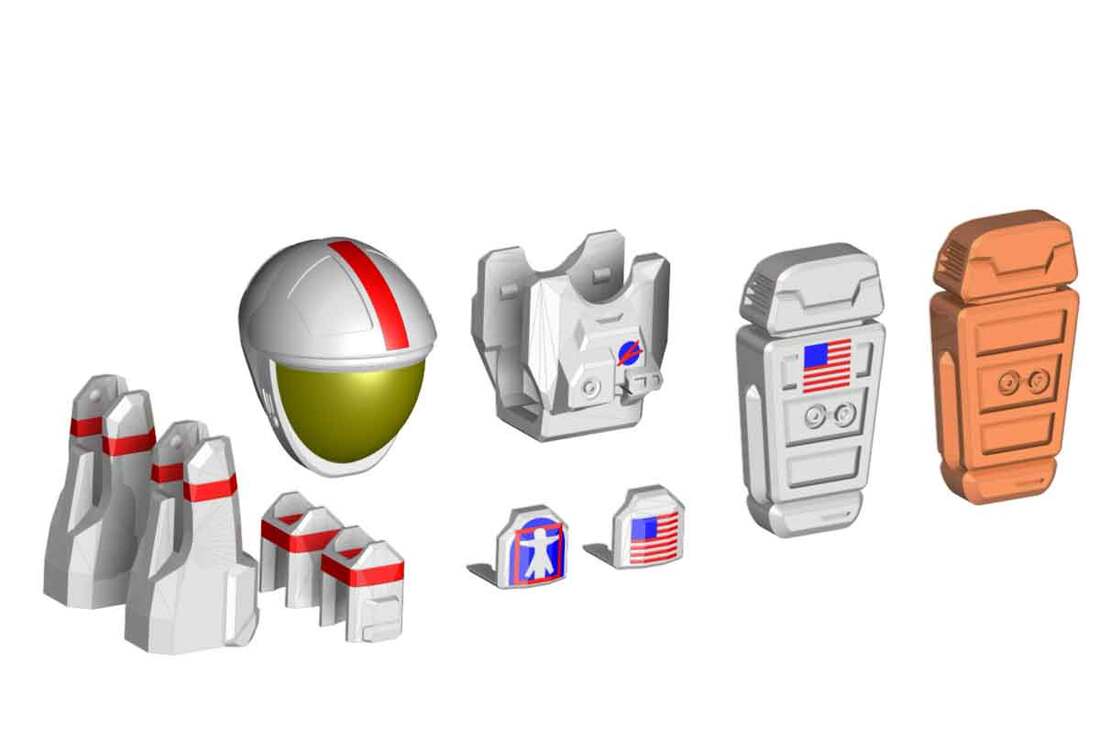
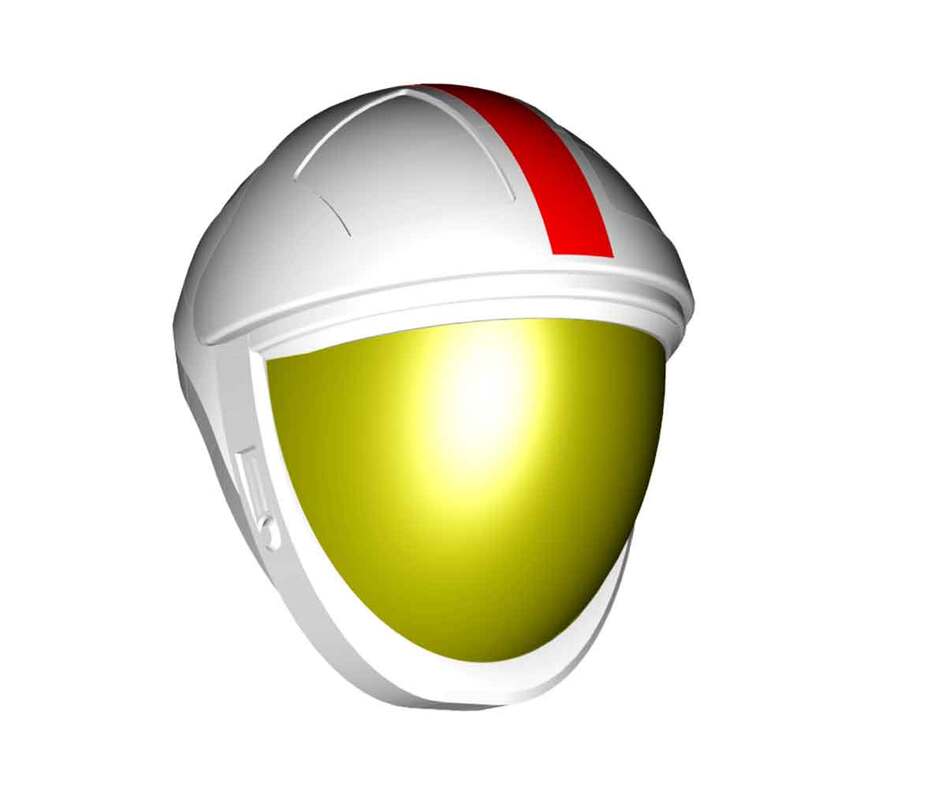
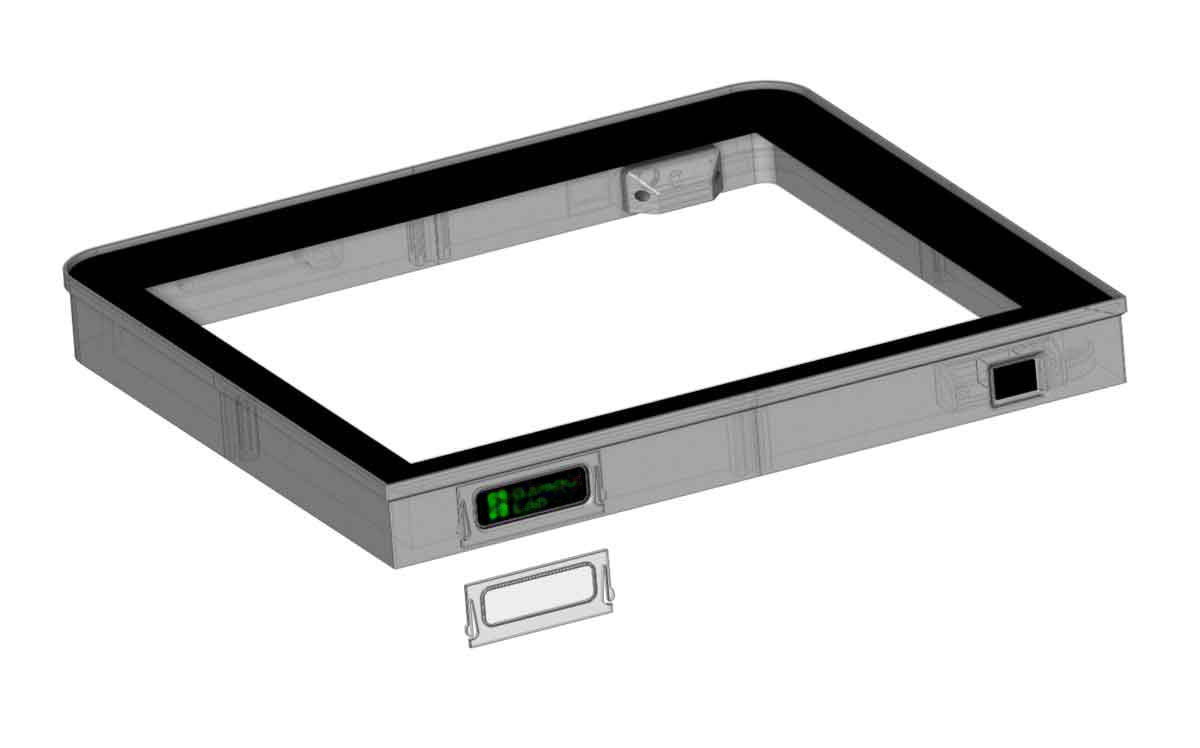
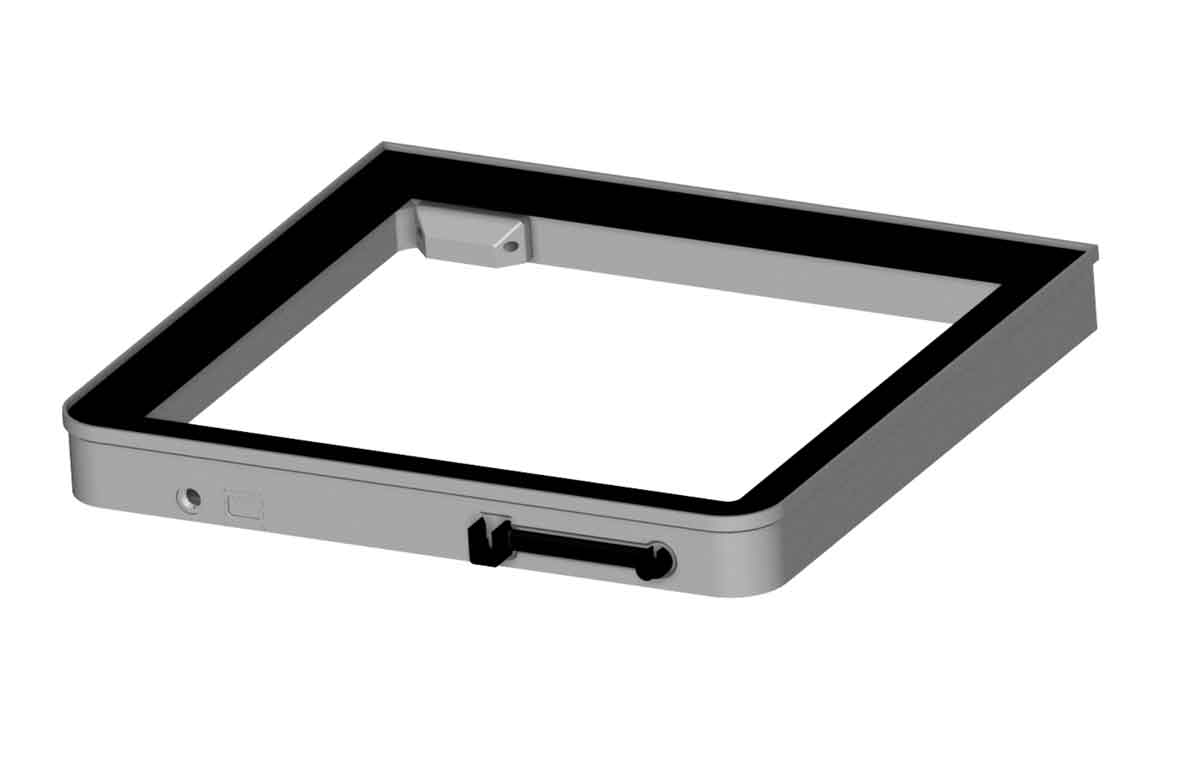
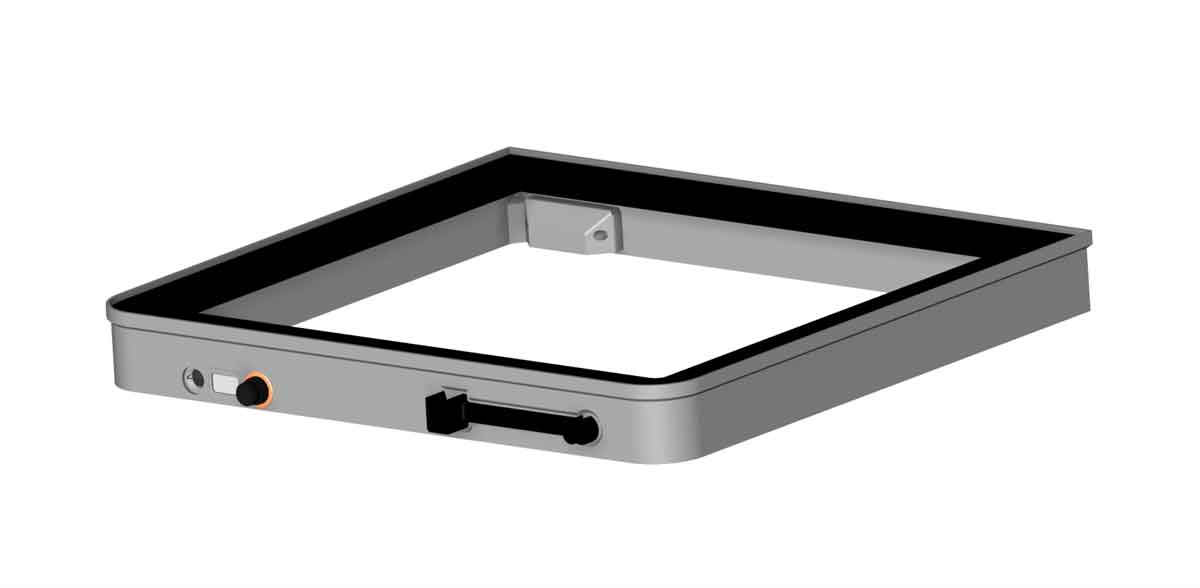
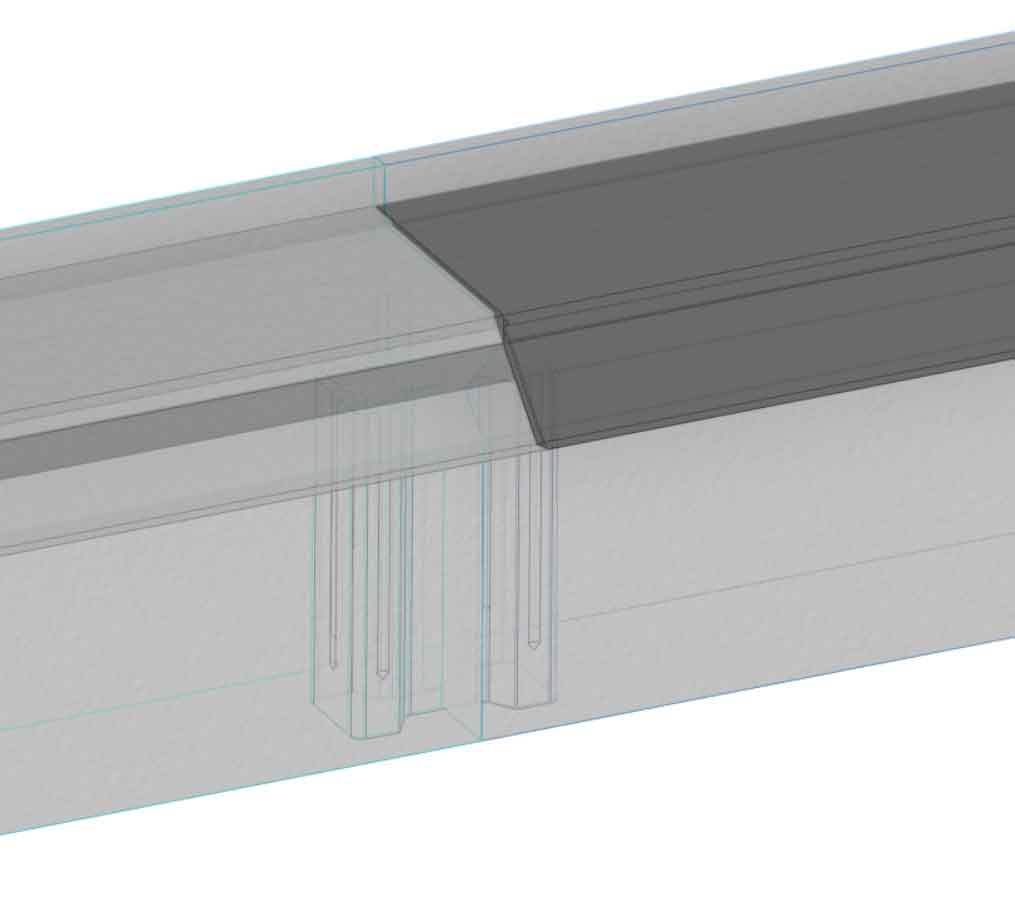
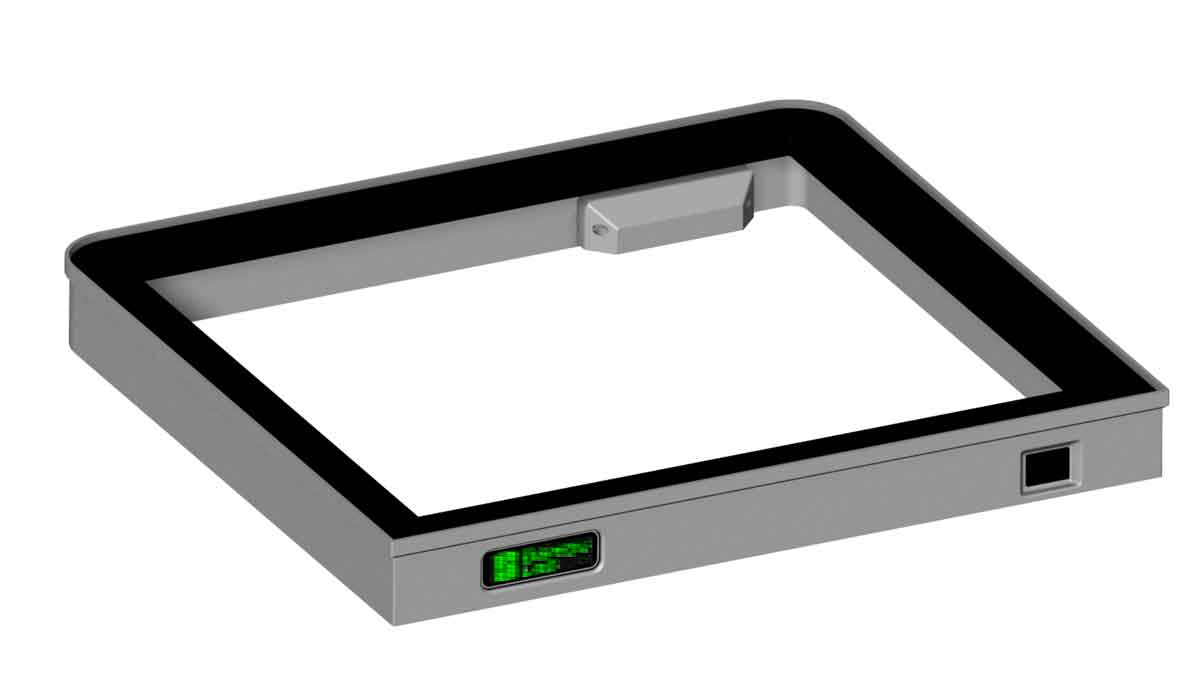
I'm also working on an astronaut mod for Dummy 13, which will be posted in the next week (but here is a preview):


I'm planning to print several other "card kits" as gifts as well.  These are some of the best I have found so far:

A remix of the Catapult Card.  I'm going to print this one with thicker parts.
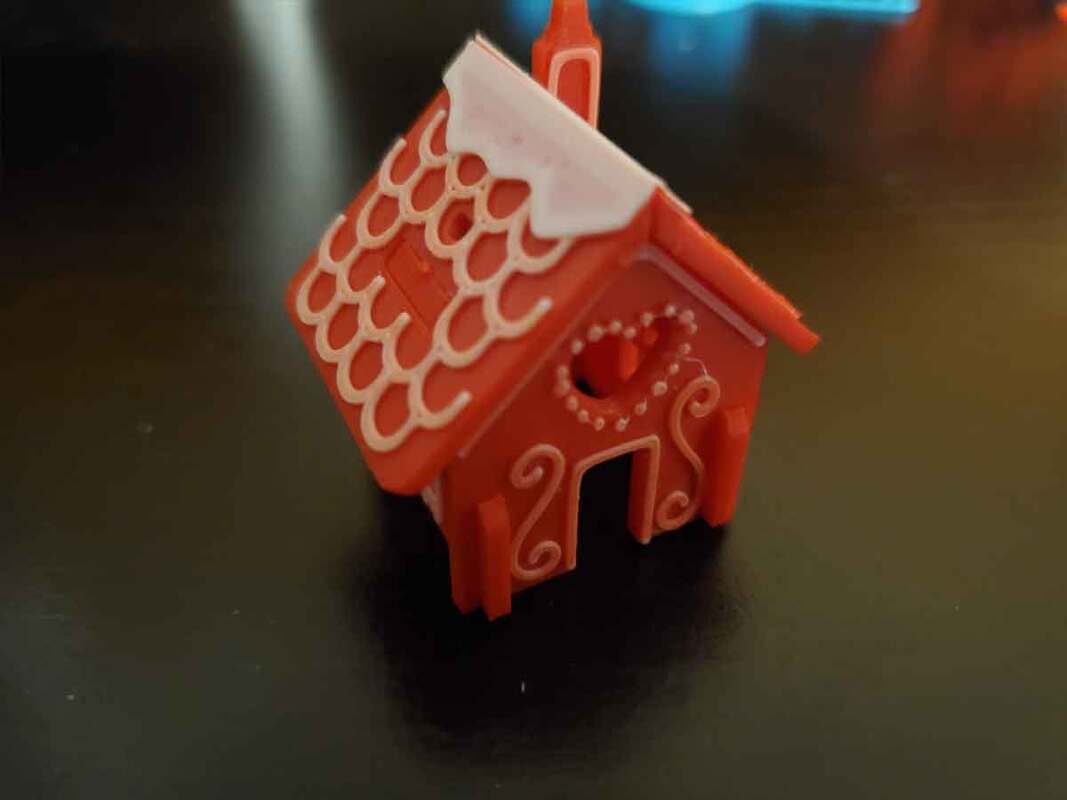
Gingerbread House Kit Card
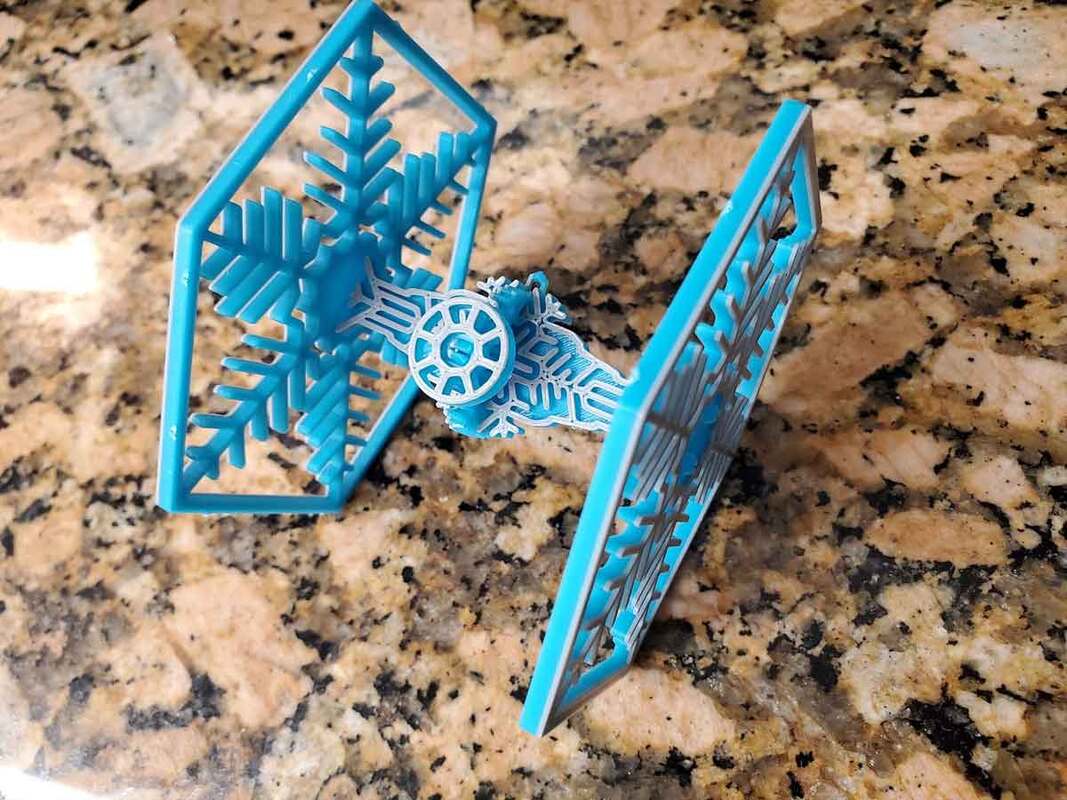
​Snowflake TIE Fighter Kit Card Ornament (pictured)
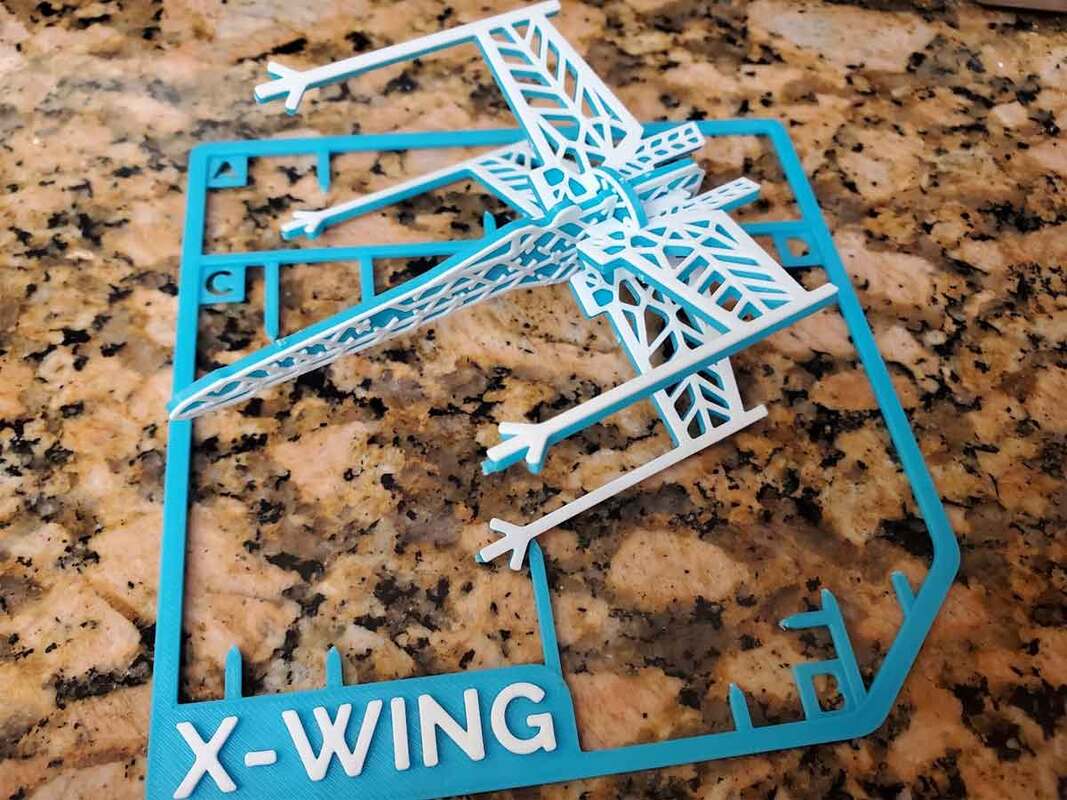
Star Wars X-Wing Snowflake Decoration (Larger stabilized version) (pictured)
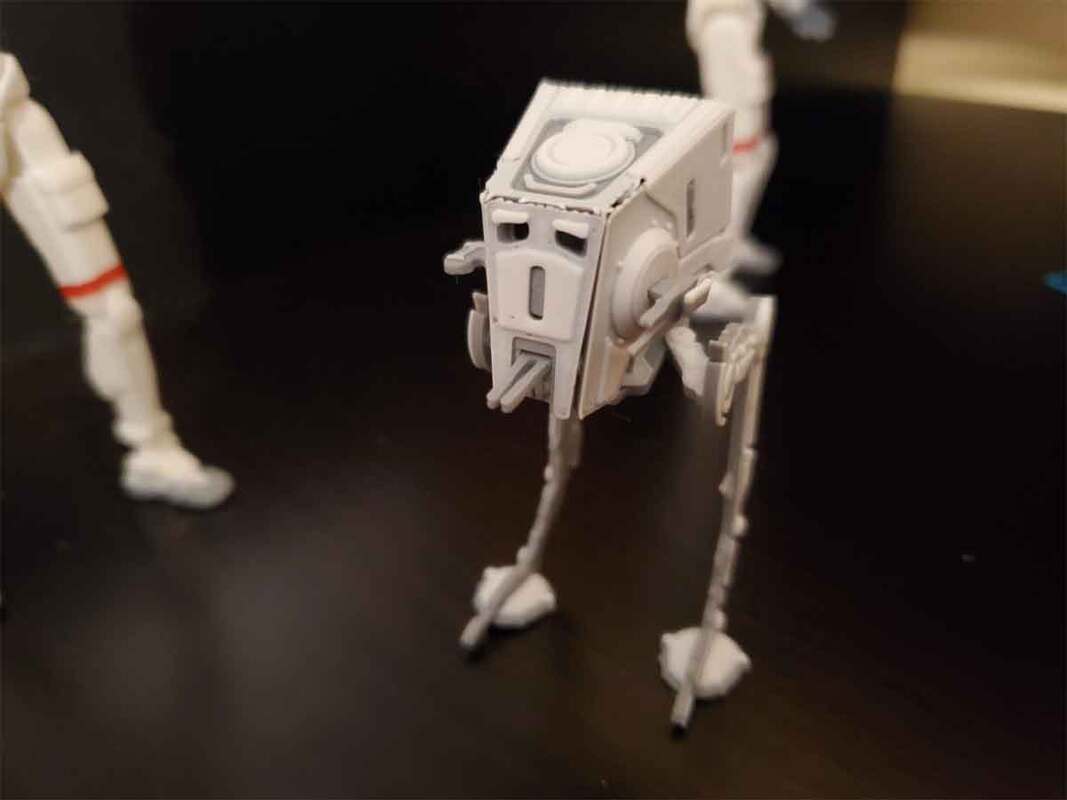
​At-at kit card (cool but hard to make it stand on it's own)
Star Wars B1 Battle Droid 2.0 Kit Card
Flexi Gingerbread Darth Vader (not a card kit, but I may "cardify" it)
And again the awesome card kit remix of Dummy 13

Below are some pics of the kit cards I printed so far (and assembled).  As I print more, I will post additional pics.
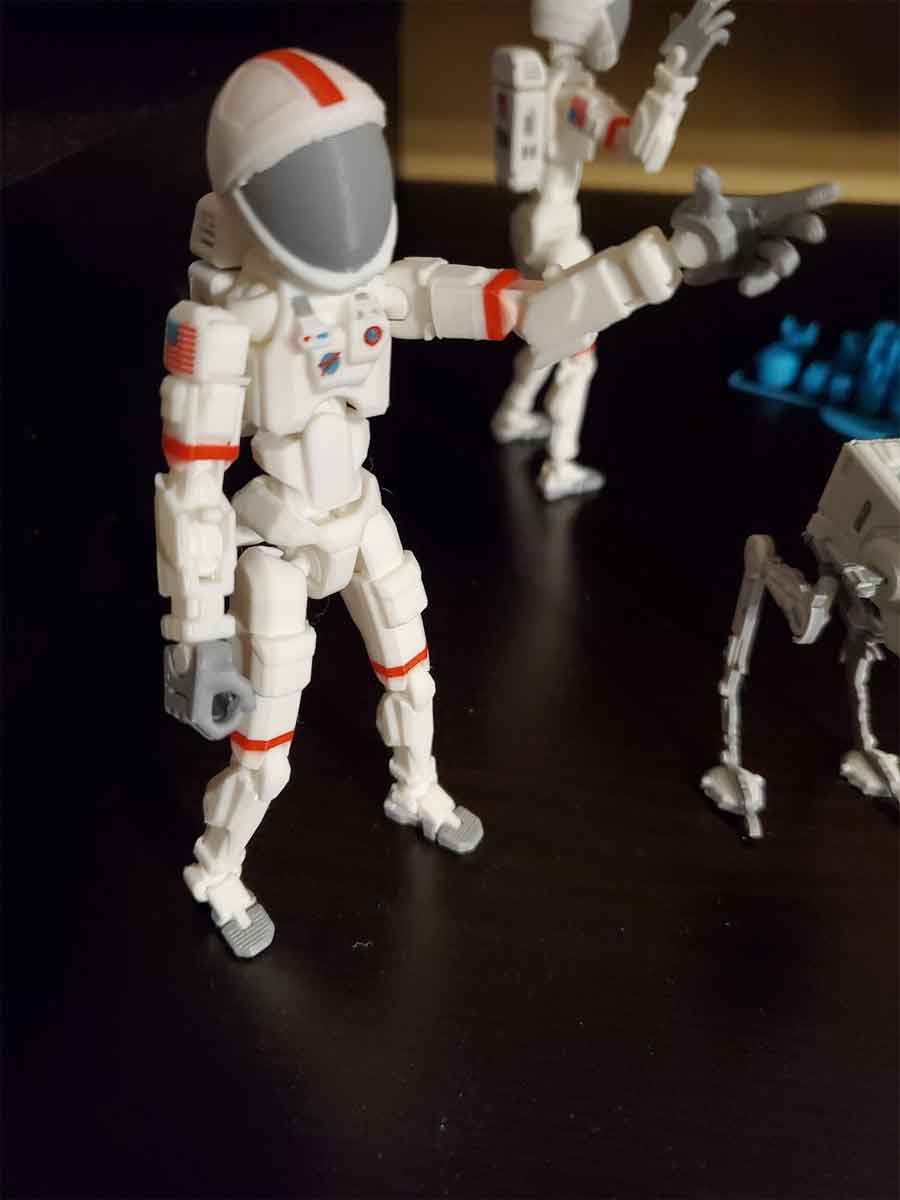
Update 12/3/2023: The Astronaut Remix for Dummy 13 is posted on Printables:
https://www.printables.com/model/668234-dummy13-goes-to-the-moon-astronaut-remix
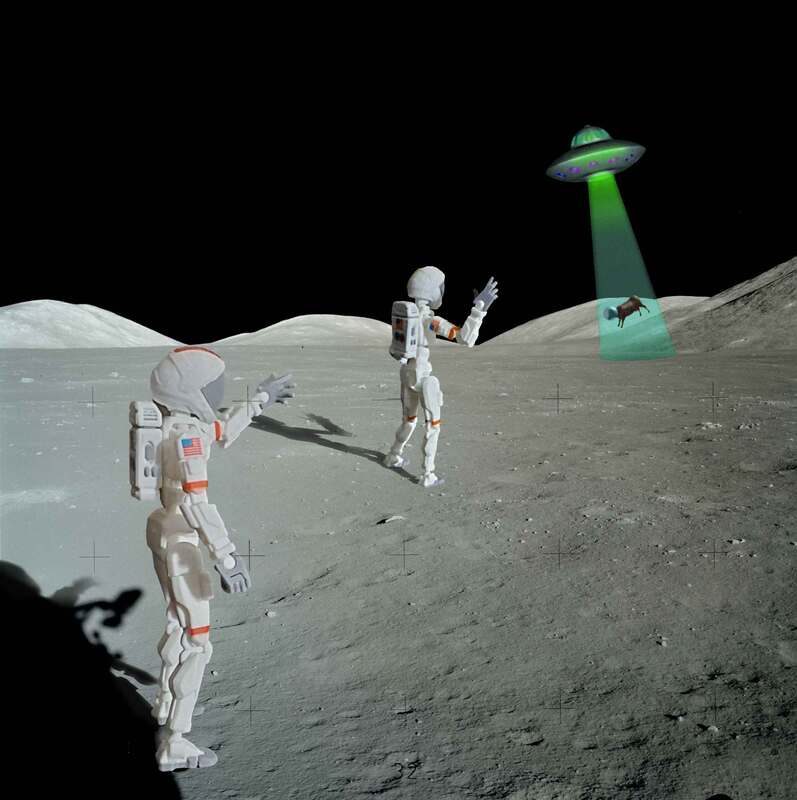
Picture
Photo Credits:
National Aeronautics and Space Administration
https://history.nasa.gov/alsj/a17/images17.html#MagA
https://history.nasa.gov/alsj/a17/AS17-147-22470HR.jpg
Also thanks to the following makers, whose models I used to make the cover image for this thing:
INVASION! The electric tea light UFO
by DrKronos
Cow 
by Orto


0 Comments

AfterMarket "2.0" Bambu Hotends

11/16/2023

0 Comments

 
See update below - I would not recommend these.

I recently had to remove the stock hot end (again) from my X1C to try and clear a nozzle issue which I think was causing poor quality prints (that is still up in the air), and while I was at it I broke the thermistor wires (oops, but that is on me).  The thermistor wires on these things are super fragile, and even when they don't just fall apart, the wires can be pulled out of the connector very easily.  That is just to say, be careful and maybe grab some spares.

But my fat fingers breaking thermistor wires is not what this post is about, it's about the after market Bambu Hot Ends.  There are two versions of these, which I am aware of, and both have their purported pluses and minuses.  I bought the "2.0" version, which has a more robust connection between the heat tube and the heat sink.  The link by the way is for reference, they are available for around 10 bucks from China.  The V2 probably is the one to get, since bent heat tubes can happen.  However the one caution with the V2.0 hotend (which I have read about), is to evenly tighten the screws on the metal mount that attaches to the heat sink.  That will avoid having the hot end tilt to one side due to uneven tightening of the screws.

I set up my V2.0 hot end, and tightened down a new nozzle in it, so I was interested to see what it would do.  What I got was a bunch of boogers.  I cleaned the nozzle several times, and thought maybe the wiper was not doing as good a job on the non OEM nozzle.  But after a couple prints had blobs deposited in various locations thru the printing, I pulled the V2.0 hotend off to check it.  What I found was a classic problem with 3D printing nozzles - that is failure to hot tighten the nozzle.  I had torqued the new nozzle down pretty well when I installed it, but I got just a smidge extra from turning from it when it was at 250°C (after cleaning the plastic off).  I should have expected that to happen (it was in the back of my mind since I started to see blobs), since I would never try installing a normal nozzle without hot tightening it.  And yep, the aftermarket hotends are more like a normal nozzle, so that's also on me.  It may also be however, that my aftermarket nozzle or hot end may be faulty in some way, so I will update if hot tightening helped much.

But it does lead me to think that these aftermarket nozzles are a niche item, and so I would not recommend anyone who is not needing whatever extra edge they provide, since they also come with downsides.  If you run a print farm and burn through nozzles, or run some exotic material that may work better with the aftermarket nozzles, sure, go for it (but you also probably have a ton more experience points that I do anyway).  But for a person who does printing casually, and maybe just wants a more trouble free experience, I'd say stick with the stock hot ends.  The Bambu OEM hotends are reasonably priced, and well made (and if you don't run abrasive materials they are gonna be more hassle free).  The stock nozzles by the way are pressed into the heat block, so they should not leak unless they are faulty (which seems pretty rare based on my casual monitoring of reddit).  In any case, hot tighten the suckers if you use these aftermarket hotends, it can save some failed prints - and frustration.


Update 11/17/2023 - After hot tightening the nozzle, I was able to get four decent short prints out of it, and then started to see some defects.  I pulled the nozzle off to inspect it, and surprise... it is still leaking.  I'm done with these aftermarket nozzles at this point, and it's gonna be tossed in a box never to be used again (or the trash), once I remove the parts.  It was a waste of 10 bucks, and yeah maybe it's defective, or maybe I missed something, but if it's a crapshoot, I think I'd still rather pay the extra few bucks and get the OEM, which has a pretty much leakproof pressed in nozzle.  There may be some trick to getting these torqued enough not to leak, but then its back to the same problems (and worse) as the old school V6 and MK8 style nozzles, which are actually much more trouble free than the tiny nozzles which this knock off uses.

I put the old OEM 0.4mm Bambu nozzle back on, which is what my printer shipped with.  I checked the wear closely under a microscope and it's looking good.  This is the same nozzle which started the fun since it was poorly printing, but I'm gonna give it another shot before I swap it out.  With the stock nozzle back on, the k values have dropped just a tad which is interesting as well (though the aftermarket nozzle was leaking so that probably accounts for why they dropped when moving back to the OEM).  The OEM 0.4mm nozzle I am running now, has had a cold pull done on it already, and I will do it again once it's purged out.
0 Comments

Gridfinity Box For Stuff is Being Tested

11/10/2023

0 Comments

 
Picture
It's been busy this past week, so I have gotten behind again on projects, but I'm gonna try and get the Gridfinity Box For Stuff printed.  My prototype will have an updated label design, which will not require supports.  There is also gonna be an optional gasket version which will use a printed TPU gasket.  This gasket version may be released later though, depending on how things go with the prototype, since the Gridfinity version requires that the mating surfaces are at an angle (and I don't know how well the gasket will fit). 
Update 11/16/2023 - I've printed this 1.5 times and have pretty much garbage to show for it.  I switched out the nozzle for an aftermarket V2.0 hotend and am testing that out, before I try it again.  I'm also switching to PLA, which I think may be a bit more forgiving, since part of the issue is that I need a clean groove for the gasket in order to test the fit.  This is gonna be a bit longer to post.
UPDATE 1/12/2024: It's (finally) posted on Printables, you can find it here:

https://www.printables.com/model/710154-gridfinity-box-for-stuff-bfs
0 Comments

A "Box For Stuff" (BFS) Version 1.0 is Posted

11/4/2023

0 Comments

 
I decided to post the basic storage box, which, after 82 seconds of thought, was named "Box For Stuff".  And since (as far as anyone knows), it's the first version, and certainly the first version posted, I designated it Version 1.0.  In reality it is probably version 103 or something like that, or "7J" by my oddball system.  The basic box has none of the cool features of the Bambu Spares Box, or the Gridfinity Box (which I'm testing now).  It also lacks a gasket, which in my testing may not actually make it waterproof anyway, but is still better than nothing.  But those other versions will get posted as remixes.  For now, if you just want a box for stuff, you can find it over at Printables:

https://www.printables.com/model/630027-box-for-stuff-bfs-v10

Update 11/10/2023: I've tested another way to add the label, which seems much more efficient, since it does not require supports, and seems just as robust.  Once I add it to the basic design, I will update the other designs I'm working on, and then post those with the update.  The Gridfinity version of this box, which has the new label design, is being printed now (to test), and the Bambu Spares Box is also waiting to be posted (I just need the time to update that design as well with the new label).  A version of the spares box with s TPU seal is also pending, and will have the updated label design going forward.
0 Comments

DK Riser Remix is Posted

11/3/2023

4 Comments

 
Picture
The DK Riser is finally posted, with some updates which were added at the last minute to address a couple minor issues.  You can find the models (along with a .3mf from OrcaSlicer) at the links below:

https://makerworld.com/en/models/56211

https://www.printables.com/model/635010-dk-riser-remix-no-vents-with-a-front-switch


I'd recommend that anyone making (or planning to make) this consider the components used, and make their own choices on what is appropriate.  But note that this was designed for a 2 wire connection to the LEDs, which means it will not work with RGB LEDs (only single color, like these).   If you see something I should correct here, please let me know. I am not an electronics expert, and I don't claim to be an expert on this stuff, only a hobbyist. And as always, if you make or use one of these, it is at your own risk. Also, please don't run with scissors, always wear safety glasses, and do your own research, and have fun!


I may add a build guide for this later, but for now the list of parts for the project are below.  The amazon affiliate links are just suggestions, but they should help to find the parts which fit this model, even if they are sourced elsewhere (*cough* AliExpress *cough*)
​
  1. Qty 1 - rocker switch (non-prewired version also works).  I used a similar switch I had already. The hole for the switch is 12.9x18.4mm. 
  2. Qty 1 - DC input jack (other sizes will also work, but may need to be drilled out)
  3. Qty 1 - Wire, I used 20 AWG "zip" wire (which I had around), similar to this.
  4. Qty 1 - COB LED strip.  There are many options for these, but this is what I used.  I put a 5.5x2.1mm DC male connector on the end, so I can use the RF controller (which works great).
  5. Qty 4 - M3x20mm SHCS (this assortment from Amazon has all the M3 hardware needed)
  6. Heat shrink tubing for the wire connections.  The smallest of these Heat Shrinkable Solder Seal Connectors may also work (but I used regular heat shrink in this case, which is more compact).
  7. Optional Qty 1 - Fuse Holder The non-wired version will be easier to work with.  The pre-wired versions make it very hard to remove or install the nut.  And I had one where the wire fell off, so if I buy them again I will just get the non wired version.  If using the fuse holder, it's important to get a fuse which is sized correctly for the load.
  8. Optional Qty 4 - 6x3mm cylinder magnets (if using the AMS tool)
  9. Optional - the back has a holder for best tool for the Bambu printers with an AMS. 
  10. Optional - I used a 0.47" Brother P-Touch label to notate the voltage for the LED's (so the wrong power supply is not accidentally connected to them).

Update 8/21/2024: I added some additional images of the wiring on my riser, which shows how I connected the switch and the DC input jack.  I also added a crude diagram of how the wiring was done in my riser (I updated the diagram to reflect how mine was wired) .  I extended the wires from the DC input jack, through the wire chase to the front where the switch is located, then I connected the switch and LEDs from there.  

Update 9/1/2024:
I'm working on an update to this design, which will add a flip up block to raise the front of the glass when venting is required.  You can follow updates on that here.

4 Comments
    Picture

    Stoopid Me

    Welcome to my Stoopid corner of teh Internet.  It's mostly gonna be 3D printing stuff, but I also post some recipes, projects, and the occasional rant here as well.  More Stoopid stuff is updated regularly.

    I recently joined the Amazon Associate program, so some of the links on this site are Amazon affiliate links. This means that, at zero cost to you, I will earn an affiliate commission if you click through the link and finalize a purchase.  This will help to support this site, and pay for more Stoopid Stuff.

    Currently, there are no active authorized sellers of my designs.  If you see my stuff (such as my Dummy 13 Weapons) for sale on Amazon, Etsy or AliExpress, the seller is using my designs without permission.

    If you want to help out with my parts and filament budget, you can also "Buy Me A Coffee" using the link below.
    ​​

    Buy Me A Coffee

    Archives

    June 2025
    May 2025
    April 2025
    March 2025
    February 2025
    January 2025
    December 2024
    November 2024
    October 2024
    September 2024
    August 2024
    July 2024
    June 2024
    May 2024
    April 2024
    March 2024
    February 2024
    January 2024
    December 2023
    November 2023
    October 2023
    September 2023
    August 2023
    July 2023
    June 2023
    May 2023
    April 2023
    March 2023
    February 2023
    January 2023
    November 2022
    October 2022
    September 2022
    August 2022
    July 2022
    April 2022
    February 2022
    January 2022
    December 2021
    November 2021
    October 2021
    September 2021
    August 2021
    July 2021
    June 2021
    May 2021
    April 2021
    March 2021
    February 2021
    January 2021
    December 2020
    November 2020
    October 2020
    September 2020
    August 2020
    July 2020
    June 2020
    May 2020
    April 2020
    March 2020
    February 2020
    January 2020
    December 2019
    November 2019
    October 2019
    September 2019
    August 2019
    July 2019
    June 2019
    May 2019
    April 2019
    March 2019
    February 2019
    January 2019
    December 2018
    November 2018
    October 2018
    September 2018
    August 2018
    July 2018
    June 2018
    May 2018
    April 2018
    March 2018
    February 2018
    November 2017
    September 2017
    August 2017
    June 2017
    December 2016
    October 2016
    September 2016
    July 2016
    March 2016
    February 2016
    September 2015
    August 2015
    June 2015
    May 2015
    April 2015
    March 2015
    February 2015
    January 2015
    December 2014
    November 2014
    October 2014
    September 2014
    July 2014
    June 2014
    May 2014
    April 2014
    March 2014
    February 2014
    November 2013
    August 2013
    July 2013
    June 2013
    May 2013
    April 2013
    March 2013
    January 2013
    December 2012
    November 2012
    October 2012
    September 2012
    August 2012

    Categories

    All

    RSS Feed

Powered by Create your own unique website with customizable templates.