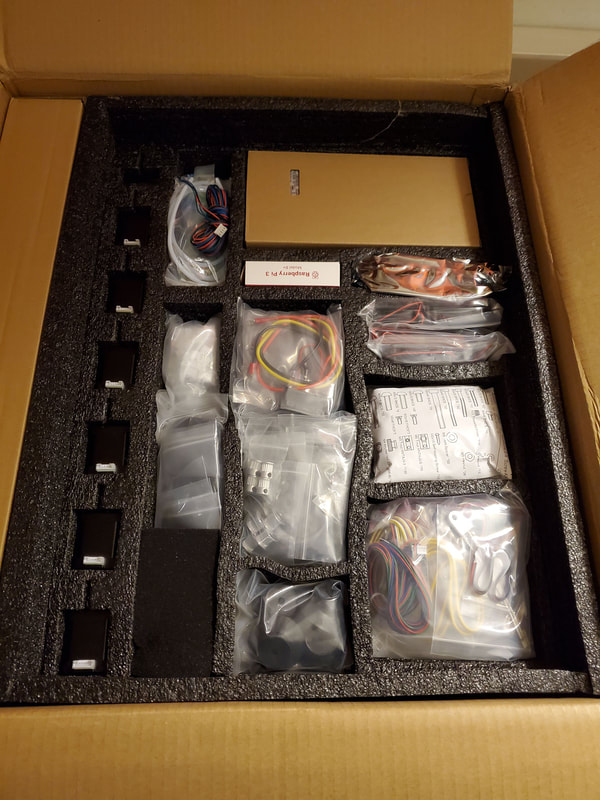
It's been a busy week and I was a bit surprised that the Voron kit I ordered just a few days ago was already here (which is awesome just unexpected it would be so fast to arrive). I did a full inventory on the kit and my first impression is that it is a very impressive kit! Take that with a grain of salt though, since I have never built a Voron, though I have built a few printers and assembled some more, with some other relevant experience that I hope will help me to evaluate this kit. I also should point out that no deals or discounts were involved here, I'm just posting what I find. So with that out of the way, I will just post some initial pros and cons, and then a ton of pics since those do the best speaking. I was going off the Voron 2.4 V1.3 BOM which was linked from the AliExpress listing when I bought the printer (and everything was accounted for).
Pros:
Cons:
Pros:
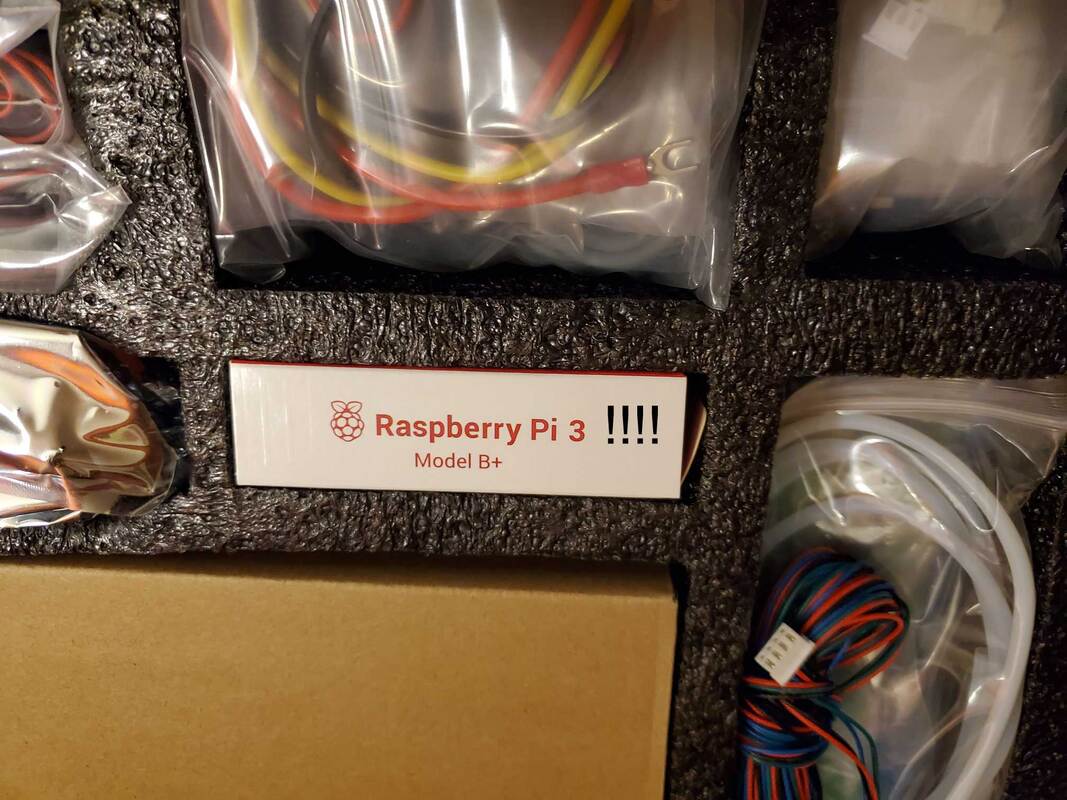
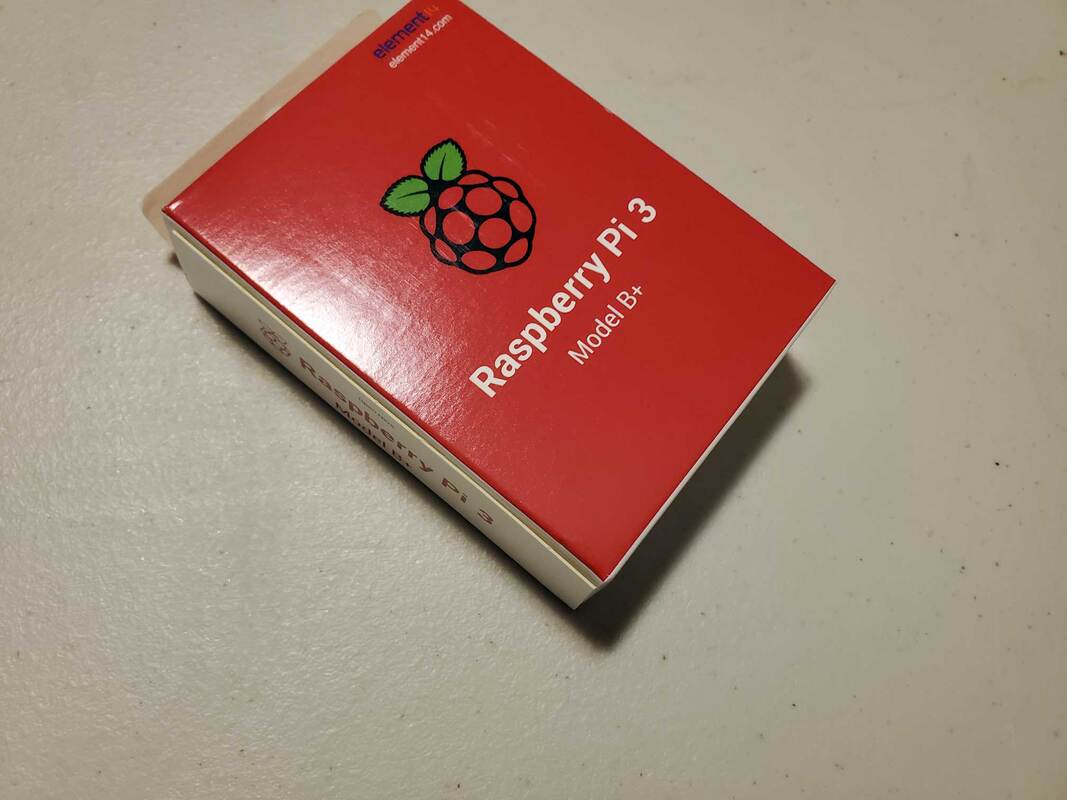
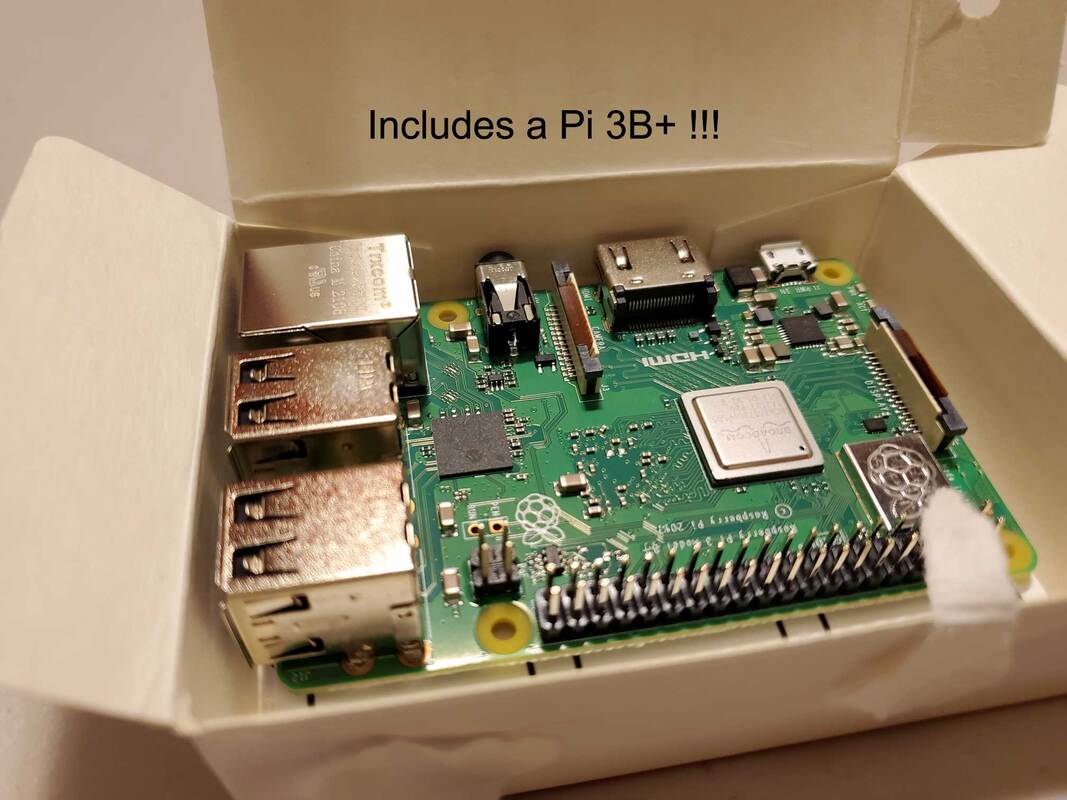
- MY KIT INCUDED A RASPBERRY Pi (3B+)
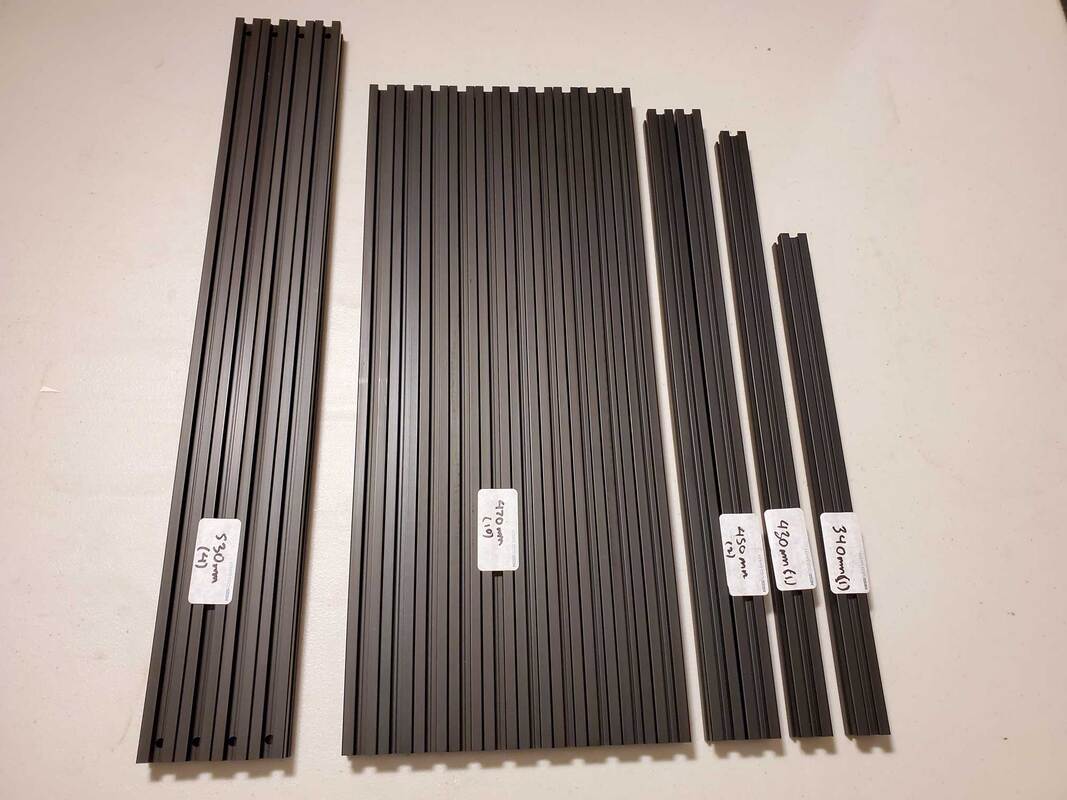
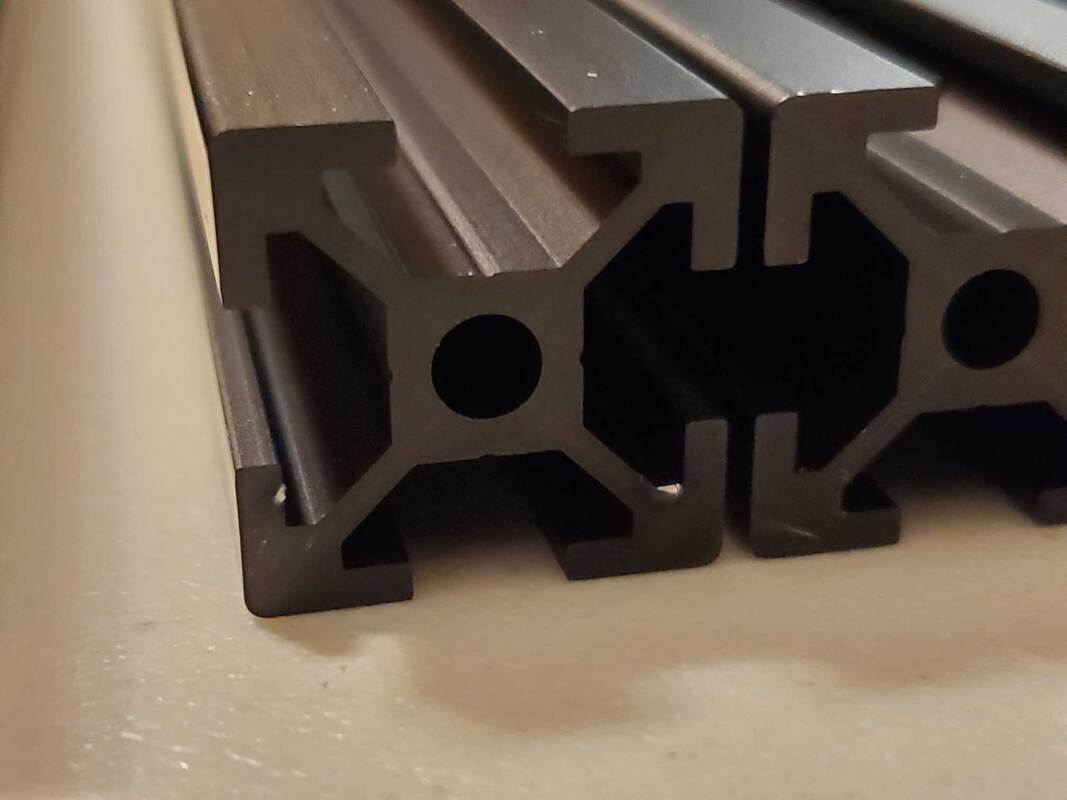
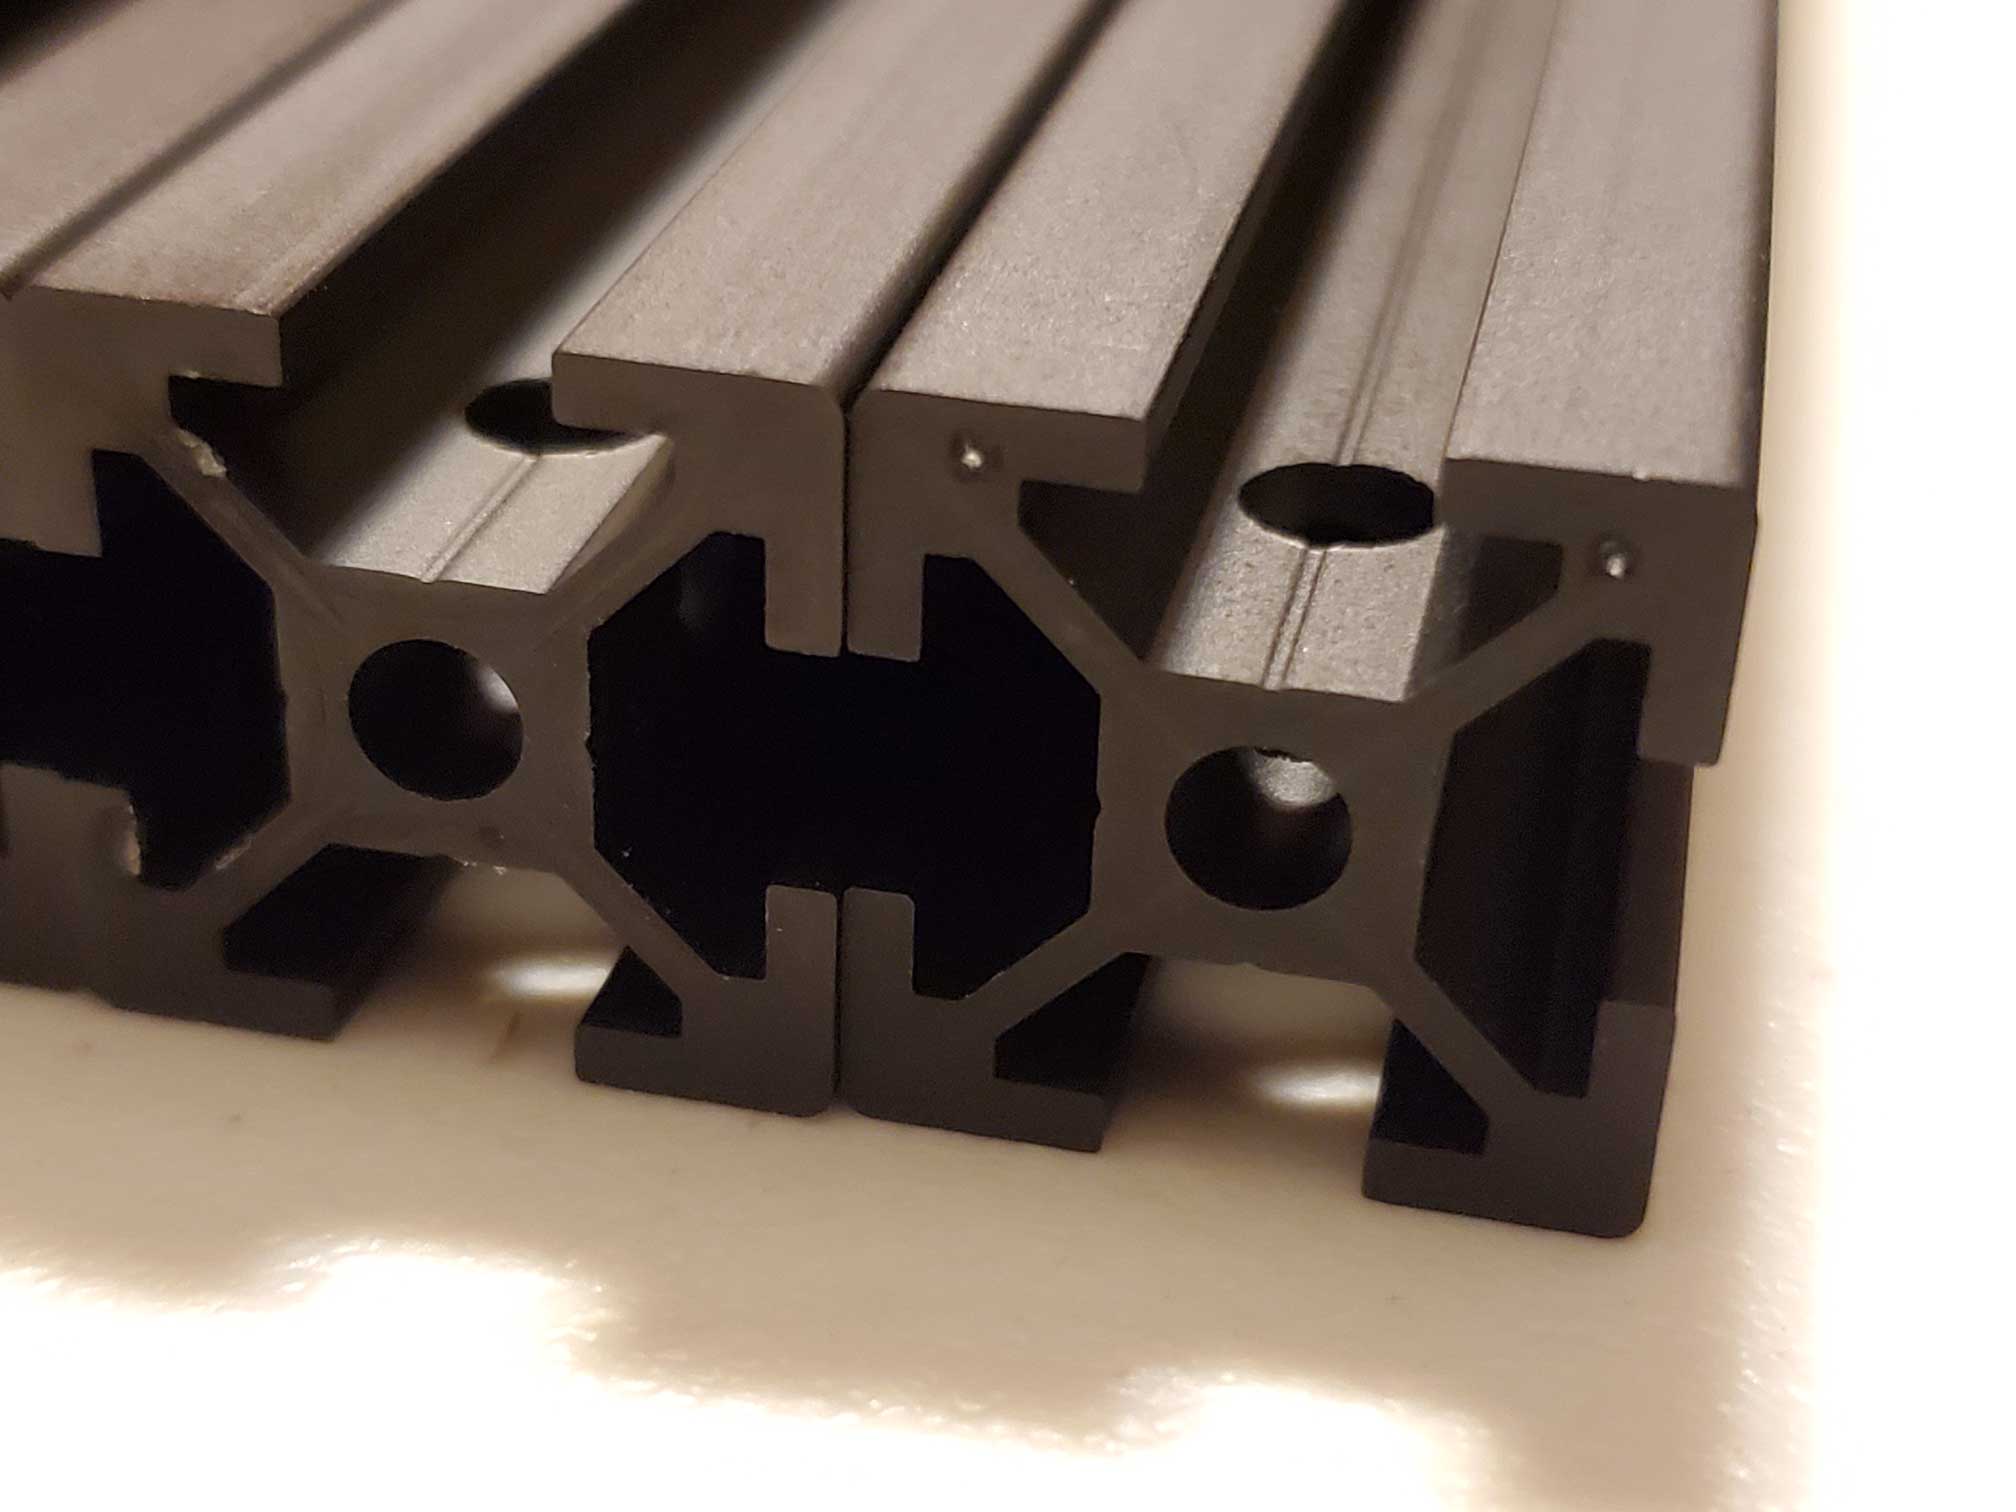
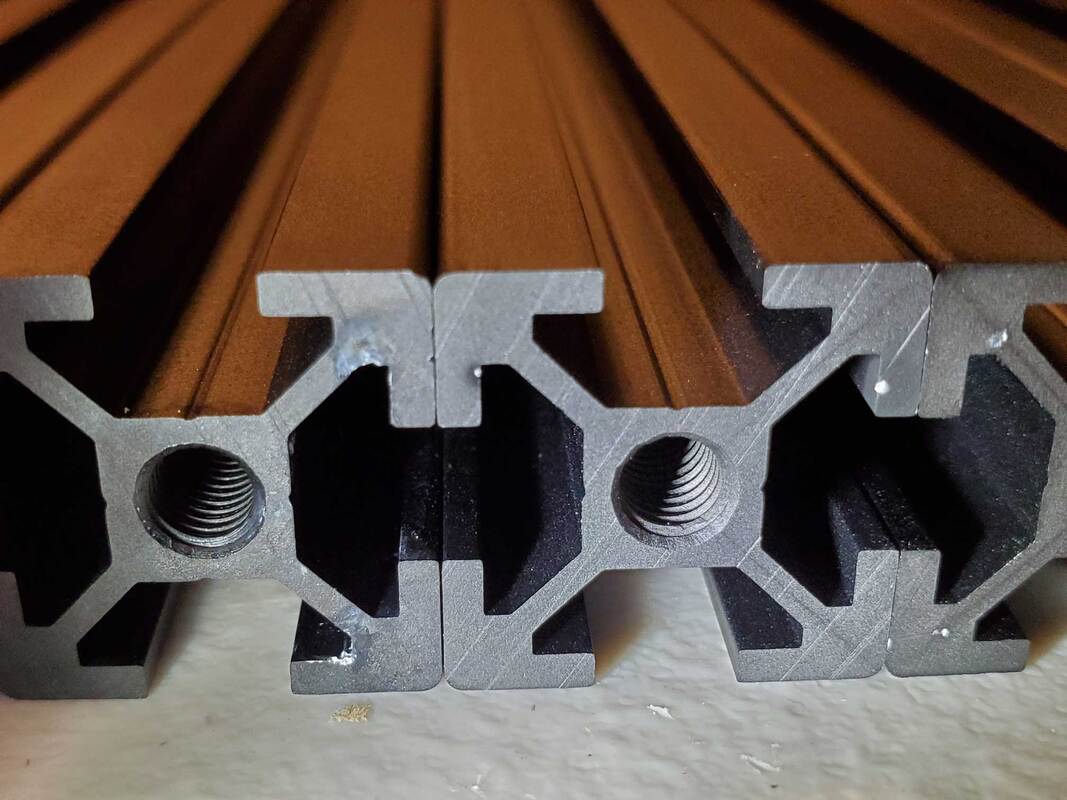
- The 2020 extrusions are all cut perfectly to the right lengths, drilled and tapped (where needed) and have the ends anodized with no sharp edges.
- Includes the correct Omron G3NB-225B-1 which is not the exact model spec'ed in the Voron config tool (Omron G3A-210B-DC5 SSR), but it looks like a bit of an upgrade (25A vs 10A).
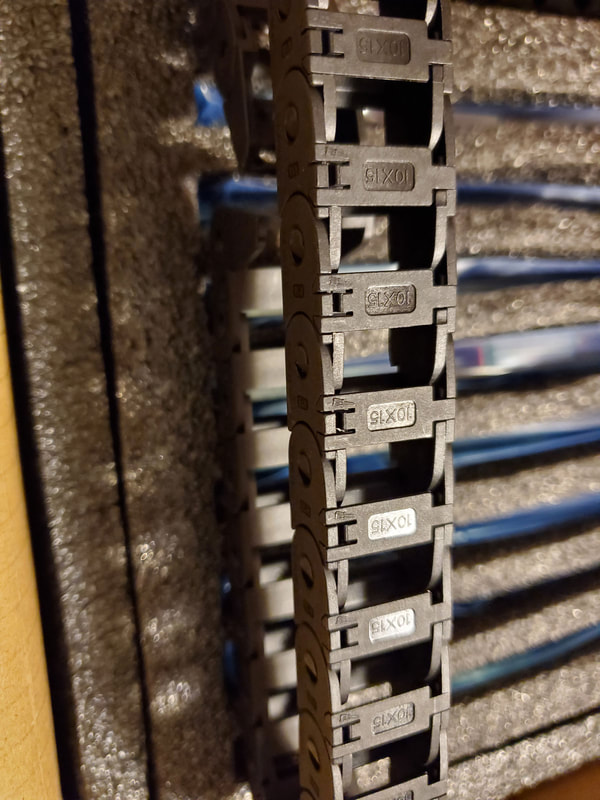
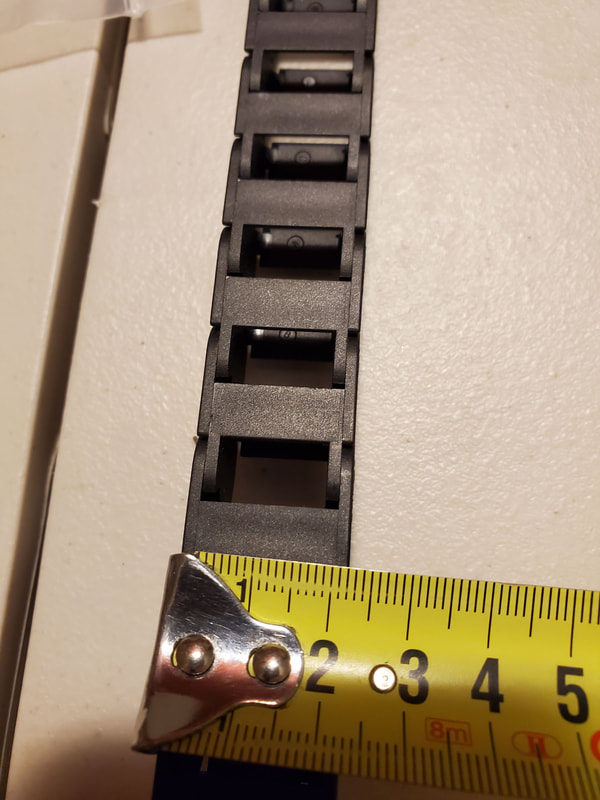
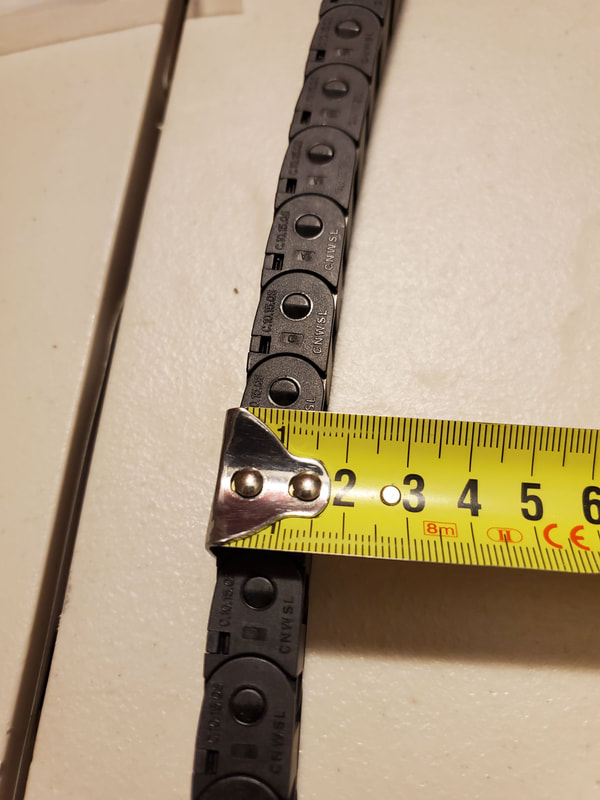
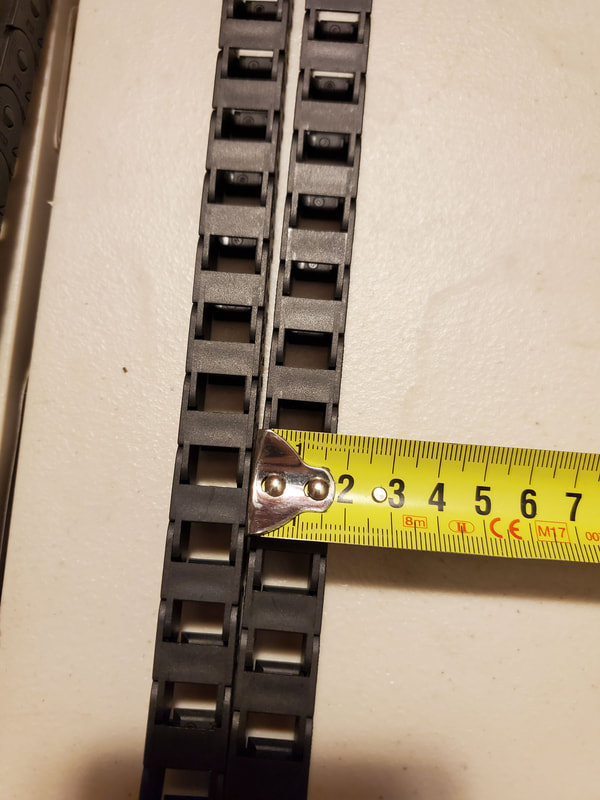
- The cable chains are the opening type which is something that will be appreciated if ever the wires inside need to be replaced.
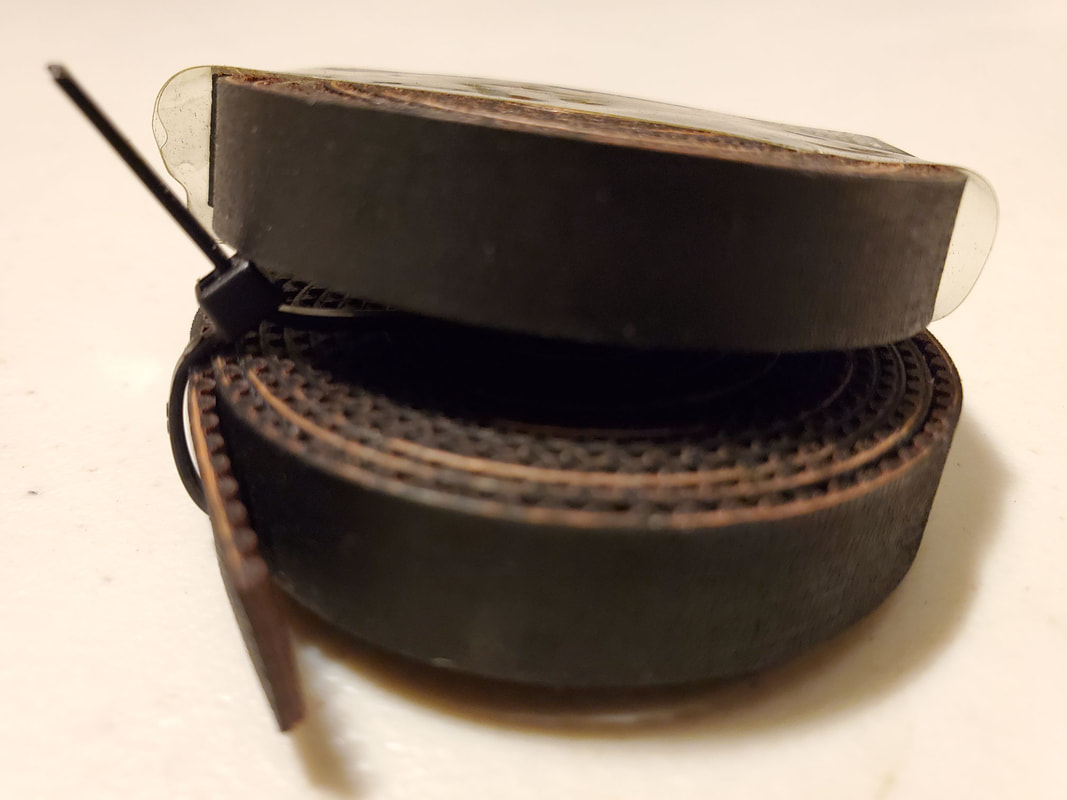
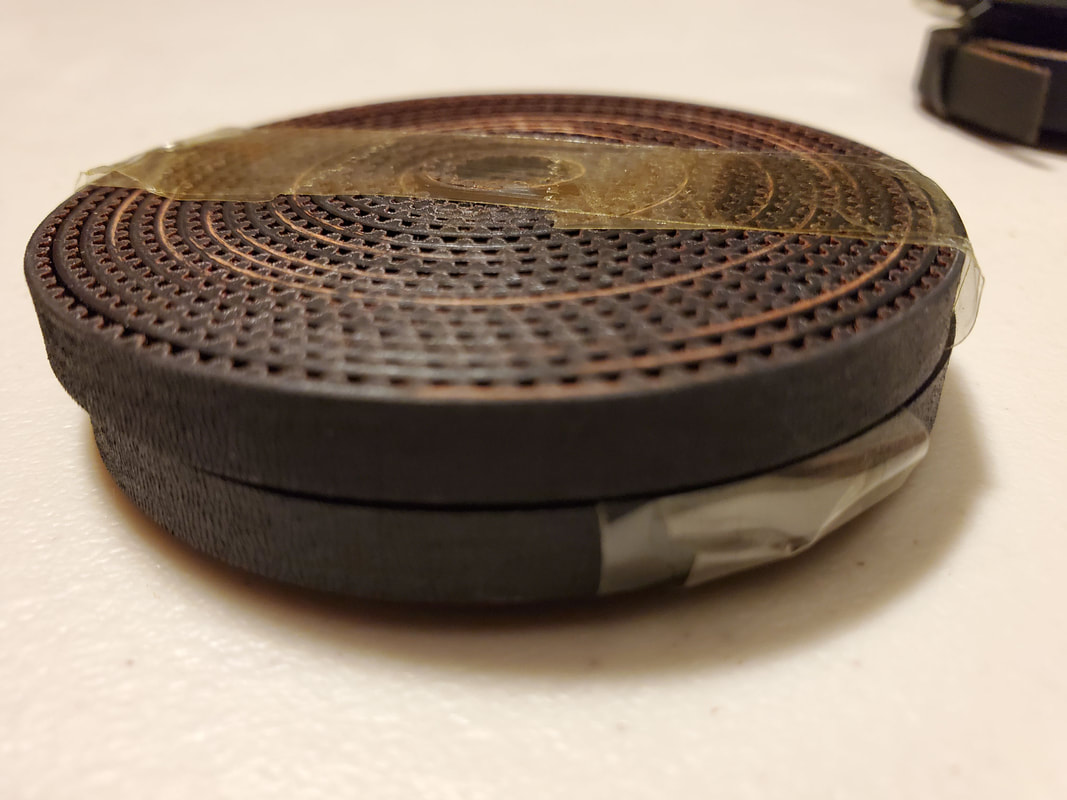
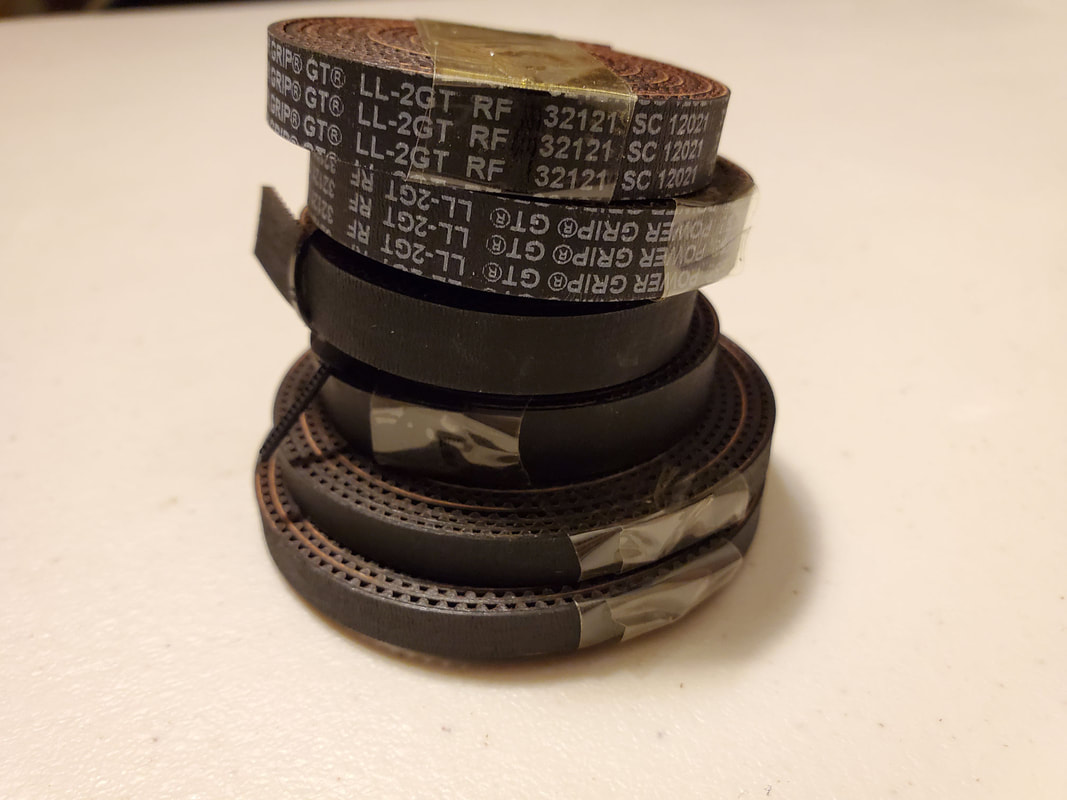
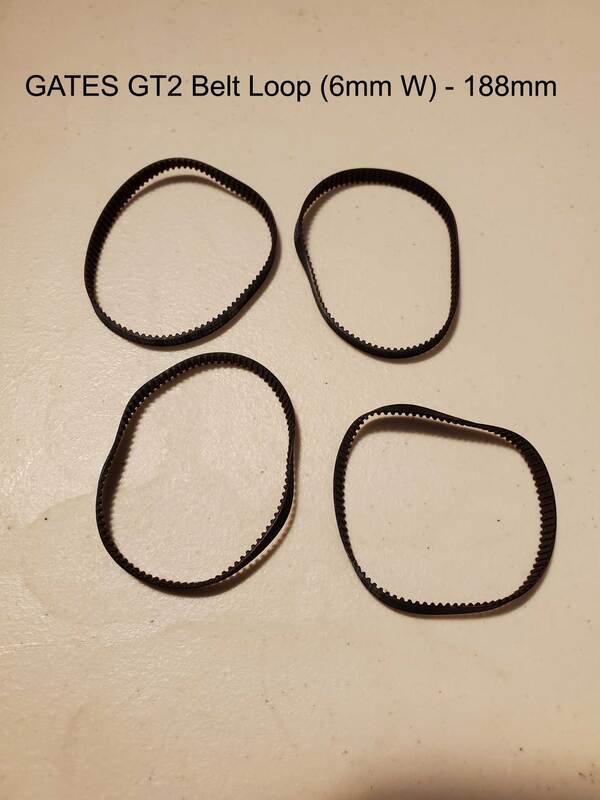
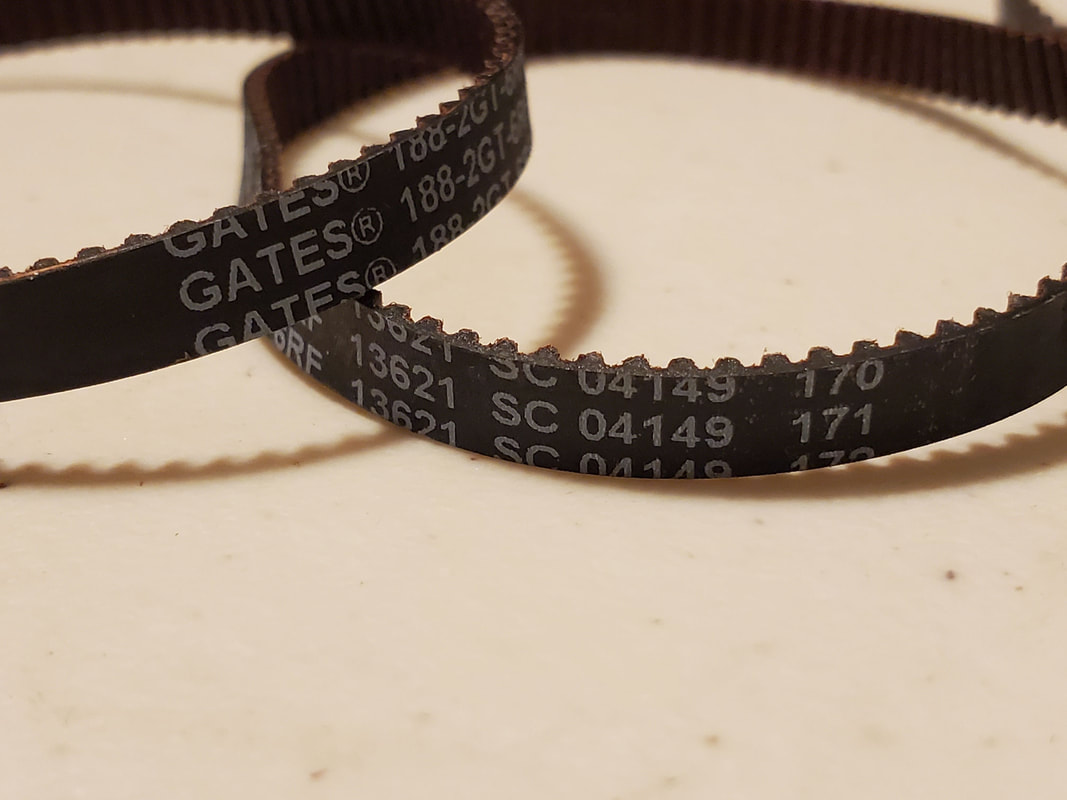
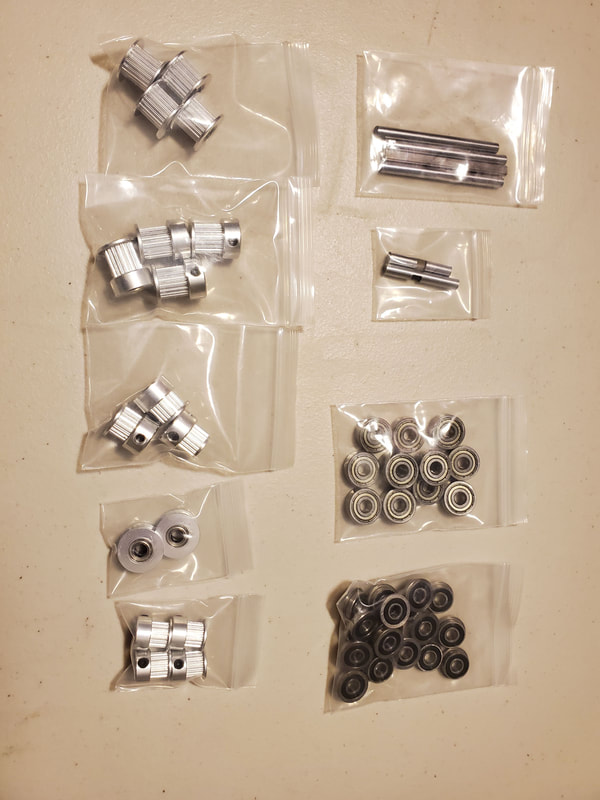
- It includes ALL Gates belts (initially I did not see the Gates branding on all of them, but they are indeed ALL Gates brand belts).
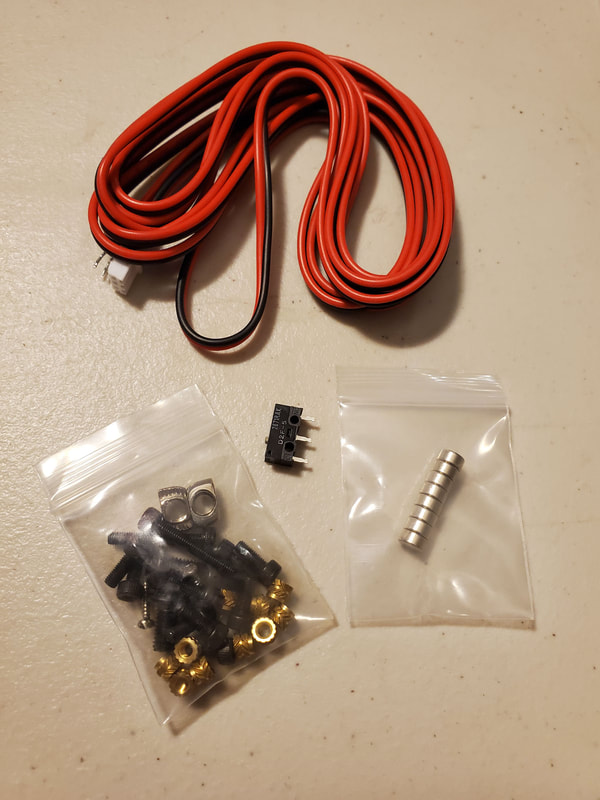
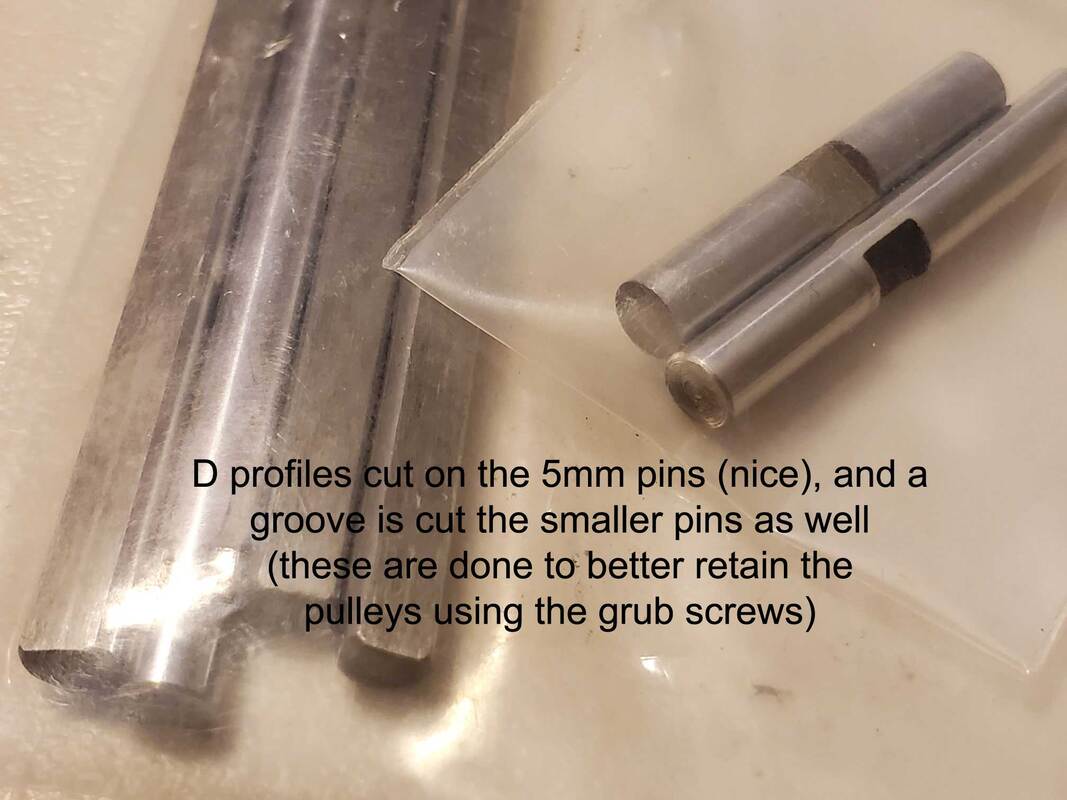
- The 5mm dowel pins have D profiles or notches cut to allow the grub screws to hold onto them tighter.
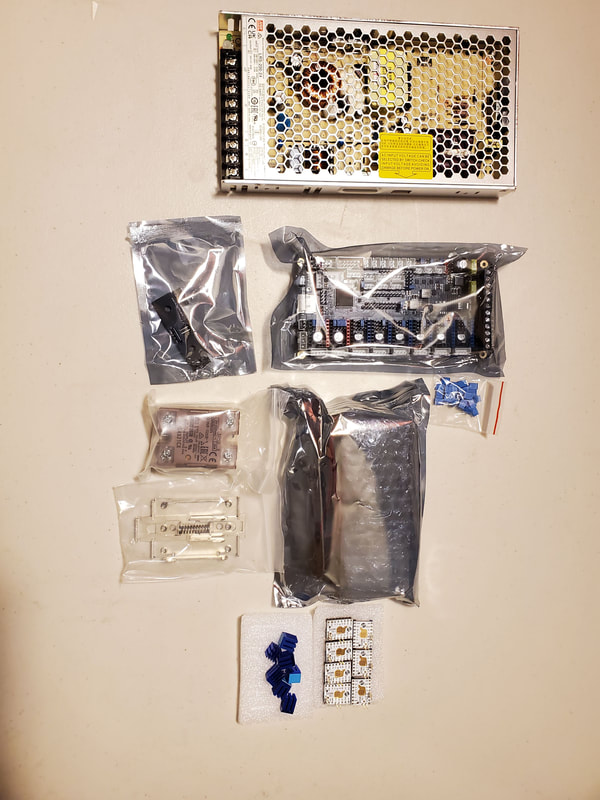
- A MeanWell LRS-200-24 power supply is included (this is the same as the Voron spec).
- The parts are included to add a Klicky Probe for auto bed leveling.
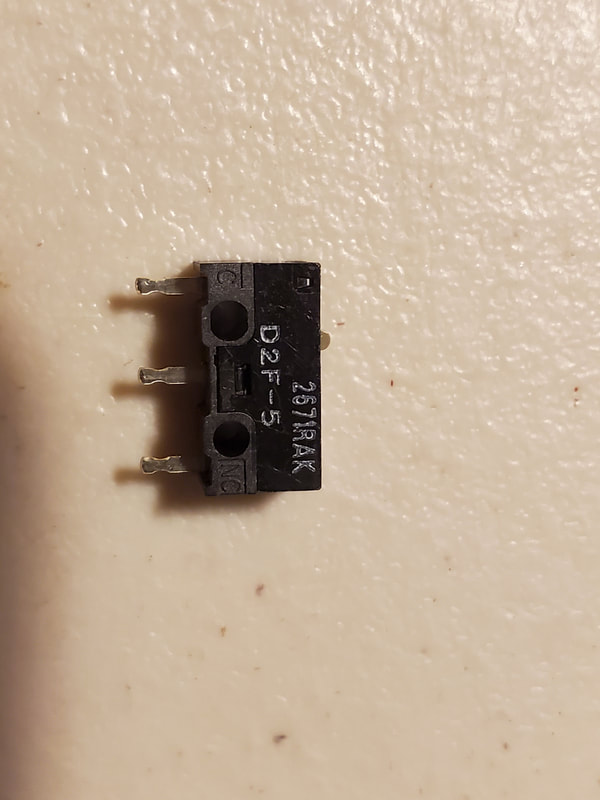
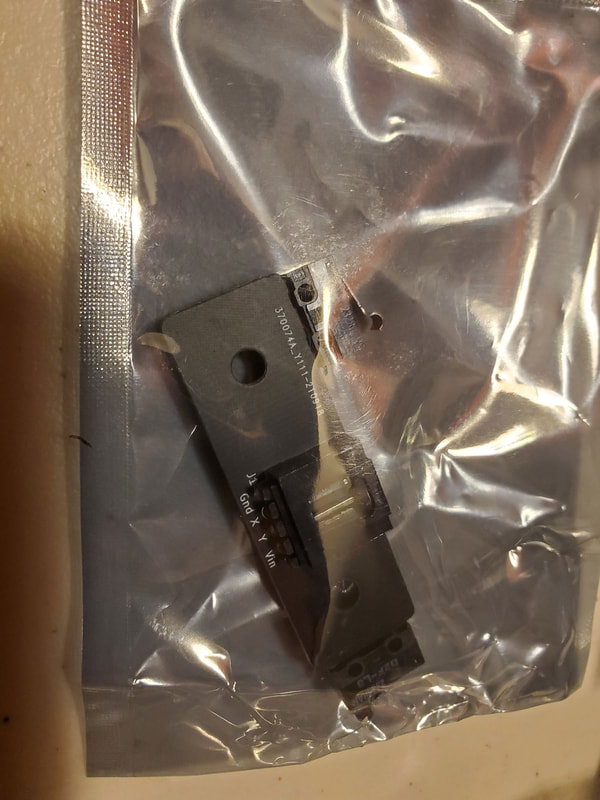
- There is an XY Microswitch board included.
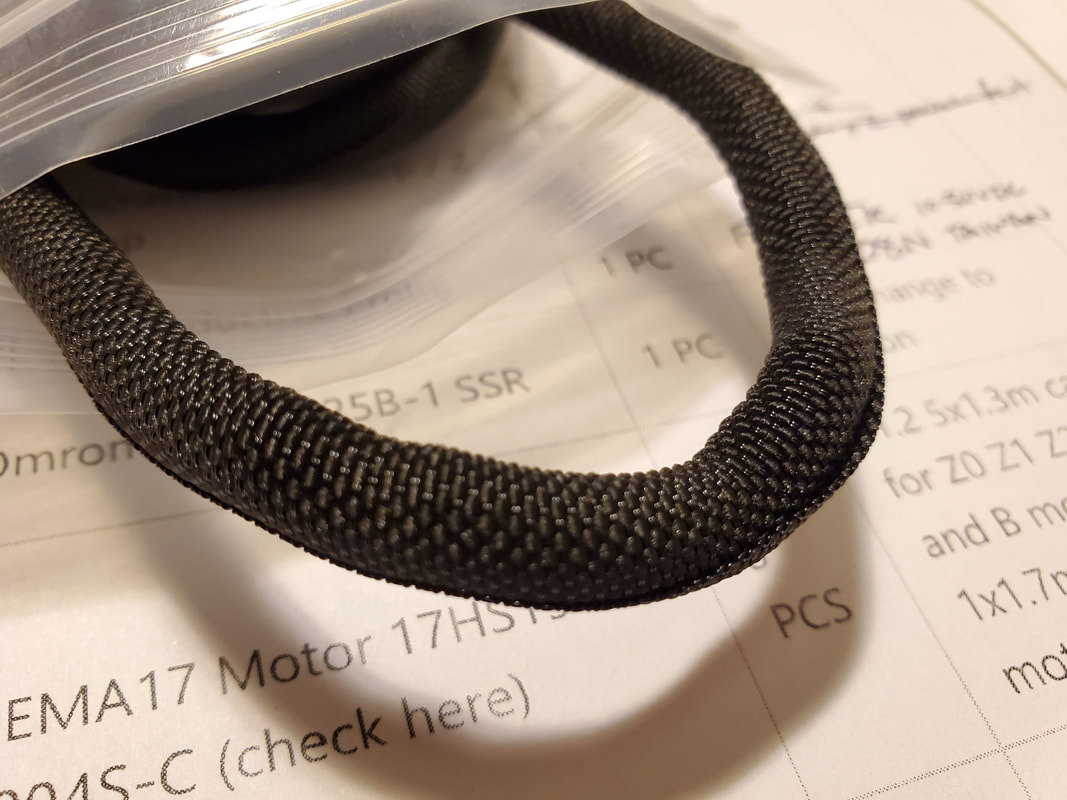
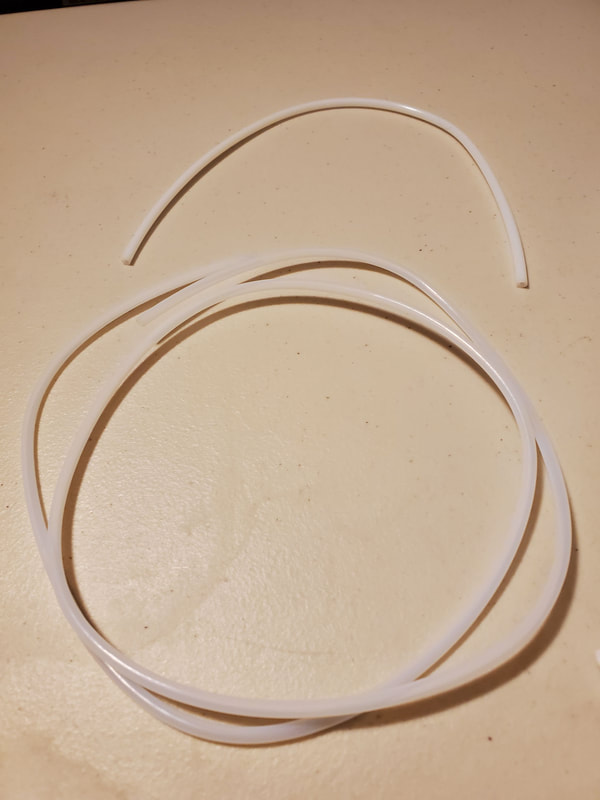
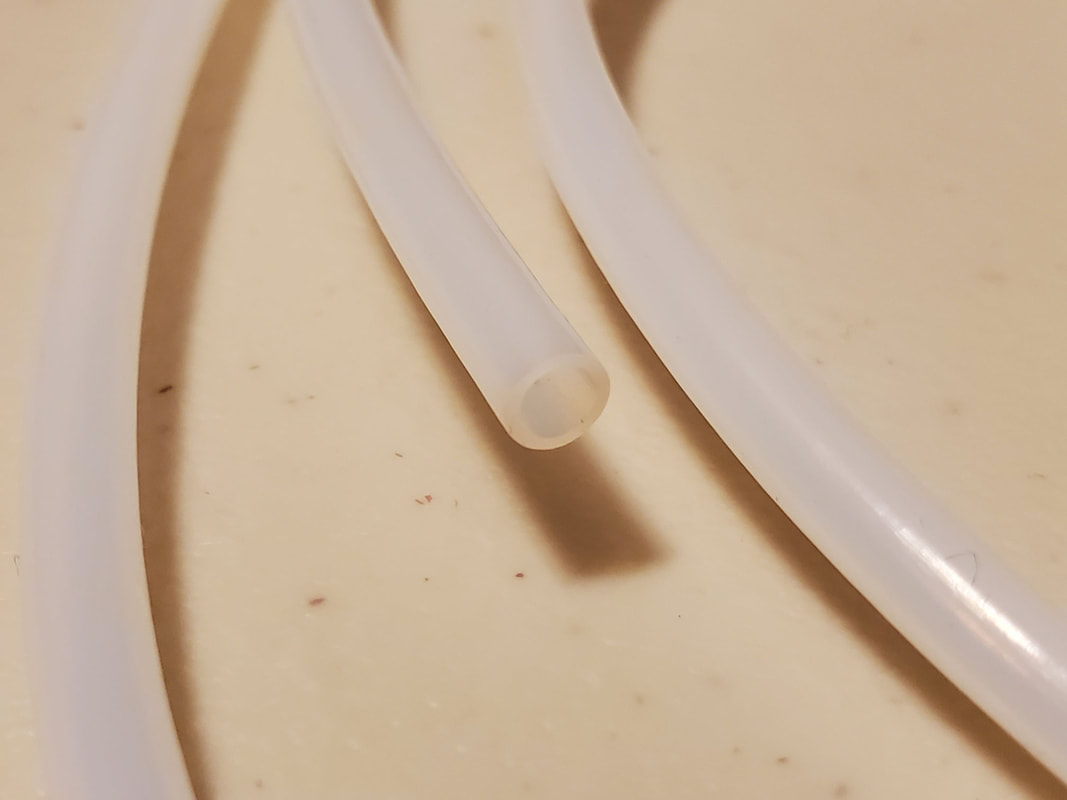
- They included some nice cloth like split loom in two sizes, which is something I have not seen before. It looks really cool for split loom.
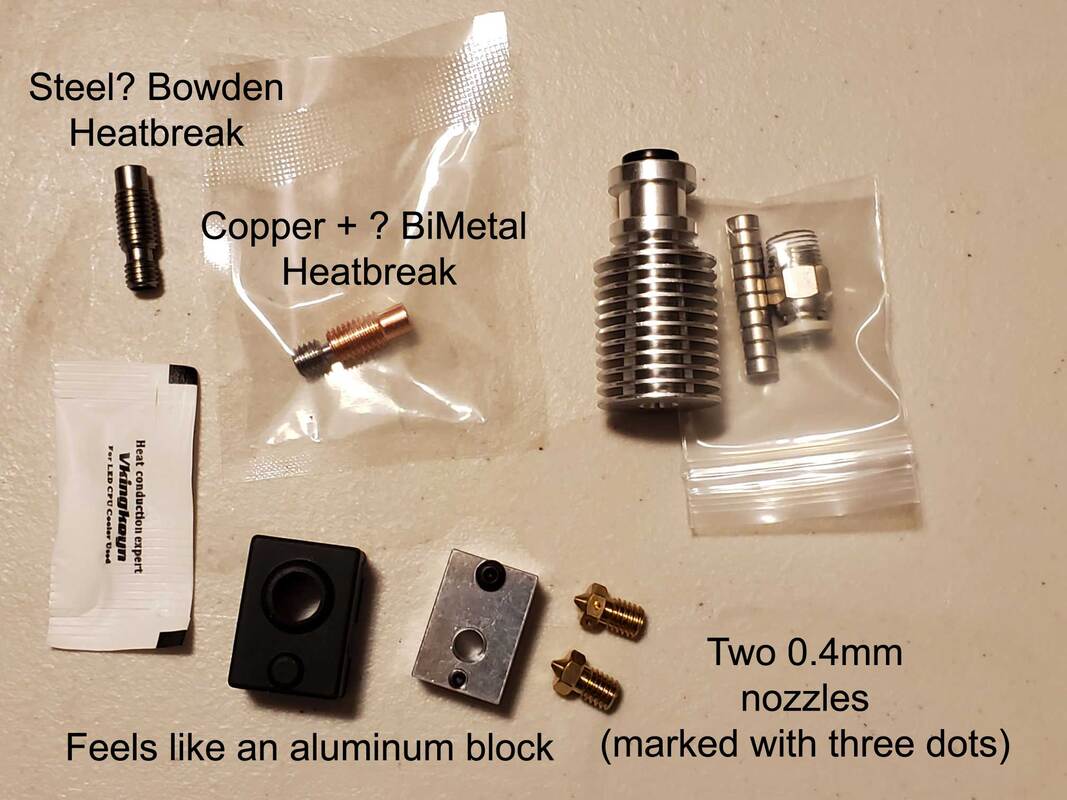
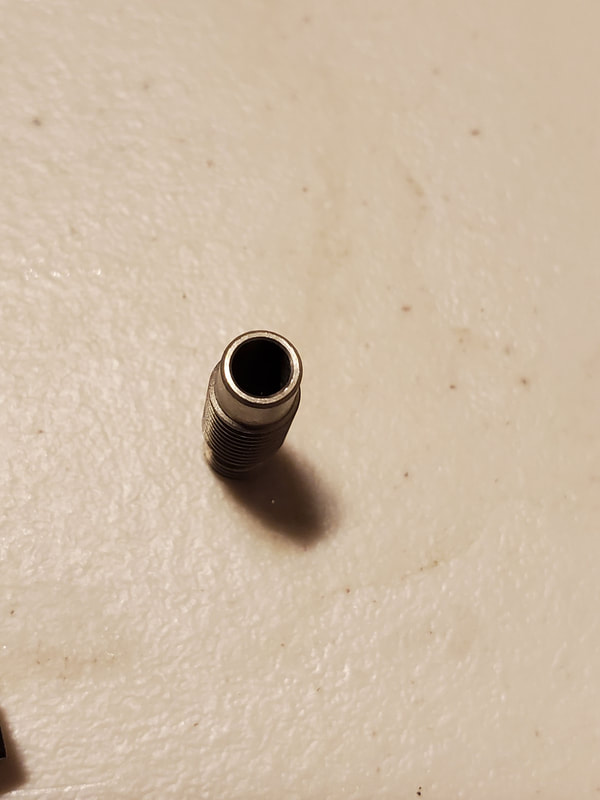
- The v6 clone hot end kit looks decent, and includes a bi-metal copper and probably titanium heatbreak, as well as a standard steel (bowden) heatbreak, with a couple of 0.4mm brass nozzles to boot.
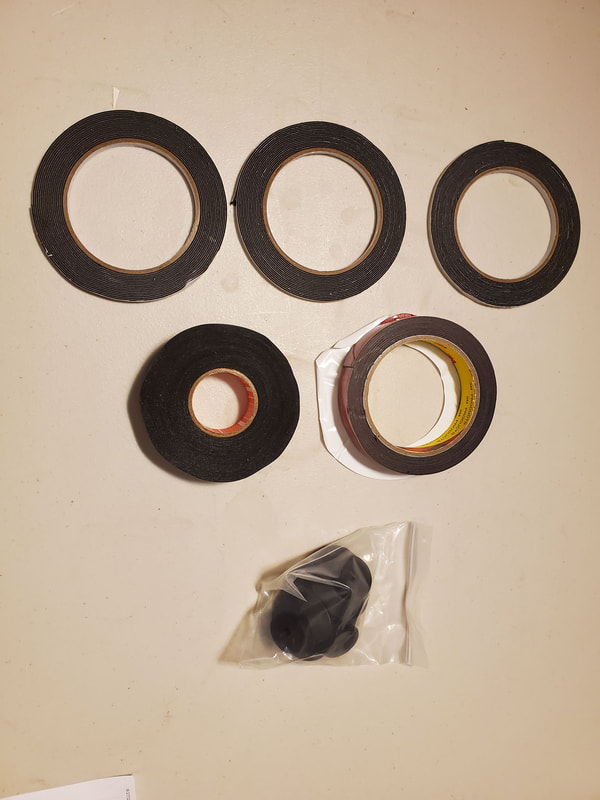
- The kit includes Genuine 3M VHB tape.
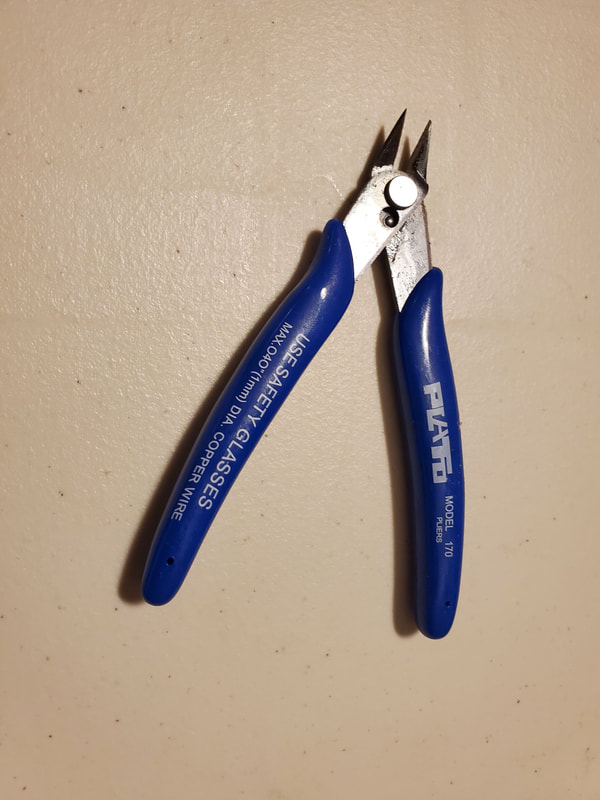
- The overall quality of the packing is excellent, and even the included cutters are nice.
Cons:
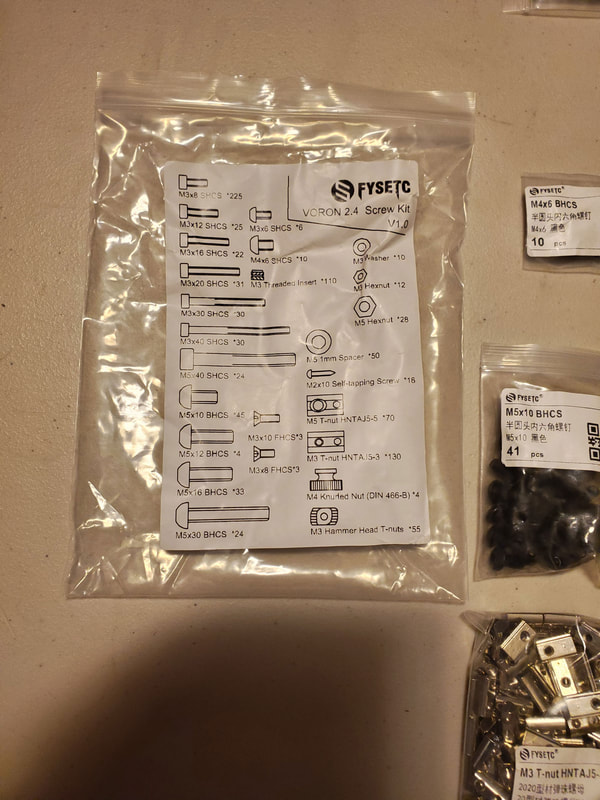
- The screws are all black oxide steel which will probably rust in some climates. I am also possibly missing a couple of M5x16 screws (but according to the Voron docs I will have enough - just not as many as was noted in the kit). I may replace these with stainless. (Update - I spent about $60 to replace these and get a ton of spares by not ordering a fastener kit)
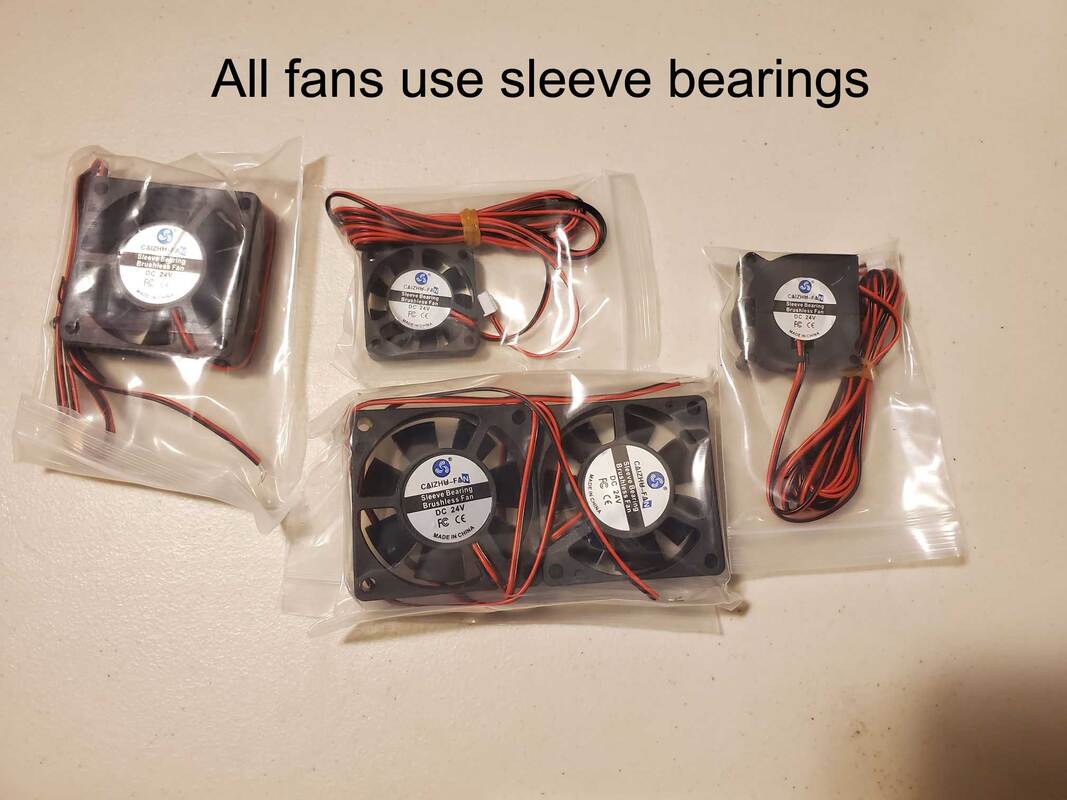
- The fans are all sleeve bearing which is probably expected at this price point, but they are still not worth trusting in a printer application. I'm definitely going to replace any critical or hard to access fans with double ball bearing fans. (Update - I ordered some 24v GDSTime dual ball bearing fans for the 5015 blower and 4010 axial fan which are used in the hot end / stealthburner).
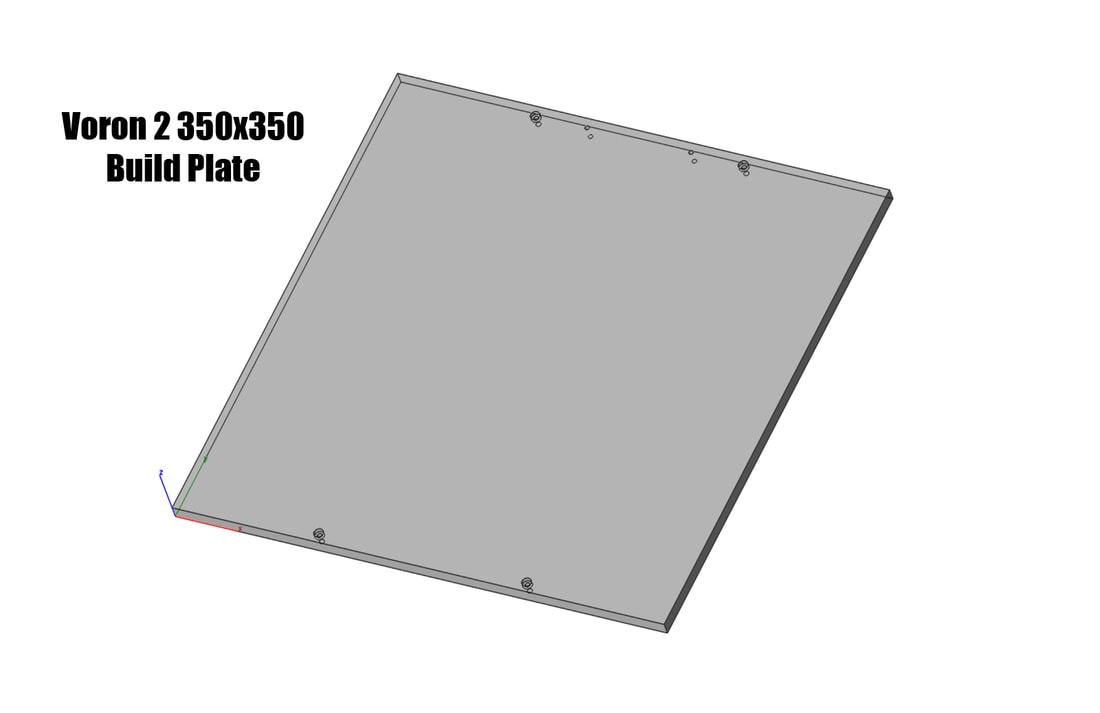
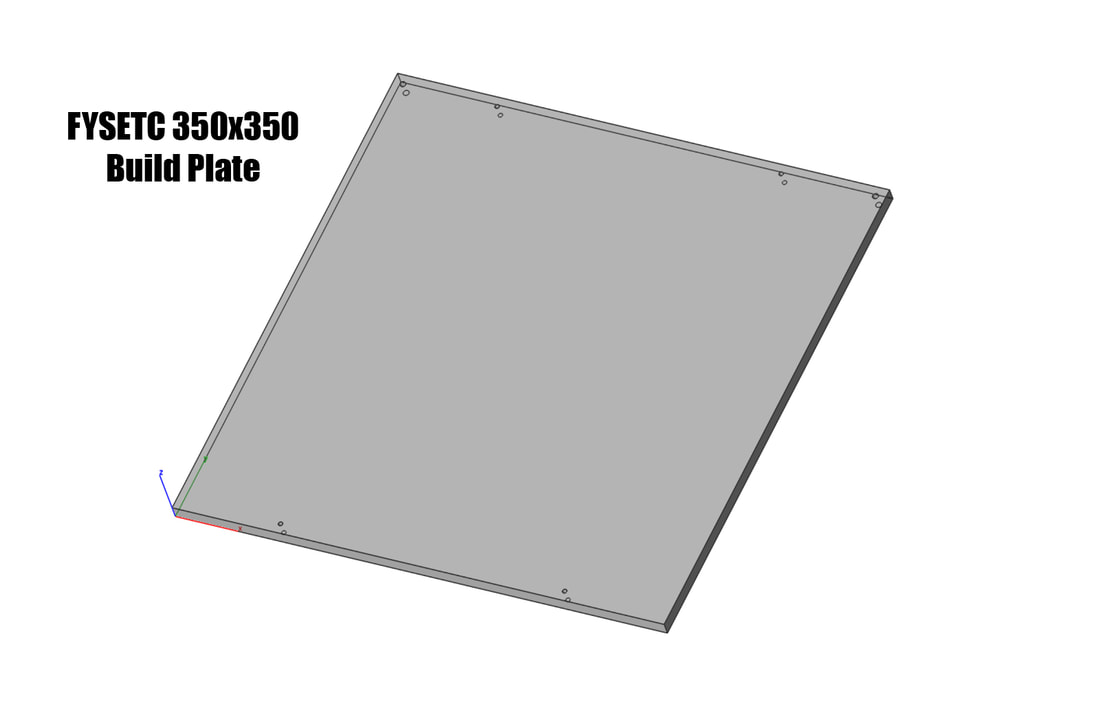
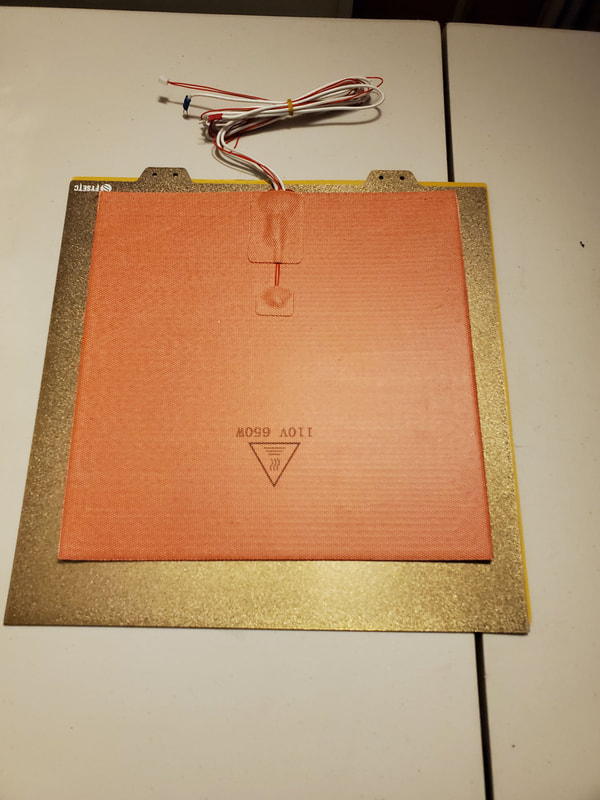
- The build plate hole pattern is not to the Voron 2 spec, the FYSETC 350mm plate uses 205mm spacing while the stock Voron is 150mm. This is not functionally a problem, but it means that a kinematic mounting mod is not gonna work without some drilling. See the pics below to see the difference:
 |  |
Neutral and Other Interesting Stuff:
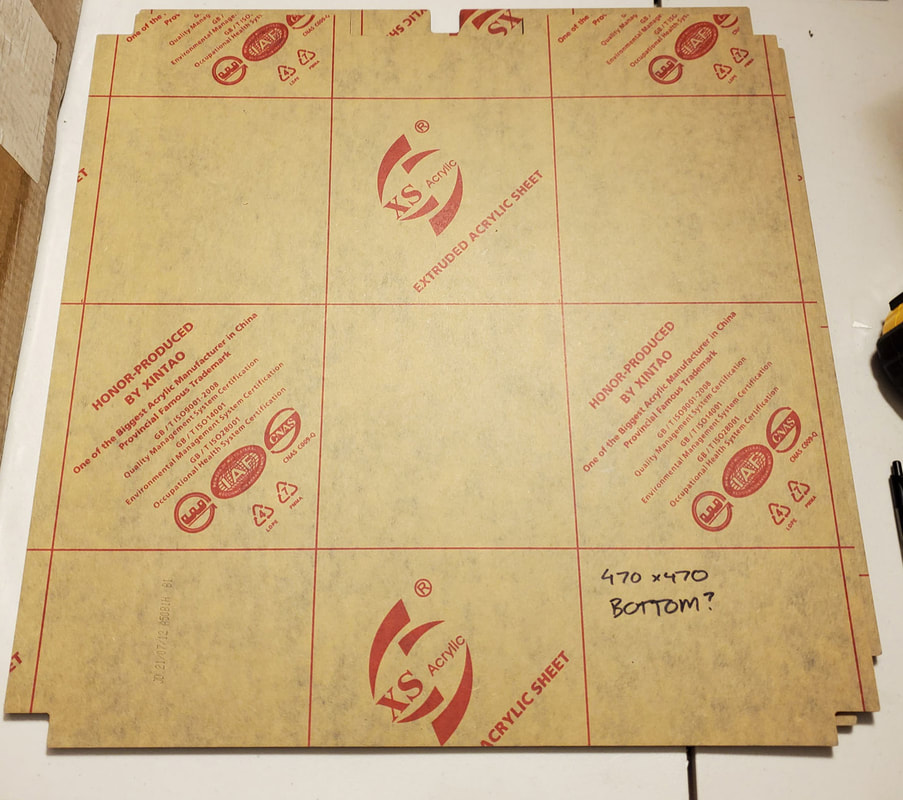
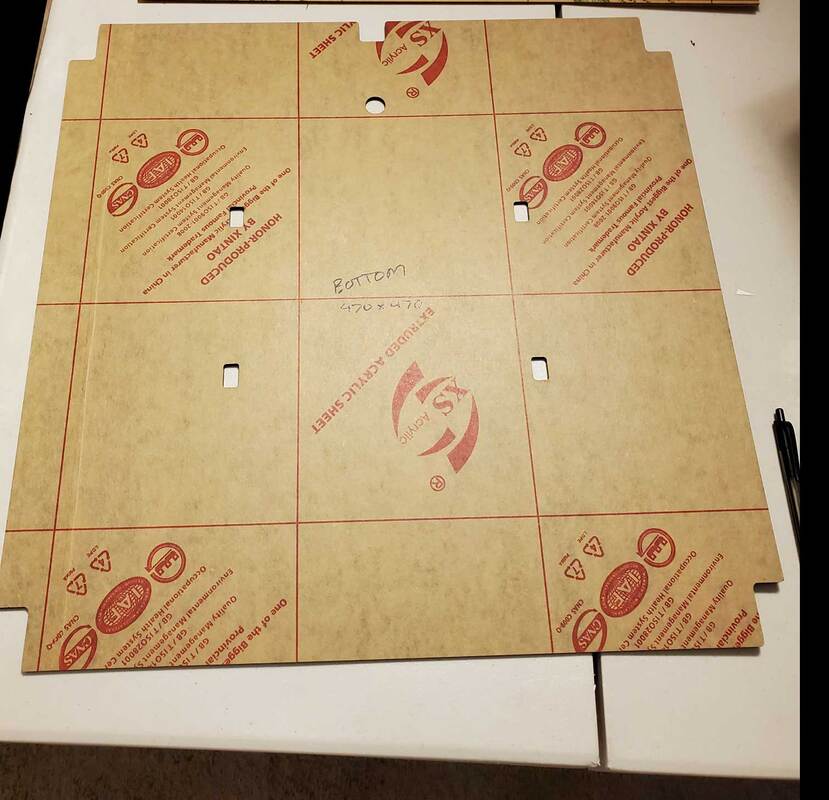
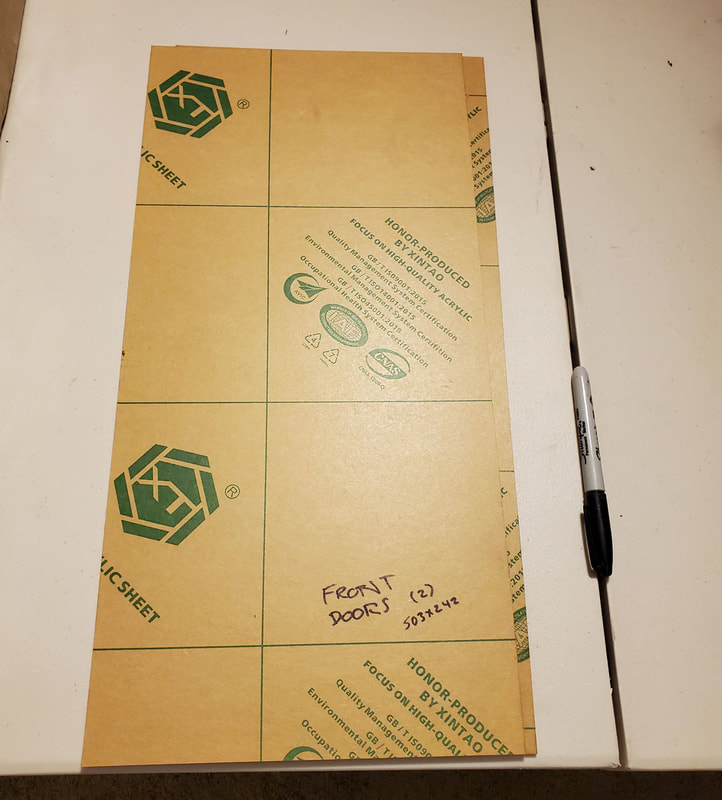
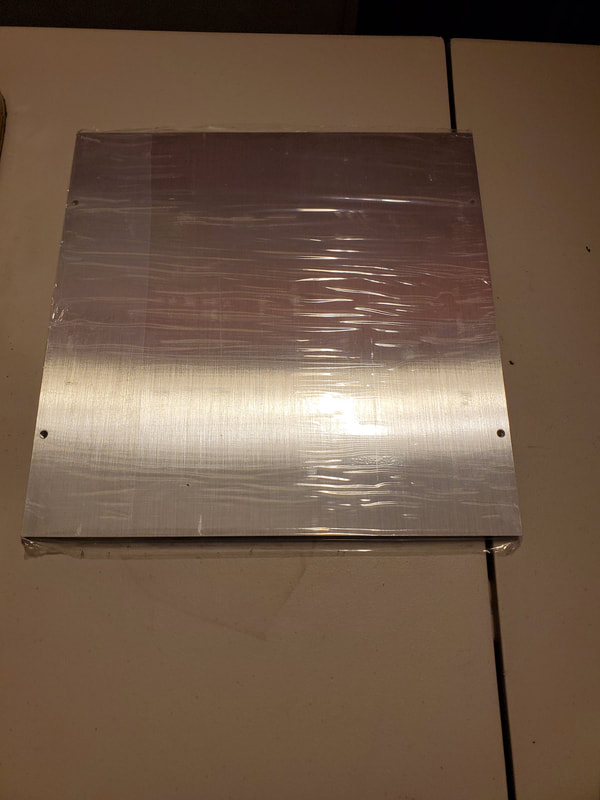
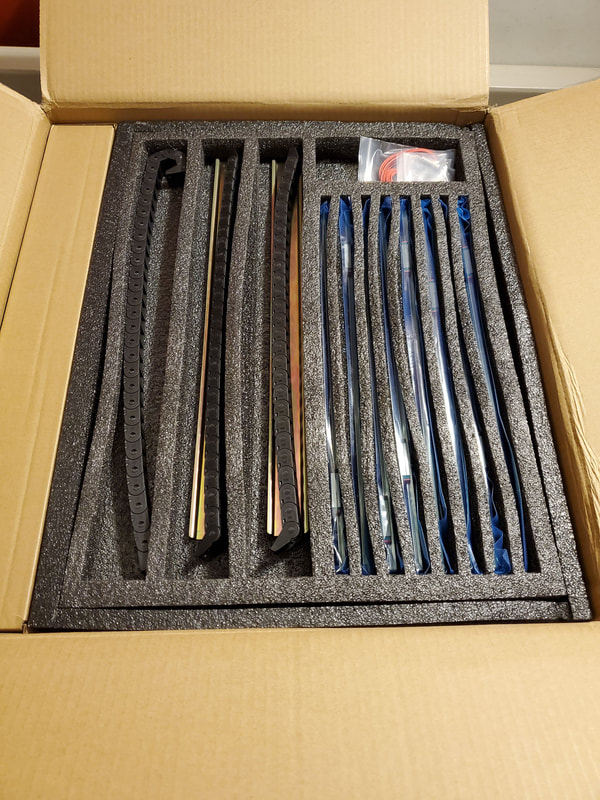
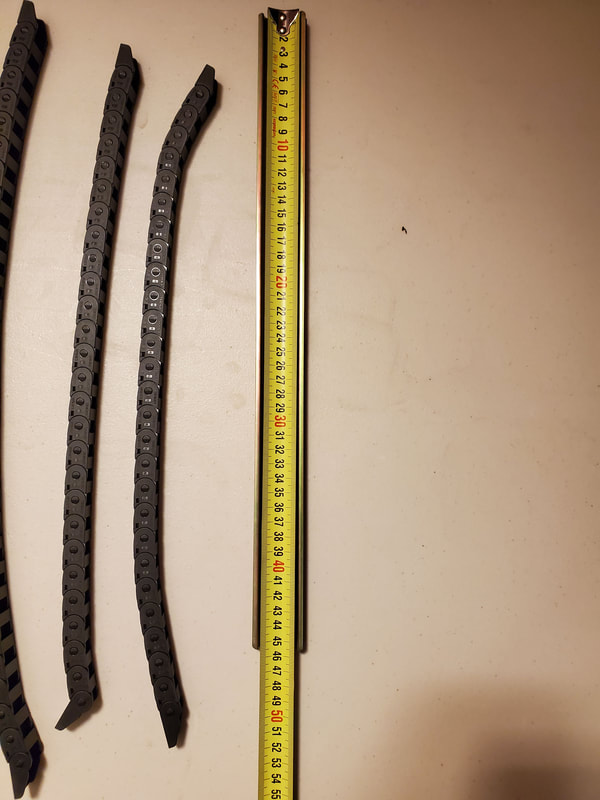
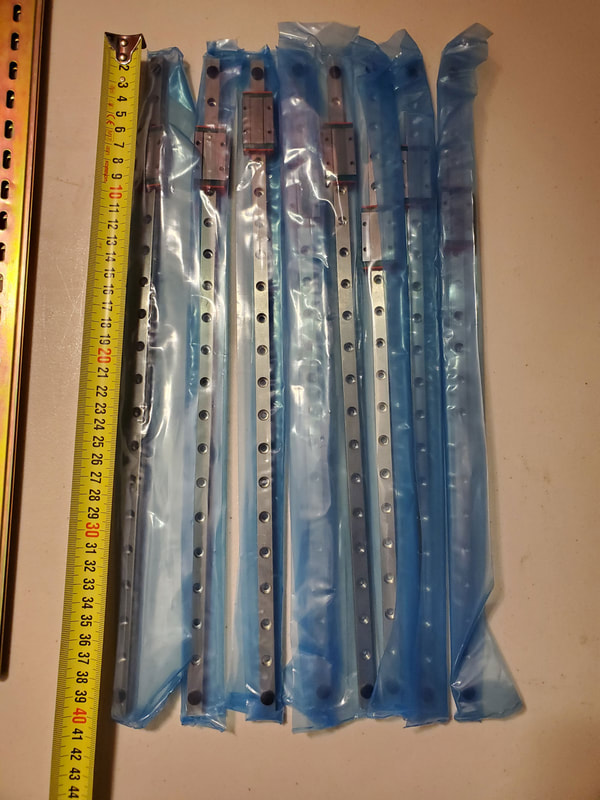
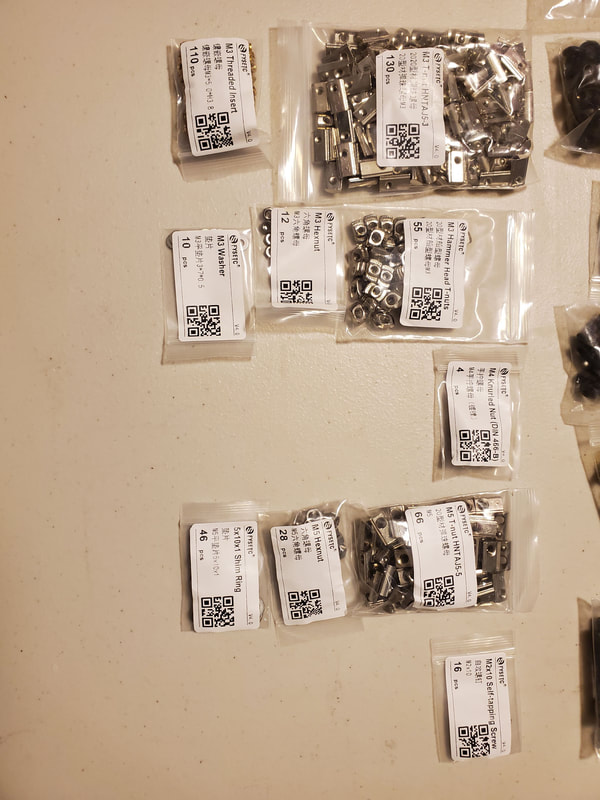
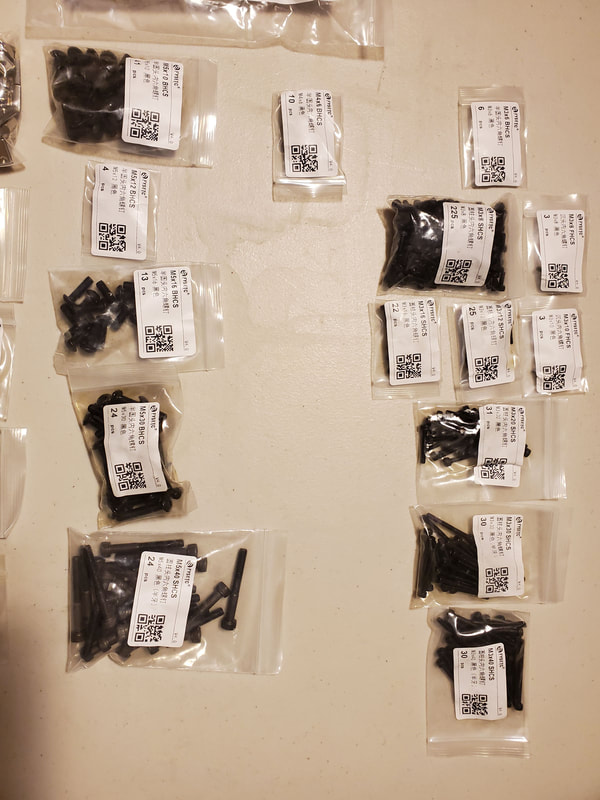
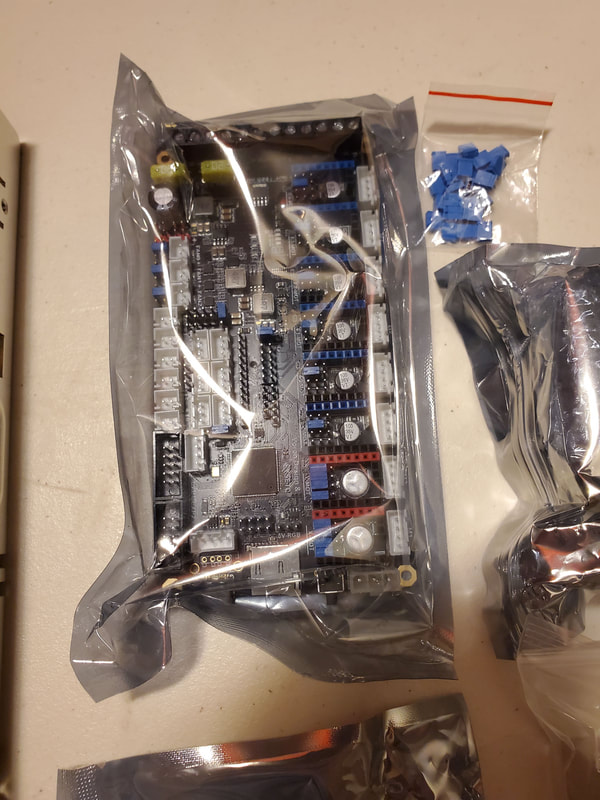
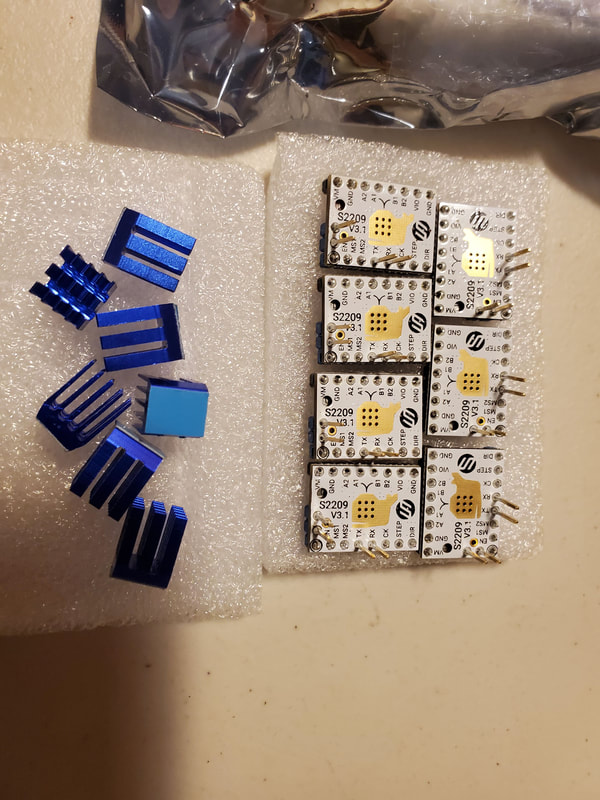
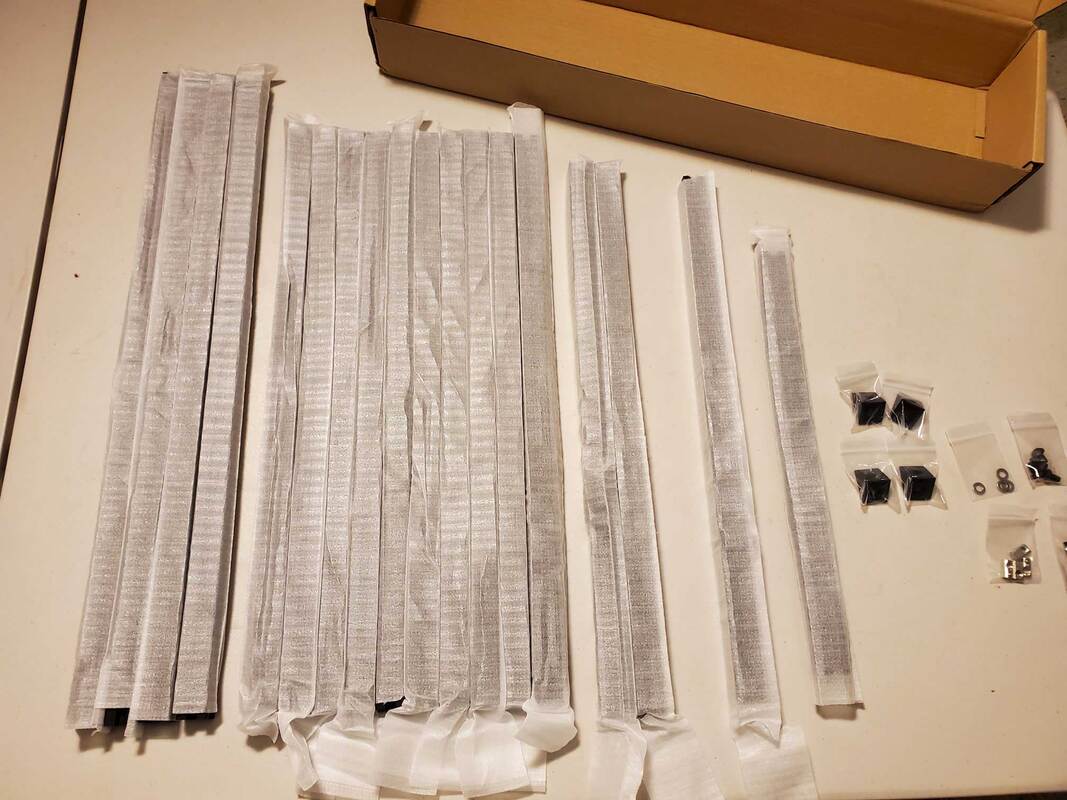
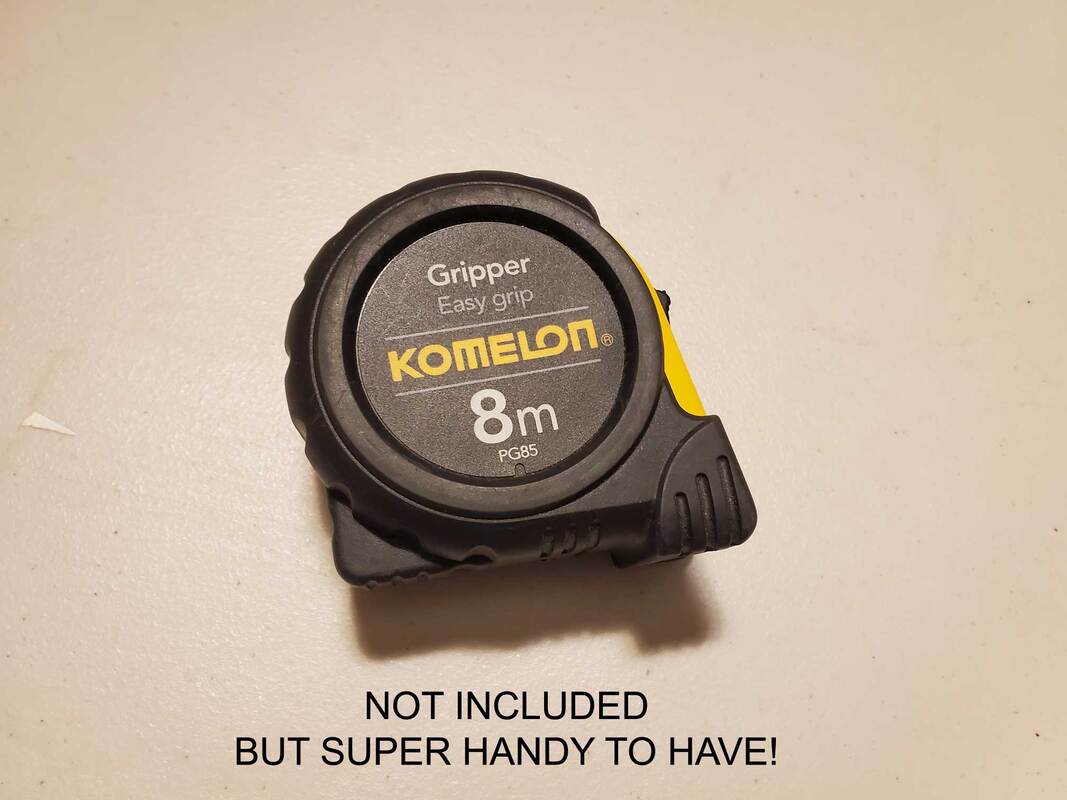
And now some pics of the unboxing and inventory. I used the V1.3 of the BOM that FYSETC linked in the AliExpress listing and checked off each item as I went though it. Nothing of real importance was missing (just maybe a couple M5 screws). Again I was overall very impressed and the included Raspberry Pi was awesome to find nestled in it's space when I went through the 2nd box. Having a good metric tape measure or ruler is a good idea for checking things. I bought this one a long time ago and it is still my go-to for anything bigger than what my calipers can handle, and needing a metric scale.
Updated this post to correct two things:
1. I had said that some of the belts were generic. That was an error, they are ALL Gates belts (I had not unrolled some of them to see the labeling on several of the belts when I was unpacking things).
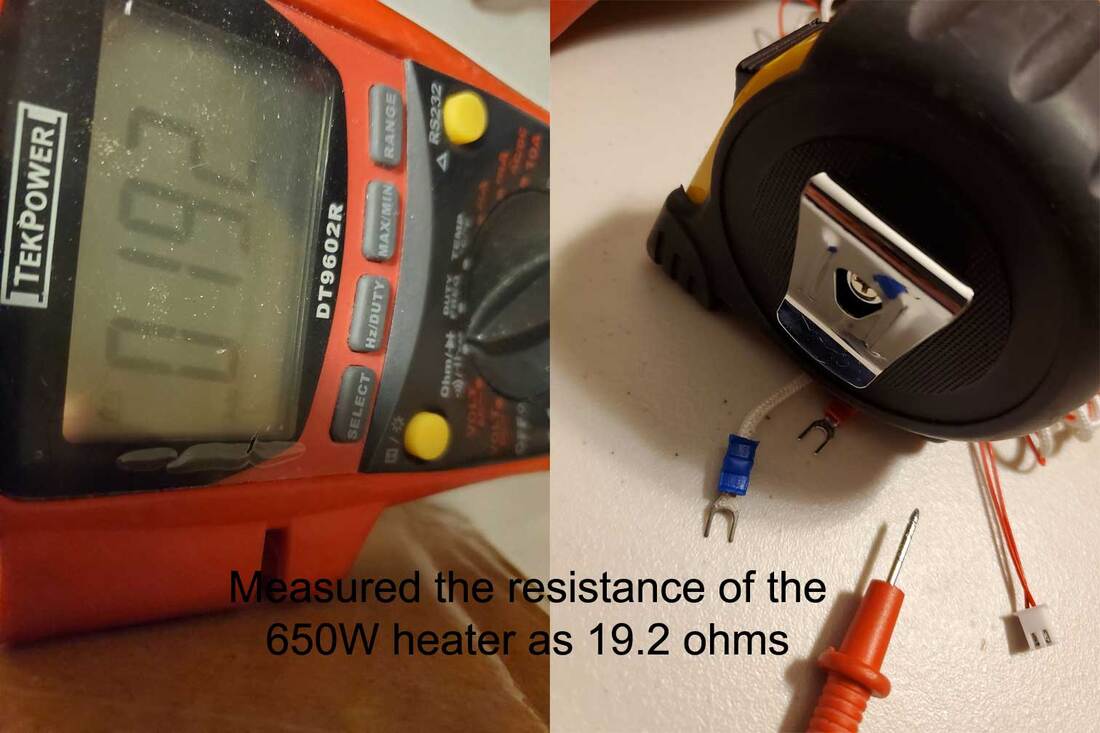
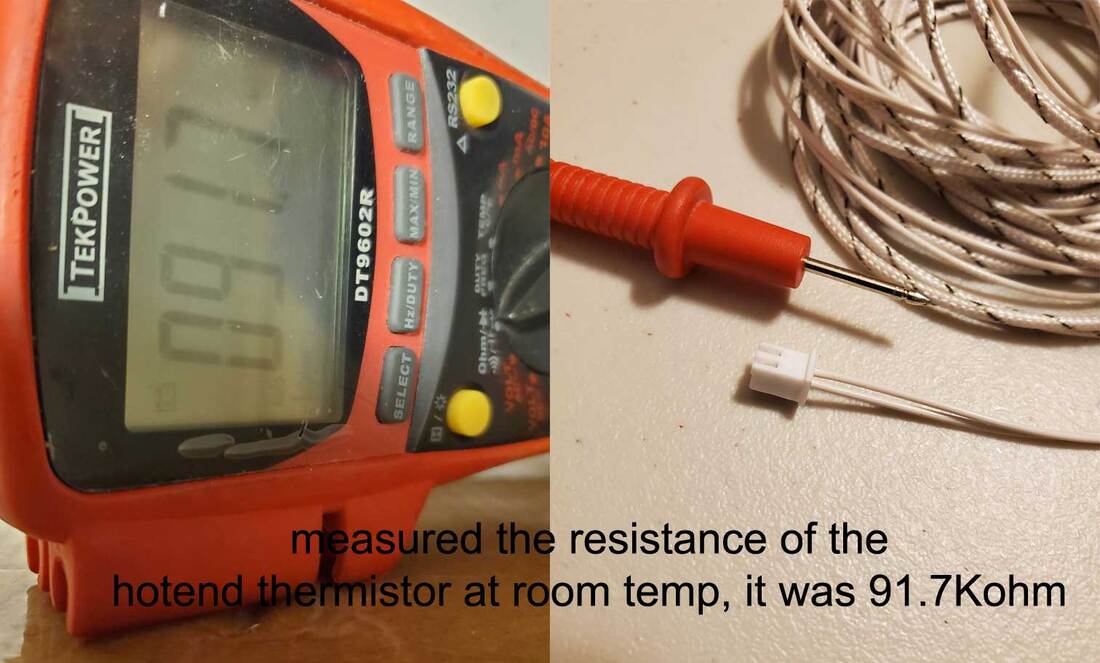
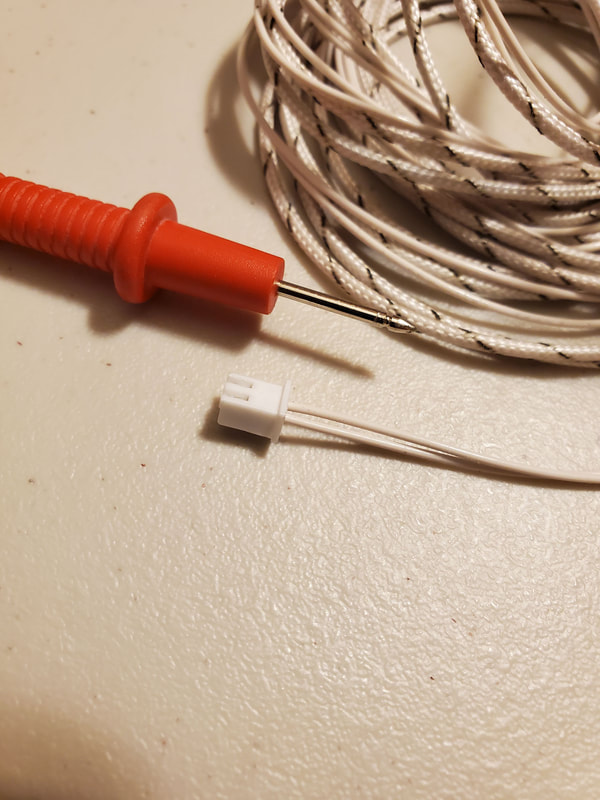
2. I initially tested the hotend heater at 30 Ohms, which would be faulty. However I was using some alligator clips which I think may have been causing the incorrect readings. I re-tested with just my meter and the 50W heater reads 12.2 Ohms which is OK for the 50W heater (at 24v).
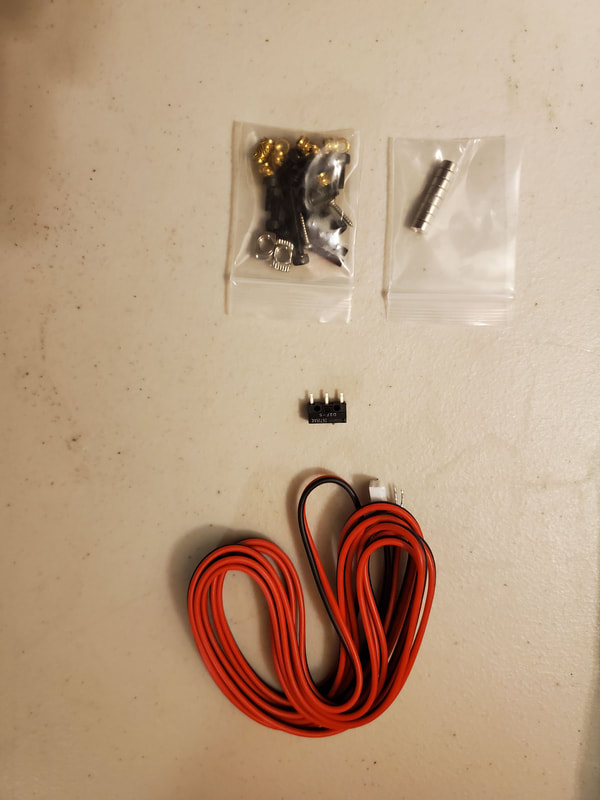
- The inductive probe is a FloTek PL-08N
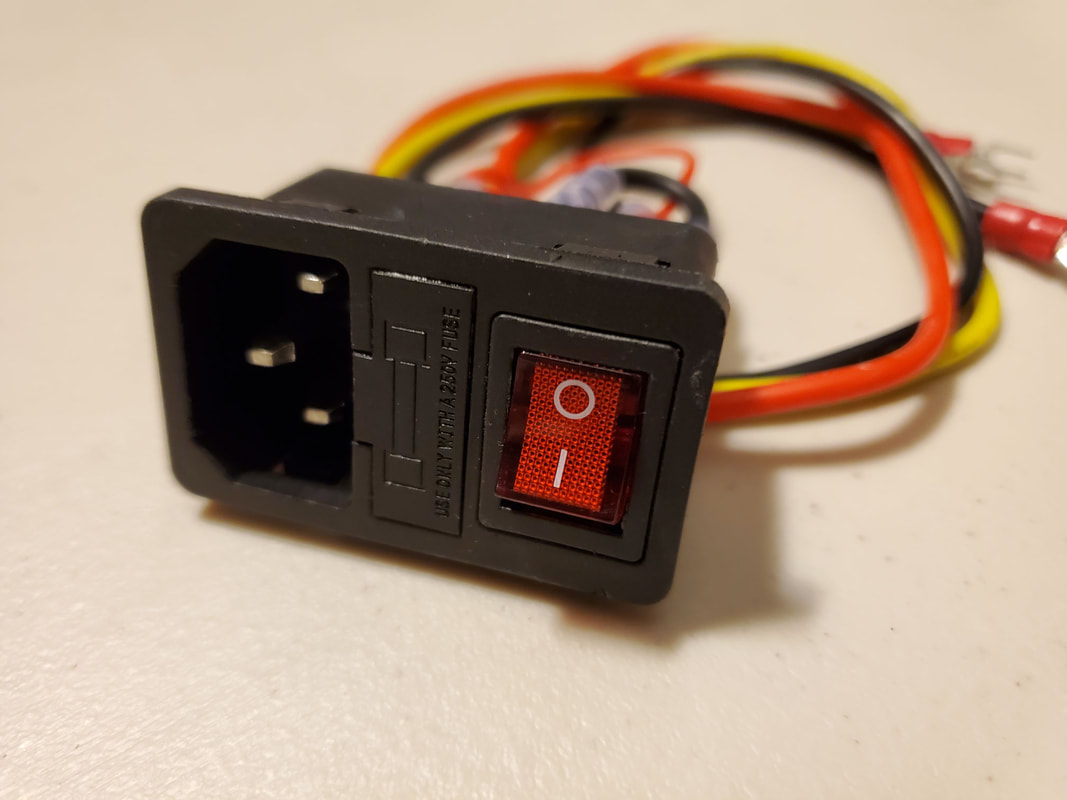
- The kit includes a normal inlet power socket, which is fine since it's not a R2 spec, but I may upgrade it to the Voron 2.4 R2 spec which calls for a TycoElectronics 10EGG1-1 Filtered Power Inlet (NA/UK). I'm not sure if it is really necessary so that will be a "later" thing if there are issues.
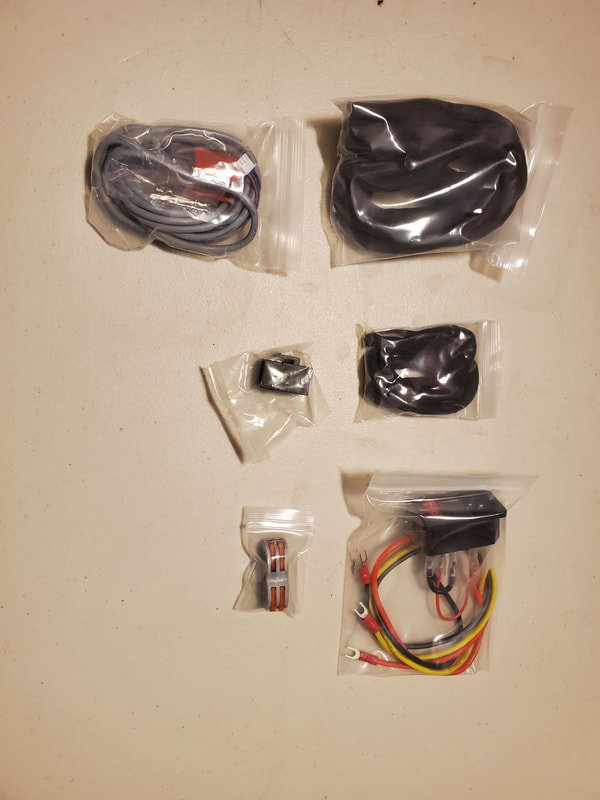
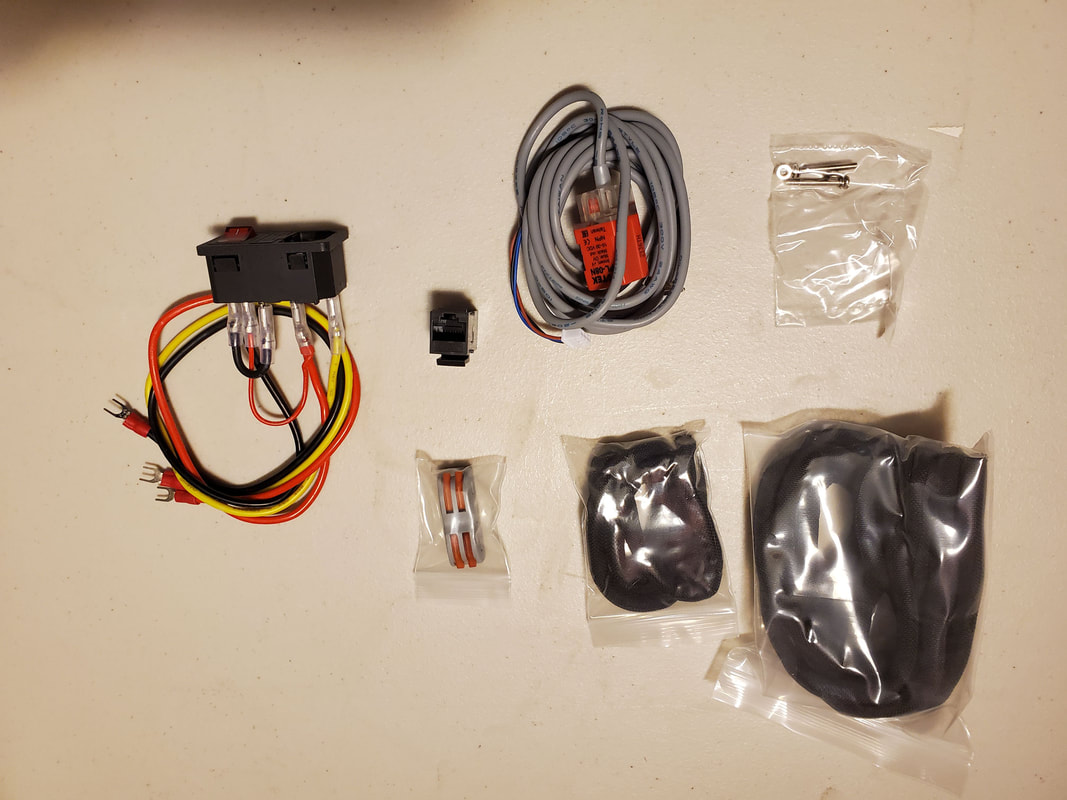
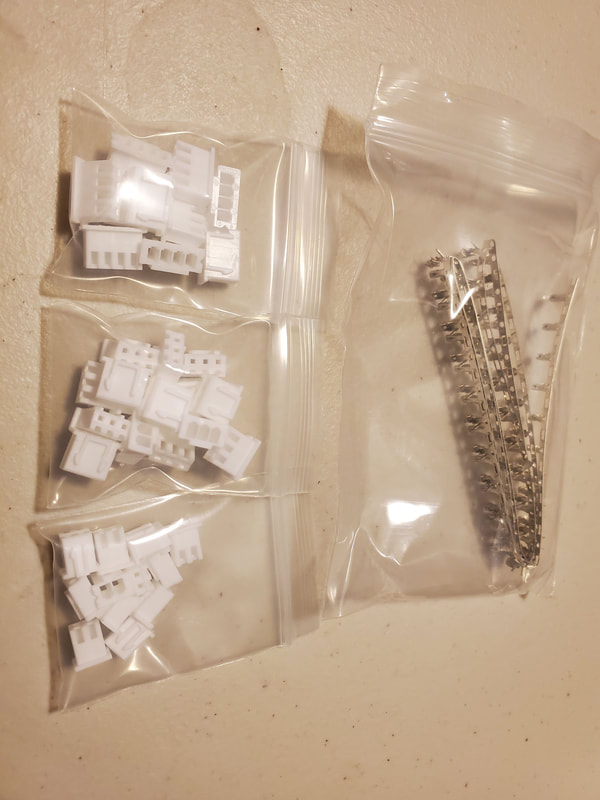
- I will have to reserve judgement on the wire harnesses, but they looked OK and they included a bunch of connectors and crimps.
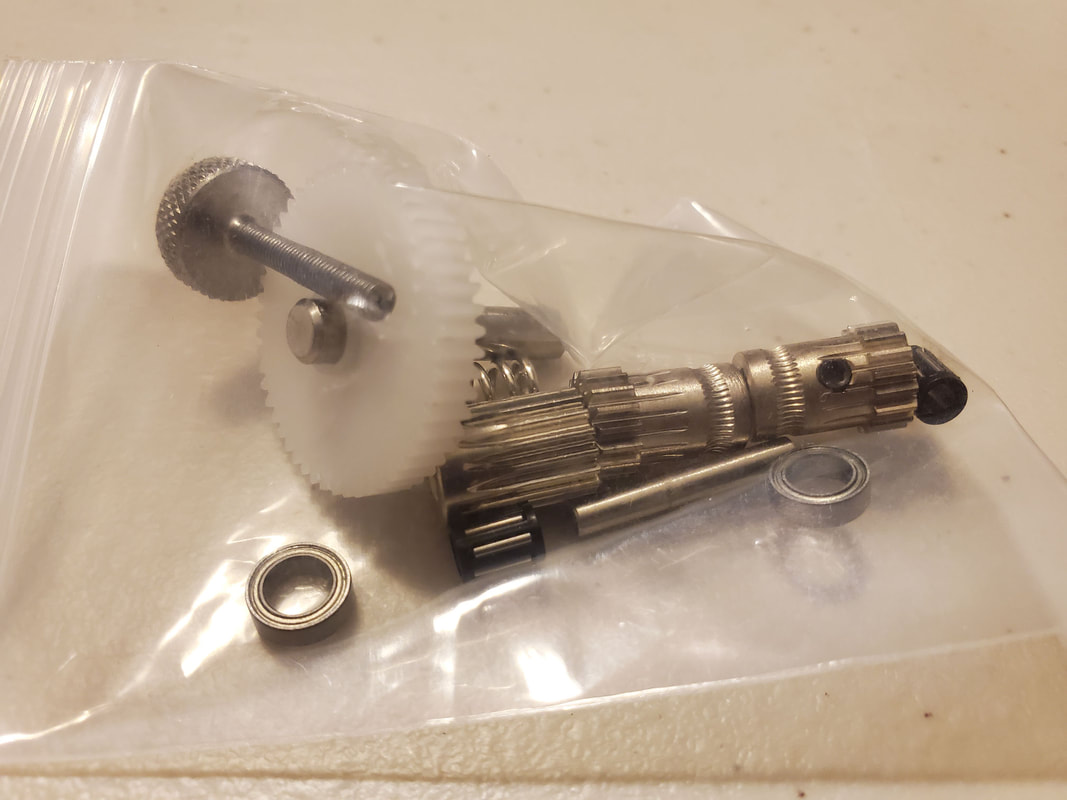
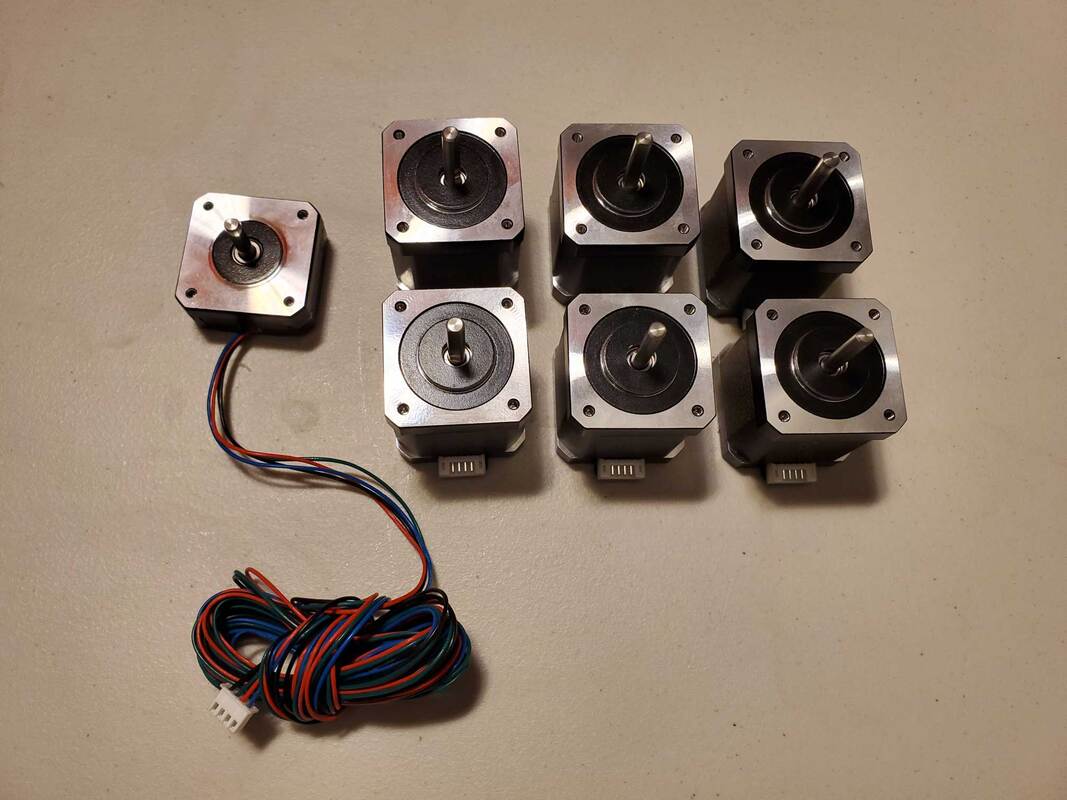
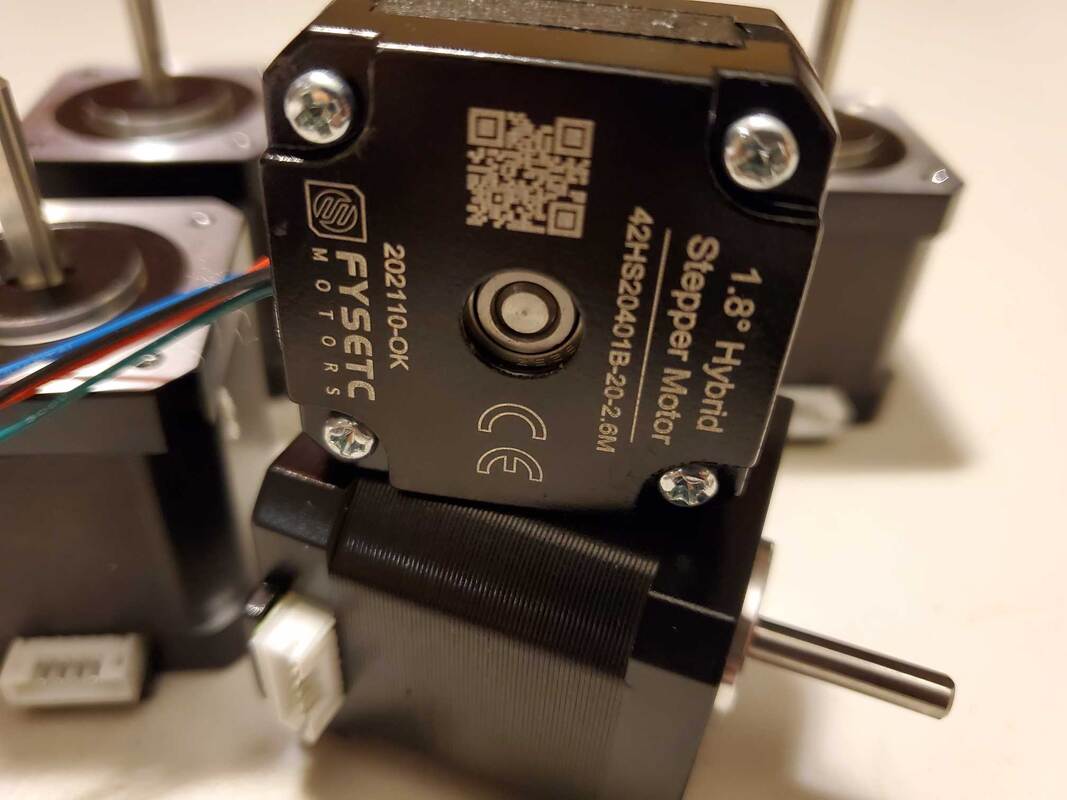
- The steppers are the house brand which should be expected, but they look nice and I'm sure they will work fine.
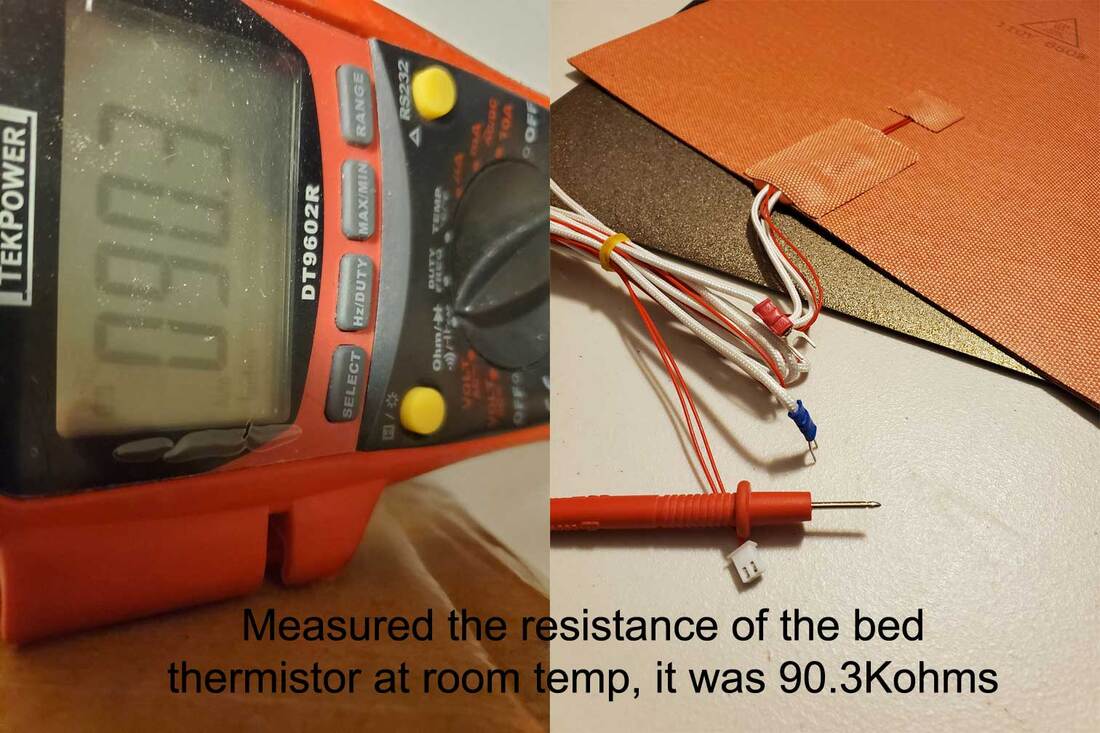
- The included thermistors for the bed and hot end read OK. I am not sure if the bed has another integrated heat fuse or not, but I do recall seeing an (external) heat fuse included in the parts. The BOM does say the silicone bed has a "Thermal Fuse RH15A125 wired".
- A 5V (Mean Well RS-25-5 PSU) supply is not included (because this is not a 2.4 R2 kit). Since I may add some 5V LED's, and there will be at least two cameras (main and nozzle), I picked up the 5v Mean Well RS-25-5 PSU at Amazon for about $17. Having a good 5V supply will insure that the Pi has sufficient power, and declutter the build a bit.
- The Voron 2.4 kit requires some M5x40mm and M5x30mm screws to act as the axles for the idler bearings. I would prefer to use pins for the idlers though, since using a threaded bolt as an axle can wear things down over time. But the parts kit I received is the voron spec parts (of course since what else would it be really?), and so it is not designed to work with pins. So I thought about using some partly threaded M5x40mm bolts, and using them for both the M5x40 and M5x30mm bolts (I will cut down the threaded part of the 40mm bolts to 30mm where those are needed). The partly threaded M5 bolts have 22mm of thread so it should work in both cases (40mm and cut down to 30mm) and it will allow the idlers to ride on a non-threaded part of the bolt as their axle. I'm hoping the result could be similar to the Pins Mod but without having to print new parts. Worst case, I still have some M5 threaded bolts I can use.
And now some pics of the unboxing and inventory. I used the V1.3 of the BOM that FYSETC linked in the AliExpress listing and checked off each item as I went though it. Nothing of real importance was missing (just maybe a couple M5 screws). Again I was overall very impressed and the included Raspberry Pi was awesome to find nestled in it's space when I went through the 2nd box. Having a good metric tape measure or ruler is a good idea for checking things. I bought this one a long time ago and it is still my go-to for anything bigger than what my calipers can handle, and needing a metric scale.
Updated this post to correct two things:
1. I had said that some of the belts were generic. That was an error, they are ALL Gates belts (I had not unrolled some of them to see the labeling on several of the belts when I was unpacking things).
2. I initially tested the hotend heater at 30 Ohms, which would be faulty. However I was using some alligator clips which I think may have been causing the incorrect readings. I re-tested with just my meter and the 50W heater reads 12.2 Ohms which is OK for the 50W heater (at 24v).


 RSS Feed
