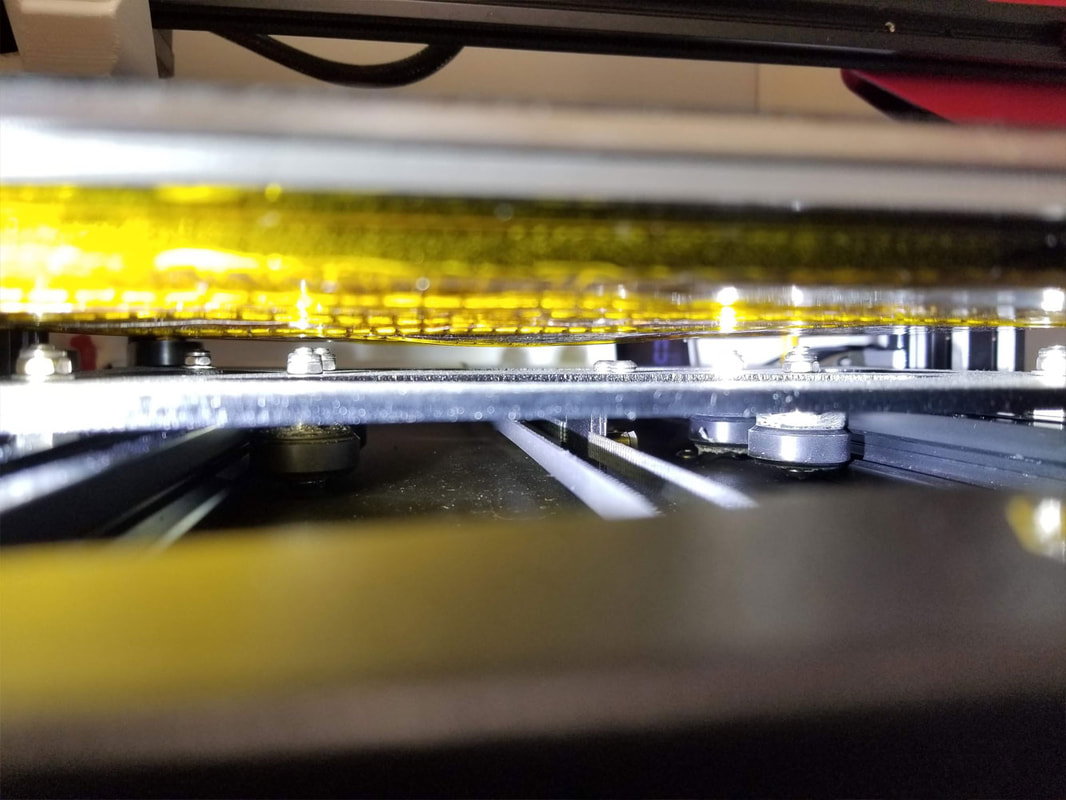
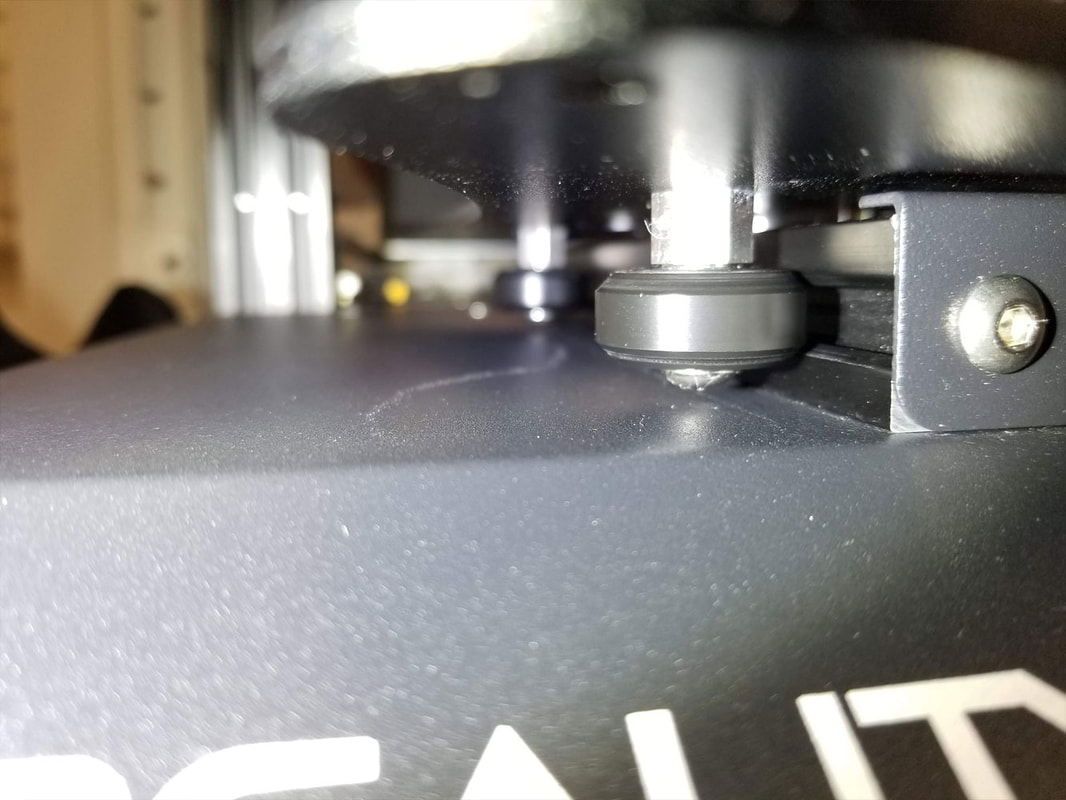
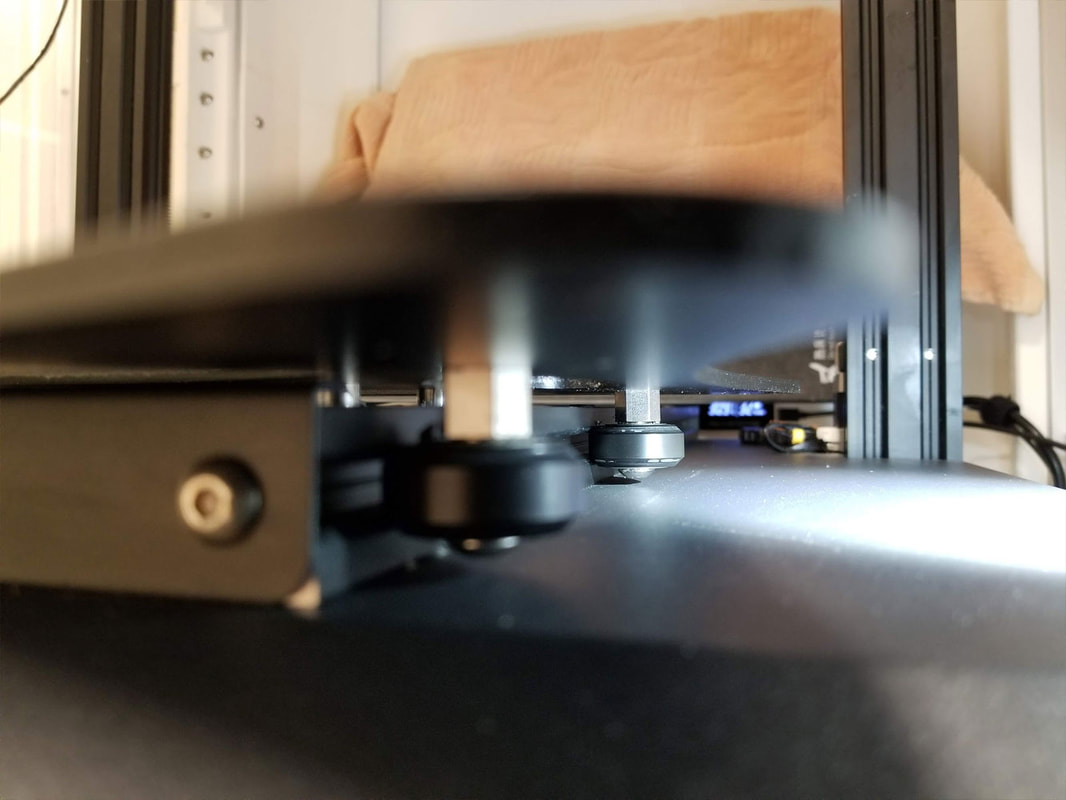
No this is not some tale about a Princess and a Pea, but rather a quick fix for bumps or slight resistance felt when moving the bed of a printer by hand. I recently installed a bed cable chain by Portzal at Thingiverse on my CR10S Pro, and while installing it, I noticed some light resistance when moving the bed by hand (something I rarely do). When I checked the wheels, they were full of lint and worn POM material from the wheels (some will need to be replaced).
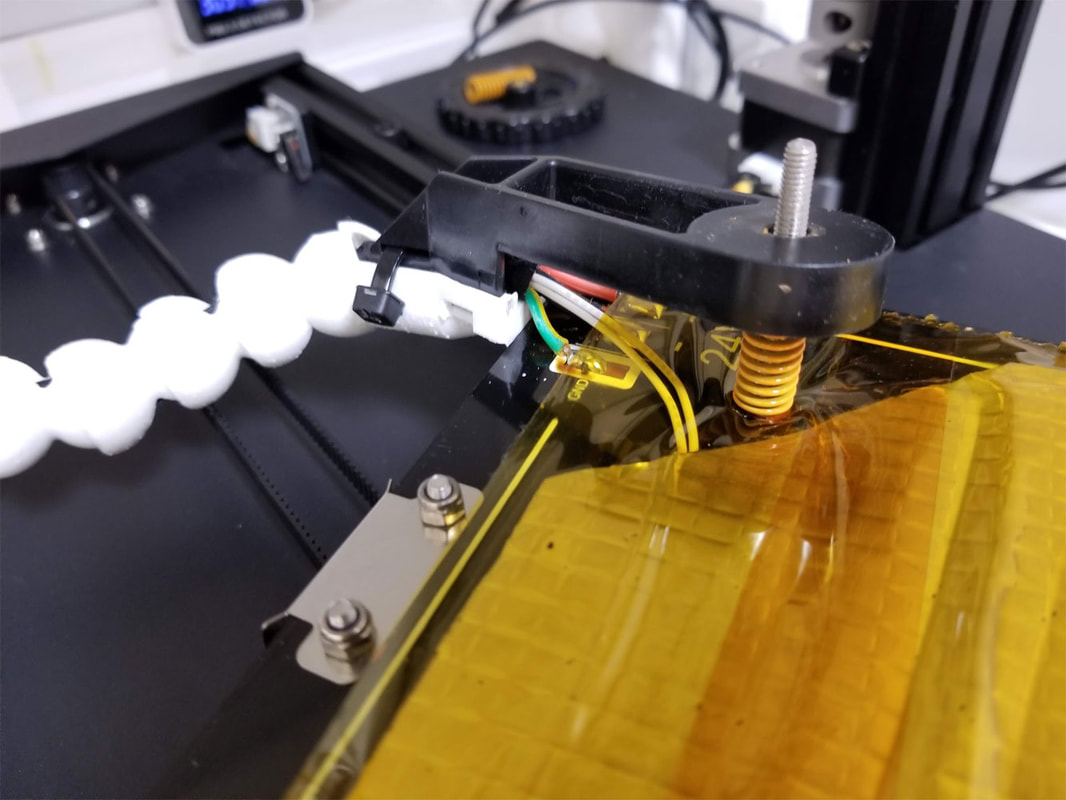
For now I just unscrewed the bed leveling knobs, and pulled the bed off (being careful not to loose the springs), an then used a microfiber cloth to clean the wheels and rails. After that the bumps were gone. I also re-adjusted the eccentric nuts which are on the outer wheels to tighten things up a bit more since the wheels on the left were a bit loose. Since the bed was off, I also took a look at the connections to the heating element before re-assembling it. Once leveled again I re-checked and it runs much more smoothly.
For now I just unscrewed the bed leveling knobs, and pulled the bed off (being careful not to loose the springs), an then used a microfiber cloth to clean the wheels and rails. After that the bumps were gone. I also re-adjusted the eccentric nuts which are on the outer wheels to tighten things up a bit more since the wheels on the left were a bit loose. Since the bed was off, I also took a look at the connections to the heating element before re-assembling it. Once leveled again I re-checked and it runs much more smoothly.


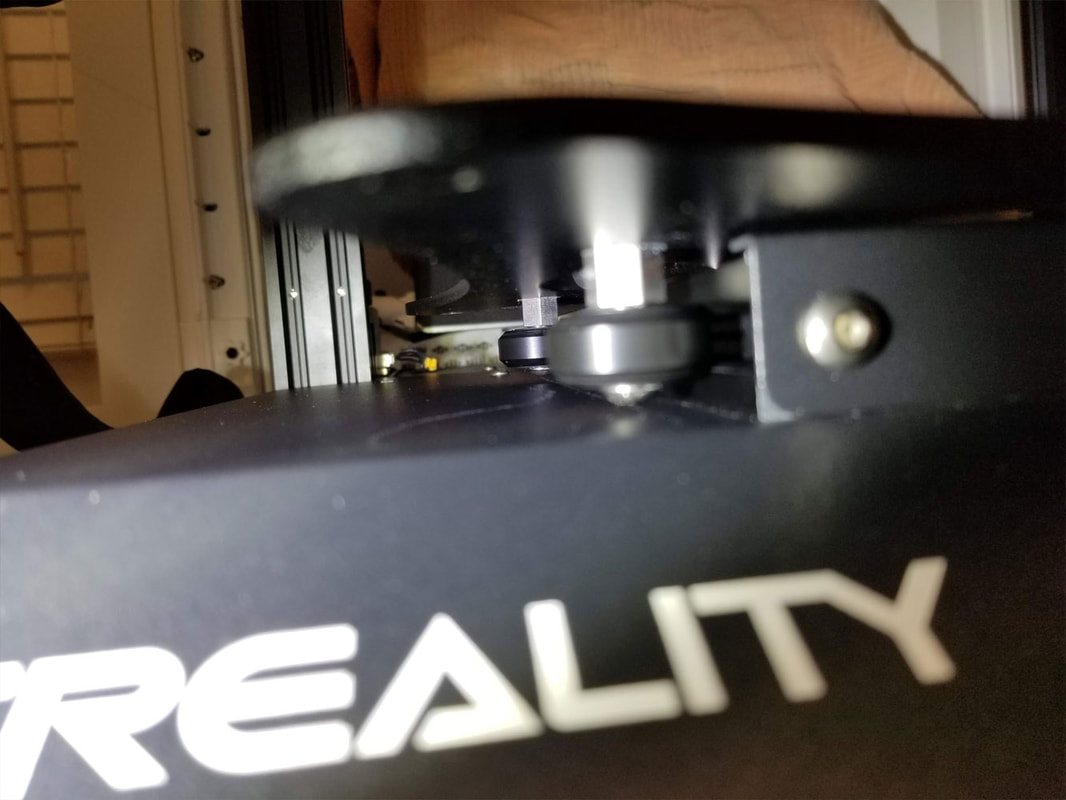
Update 11/5/2021 - I started to notice the bumps again and this time it was not a piece of lint stuck on the wheels, but rather one of the wheels itself had a problem. I decided to get some polycarbonate wheels this time to see how they work, and went with these. I cannot at this time say how well they will work in the long term, but they seem to be well made and operate smoothly. I made a point to only minimally adjust the eccentric nuts this time.
My process was to:
My process was to:
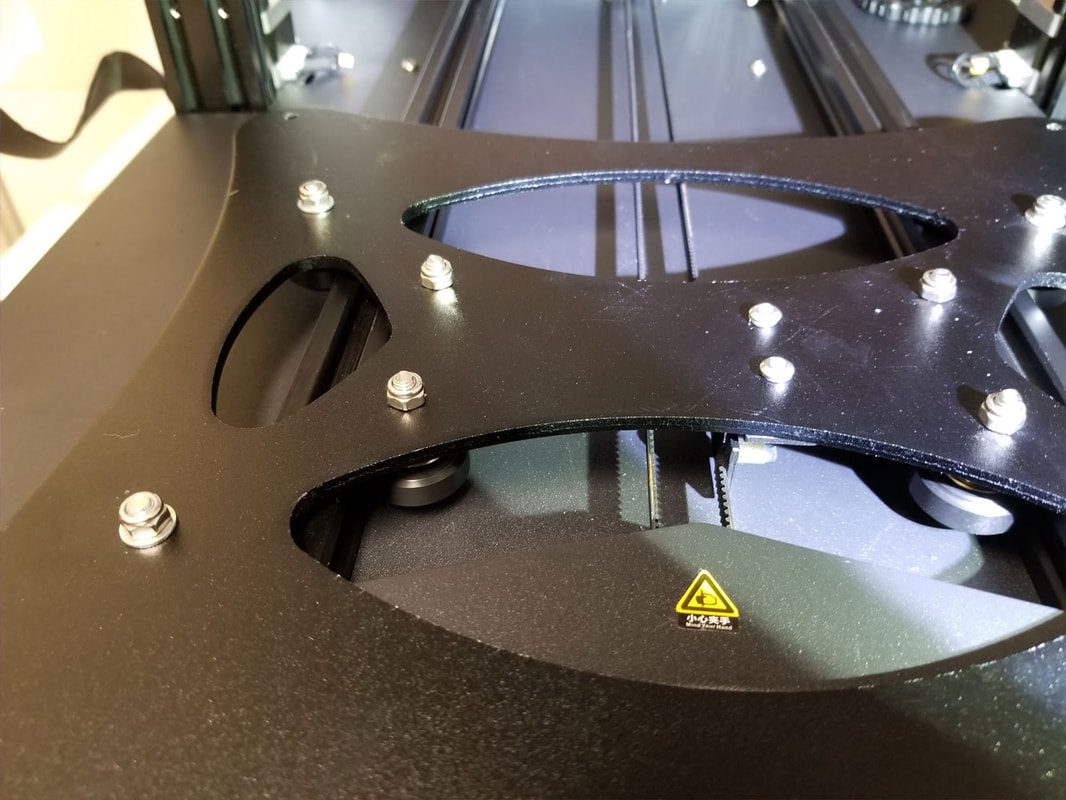
- Remove the bed and the carriage, which is much easier if the two screws which connect the carriage to the belt connector are removed first, then remove the front plate and slide the carriage off.
- I replaced each wheel one at a time, making sure that when the eccentric nuts were installed, they were set to be as wide as possible (to allow for maximum adjustment).
- When everything was replaced, I test fit it on the rails and checked which wheels were loose. I was lucky that only one (non-eccentric) wheel was loose.
- To fix the loose wheel, instead of tightening the eccentric nut, I removed the bed and loosened the loose wheel, and re-tightened it by letting the carriage hang from the wheel while tightening the nut and bolt. The idea was to move the wheel toward the edge of the carriage and hopefully tighten it up. This worked so I did not need to make further adjustments to the eccentric nuts.
- Once the carriage was back in position, I re-checked each wheel and then re-installed the bracket for the belt with the two screws, and re-installed the front cover plate.
- Then I installed the bed, springs and knobs. I tried to tighten each knob the same number of turns and counted them by 10's until the back left knob (nearest the power connector on the bed) was bottomed out. Then I loosened each knob by 2 full turns.
- Once the bed was all back together, I powered it up and heated the bed to 60°C and homed the printer.
- Next I went to the manual leveling and started at the back left (nearest the bed power connector) and used a 0.2mm feeler to set that corner. Then I went to the diagonally opposite corner and set that corner, then the front left and finally the back right. If any corner bottoms out, raise all the knobs by a turn or two, and then re-home the printer. and repeat this process of manually leveling the corners.
- Then I went around to each corner one more time and re-adjusted as needed, and finally checked the center.
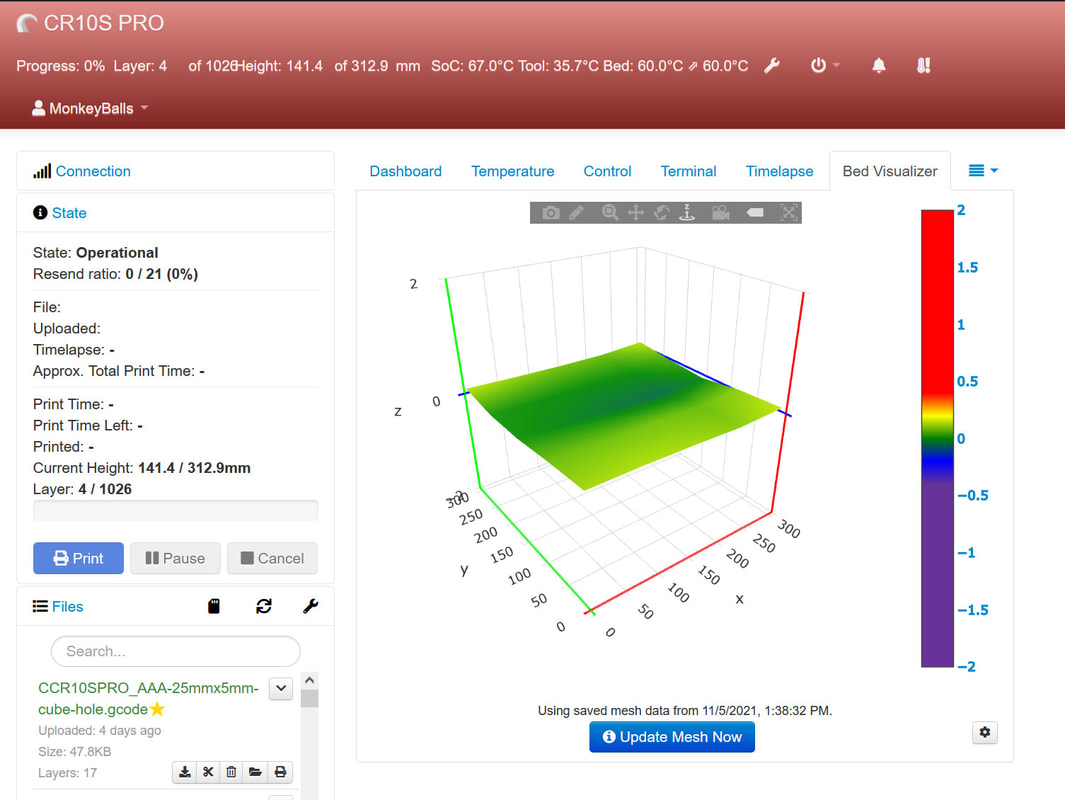
- After that I just did an ABL and saved the mesh.


 RSS Feed
