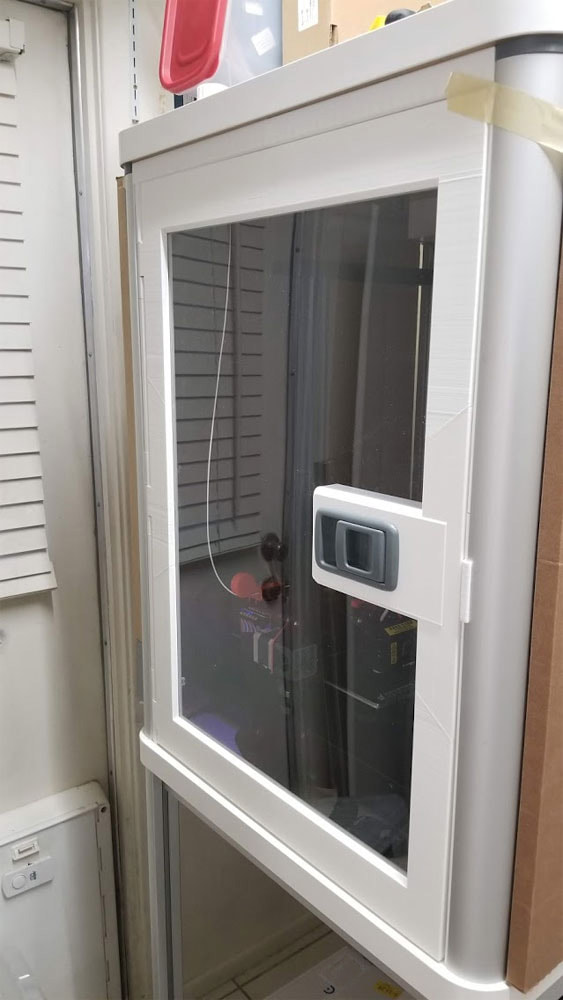
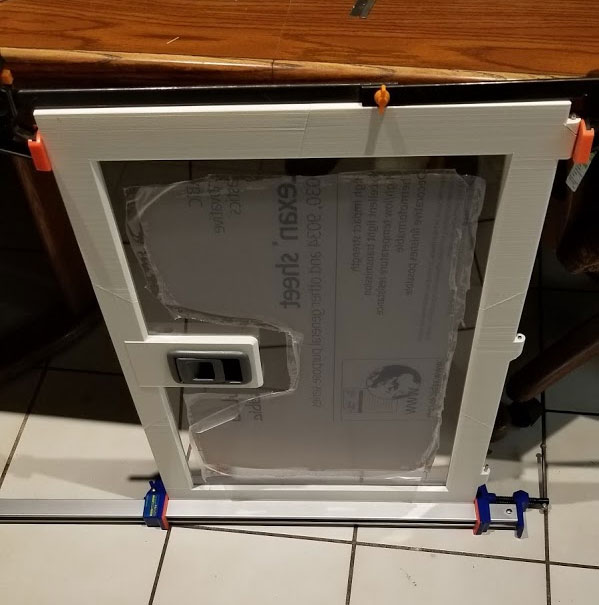
Update 11/25/2019: The front and side doors are completed and installed. I used some thinner weatherstripping from Amazon which is working well (https://www.amazon.com/gp/product/B07VS2FPZZ/). The doors do not seal air tight however due to some gaps, but overall I am happy with it. I also noticed that the doors have a sag of a mm or two which I am going to work on when I get the back shell completed (the printer is pretty much running non-stop due to the large parts). The doors themselves are quite strong so I suspect the sagging may be corrected by adjusting the hinges. I have also adjusted the latch on the front door, so now I can close and latch it just by pushing on it. I will post some more pics of the doors when I get done with the back shell - which is about 1/2 completed printing. The back shell will have a 2 port AC/2 port USB power strip, a cable pass through, tool holder and a filtered air intake (or optional exhaust fan). I plan to use the optional filtered exhaust fan, and will add a hose to direct the exhaust outside.
|
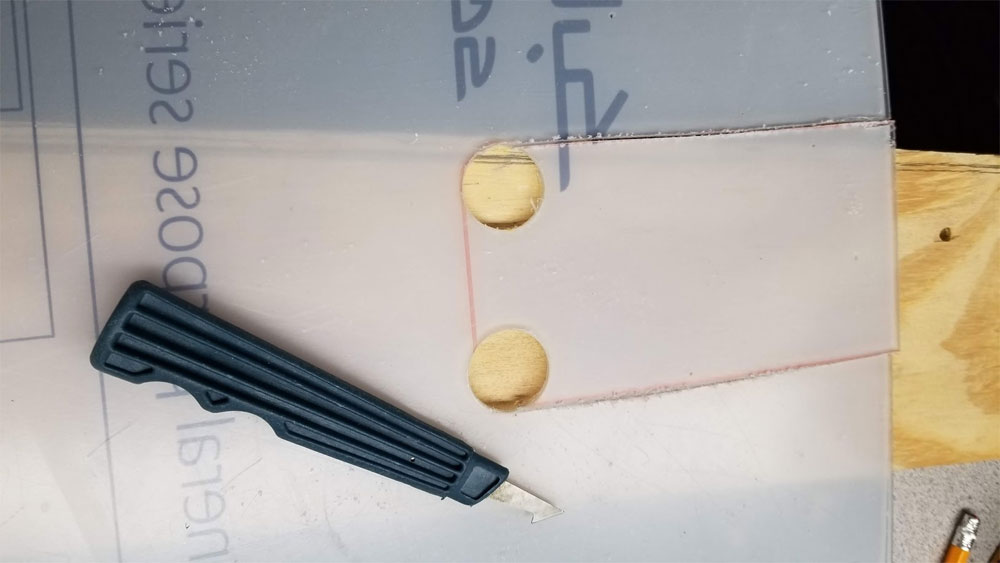
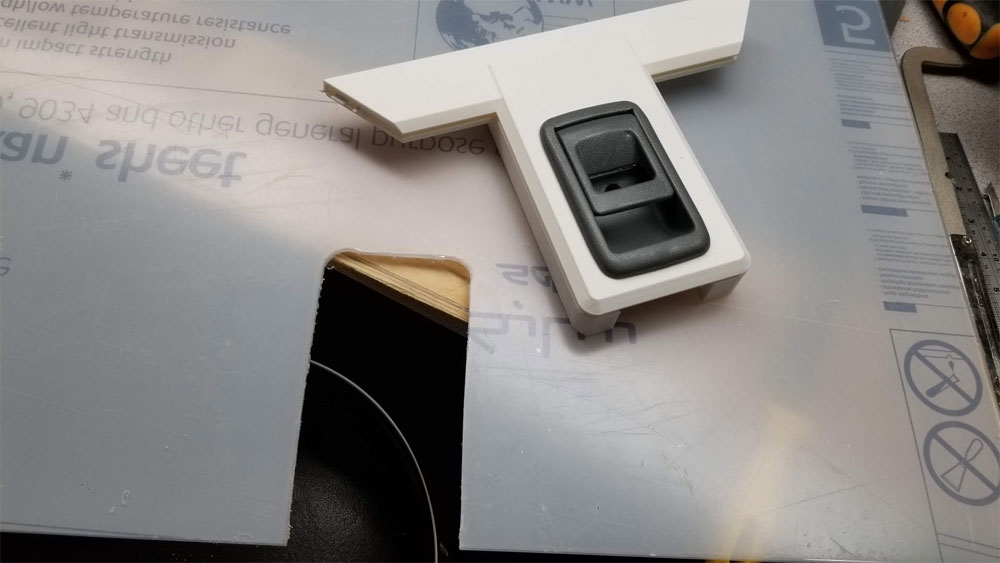
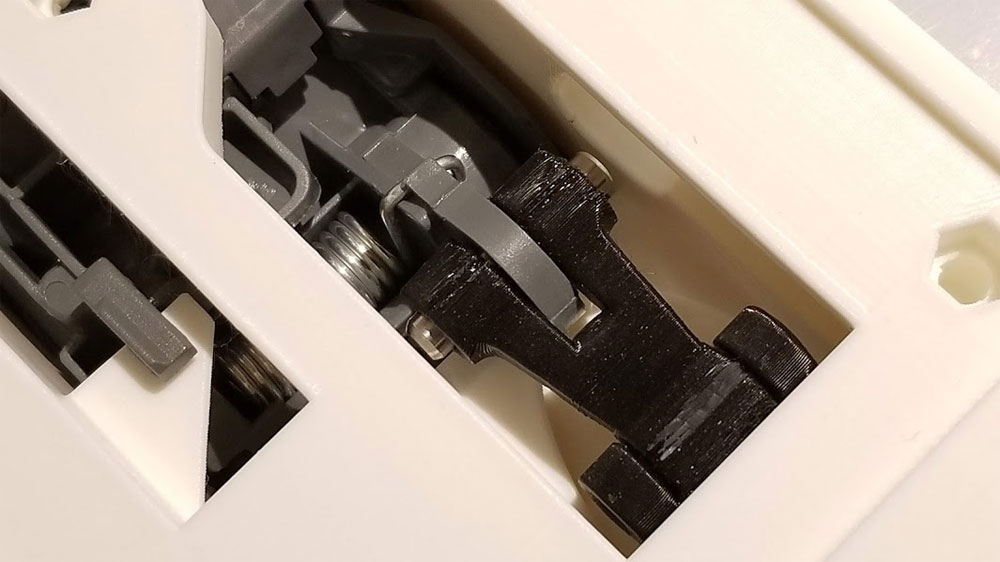
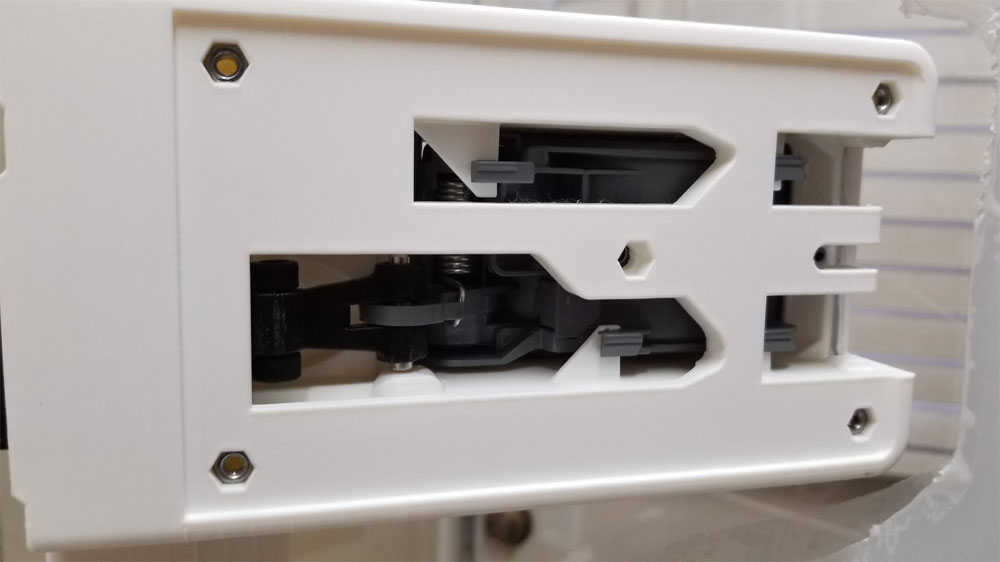
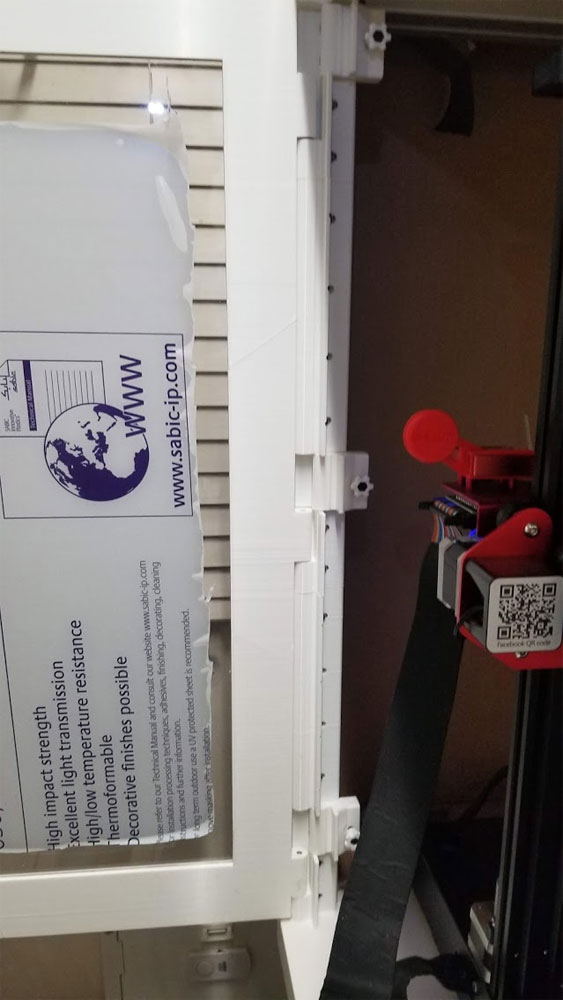
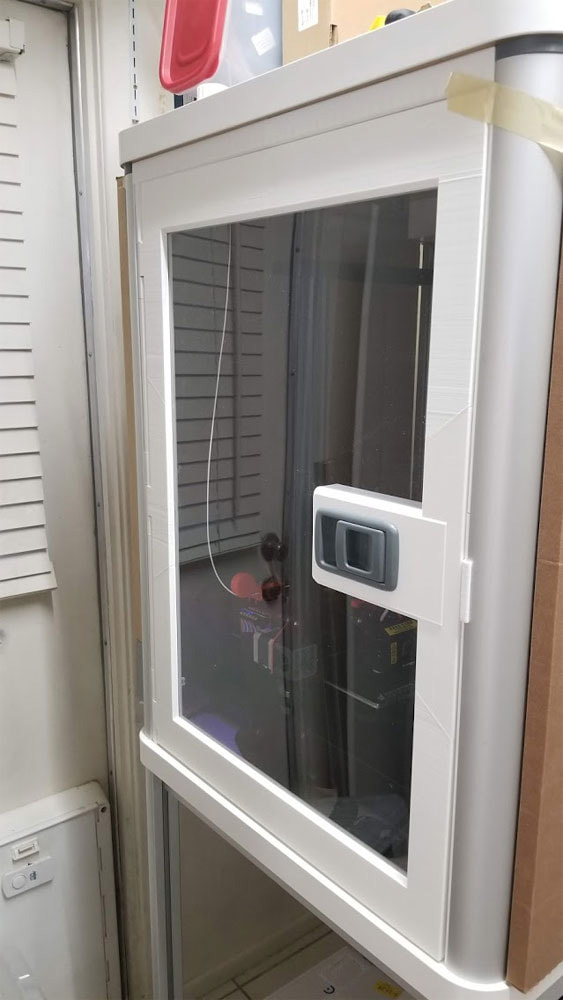
Printing a simple thing like a door for the enclosure has been a big project. The parts below represent more than a week of printing time, and some had to be printed several times due to one problem or another. One more to design and make, and then I need to build the back shell. Below are some updated pics of the almost completed side door. It works great so far. I am waiting on some thinner weatherstripping to help seal it, since the stuff I was going to use is too thick. I am now working on the front door and that is about half completed. Update 11/25/2019: The front and side doors are completed and installed. I used some thinner weatherstripping from Amazon which is working well (https://www.amazon.com/gp/product/B07VS2FPZZ/). The doors do not seal air tight however due to some gaps, but overall I am happy with it. I also noticed that the doors have a sag of a mm or two which I am going to work on when I get the back shell completed (the printer is pretty much running non-stop due to the large parts). The doors themselves are quite strong so I suspect the sagging may be corrected by adjusting the hinges. I have also adjusted the latch on the front door, so now I can close and latch it just by pushing on it. I will post some more pics of the doors when I get done with the back shell - which is about 1/2 completed printing. The back shell will have a 2 port AC/2 port USB power strip, a cable pass through, tool holder and a filtered air intake (or optional exhaust fan). I plan to use the optional filtered exhaust fan, and will add a hose to direct the exhaust outside.
0 Comments
Leave a Reply. |
Stoopid MeWelcome to my Stoopid corner of teh Internet. It's mostly gonna be 3D printing stuff, but I also post some recipes, projects, and the occasional rant here as well. More Stoopid stuff is updated regularly. Archives
July 2024
Categories |


 RSS Feed
