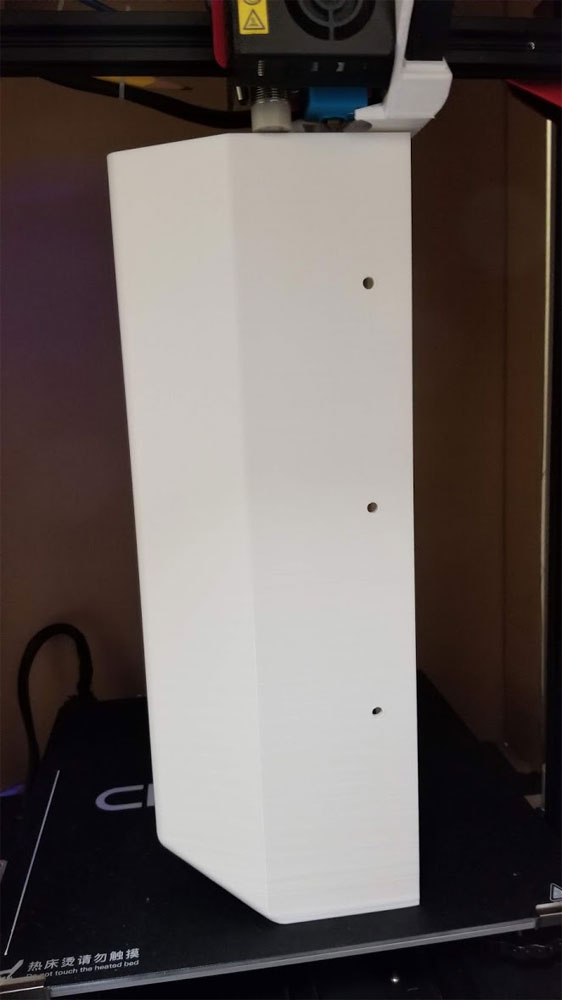
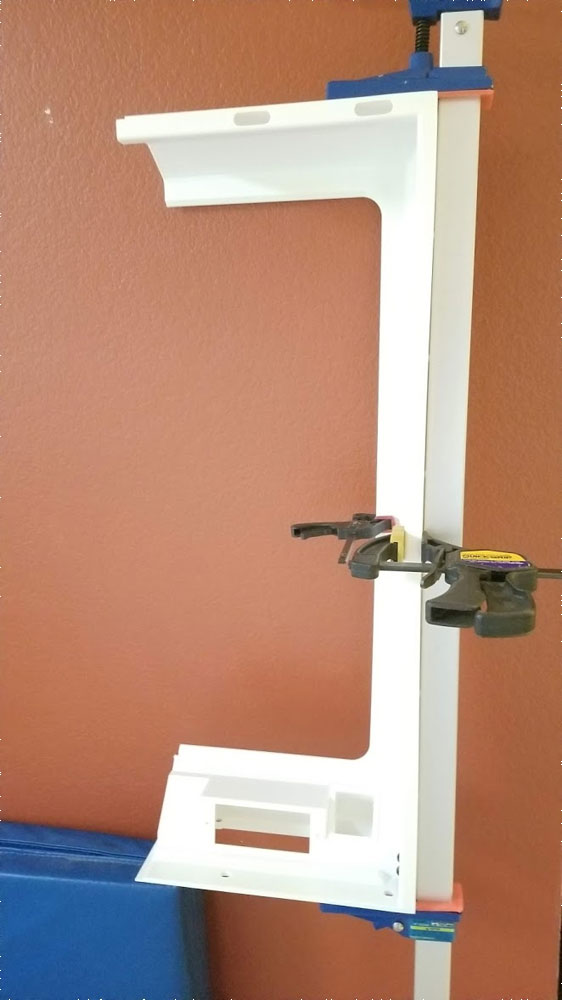
The back shell is almost done, and what a pain it was. I wasted almost a spool of PLA when I realized that I needed to re-design it, which delayed things a couple weeks as well. The back shell is composed of 4 large printed parts, and several small ones. The large parts took over a day to print, and the rest of the parts are probably under a day in total. The printed parts make up a frame, which holds an AC power outlet / USB power outlet, a tool holder and a filtered air intake / filtered air exhaust duct. The exhaust duct bolts on the back of the back shell and will duct air pulled from the enclosure, to the outside, via a 2 1/2" flexible hose. The printed frame holds a 3mm aluminum composite panel which is 2 pieces of thin aluminum which sandwich a layer of polyethylene plastic. The panel is 18"x24" and cost me 25 bucks, but arrived with a dinged corner (but I was able to fix that well enough that it doesn't really show now).
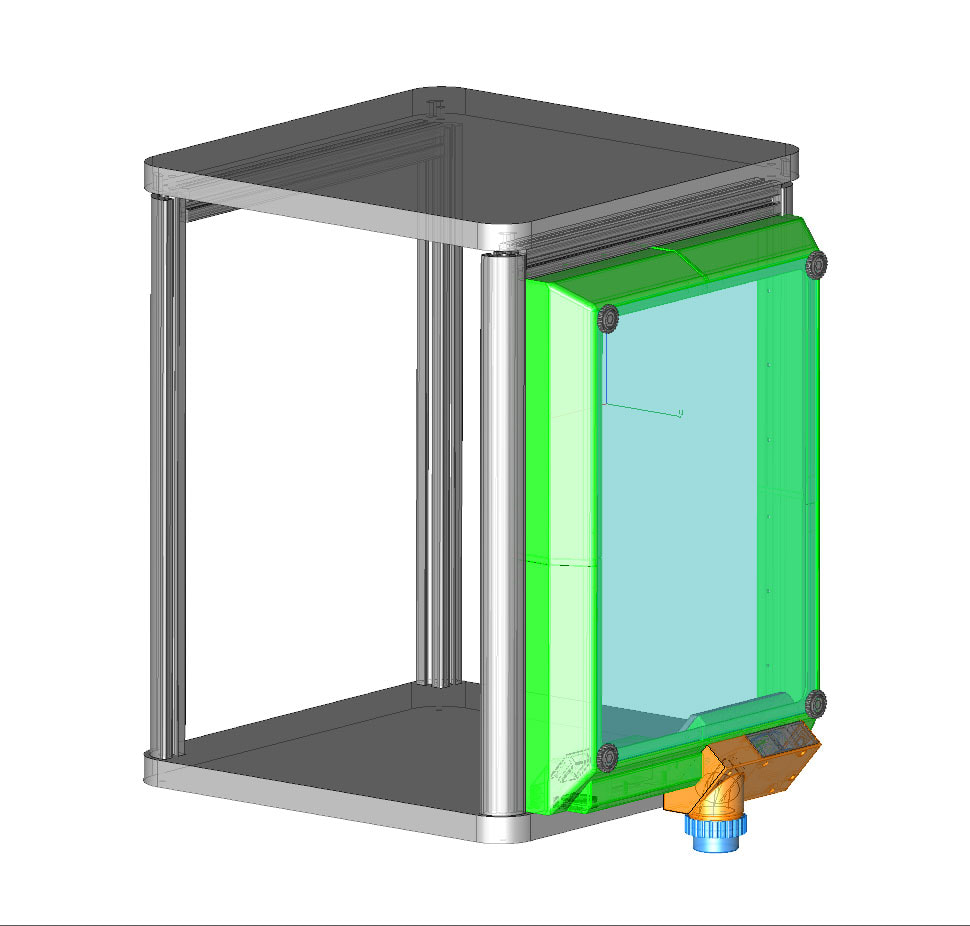
Now I just need to install the lighting, Octopi screen and the printer control screen, adjust the doors (which have a minor, but annoying to look at sag), close off the right side and enclose the base using some Ikea HÄGGEBY Doors which fit almost perfectly in the openings.
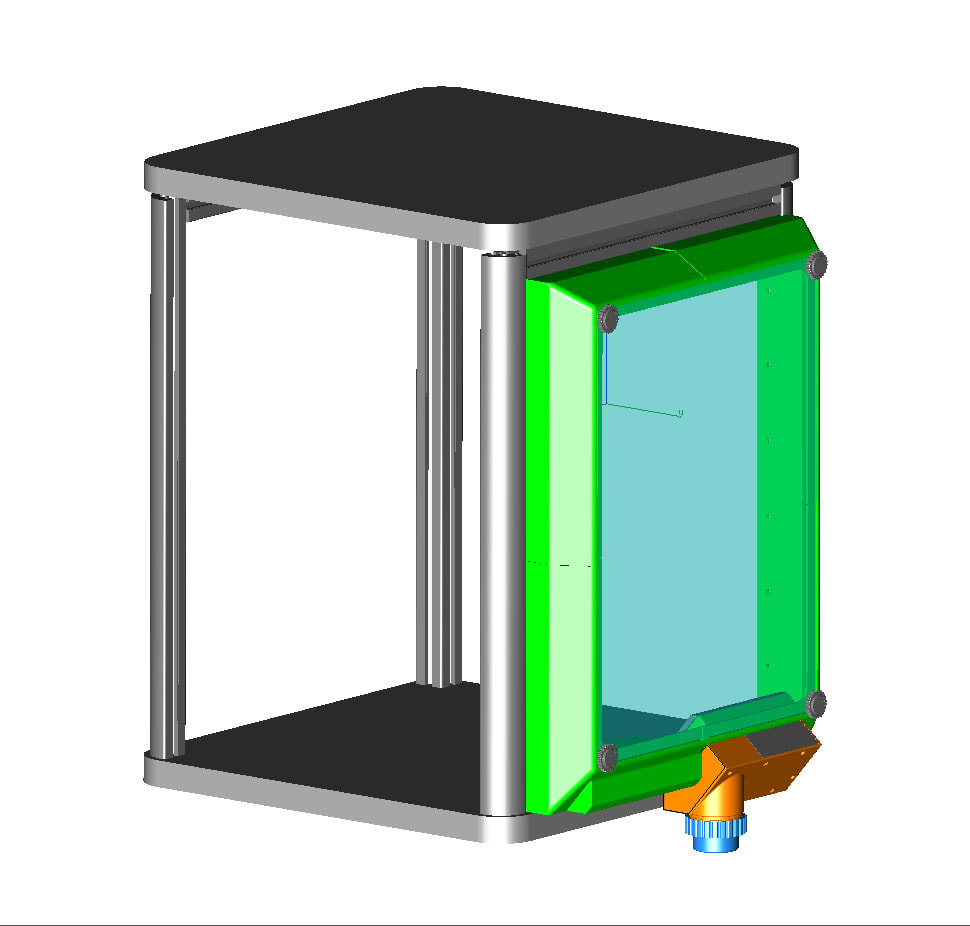
Now I just need to install the lighting, Octopi screen and the printer control screen, adjust the doors (which have a minor, but annoying to look at sag), close off the right side and enclose the base using some Ikea HÄGGEBY Doors which fit almost perfectly in the openings.


 RSS Feed
