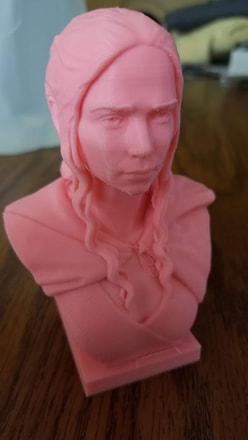
The pic at the left is from an older failed print I was able to salvage after a filament jam. IRRC the failure was right below the chin on the model which was a good place since it was hidden, but even so I cannot see it from looking at where it failed unless I look really close.
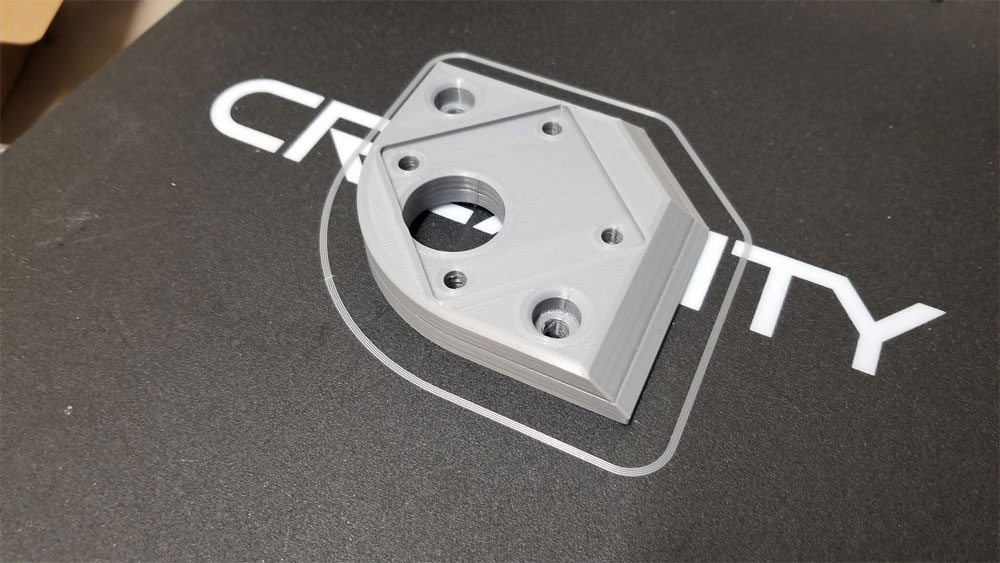
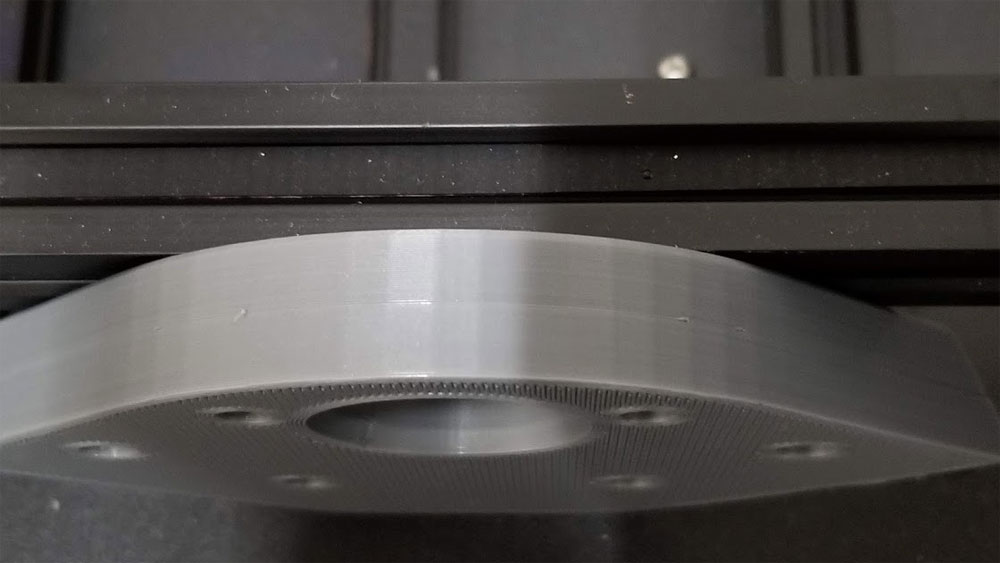
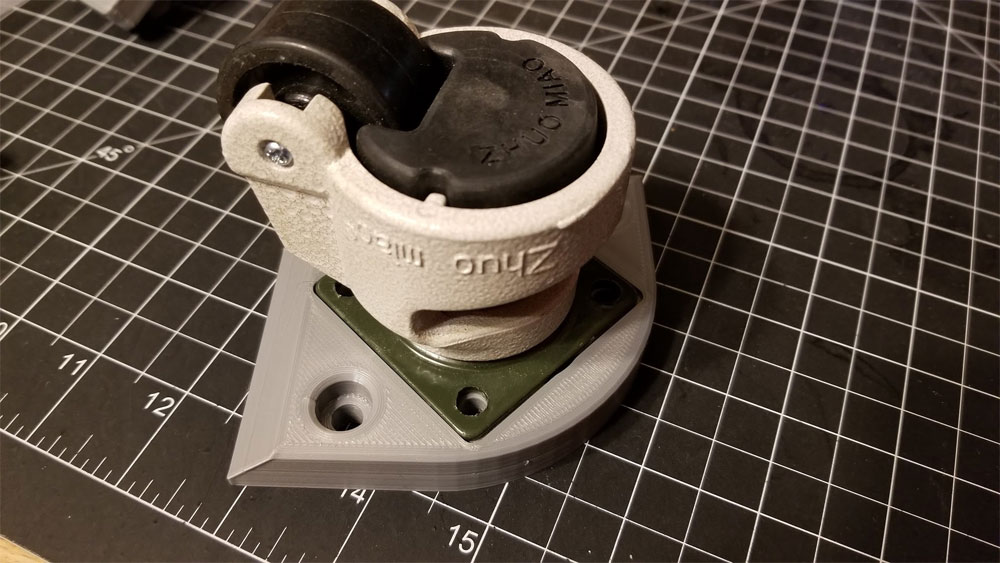
Unfortunately I did not get pics of this failed print today when it happened, but I found that there was a bit over a meter of crushed filament that spewed forth from the side of the extruder and the printer had "finished" printing. I cleaned up the mess and did not find anything awry with the extruder so it is still a mystery what happened. The pics below show how the print turned out (the silver color print is the one that failed today). The first pic shows where the failure occurred very well, but when looking at the part from the face side it is much harder to tell (2nd pic). Physically the part is very strong and I plan to still use it.
1. Find the layer it failed at, this can be done by measuring with a caliper. I check in several places and then make a guess or take the average. If the layer height that the print failed on is known (such as on a filament change) then all the better, just use that.
2. I then need to know what the following values are, they can be found in the slicer or the gcode (Cura gcode shows them at the bottom), or take an educated guess.
Layer Height
Initial Layer Height
For this example, lets say those are:
Layer Height 0.2mm
Initial Layer Height 0.24mm
(Since the Initial layer height is just a small amount larger I will round it down, and use 0.2 there as well.)
3. Next I needed to determine what layer number the print failed at. The layer numbers in Cura start at zero, so keep that in mind. On my print, I averaged several measurements to be at 7.4mm where the print failed.
7.4mm / 0.2mm = 37 (in this case I rounded down the initial layer height to 0.2mm)
So my print failed at the 37th layer which, since they begin numbering at zero in Cura Gcode, will be known as "LAYER:36" in the Gcode.
The last Z height of the prior layer can be verified since the z move is done at the end of the layer - so if you scroll up from the start of the layer you want to start with (such as "LAYER:36"), you can verify that the last z move is around the height you want to be at. For example:
G0 F300 X48.283 Y137.969 Z7.32 << this is the z move at the end of layer 35, to set up layer 36, and the height is almost 7.4mm which is the height of the failed print
G0 F9000 X121.141 Y138.067
G0 X121.141 Y137.002
G0 X121.287 Y132.686
G0 X121.315 Y131.601
G0 X121.141 Y131.416
;TIME_ELAPSED:6967.231592
;LAYER:36
;TYPE:WALL-INNER
;MESH:Object 1
G1 F2100 E2212.0377
4. I opened the gcode in a text editor (Notepad++ is good), and searched for "LAYER:36", I found this in my example:
;LAYER:36
M117 INDICATOR-Layer36
;TYPE:WALL-INNER
;MESH:Object 1
G1 F300 Z7.4
G1 F2700 E3259.6837
G1 F2100 X175.868 Y149.679 E3259.69867
G1 X176.236 Y149.631 E3259.71364
G1 X176.596 Y149.55 E3259.72852
G1 X176.948 Y149.441 E3259.74338
G1 X177.293 Y149.299 E3259.75843
G1 X177.624 Y149.126 E3259.77349
(etc)
I needed to grab some info from this layer 36 data.
A. I need to know what the last value was for the extruded length. This is necessary since it is like an odometer on a car, and needs to be reset to the last value or else the printer will (in this example) go from zero to 3259.6837mm, which would not be good. Here the value needed is (you guessed it) from this line:
G1 F2700 E3259.6837
I am not changing that line, but have to note the value is "E3259.6837".
B. I need to know where the X and Y are going to be at the start of layer 36. This is not really necessary, but I like to place the nozzle at the start X and Y position, and raised up by an inch or two above the top of the print on the z axis. This way, when it starts printing again, the nozzle will go straight down and begin printing. I took the start X and Y position from this line:
G1 F2100 X175.868 Y149.679 E3259.69867
Here I needed to note the X and Y positions which are "X175.868 Y149.679"
5. Next, I took a look at the Gcode and commented out most of the start code, and left just what is needed to get the print going again. This means removing any commands that are running a mesh (g29), homing (g28) or drawing priming lines (G1). In my case, I commented out (placed a ";" in front of the lines, but they can also just be deleted). I commented out everything in the start gcode but the following:
M140 S60 ; set bed temp to 60 degrees C, and continue
M105 ; report temps on the terminal
M190 S60 ; set bed temp to 60 degrees C, and wait for it to stabilize before proceeding
M104 S217 ; set hotend temp to 217 degrees C, and wait for it to stabilize before proceeding
M105 ; report temps on the terminal
M109 S217 ; set hotend temp to 217 degrees C, and wait for it to stabilize before proceeding
M82 ;absolute extrusion mode
M201 X500.00 Y500.00 Z100.00 E5000.00 ;Setup machine max acceleration
M203 X500.00 Y500.00 Z10.00 E50.00 ;Setup machine max feedrate
M204 P500.00 R1000.00 T500.00 ;Setup Print/Retract/Travel acceleration
M205 X8.00 Y8.00 Z0.40 E5.00 ;Setup Jerk
M220 S100 ;Reset Feedrate
M221 S100 ;Reset Flowrate
M420 S1 Z2 ;Enable ABL using saved Mesh and Fade Height
G92 E0 ;Reset Extruder to 0 mm extruded - I will next add the correct value
; I added the following to get the nozzle to a safe spot prior to starting on layer 36:
G1 Z12.0 F3000 ;Move Z Axis up to 12mm
G1 X175.868 Y149.679 F3000.0 ;Move to start position which was grabbed from the first G1 line of layer 36, in step 4 B
; Below, I set up the extruder, so the software knows where it started
G92 E0 ; zero the extruder again
G1 F2700 E-3.0 ;Retract a little to avoid a blob as the nozzle is hot at this point
G92 E3259.6837 ;Reset Extruder to the last value from step 4 A
6. So after the start Gcode is configured, I then just removed everything in the Gcode between ";LAYER:0" and the start of "LAYER:36" since I did not need any of that stuff (those layers are already printed). Below are the first 58 lines of my gcode, I commented out many of the original values with ";".
Below you also will see some duplicate entries for "M92 E0" which just resets the extruder to zero. There could be 100 of these "M90 E0" commands in there, as long as the last one is "G92 E3259.6837" which is needed to set the extruder to the starting position for layer 36 - sorry if this is confusing.
It ain't pretty, it's just an example, and what I ran on the silver part in the pic above to resume printing at layer 36:
;FLAVOR:Marlin
;TIME:17494
;Filament used: 20.8972m
;Layer height: 0.2
;MINX:91.208
;MINY:91.207
;MINZ:0.2
;MAXX:208.792
;MAXY:208.793
;MAXZ:15.2
;Generated with Cura_SteamEngine 4.1.0
M140 S60
M105
M190 S60
M104 S217
M105
M109 S217
M82 ;absolute extrusion mode
M201 X500.00 Y500.00 Z100.00 E5000.00 ;Setup machine max acceleration
M203 X500.00 Y500.00 Z10.00 E50.00 ;Setup machine max feedrate
M204 P500.00 R1000.00 T500.00 ;Setup Print/Retract/Travel acceleration
M205 X8.00 Y8.00 Z0.40 E5.00 ;Setup Jerk
M220 S100 ;Reset Feedrate
M221 S100 ;Reset Flowrate
;G28 ;Home
M420 S1 Z2 ;Enable ABL using saved Mesh and Fade Height
G92 E0 ;Reset Extruder
G1 Z12.0 F3000 ;Move Z Axis up
G1 X175.868 Y149.679 F3000.0 ;Move to start position
;G1 X10.1 Y200.0 Z0.28 F1500.0 E15 ;Draw the first line
;G1 X10.4 Y200.0 Z0.28 F5000.0 ;Move to side a little
;G1 X10.4 Y20 Z0.28 F1500.0 E30 ;Draw the second line
;G92 E0 ;Reset Extruder
;G1 Z2.0 F3000 ;Move Z Axis up
;G92 E0
G1 F2700 E-3.0 ;Retract a little to avoid a blob
G92 E3259.6837 ;Reset Extruder to the last value of layer 35
;LAYER_COUNT:75
;FIXUP start at layer36 @7.4mm
;LAYER:36
M117 INDICATOR-Layer36
;TYPE:WALL-INNER
;MESH:Object 1
G1 F300 Z7.4
G1 F2700 E3259.6837
G1 F2100 X175.868 Y149.679 E3259.69867
G1 X176.236 Y149.631 E3259.71364
G1 X176.596 Y149.55 E3259.72852
G1 X176.948 Y149.441 E3259.74338
G1 X177.293 Y149.299 E3259.75843
G1 X177.624 Y149.126 E3259.77349
G1 X177.936 Y148.927 E3259.78841
;and on and on and on, to the end
7. Once the Gcode is settled, now the printer may need to re-learn where home is. In some cases, when luck is on my side, and the printer is still on and did not loose any steps, it may still know where home is. When I think it may have lost steps, lost power or I stupidly reset it, I then need to re-home the printer. I cannot usually simply auto home the printer however, since the print is most likely in the way. To home it in this situation, I use Octopi, but Proterface or even the printer's native interface could be used. To do this, I followed this process:
A. Raise the z axis higher than the print so it can move in the x and y freely without hitting anything, I usually go a good inch or two above the print.
B. Home the X and Y ONLY, do not home the Z yet.
C. Homing the Z can be tricky. My printer wants to home the Z to a position at the front left of the bed so if I had a print there, it would interfere. If this area is clear, I would move the X and Y to the front left and then home the Z, being careful to watch that it does not interfere and ready to stop the printer. It's also helpful to keep that in mind when placing prints on the bed in Cura.
If I cannot home the Z normally, then I can do it manually. This requires a clear place on the bed where the nozzle can be homed and the terminal to send commands to the printer. I am writing this from memory, but what I recall is that I had to lower the nozzle to the bed and set the offset using the paper or feeler gauge method. Then I would send "G92 Z0.2", this would take into account the paper thickness of 0.2mm and the G92 command sets the position. There is no need to tell it what the X, Y or extruder positions are since the X and Y were homed already and the extruder will be reset when the gcode is run.
If it is not possible to home the z to the bed, then there is one other possible way to do it. The first way is to see if the last known Z position can be figured out based on the gcode. In the case of a printer getting clogged and printing to completion - the gcode will tell what position the hot end was parked at. If the Z is unknown and cannot be found, then, the hot end could be (carefully) lowered to the last printed layer, and that height could be entered as the z height using G92.
However the Z is homed, the bed should be heated when getting the measurement.
D. Regardless of how the Z is homed, before moving on, I would raise the Z to a safe height where it will not interfere with the print, I usually go a couple inches higher than the top of the failed print.
8. So now I have the gcode set up to start at layer 36, the gcode will reset the extruder to the correct starting value, and most importantly, the gcode will not try and home or autolevel before the print as that will hit the print we want to salvage (and maybe break parts of the printer). I have also homed the X, Y and Z, so the printer has it bearings in the world. If that is all a go, then I would load the gcode and start it, but keeping a very close eye on the first layer to be sure I didn't screw anything up. This is very important and if it looks like it is too high or low, I would just stop the print since that can be fixed the same way as this process.
Last thoughts - It is hard to nail the exact layer though measuring since I sometimes find that measurements taken in different spots don't agree 100%, so I average. If I guessed high or low by a layer it will usually be OK, but if it will not stick, or looks like it is tearing things up, I would stop it, clean up the print as best I can, and repeat the process but adjusting the start layer by plus / minus 1 or 2 layers or whatever it seems to need. If the printer did not lose steps of lose the home position then I can sometimes get by without re-homing and just fix the gcode and start again.
Finally, before doing anything, it is a good idea to check the print for blobs which will bump into the hot end if the print is resumed from the last layer. I can sometimes carefully remove them with a razor blade but it is difficult to do so without shifting the bed (so best to do that before getting everything re-homed).
I have saved prints where it is almost impossible to see where the print failed, and some where it is easy due to a missing layer or half layer. It is more an art than a science, but the above steps should get things into the ballpark.


 RSS Feed
