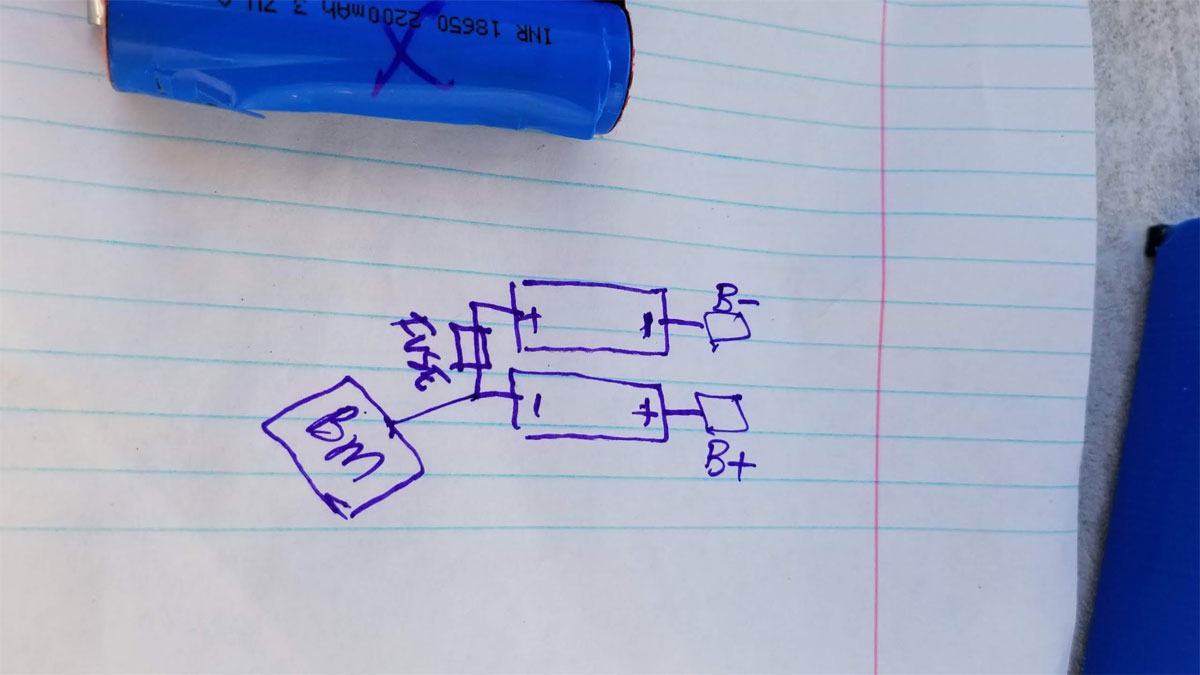
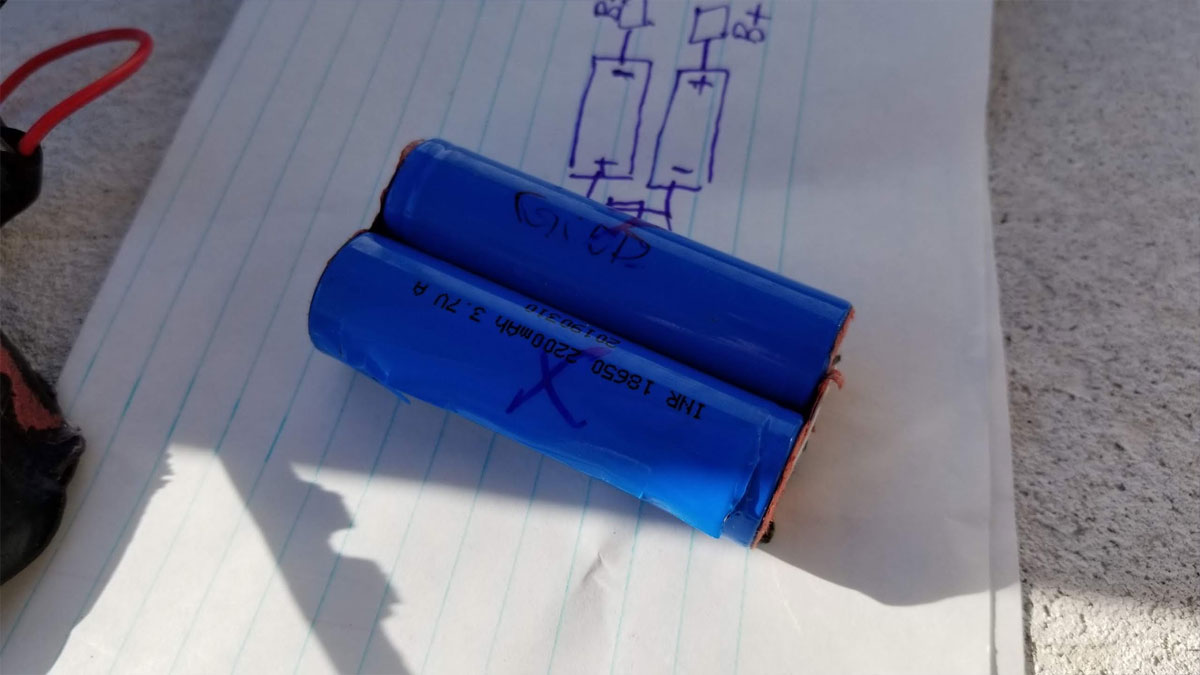
My Dad is on his 2nd Pool Blaster in about 4 years or so, and when they work, they work great, but both have had problems out of warranty. Now his 2nd Pool Blaster is dead. We had swapped a non OEM battery into the first Pool Blaster he had, before it finally met the garbage man a while later. When the 2nd Pool Blaster failed after more than a year, I took the 2x(Series)18650 battery pack apart, and found one of the cells had died, and would not charge in my Opus BT-3100 charger, but the 2nd (good) cell in the pack will charge. The Battery Management Board (BMS) on the factory pack has a tab connected between the cells, so it should be able to balance them, so I dunno why the cell died (the cell that died was the first cell in the pack, connected to the positive terminal). Instead of trying to swap the pack this time, I decided to get a battery spot welder and try to replace the cells with better ones.
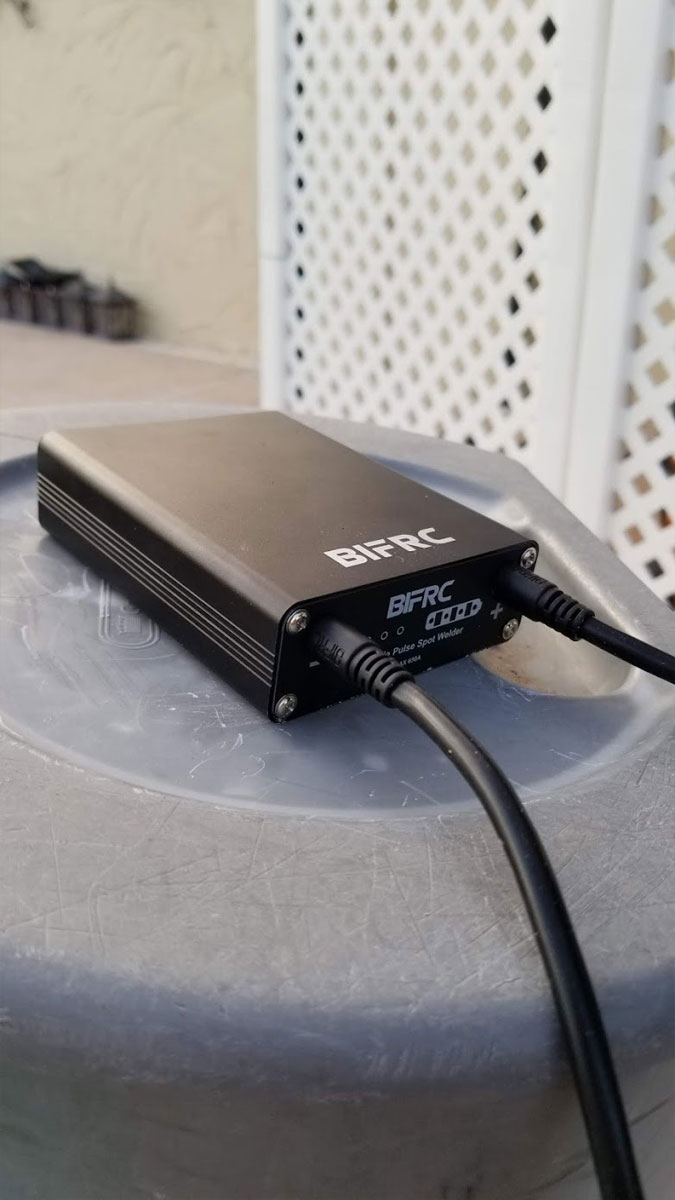
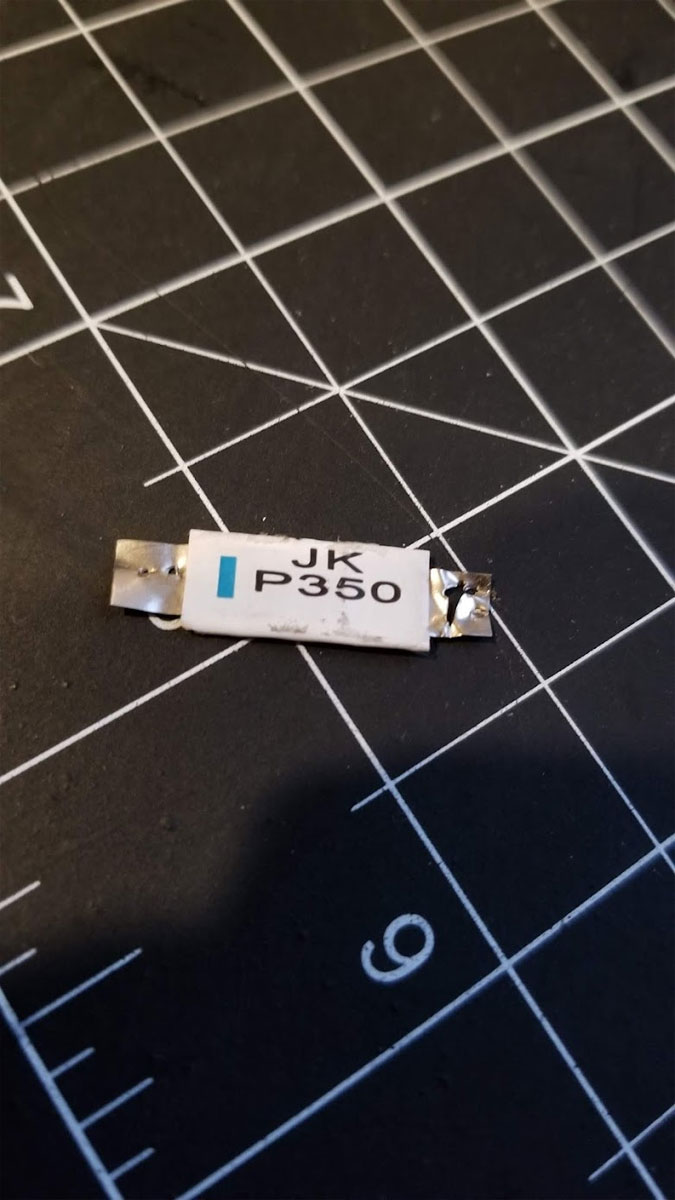
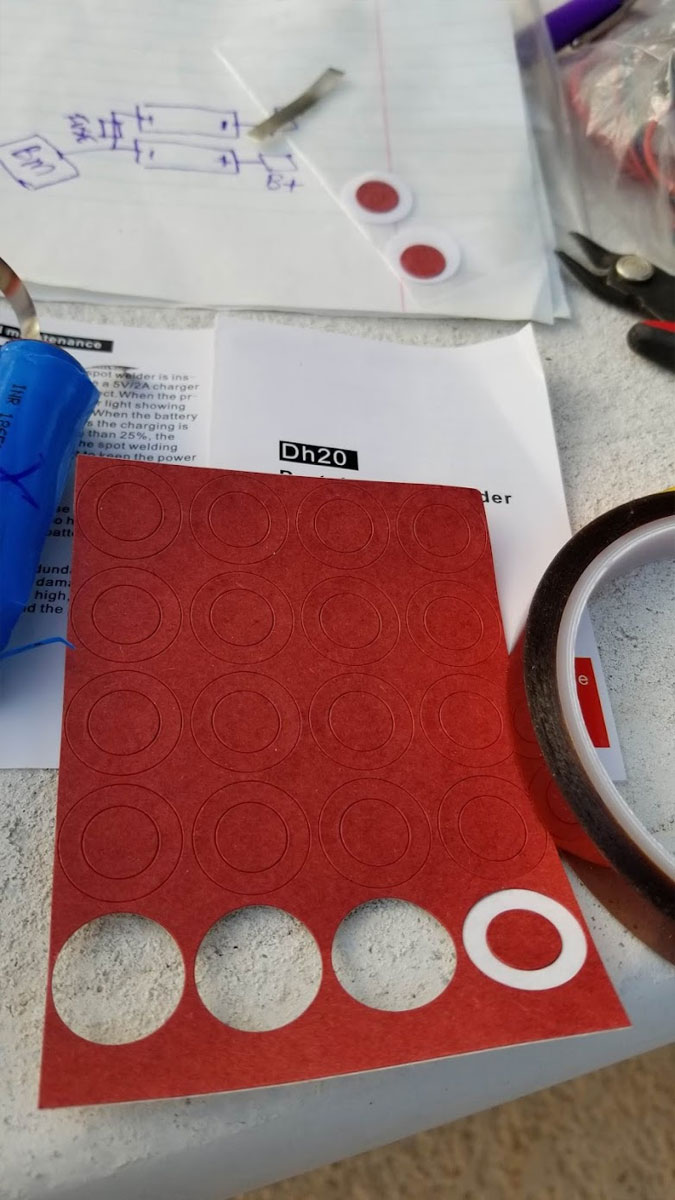
To do that, I bought the "BiFRC 9 Gears Mini Portable Battery Spot Welder" for about $40, and some Molicel P26A 35A 2600mAh 18650 cells along with some 0.1mm x 5mm nickel battery strips and paper insulator rings for the ends of the cells. The total cost for everything was about $50 not including shipping. I also ordered some PTC Polyfuses since the one on the pack was not re-usable. When he needed it working again, I didn't have the polyfuse yet, so I just used a 5A automotive fuse so it could be used and when I get the fuses I will swap it in.
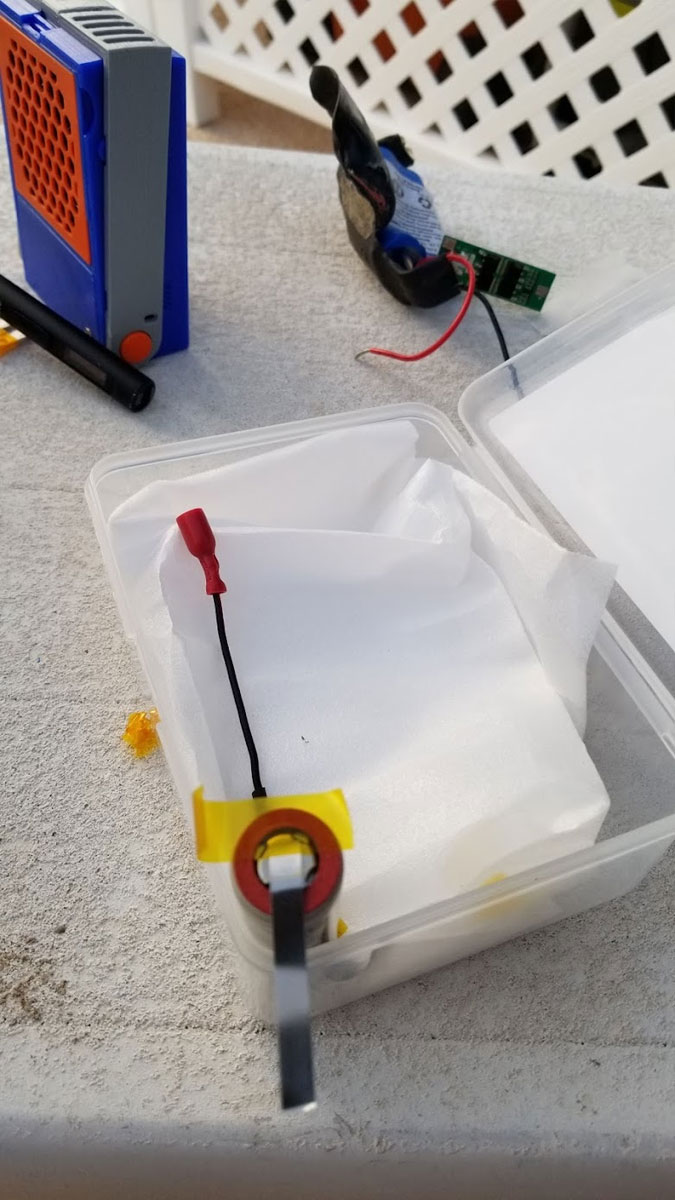
As you can see by the pics, I'm clearly no expert in making battery packs, but it was still relatively easy. I think if I do this again I will make some printed battery holding jigs for making packs since getting them oriented was the hardest part. Additionally I should have flipped the board over from it's factory configuration since it would have been easier to work with.
I may put the battery in an clipping from an old MTB tire with some zip ties to give it some water resistance but according to my Dad, the battery compartment is well sealed. One thing to note about this is that they originally spot welded the connections to the BMS board, which I decided was probably not a great idea so I soldered them on the board once they were already spot welded to the batteries. I know the welder should only affect the metal between the probes but I don't know if using it on a pad connected to active components could damage them (and I don't care to find out). Soldering also worked just fine.
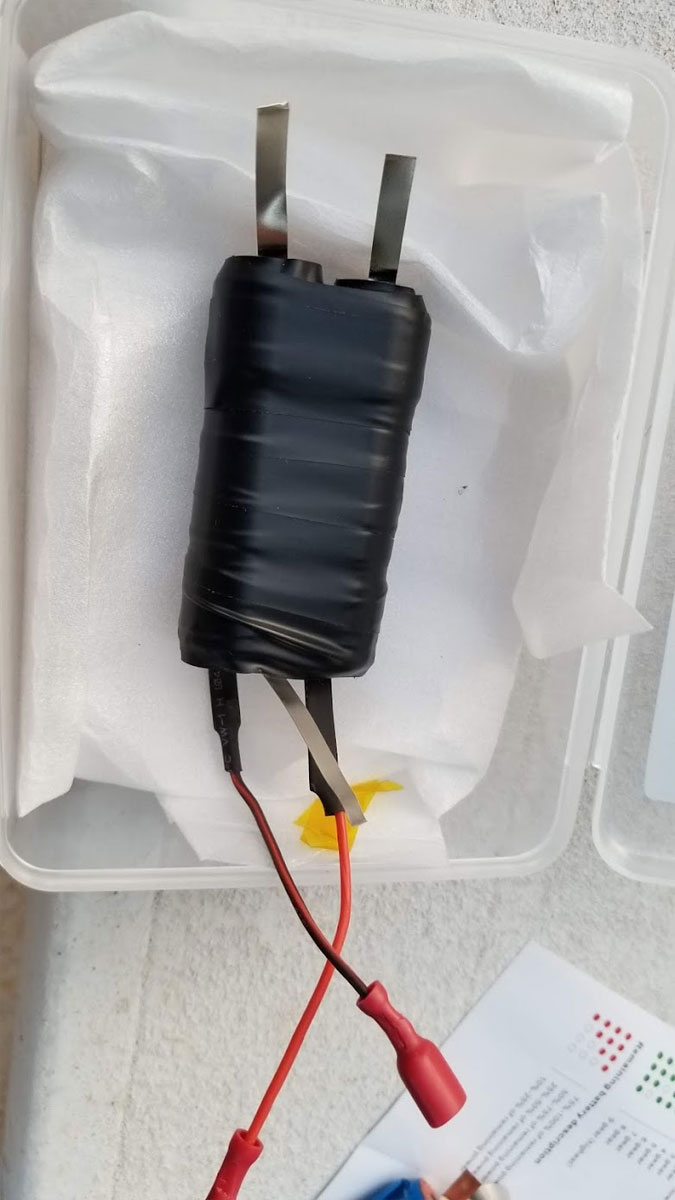
The BiFRC Spot Welder worked great and I did not need to use a high setting to get welds I would consider to be as strong as the factory ones. I used the old dead cell to test with and found that I could use the 2nd or 3rd "gears" for most of the welds. I know that there are some videos where folks go much higher but I could not pull the welds off by hand without twisting the tabs and rolling them off with a long nose pliers, so I figured they were strong enough. I uses dome polyimide tape to help hold the nickel strips in place while I was welding and got a bit of a spark from it when I got too close, but other than that it was pretty uneventful. One nice "feature" of the welder is that it gives a tone when it senses that the probes are positioned to weld and then there is about a second before it welds. That's handy since it allows for some quick readjustment before the weld zaps it.
It may be tempting to just solder the batteries to make a pack, and when I was younger and battery spot welders were quite expensive, I made a few packs for my bike lights that way. But soldering a lithium pack is risky for a number of reasons, including possible damage to the cell protection or a shorted cell. Shorting a cell on an 18650 is nothing to take lightly either, I once had a small bead of solder roll off the positive terminal of an 18650 and weld itself between the positive terminal and the case (negative). I was working inside the house at the time, and had just enough time to run out the door, and chuck it in the yard before the thing popped like a firecracker. That experience gave me some more respect for lithium batteries and I pretty much stuck with NiMh from that point, when I had to build a pack. But now that a battery spot welder is under $100 and even under $50 I think it would not make sense to take the risk with soldering packs unless they were designed for that. I also recommend a protective face shield, or safety glasses at a minimum when working with the batteries.
I did however solder the tabs to the board after they had been spot welded to the batteries, and to minimize the heat, I first tinned the tabs and the pads on the board and let both cool down. Then I got some solder on the iron and soldered the pads to the tabs as quickly as possible. It's a good idea to have things arranged when soldering so that the parts will naturally sit where you want them to go, since you can't stick anything down with solder, if it won't sit right before soldering then it probably won't turn out well. In this case, since I was working outside to take advantage of mosquito season, I had to rig up some things I had on hand to situate the parts so the pads and strips would line up prior to soldering.
The batteries were also discharged in the Opus prior to being welded, just in case there was a short or some other issue they would at least have less juice. Discharging them however has the effect of causing the BMS to shut them off once everything is connected, so the pack has to be charged up again to get it to "work". That also means if the pack is checked with a volt meter, and the batteries are discharged, it will only register some mV, and appear dead. I checked the charging current and it was charging at about 1.2A (fully empty). Once charged I gave it a quick test and it worked but the true test will be when my Dad uses it in his pool. I didn't grab pics of the battery after the board was installed but it is just mounted component side down facing the battery (which was how it was configured originally).
To do that, I bought the "BiFRC 9 Gears Mini Portable Battery Spot Welder" for about $40, and some Molicel P26A 35A 2600mAh 18650 cells along with some 0.1mm x 5mm nickel battery strips and paper insulator rings for the ends of the cells. The total cost for everything was about $50 not including shipping. I also ordered some PTC Polyfuses since the one on the pack was not re-usable. When he needed it working again, I didn't have the polyfuse yet, so I just used a 5A automotive fuse so it could be used and when I get the fuses I will swap it in.
As you can see by the pics, I'm clearly no expert in making battery packs, but it was still relatively easy. I think if I do this again I will make some printed battery holding jigs for making packs since getting them oriented was the hardest part. Additionally I should have flipped the board over from it's factory configuration since it would have been easier to work with.
I may put the battery in an clipping from an old MTB tire with some zip ties to give it some water resistance but according to my Dad, the battery compartment is well sealed. One thing to note about this is that they originally spot welded the connections to the BMS board, which I decided was probably not a great idea so I soldered them on the board once they were already spot welded to the batteries. I know the welder should only affect the metal between the probes but I don't know if using it on a pad connected to active components could damage them (and I don't care to find out). Soldering also worked just fine.
The BiFRC Spot Welder worked great and I did not need to use a high setting to get welds I would consider to be as strong as the factory ones. I used the old dead cell to test with and found that I could use the 2nd or 3rd "gears" for most of the welds. I know that there are some videos where folks go much higher but I could not pull the welds off by hand without twisting the tabs and rolling them off with a long nose pliers, so I figured they were strong enough. I uses dome polyimide tape to help hold the nickel strips in place while I was welding and got a bit of a spark from it when I got too close, but other than that it was pretty uneventful. One nice "feature" of the welder is that it gives a tone when it senses that the probes are positioned to weld and then there is about a second before it welds. That's handy since it allows for some quick readjustment before the weld zaps it.
It may be tempting to just solder the batteries to make a pack, and when I was younger and battery spot welders were quite expensive, I made a few packs for my bike lights that way. But soldering a lithium pack is risky for a number of reasons, including possible damage to the cell protection or a shorted cell. Shorting a cell on an 18650 is nothing to take lightly either, I once had a small bead of solder roll off the positive terminal of an 18650 and weld itself between the positive terminal and the case (negative). I was working inside the house at the time, and had just enough time to run out the door, and chuck it in the yard before the thing popped like a firecracker. That experience gave me some more respect for lithium batteries and I pretty much stuck with NiMh from that point, when I had to build a pack. But now that a battery spot welder is under $100 and even under $50 I think it would not make sense to take the risk with soldering packs unless they were designed for that. I also recommend a protective face shield, or safety glasses at a minimum when working with the batteries.
I did however solder the tabs to the board after they had been spot welded to the batteries, and to minimize the heat, I first tinned the tabs and the pads on the board and let both cool down. Then I got some solder on the iron and soldered the pads to the tabs as quickly as possible. It's a good idea to have things arranged when soldering so that the parts will naturally sit where you want them to go, since you can't stick anything down with solder, if it won't sit right before soldering then it probably won't turn out well. In this case, since I was working outside to take advantage of mosquito season, I had to rig up some things I had on hand to situate the parts so the pads and strips would line up prior to soldering.
The batteries were also discharged in the Opus prior to being welded, just in case there was a short or some other issue they would at least have less juice. Discharging them however has the effect of causing the BMS to shut them off once everything is connected, so the pack has to be charged up again to get it to "work". That also means if the pack is checked with a volt meter, and the batteries are discharged, it will only register some mV, and appear dead. I checked the charging current and it was charging at about 1.2A (fully empty). Once charged I gave it a quick test and it worked but the true test will be when my Dad uses it in his pool. I didn't grab pics of the battery after the board was installed but it is just mounted component side down facing the battery (which was how it was configured originally).

Disclosure: Some of the links here are Amazon affiliate links. This means that, at zero cost to you, I will earn an affiliate commission if you click through the link and finalize a purchase.


 RSS Feed
