This is how I got my new "Elecrow 5 inch Capacitive Touch Screen" working with a fresh install of OctoPrint on a Raspberry Pi.
First I downloaded, and then imaged the latest version of OctoPrint (0.17.0 Currently) to a microSD card.
Once the image was created, the SD has to be installed in a PC to edit the "octopi-wifi-supplicant.txt" file which will be in the drive called "boot". Note that it will probably ask if you want to format the SD card - don't do that.
In the "octopi-wifi-supplicant.txt" file, add the following (and keep the SSID and passwords for your network in the quotes):
## WPA/WPA2 secured
network={
ssid="SSID_NAME_HERE"
psk="PASSWORD_GOES_HERE"
}
Save that, and then find the file called config.txt and add this - it can go at the top or wherever (this was provided by the Amazon seller):
# --- added by elecrow-pitft-setup ---
hdmi_force_hotplug=1
max_usb_current=1
hdmi_drive=1
hdmi_group=2
hdmi_mode=1
hdmi_mode=87
hdmi_cvt 800 480 60 6 0 0 0
dtoverlay=ads7846,cs=1,penirq=25,penirq_pull=2,speed=50000,keep_vref_on=0,swapxy=0,pmax=255,xohms=150,xmin=200,xmax=3900,ymin=200,ymax=3900
display_rotate=0
# --- end elecrow-pitft-setup ---
Save that, eject the SD card and install it in the Raspberry Pi, then connect up the Touchscreen to the Pi with an HDMI cable and a USB cable (micro-USB on the screen side). Then connect power to the Pi using it's MicroUSB connector and it should boot up.
Now you will see stuff on the screen but no graphical interface. We still need to do the OctoPi basic setup which is done using the the web interface. Having the screen though does help find the IP which will be shown on the screen when it is done booting up. Put the IP in your browser and go through the setup and add a password (or not, I don't care - but you should probably add one). Also note that it will take several minutes before you will be able to successfully acces the Octopi web server, so don't freak out if you get an error, just give it 5 or 10 minutes and try again.
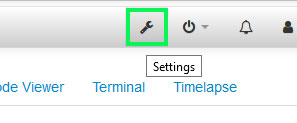
Once the Octopi is working and you can access it via the web browser, the next step is to install the "TouchUI plugin". TouchUI is a touchscreen UI for Octoprint and is what makes all the neat graphics, and buttons and stuff. The problem is, we need it to automatically launch when the Pi is booted up, but will get to that in a minute. To install it, first click the wrench:
First I downloaded, and then imaged the latest version of OctoPrint (0.17.0 Currently) to a microSD card.
Once the image was created, the SD has to be installed in a PC to edit the "octopi-wifi-supplicant.txt" file which will be in the drive called "boot". Note that it will probably ask if you want to format the SD card - don't do that.
In the "octopi-wifi-supplicant.txt" file, add the following (and keep the SSID and passwords for your network in the quotes):
## WPA/WPA2 secured
network={
ssid="SSID_NAME_HERE"
psk="PASSWORD_GOES_HERE"
}
Save that, and then find the file called config.txt and add this - it can go at the top or wherever (this was provided by the Amazon seller):
# --- added by elecrow-pitft-setup ---
hdmi_force_hotplug=1
max_usb_current=1
hdmi_drive=1
hdmi_group=2
hdmi_mode=1
hdmi_mode=87
hdmi_cvt 800 480 60 6 0 0 0
dtoverlay=ads7846,cs=1,penirq=25,penirq_pull=2,speed=50000,keep_vref_on=0,swapxy=0,pmax=255,xohms=150,xmin=200,xmax=3900,ymin=200,ymax=3900
display_rotate=0
# --- end elecrow-pitft-setup ---
Save that, eject the SD card and install it in the Raspberry Pi, then connect up the Touchscreen to the Pi with an HDMI cable and a USB cable (micro-USB on the screen side). Then connect power to the Pi using it's MicroUSB connector and it should boot up.
Now you will see stuff on the screen but no graphical interface. We still need to do the OctoPi basic setup which is done using the the web interface. Having the screen though does help find the IP which will be shown on the screen when it is done booting up. Put the IP in your browser and go through the setup and add a password (or not, I don't care - but you should probably add one). Also note that it will take several minutes before you will be able to successfully acces the Octopi web server, so don't freak out if you get an error, just give it 5 or 10 minutes and try again.
Once the Octopi is working and you can access it via the web browser, the next step is to install the "TouchUI plugin". TouchUI is a touchscreen UI for Octoprint and is what makes all the neat graphics, and buttons and stuff. The problem is, we need it to automatically launch when the Pi is booted up, but will get to that in a minute. To install it, first click the wrench:
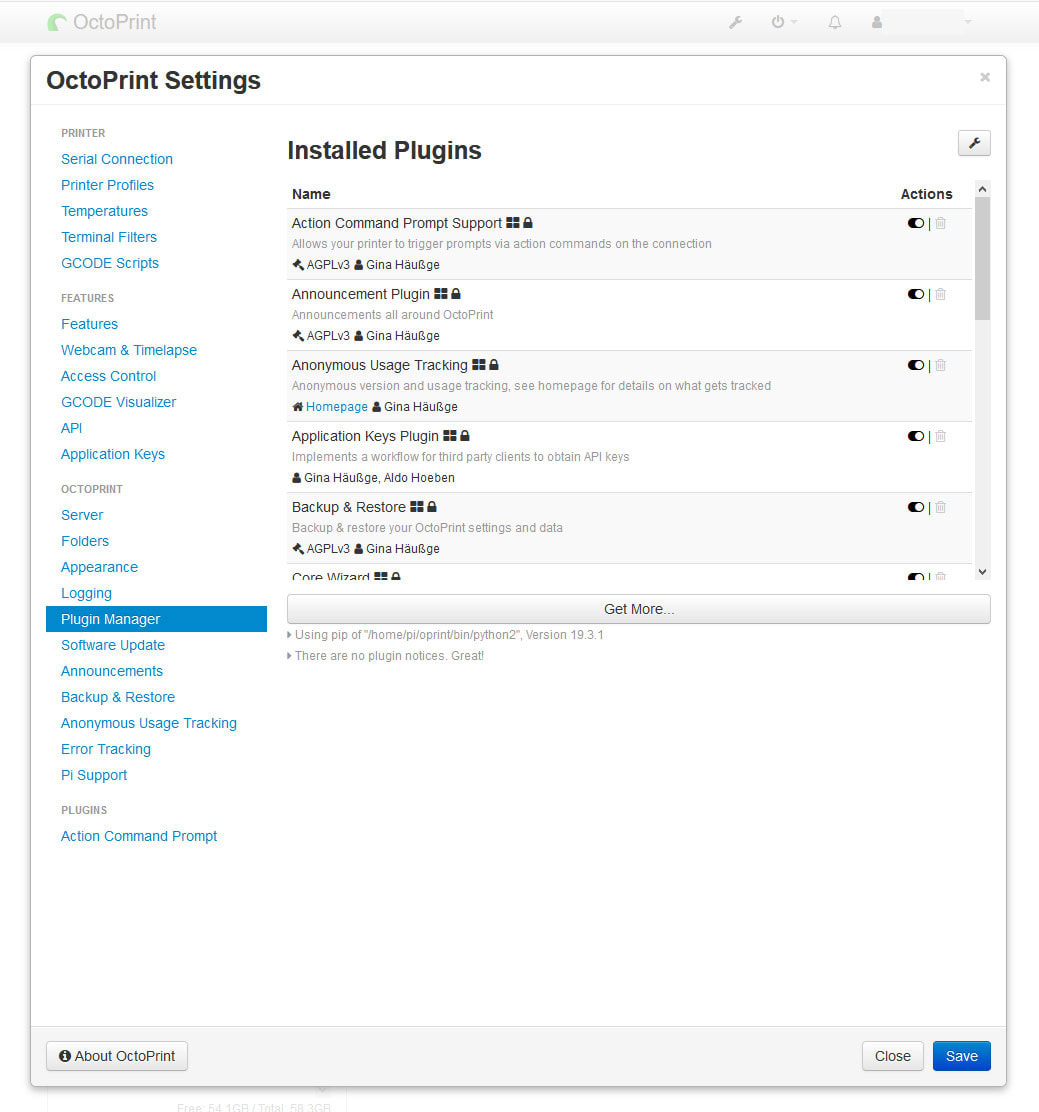
Then click on the Plugin Manager, and then the "Get More" button:
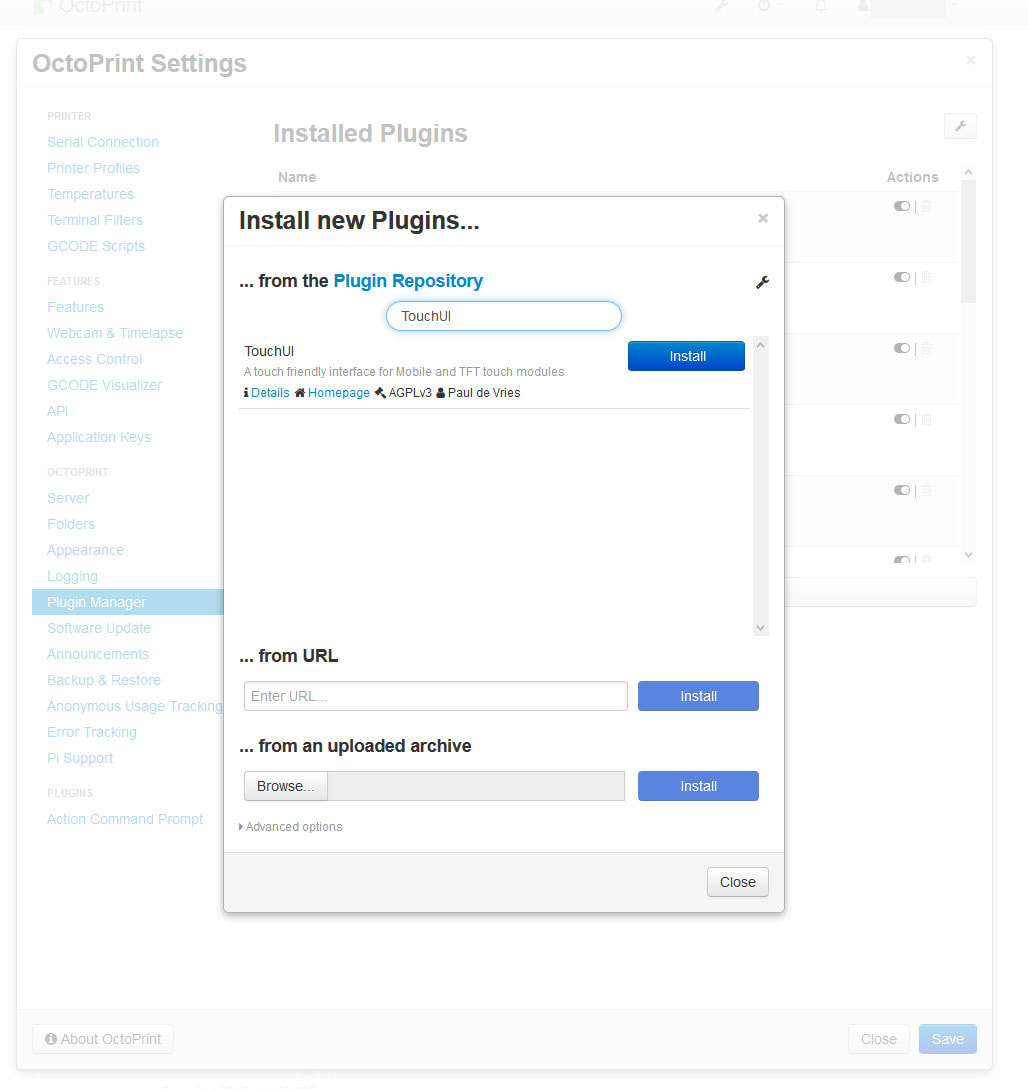
Now search for "TouchUI" and then install it.
Now reboot the Pi.
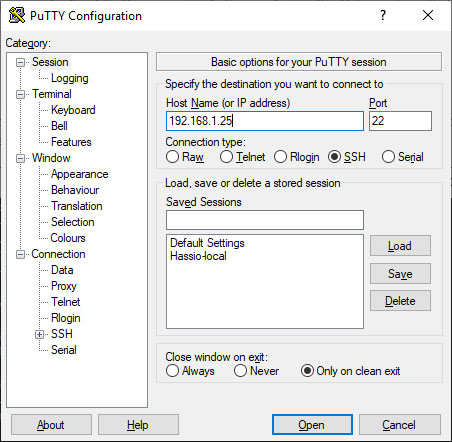
Now the problem is that there will still be no touchscreen showing up. There are 2 ways to deal with this, you can either ssh into the Pi using a tool like Putty, or you can connect a keyboard and use the tiny little screen - or connect it to a monitor. Either way we need to make changes on the command line.
I am using Putty and below is a pic of the screen you would see when launching it. You should not need to modify any of the options, just put the IP address of the Pi in the field and then click Open. It will pop up a box asking you about saving the key (yes), and then the terminal window will open where you can log in to the Pi.
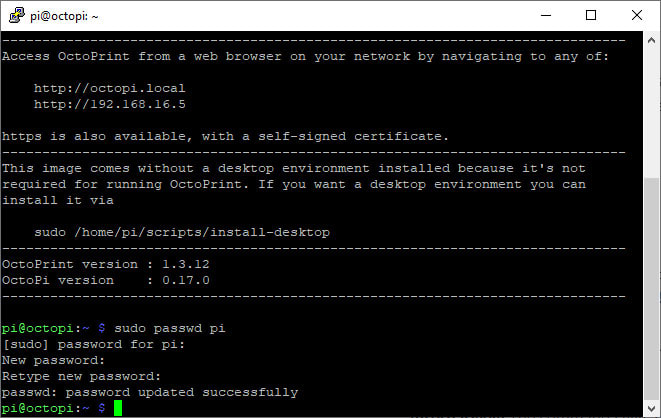
When you log in, the username and password will not be the same as what you set up in the Octopi setup - that was the password for Octopi, not the Pi that it runs on. To log in to the Pi, use this:
Username: pi
Password: raspberry
Now the first thing you probably should do is change that, do do so, type "sudo passwd pi", then the current password (raspberry), and then enter a new password (and then one more time) - I also did this for the root password "sudo passwd root" but there is a more secure way to do it by changing the pi username. Obviously don't loose these or make them easy to guess. It is a good idea at this point to open a 2nd SSH session to the Pi and verify you can log into it using the new "pi" user and password, and then do an "su root" to verify the new "root" password works also. If both the new "pi" and "root" passwords work, then just exit out of the 2nd session and continue in the original ssh session. That way if you have a problem, you can still fix it from your original (logged in) session.
Now, my installation, which was a clean install, did not have any of the required X11 files or TouchUI files installed where they should have been, so I ran this according to the guide here:
git clone https://github.com/BillyBlaze/OctoPrint-TouchUI-autostart.git ~/TouchUI-autostart/
git clone https://github.com/BillyBlaze/OctoPrint-TouchUI-autostart.git ~/TouchUI-autostart/
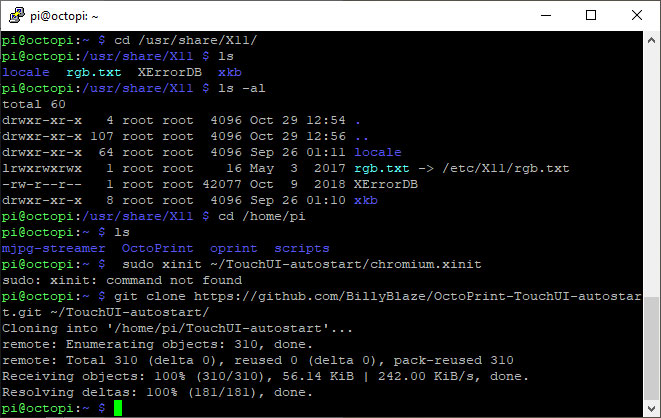
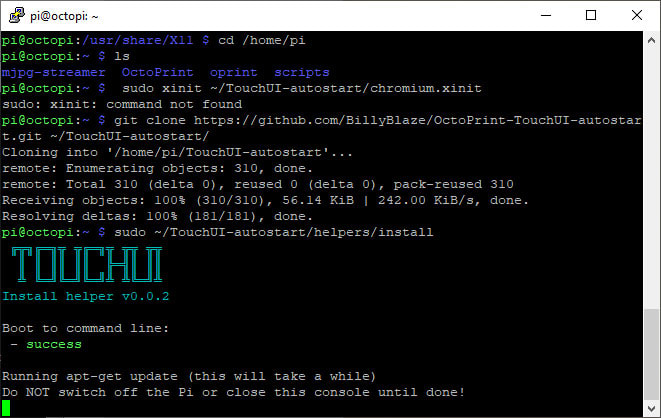
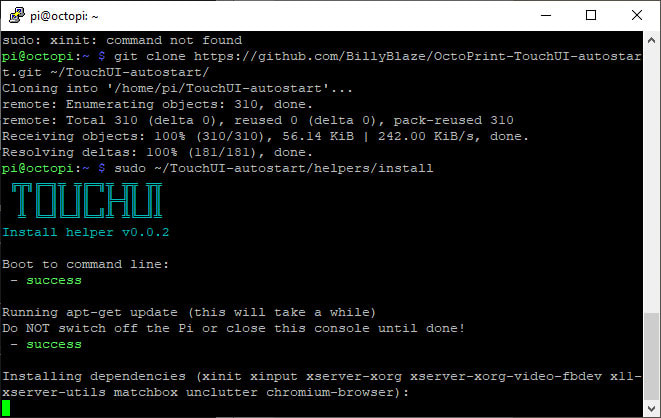
This takes ...a WHILE... and installs the required "dependencies". When I ran it, it seemed like it could have been hung up installing the dependencies - but it just takes a long time...
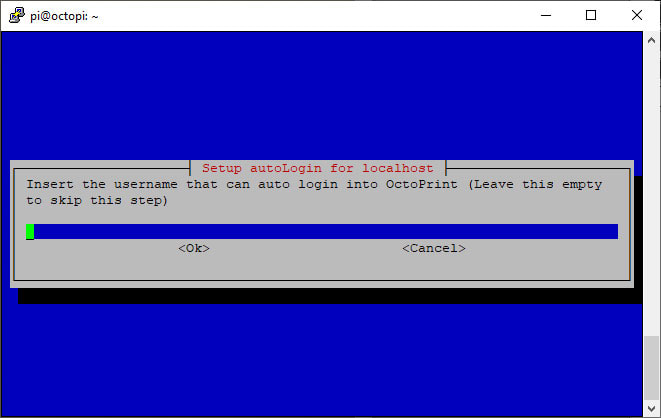
Once it wrapped up, it popped this screen up - had to think about this one a bit, but added the username for Octoprint (which was the username that was set up in the Octopi initial setup - not "pi").
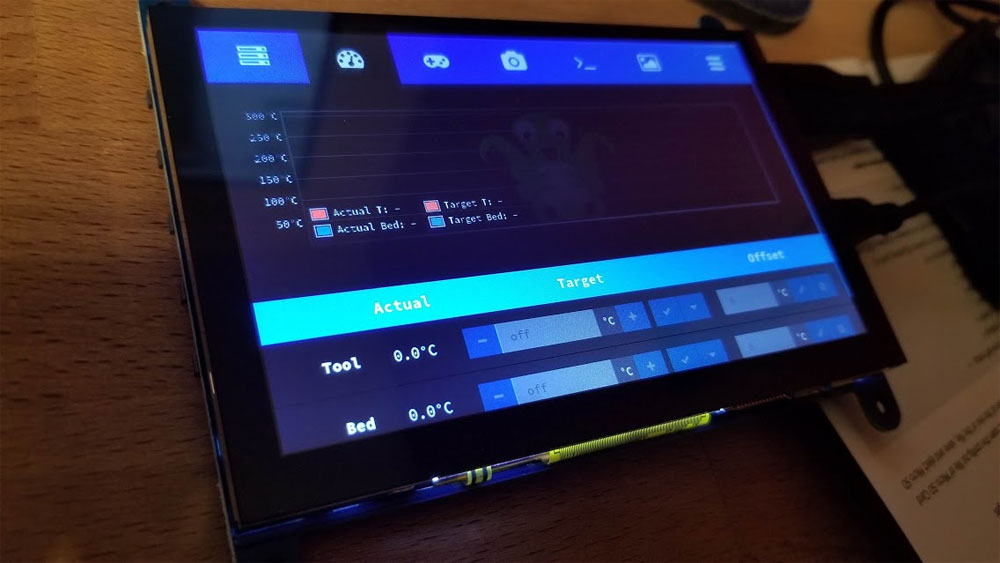
Then use the tab key to move over to "OK" and then on the next screen it will ask to reboot (yes). When it booted up, the TouchUI loaded up automatically and the touchscreen also worked without any issues (yea!). For grins, I powercycled it to make sure it still worked, and it did :D
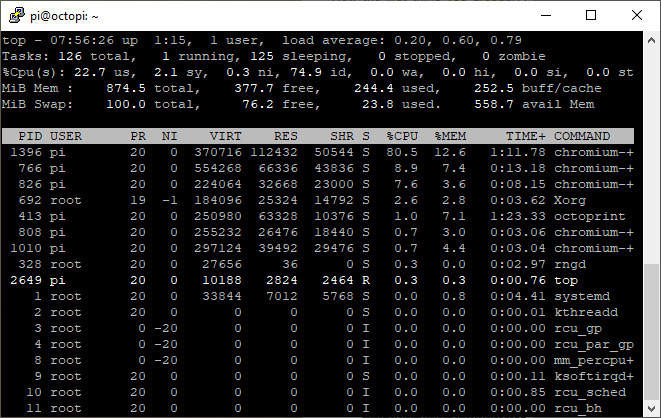
I did notice that the CPU can really get up there with TouchUI running. I tried bouncing around though the tabs to see how high I could get it and saw it spike to 80% on the CPU (briefly). Normally it is under a percent CPU for Chromium though. This probably goes for any touchscreen running TouchUI though, but also means it would not be a good idea to play around with it while running a print (if that can be avoided). I have a touchscreen on my Kossel printer and although it has had a number of problems, I don't recall any that happened while I was using the touchscreen, but I also did not do that often when the printer was running.


 RSS Feed
