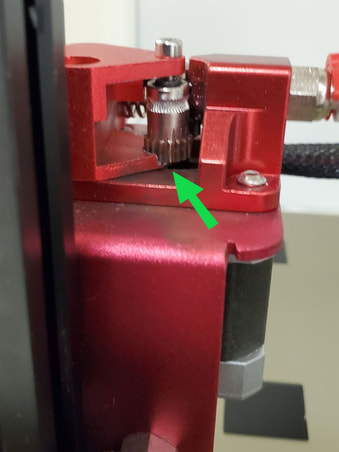
Noticed this today, thought I was good after installing the TinyMachines extruder fix but when I checked there was no sign of the bronze washers, so I dunno what happened. I thought that I had installed the new arm some time back, but looking at whats left of the part, I'm doubtful, and suspect it may not have been replaced after all. I know I had a spare extruder and may have installed the arm from a spare stock extruder by accident. In any case, I will chock this up to user error since either I did not really install the new arm like I thought I did, or the bronze washers went missing. This did throw a monkeywrench into my plans to print and test the lithophane night light re-design however.
I cannot locate any other spare arms right now, so I will need to figure something out here.
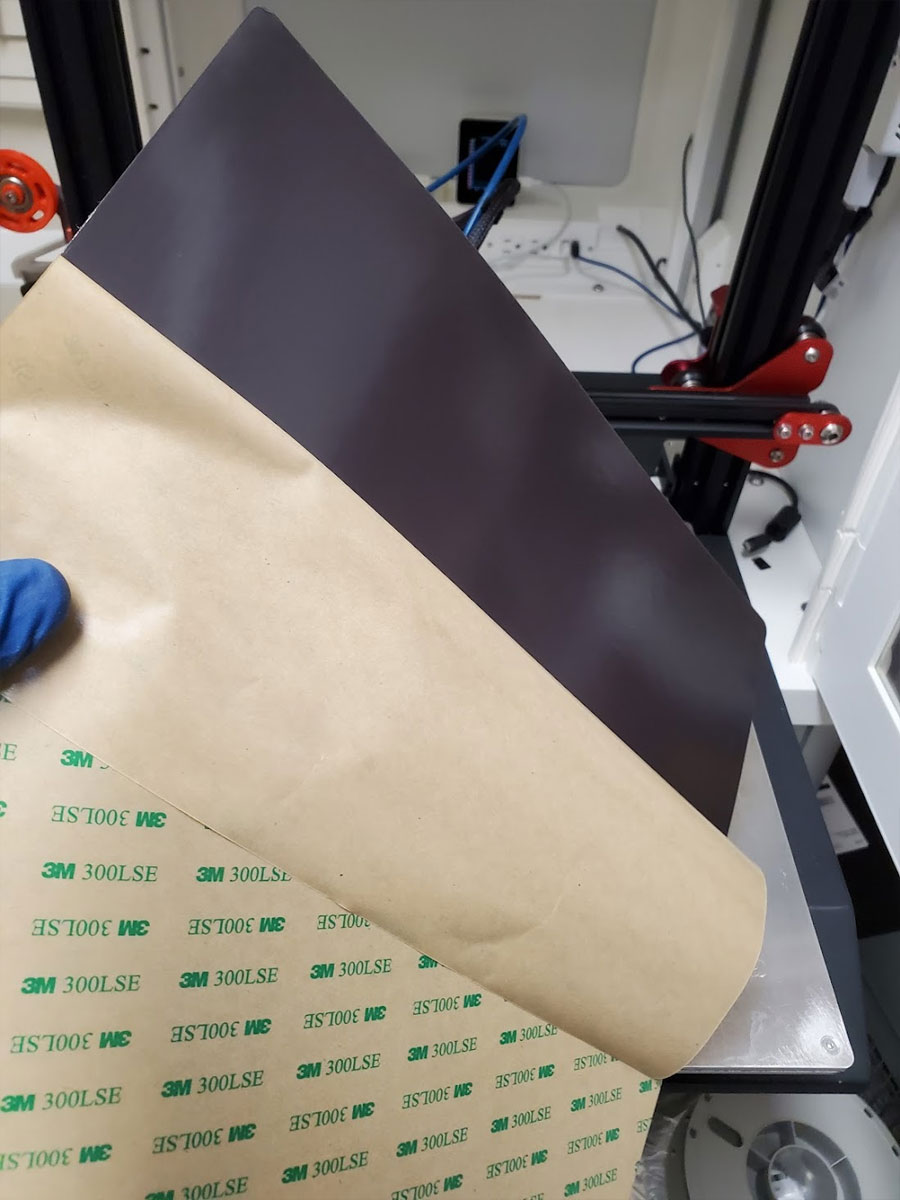
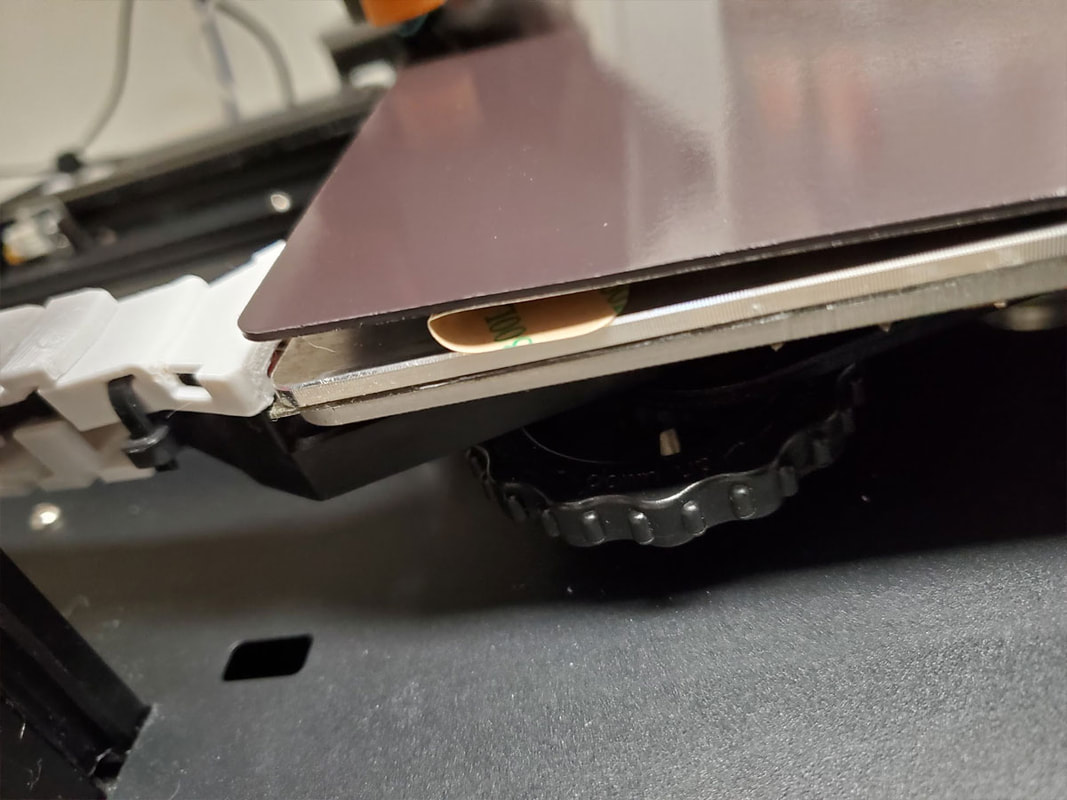
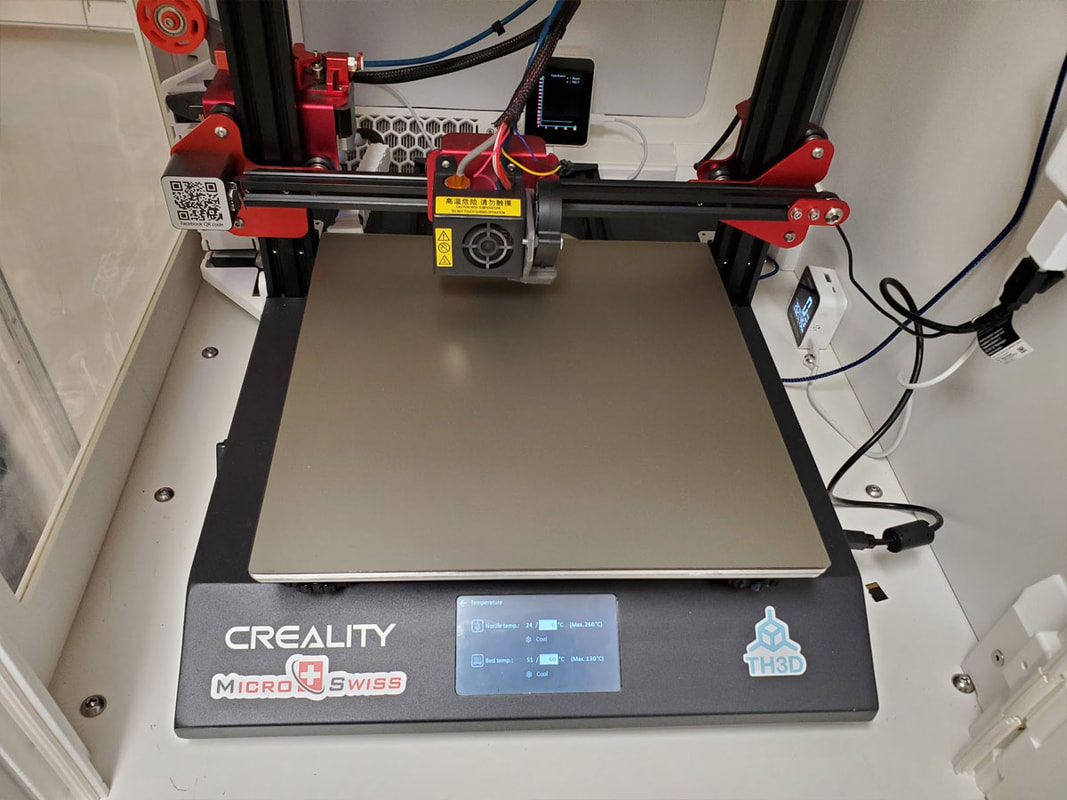
In the meantime, I went ahead and installed a new 310mm x 320mm flex steel build plate and the magnetic sticker which holds it in place. So far I'm liking this plate, which has a smooth PEI surface. I've been using one on my Ender3 and it is almost the perfect build surface, though I prefer the textured surfaces, but for the CR10S Pro a smooth plate was much less expensive. The CR10S Pro is a bit of an oddball as well, with a 320x310 bed, it is hard to find surface plates which fit properly. Of course I could use a 310x310 mm plate now, since the whole bed is magnetic.
I was a bit concerned how the magnetic sticker would affect the inductive probe which I previously swapped in place of the stock capacitive probe, but aside from a much higher z-offset it seems to work fine.
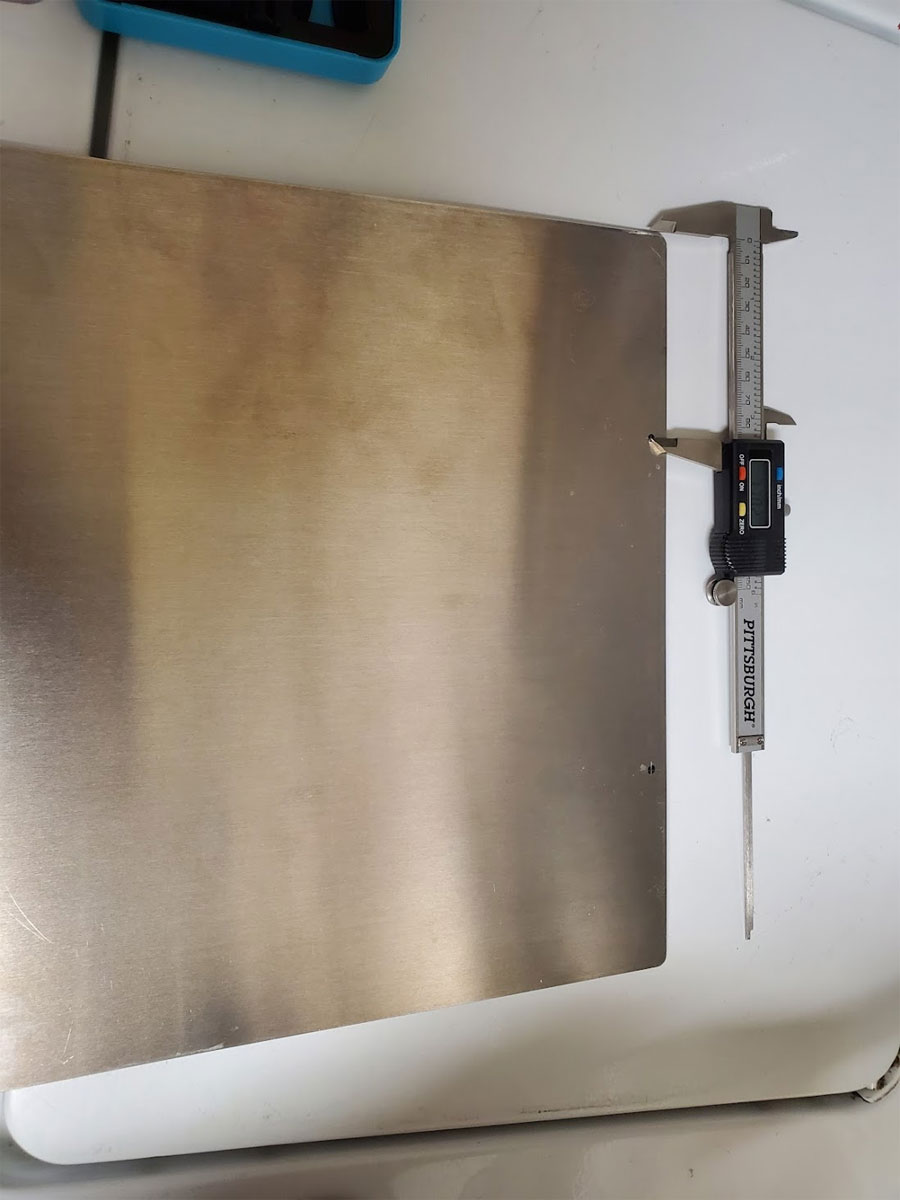
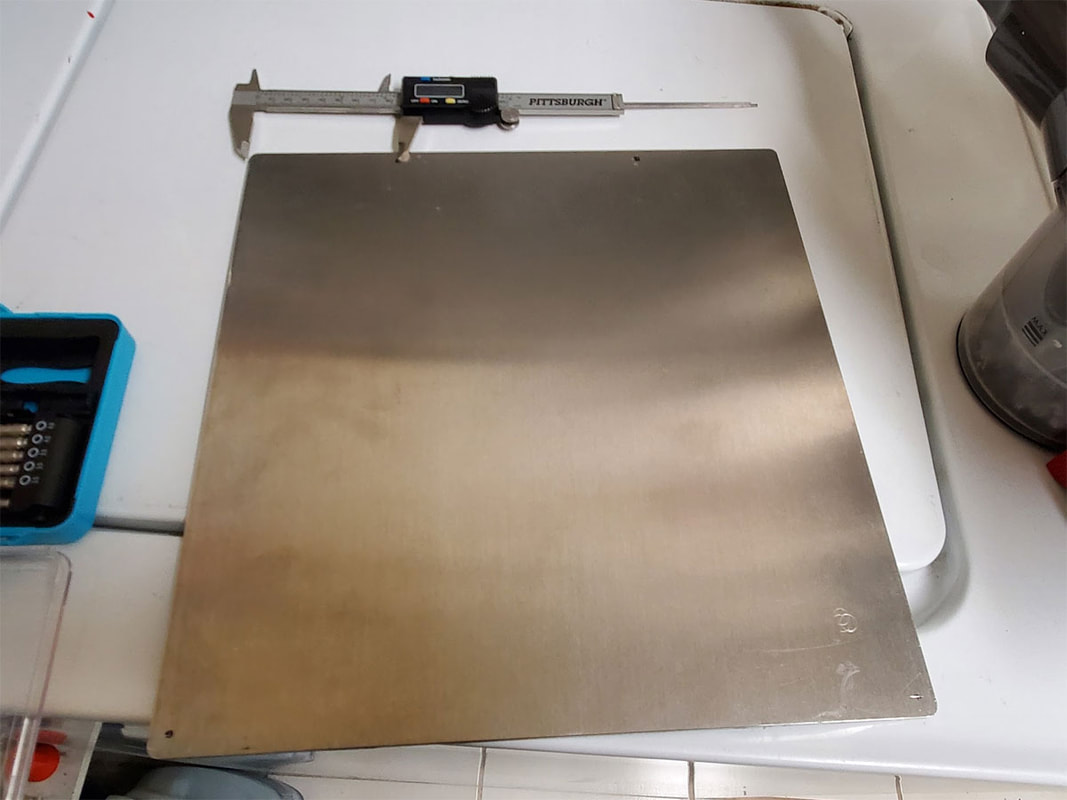
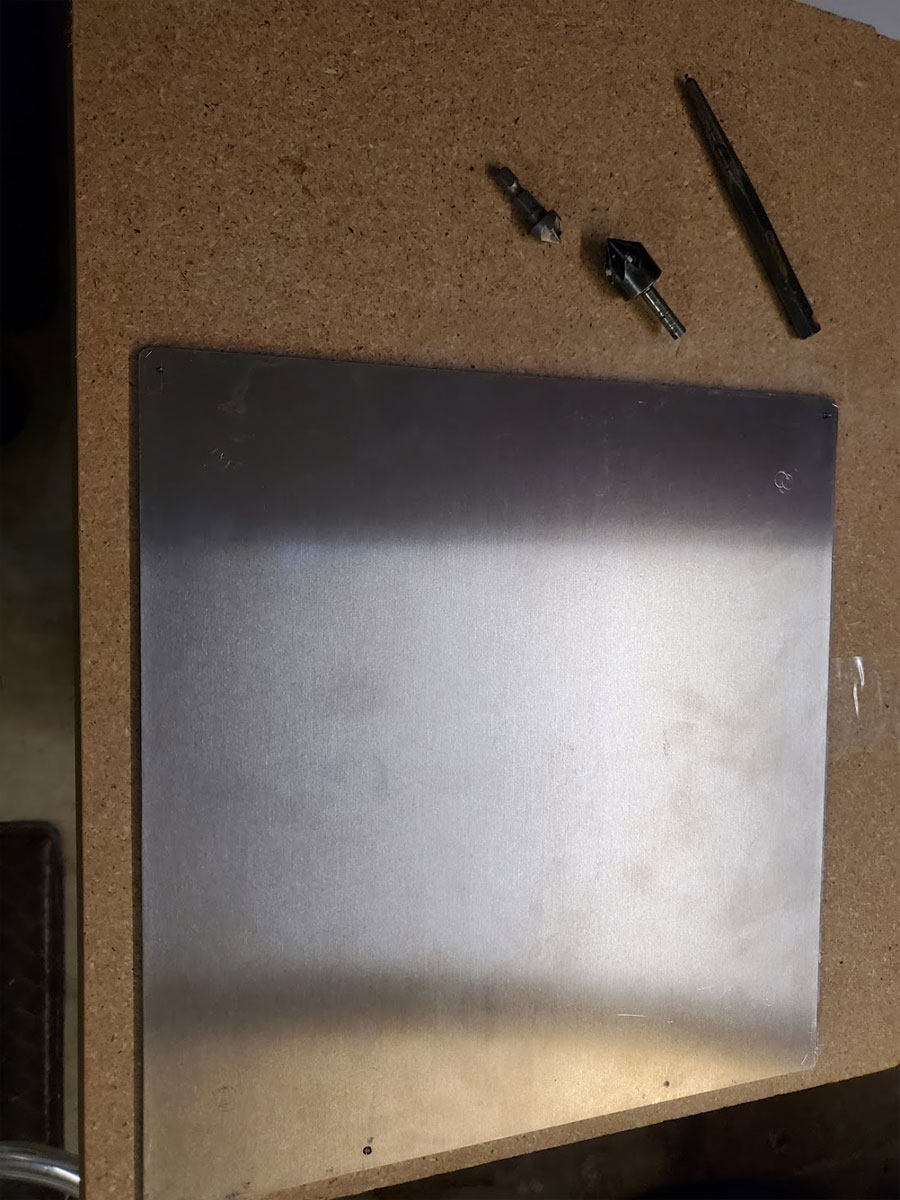
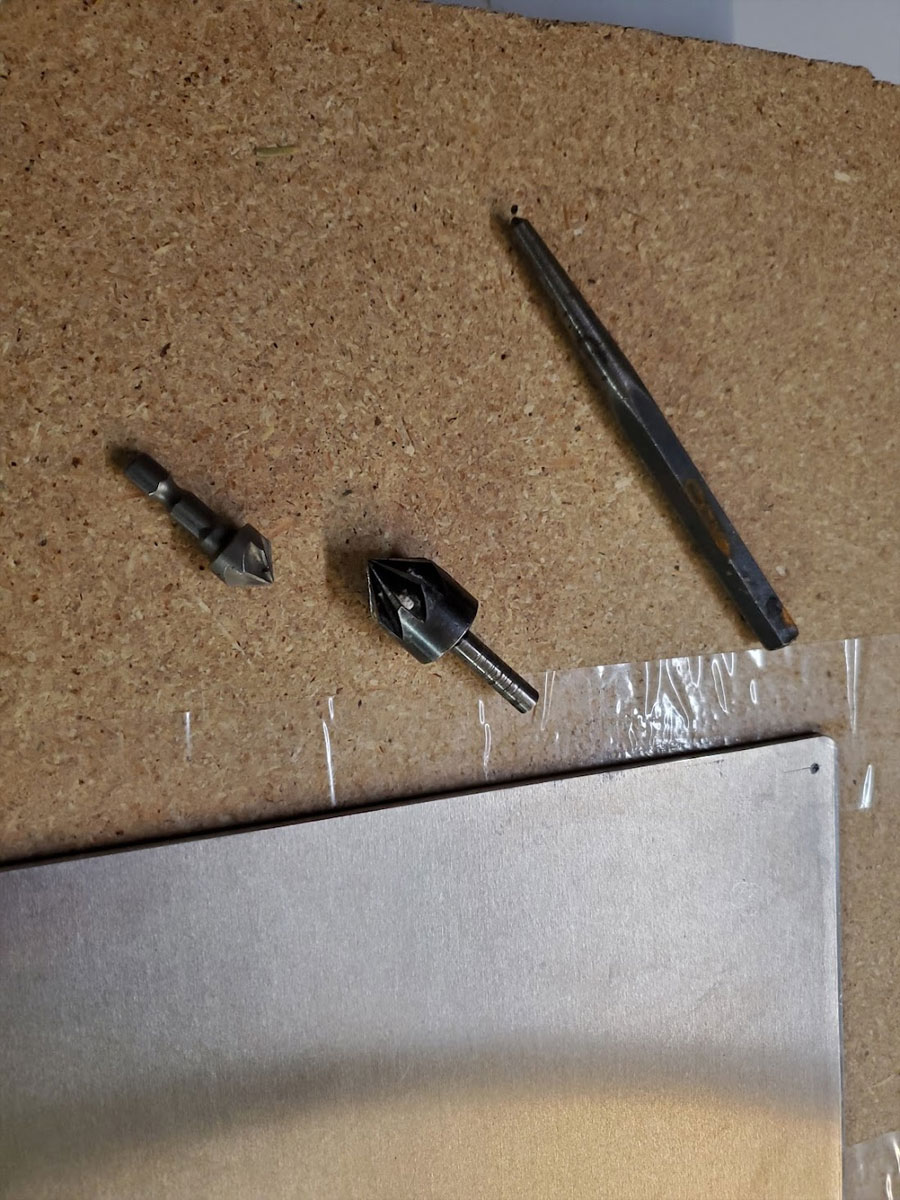
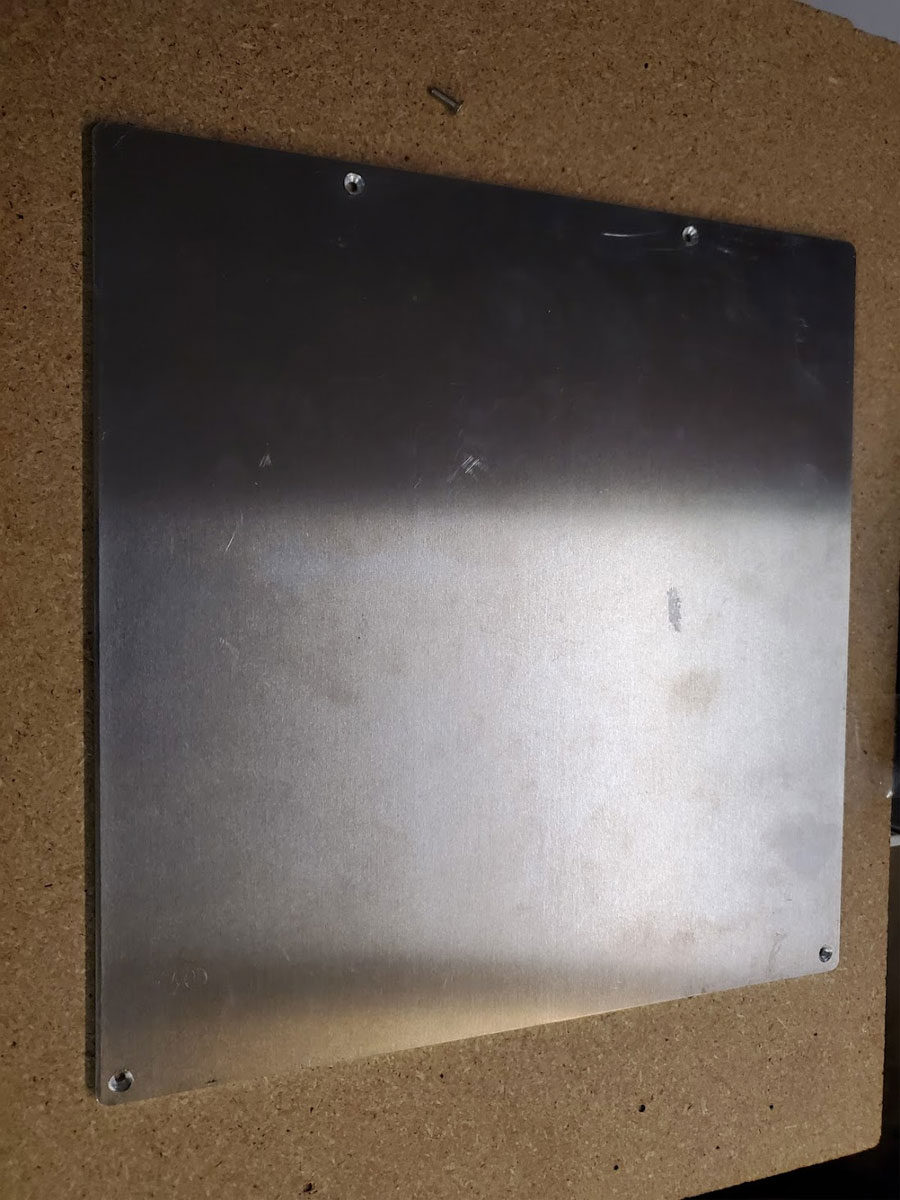
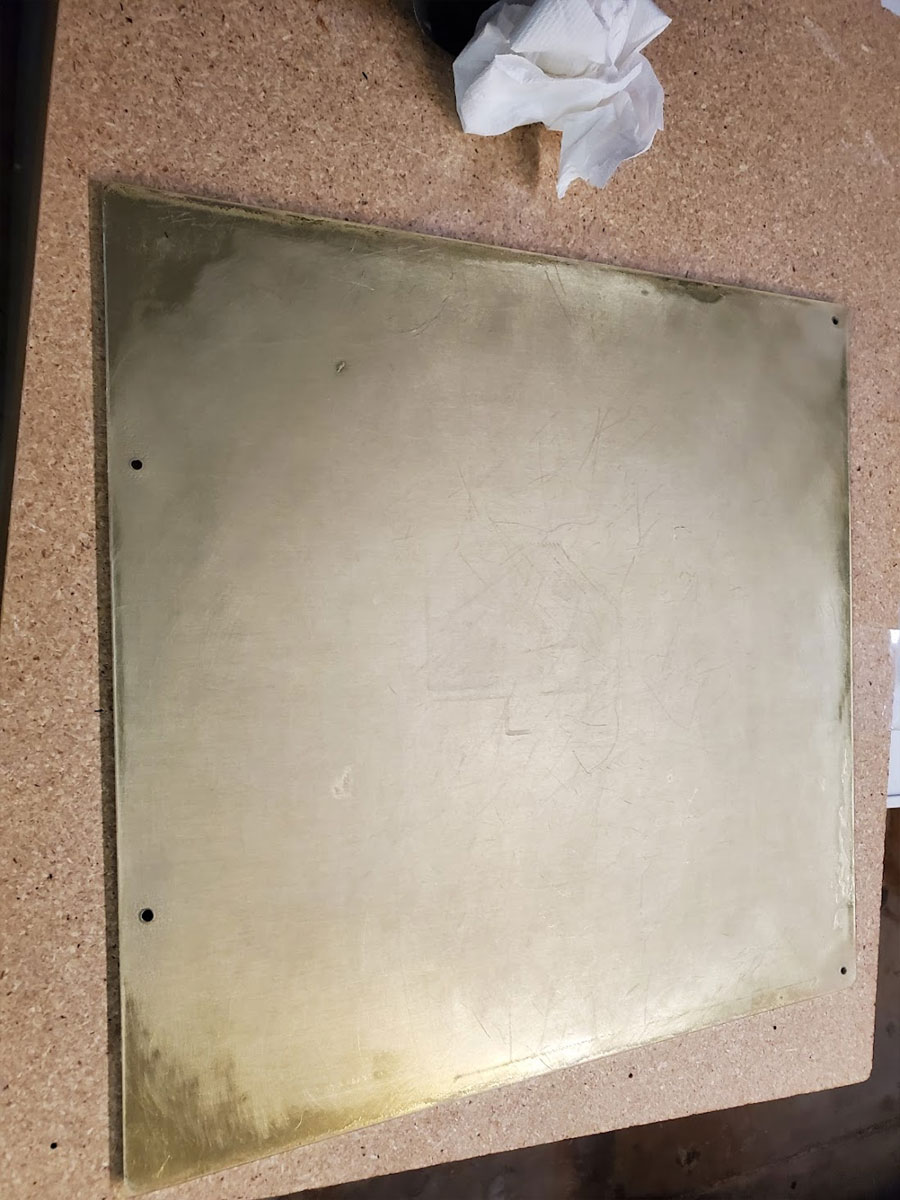
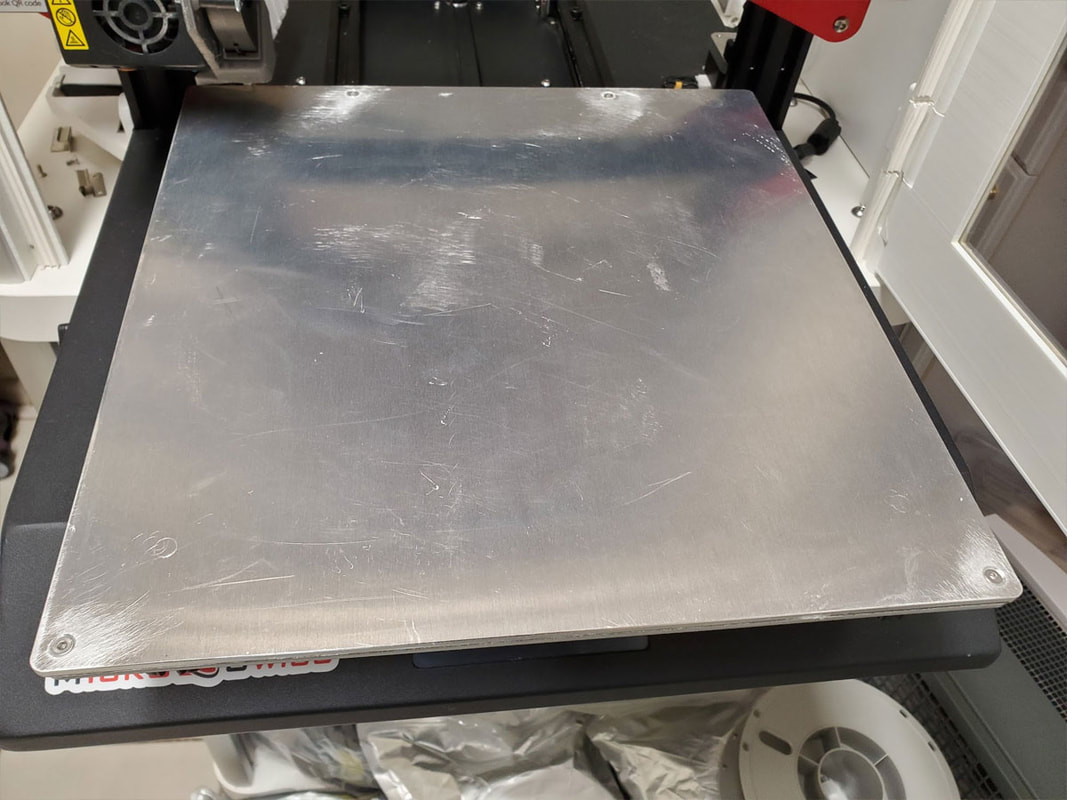
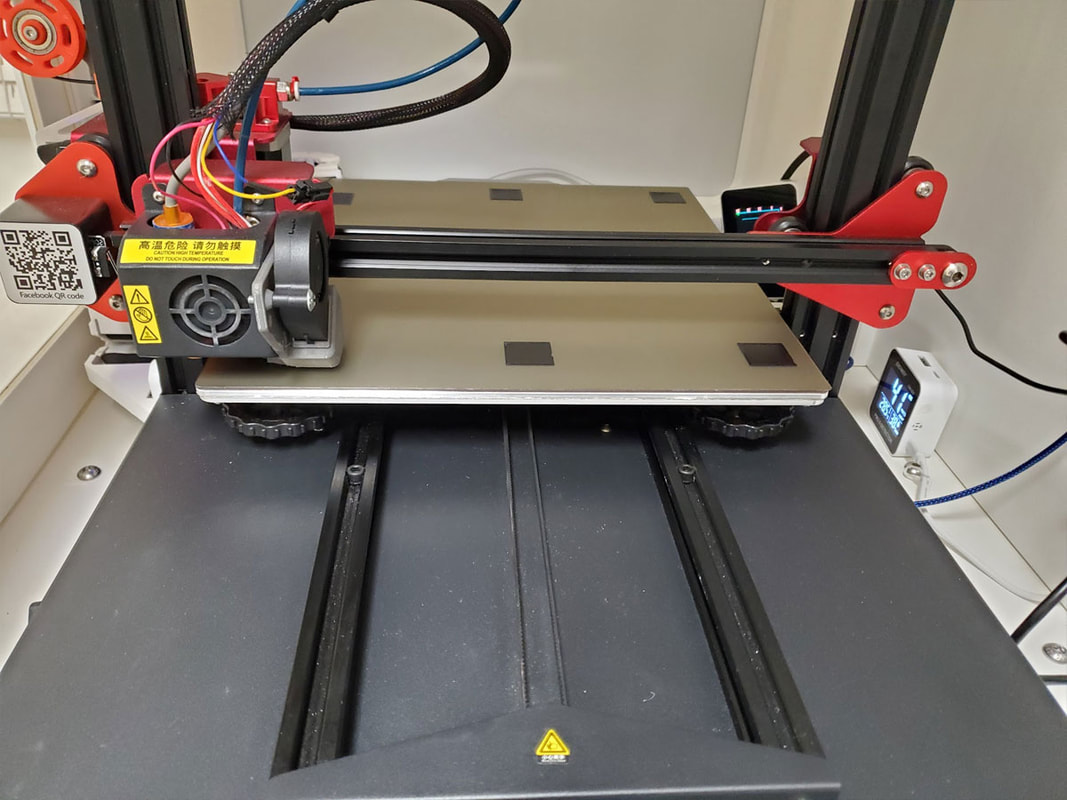
Another quirk of the CR10S Pro is that it has bed clips screwed into the heated bed, which hold a nice aluminum surface plate on. That system works well, but not so much for a flex plate install. I removed the clips, but still wanted to keep the flat aluminum plate, so I just drilled 4 holes to mount it the bed using some M3x12mm screws, washers and locknuts. That work perfectly and I just left the old PEI sheet attached to the other side of the aluminum plate (with the magnet sticker on the other side). I found that the screws are inset 8mm from the edge of the plate, and in the front the centers are 8mm from both sides. In the back, I chose to install one screw through the inboard holes for the clips and found that the centers of those holes are 85mm from the edge and 8mm inset from the back edge of the plate. I took some pics to show these dimensions. Then I just center punched, drilled some 9/64" holes, which were countersunk, then wet sanded everything with 220 or 320 grit sandpaper to get rid of any burrs of high spots.
Installation was just putting the four M3x12mm flat head screws in through the top of the plate, then I added a washer and the locknut. The stock install did not have washers but it seems like a good idea since the nuts were tightening against the printed back of the heated bed plate (though not in an area where anything was happening. UPDATE 12/30/2021 - I'm not certain, but I think that securing the plate in this way (using screws) may have warped the bed due to the expansion of the aluminum plate during heating. The original clips allowed some play for the plate to expand and contract with temperature, but the screws may not have and caused it to buck up in the middle. Also possible is that I warped the plate in the process of making this change, though I cannot point to anything that occurred that makes be believe this happened. What I have done since, is to widen the holes used to mount the plate and only tighten the screws snugly. I also had to resort to using some Kapton (style) tape in layers on the magnet to help with the problem since it was quite bad, even after adjusting the wheels with little effect (due to the warping of the bed plate). After the tape application it has improved greatly and I will post some pics of the meshes through that process in a later post.
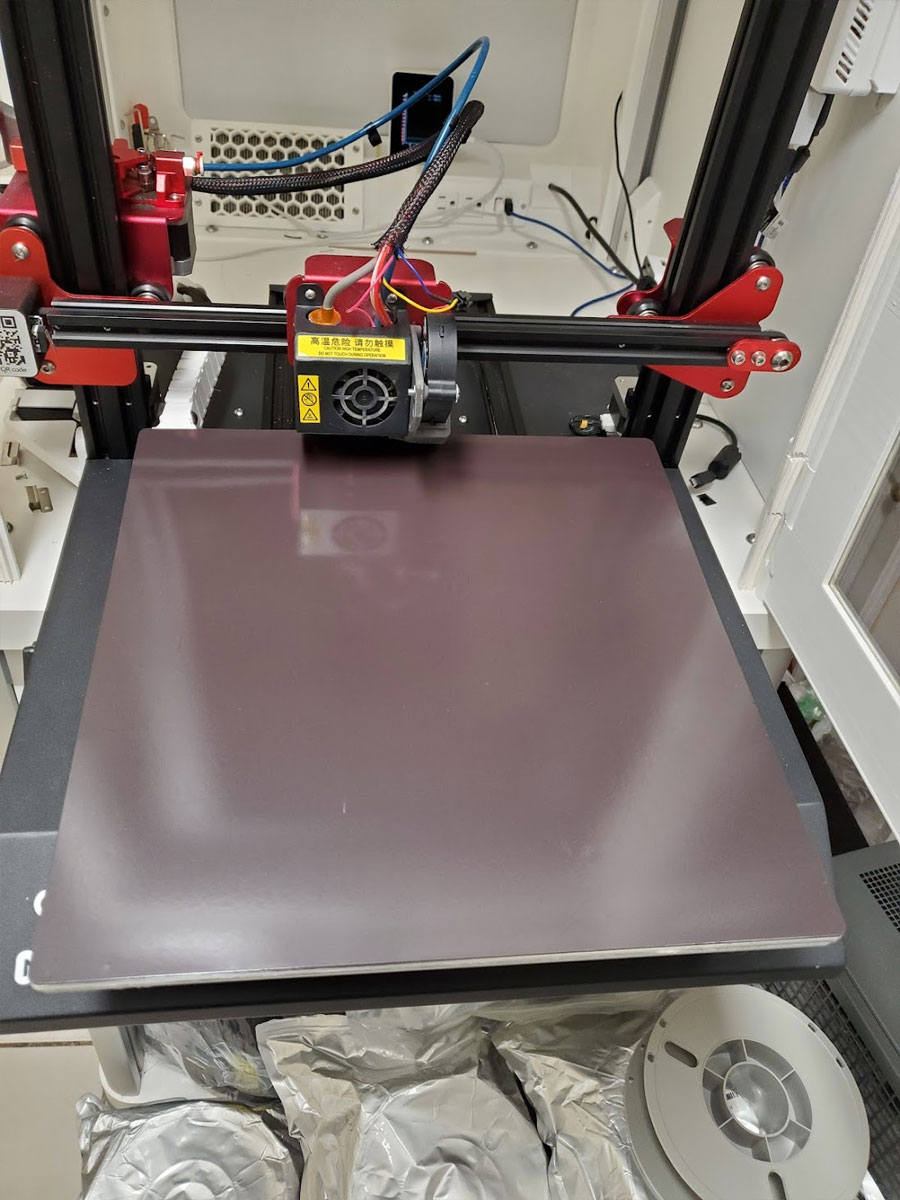
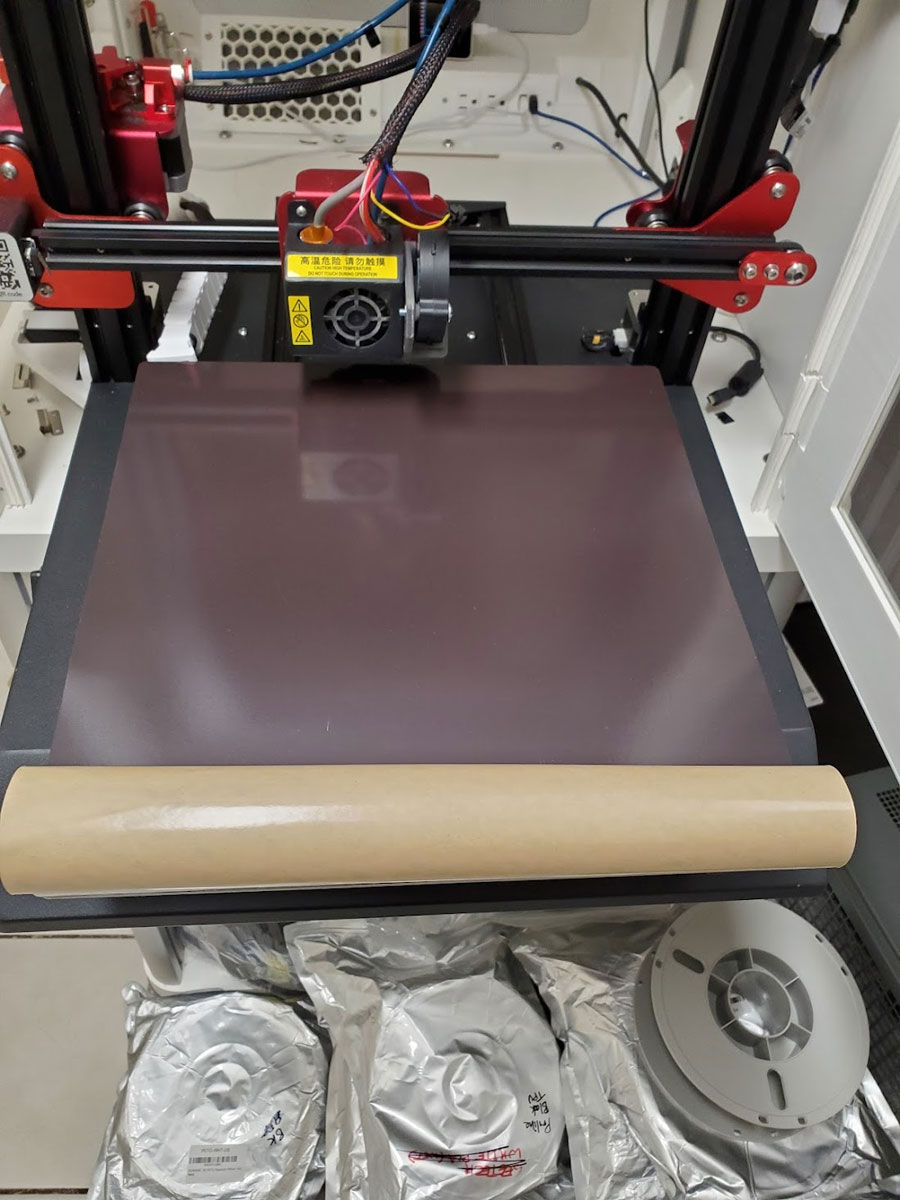
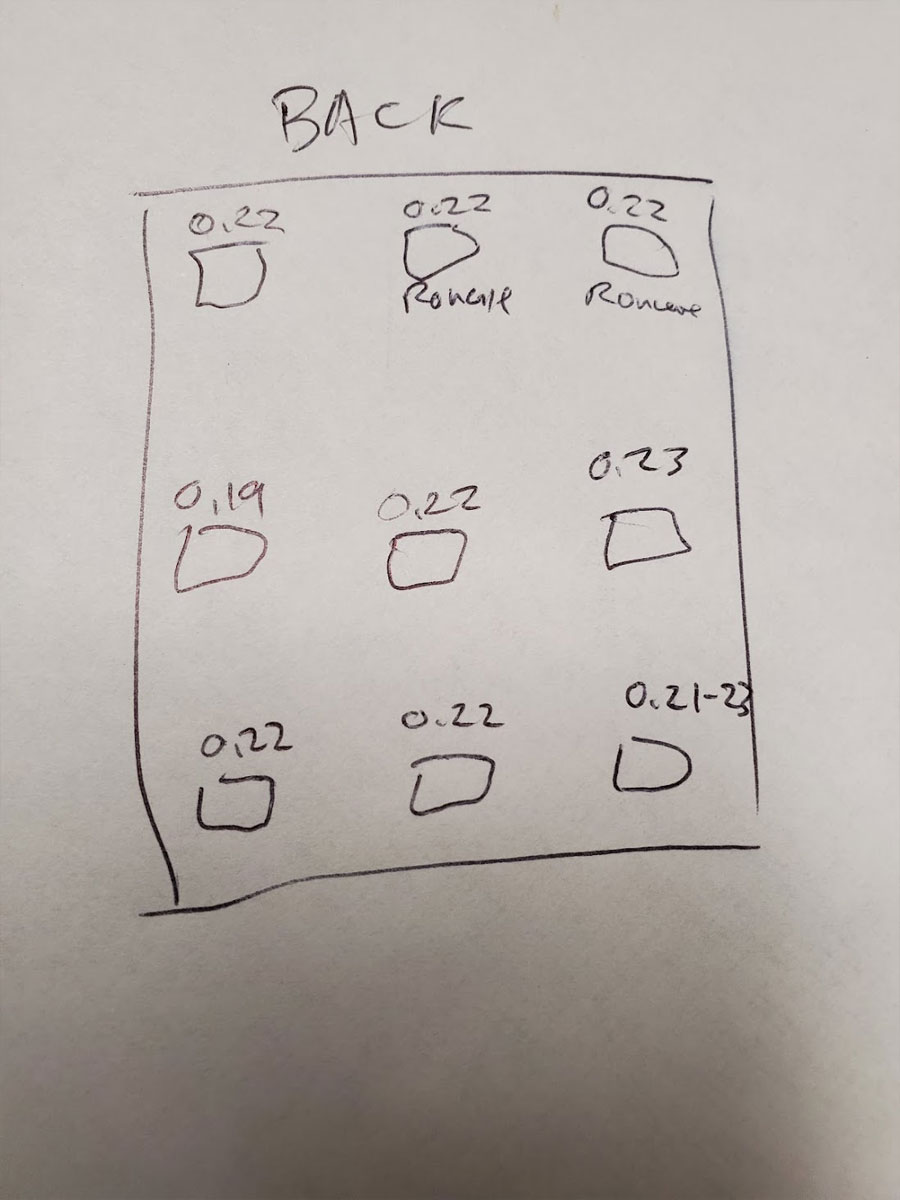
To install the sheet I just peeled back some on the edge and stuck it down for about 1" at the back of the plate, then pulled the paper off and sort of rolled and smoothed it out. Then I just set the z-offset, did an aux-level and finally an ABL and printed some test squares which mostly look OK (surprised anything is printing with the extruder arm grinding away like it is though).
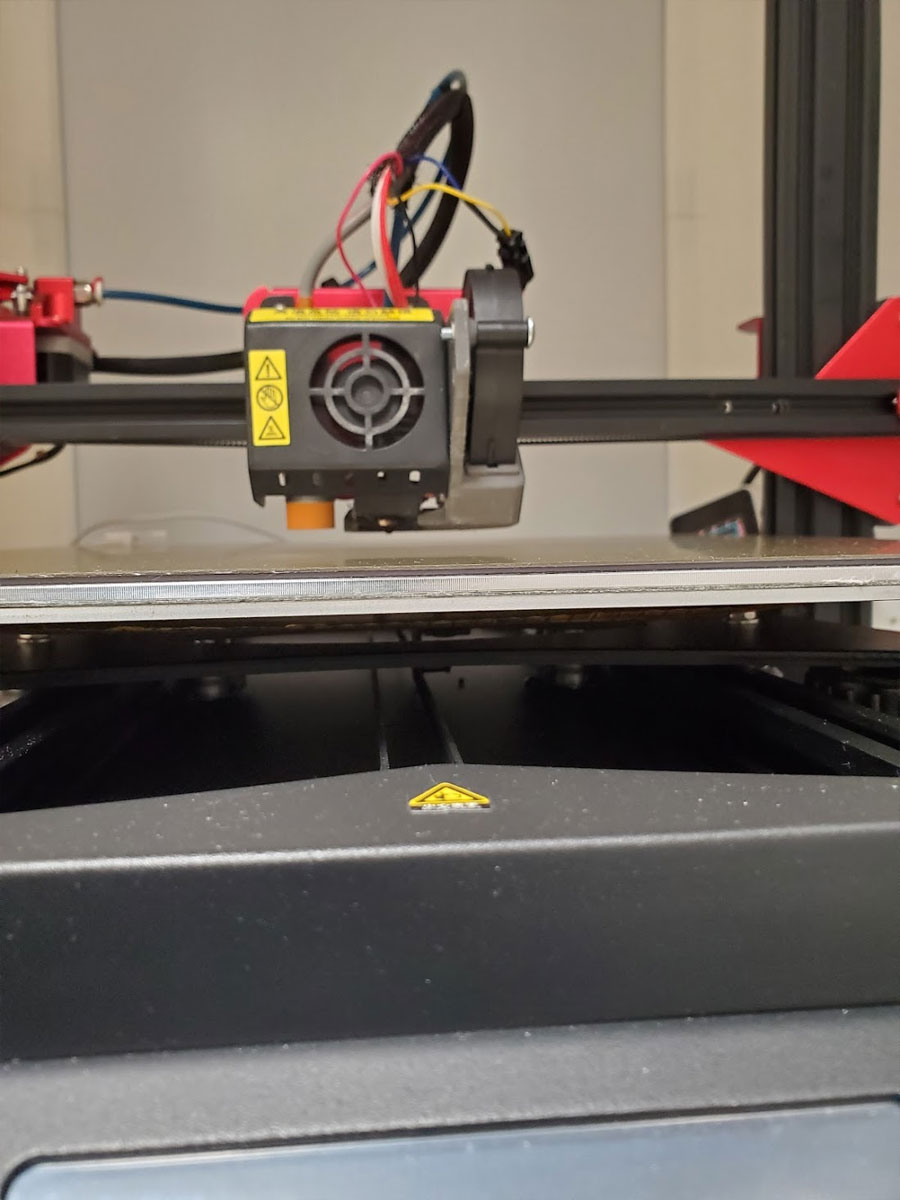
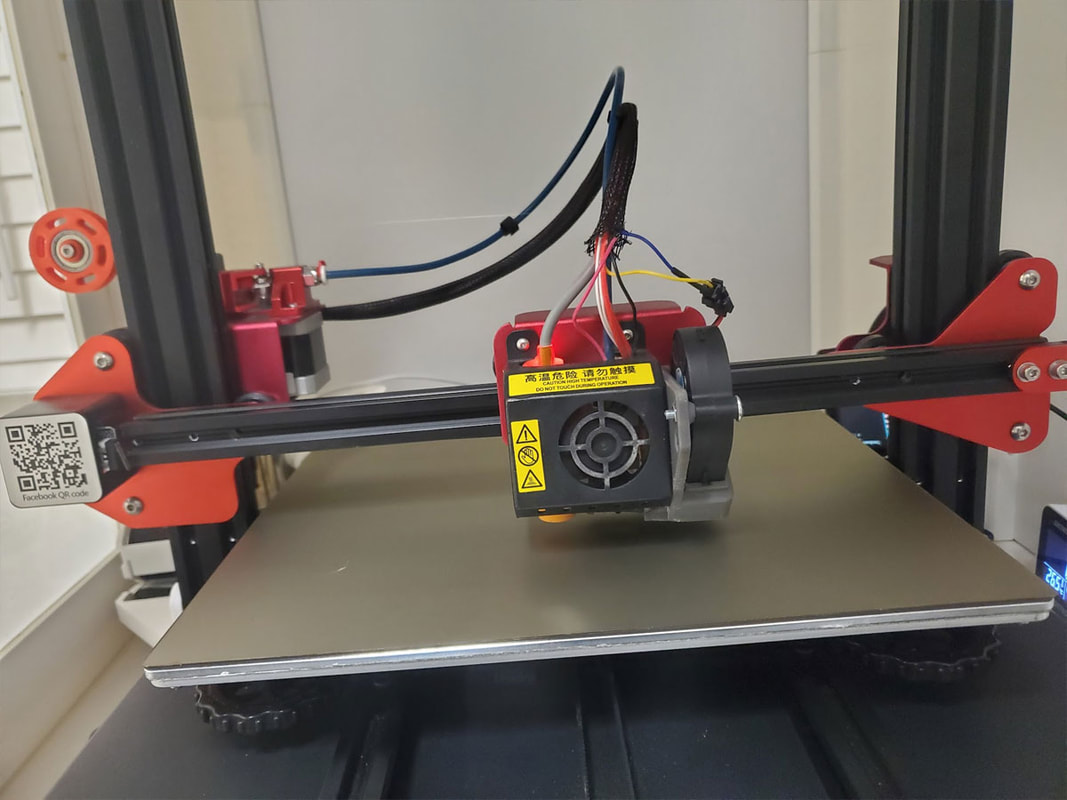
Below are some pics of the build plate install on the CR10S Pro:
I cannot locate any other spare arms right now, so I will need to figure something out here.
In the meantime, I went ahead and installed a new 310mm x 320mm flex steel build plate and the magnetic sticker which holds it in place. So far I'm liking this plate, which has a smooth PEI surface. I've been using one on my Ender3 and it is almost the perfect build surface, though I prefer the textured surfaces, but for the CR10S Pro a smooth plate was much less expensive. The CR10S Pro is a bit of an oddball as well, with a 320x310 bed, it is hard to find surface plates which fit properly. Of course I could use a 310x310 mm plate now, since the whole bed is magnetic.
I was a bit concerned how the magnetic sticker would affect the inductive probe which I previously swapped in place of the stock capacitive probe, but aside from a much higher z-offset it seems to work fine.
Another quirk of the CR10S Pro is that it has bed clips screwed into the heated bed, which hold a nice aluminum surface plate on. That system works well, but not so much for a flex plate install. I removed the clips, but still wanted to keep the flat aluminum plate, so I just drilled 4 holes to mount it the bed using some M3x12mm screws, washers and locknuts. That work perfectly and I just left the old PEI sheet attached to the other side of the aluminum plate (with the magnet sticker on the other side). I found that the screws are inset 8mm from the edge of the plate, and in the front the centers are 8mm from both sides. In the back, I chose to install one screw through the inboard holes for the clips and found that the centers of those holes are 85mm from the edge and 8mm inset from the back edge of the plate. I took some pics to show these dimensions. Then I just center punched, drilled some 9/64" holes, which were countersunk, then wet sanded everything with 220 or 320 grit sandpaper to get rid of any burrs of high spots.
Installation was just putting the four M3x12mm flat head screws in through the top of the plate, then I added a washer and the locknut. The stock install did not have washers but it seems like a good idea since the nuts were tightening against the printed back of the heated bed plate (though not in an area where anything was happening. UPDATE 12/30/2021 - I'm not certain, but I think that securing the plate in this way (using screws) may have warped the bed due to the expansion of the aluminum plate during heating. The original clips allowed some play for the plate to expand and contract with temperature, but the screws may not have and caused it to buck up in the middle. Also possible is that I warped the plate in the process of making this change, though I cannot point to anything that occurred that makes be believe this happened. What I have done since, is to widen the holes used to mount the plate and only tighten the screws snugly. I also had to resort to using some Kapton (style) tape in layers on the magnet to help with the problem since it was quite bad, even after adjusting the wheels with little effect (due to the warping of the bed plate). After the tape application it has improved greatly and I will post some pics of the meshes through that process in a later post.
To install the sheet I just peeled back some on the edge and stuck it down for about 1" at the back of the plate, then pulled the paper off and sort of rolled and smoothed it out. Then I just set the z-offset, did an aux-level and finally an ABL and printed some test squares which mostly look OK (surprised anything is printing with the extruder arm grinding away like it is though).
Below are some pics of the build plate install on the CR10S Pro:


 RSS Feed
