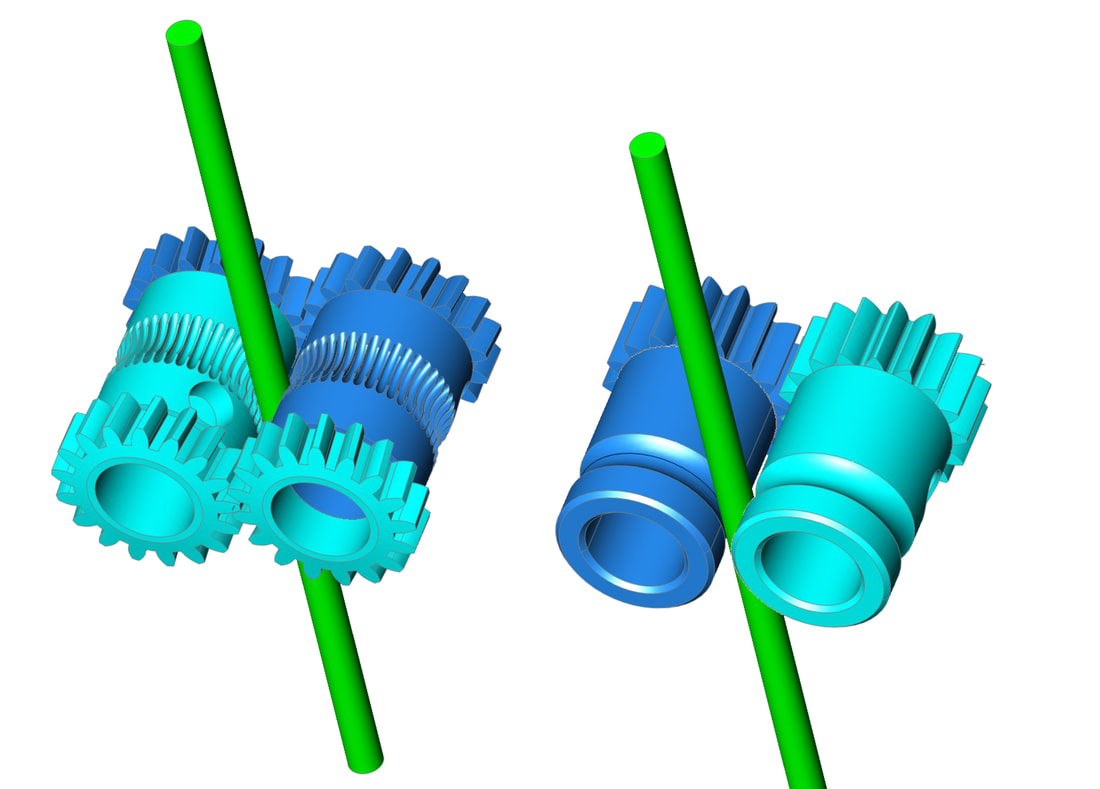
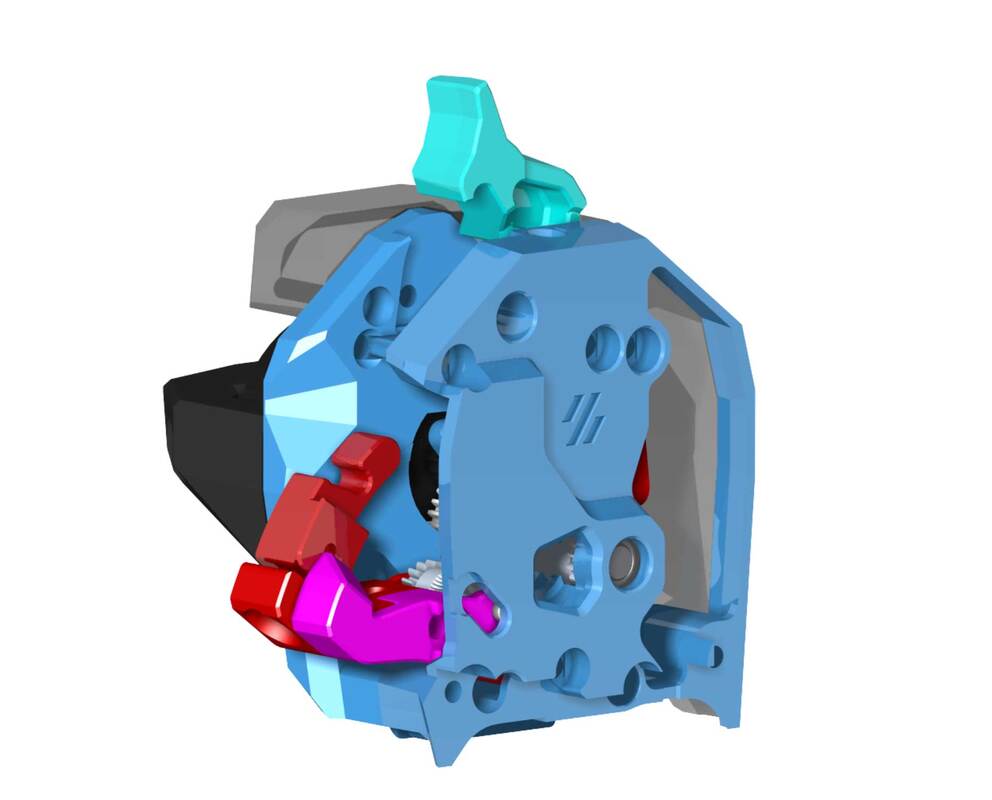
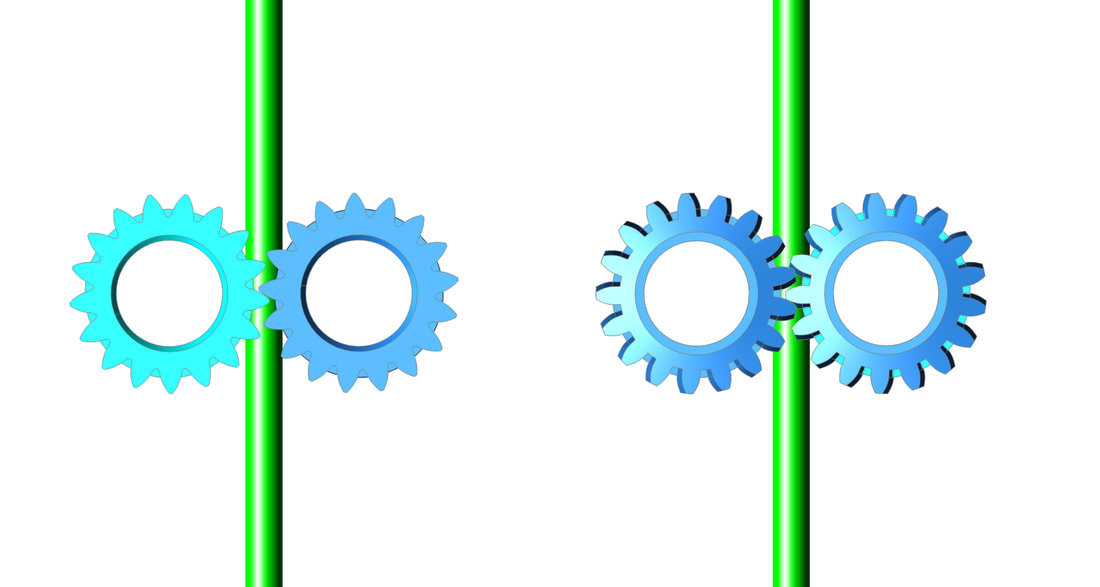
I spent several hours today working on this, and re-doing much of it simply because my first attempt was more of a hack job and the model had a bunch of errors. I ended up just cutting out the problem area and re-building it which fortunately worked. I'd say it's about 90% plus done at this point, but testing will of course probably prove that the last 10% is always the hardest. In any case I can't test this sucker for at least several weeks, but at least I can call it "done for now". Some drawbacks of this model are that it requires supports to print the cover plate, the screw lengths will change, and there had to be some compromises in the design of parts which required hacking off bits to make 'em fit. I tried to be judicious about that last part, and tried to bolster things where I could, but only testing will show if it was a bad idea that never could work, or if the parts will survive. I also am concerned if there will be enough clearance behind the fan, and I think my fancy adapter board will be out, since it mounts to the back of the fan. There may still be a possibility of a couple mm spacer if there is a problem with the clearance to the back of the fan being a problem. On the plus side, it should be a drop in clockworks, and the hardware is mostly the same M3 cap screws, just different lengths on several screws. I think that the benefits of helical gears like those used on the Mello Libra MINI could outweigh the potential issues though, but that is still relatively new and there is not a lot of info on it yet. Hopefully this will be worth the trouble.
The basis for the model I am modifying here is the Steathburner clockwork 2 (thanks to VoronDesign for posting the STP files!)
The basis for the model I am modifying here is the Steathburner clockwork 2 (thanks to VoronDesign for posting the STP files!)
  |   |
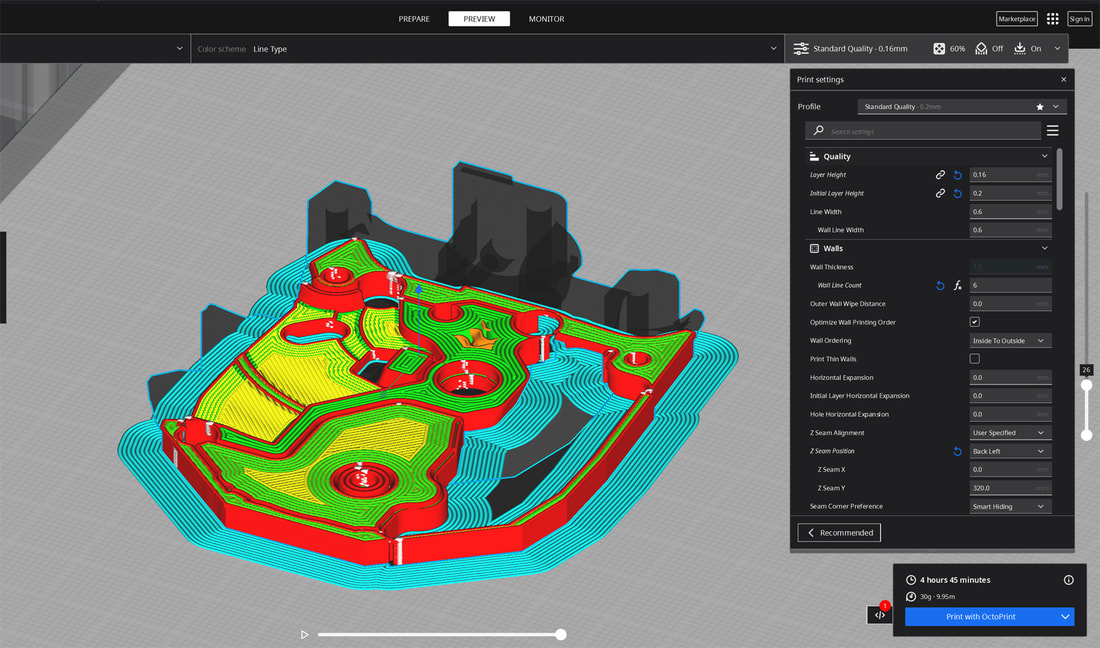
Update 10/15/2022: It has been a while since I finished the design on this, and was putting off printing it since the base part will have some serious supports. Since I could not figure out a way around the supports, I am gonna try something with a release layer. I made some custom supports, and my plan is to print with ironing on all the top layers, so the support interface is smooth. I will also pause the printer at the layer separating the supports and the model (layer 26 in the pics below), then I will apply some hairspray with a q-tip, as a release agent to the top of the ironed support, then the print will continue as normal from there. I don't know if this will work or not. But since I could not come up with a way around the supports, and I don't want it to look like hot garbage, I had to try something different. If the base prints OK, I will run the rest of the model, and test the fit. The current iteration of the design also drops some of the screws in favor of dowel pins, which I think may be more robust long term, for the various things that need to rotate on them.
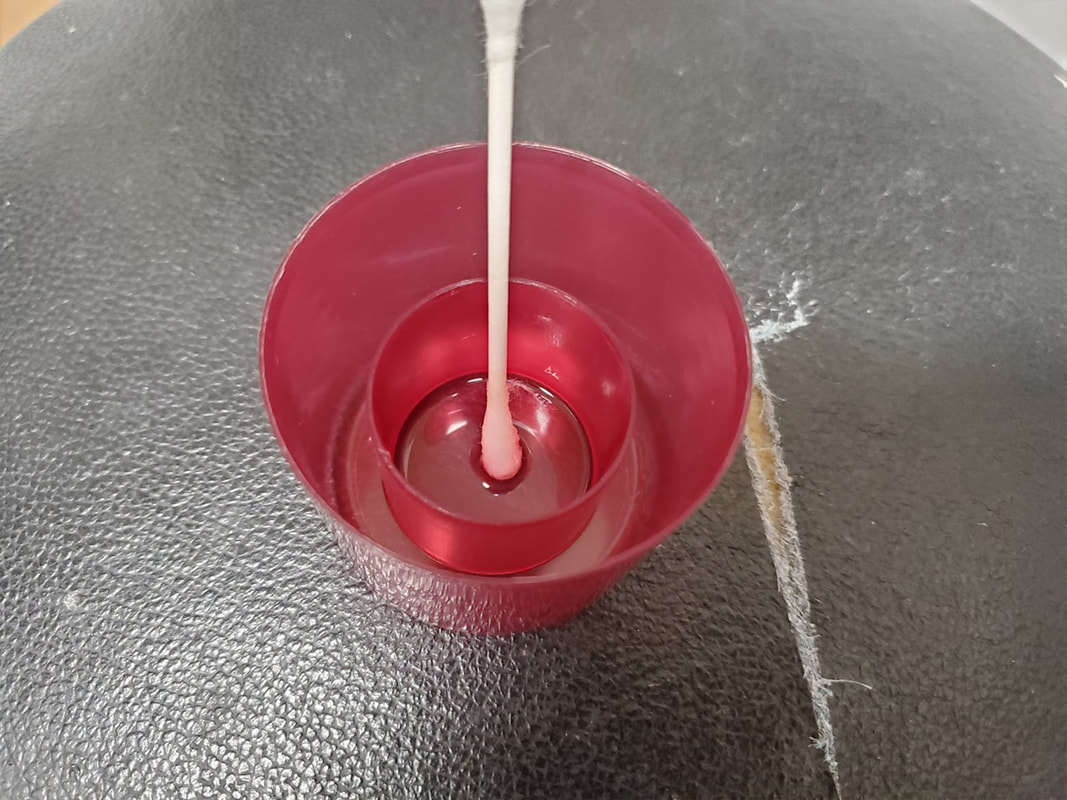
I'm waiting for this print to finish up, but added some pics to show how the hairspray was applied.
I'm waiting for this print to finish up, but added some pics to show how the hairspray was applied.
 |  |
 |  |
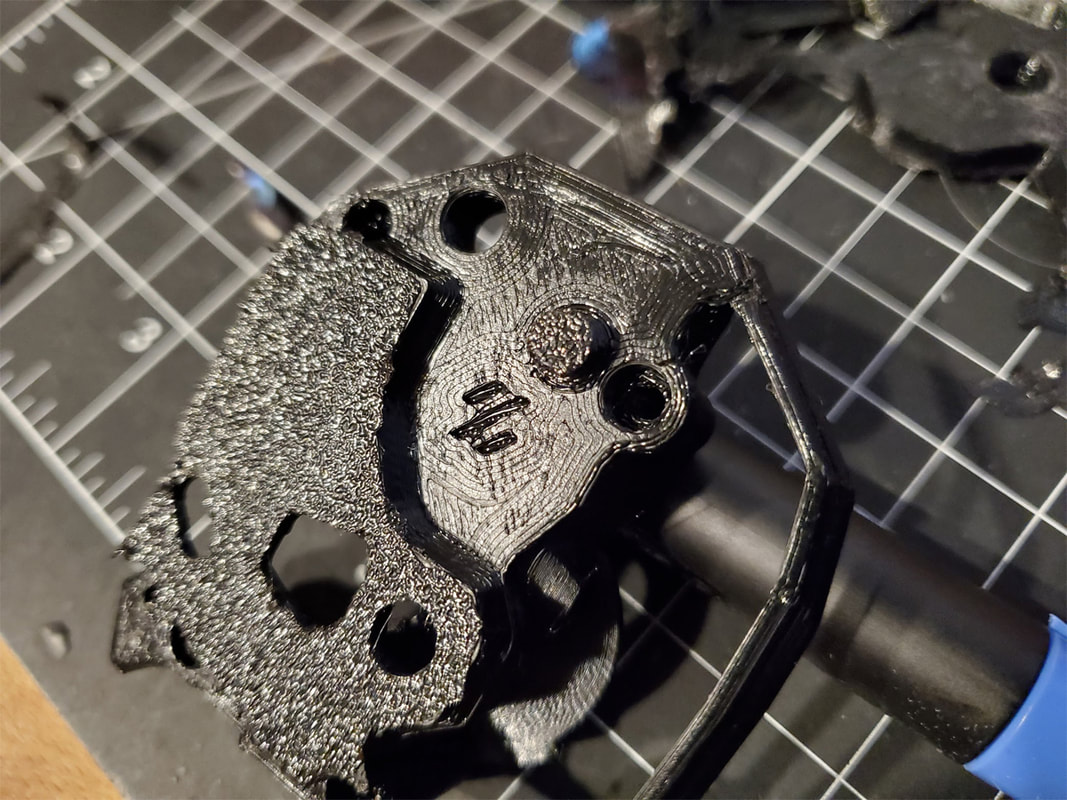
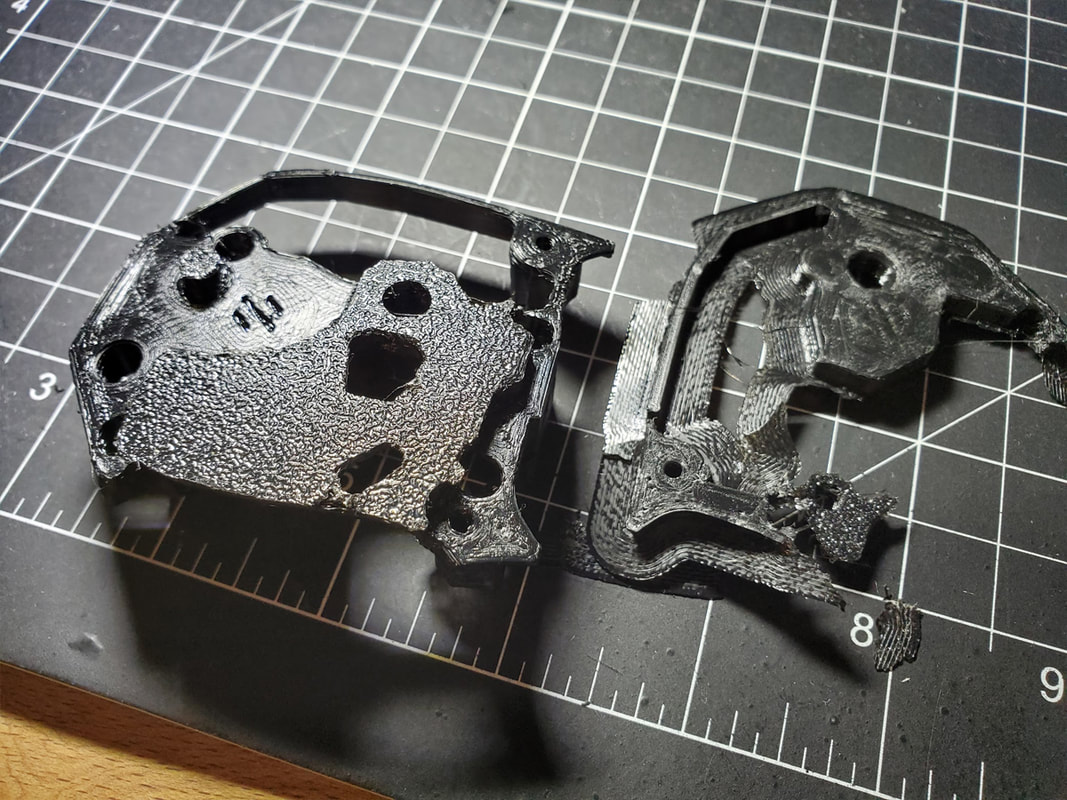
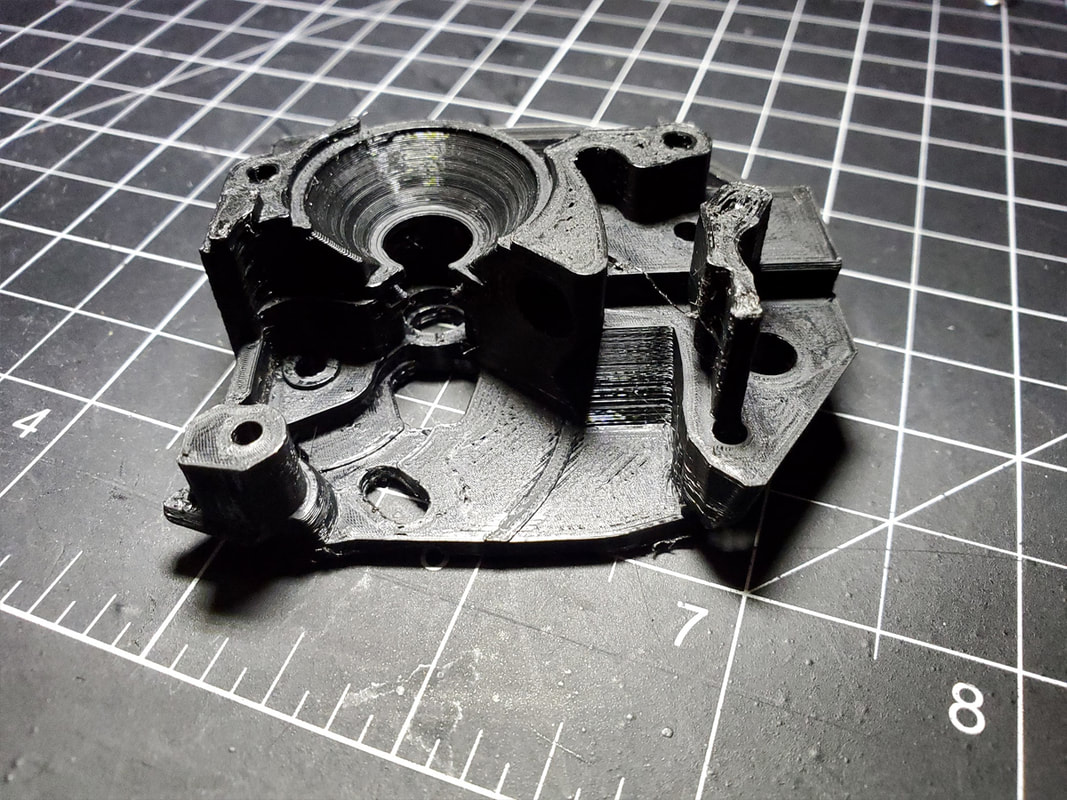
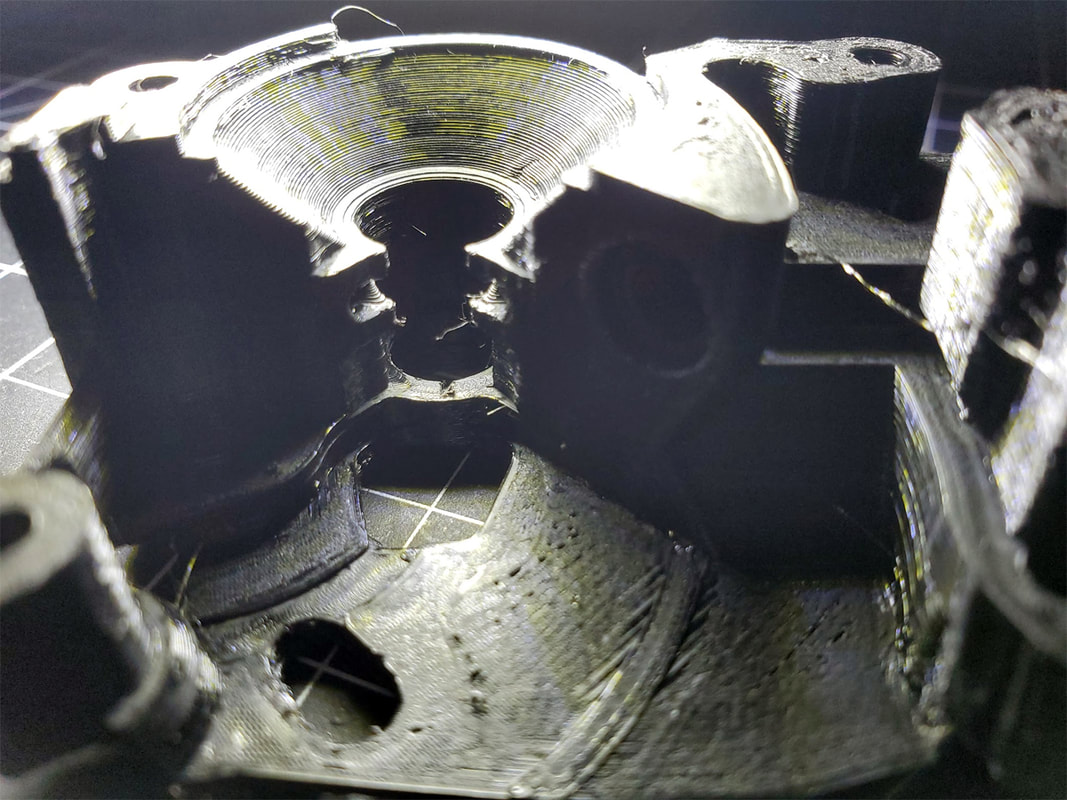
I just got the part off the printer and wow, it worked. The pics don't really do it justice, but the supported area is actually smooth! The supports also removed easily aside from one area where a small (and insignificant) part broke off with them. The pics below were before I did much cleanup on the part, but the main areas that need to be printed accurately appear to be good. The built in supports seem to have helped the filament guides print without sagging as well.
Update 10/16/2022: Well I think that was a bit optimistic of me to think it would be good. Turns out I somehow lost a mm or two and the alignment of the actual parts does not match the model I made. The problem is that in order to get the filament path to line up with the drive gear, a couple washers were needed on the side which the stepper attaches to. And that places the stepper gear too far out to make good contact. It's good news bad news though. The good news is that I may be able to squeak another couple mm of clearance out of the top part (or thicken it up by that much), and the bad news is that it is gonna take a bit of work to get things to align correctly. So this model is a dud, but I'm still printing the arms in case there are other interference issues I need to work on.
Update 5/1/2023: I lost one of the helical gears, so I'm not going to entertain this idea anymore. However there are now helical gears for the BMG clones, which look like an easy direct swap, without all the re-working of the clockwork to accommodate a different filament path through the extruder.
Update 5/1/2023: I lost one of the helical gears, so I'm not going to entertain this idea anymore. However there are now helical gears for the BMG clones, which look like an easy direct swap, without all the re-working of the clockwork to accommodate a different filament path through the extruder.


 RSS Feed
