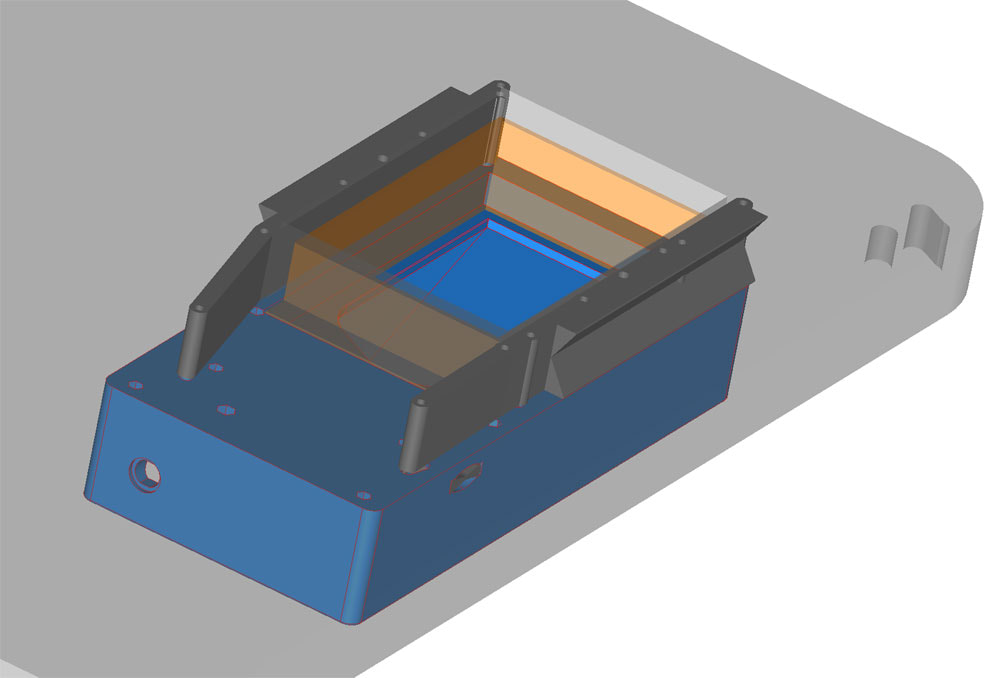
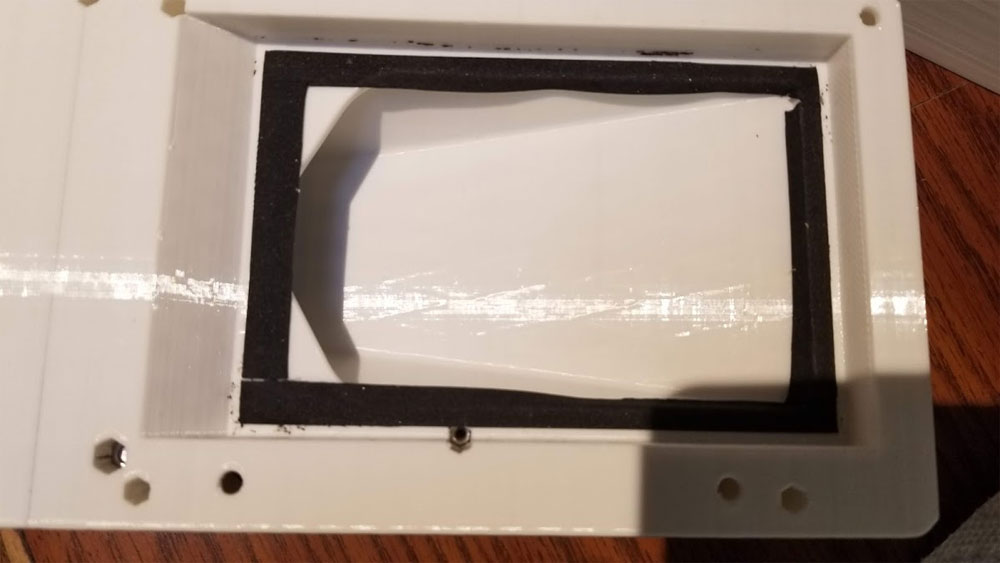
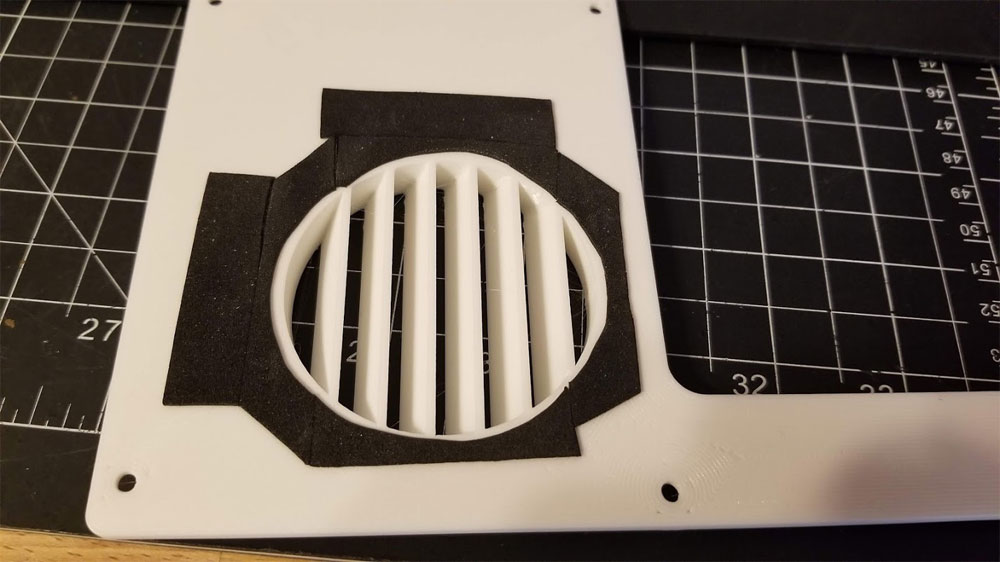
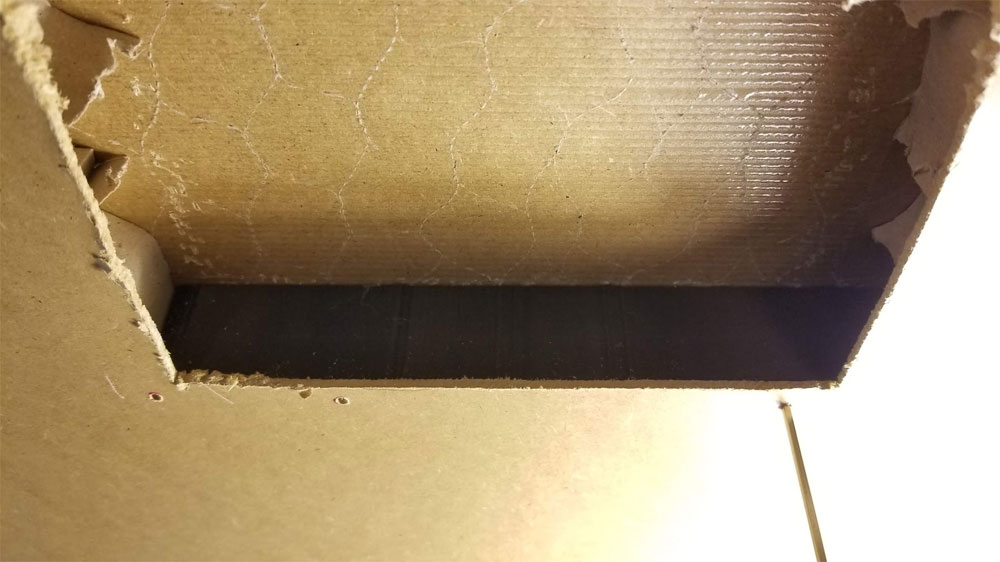
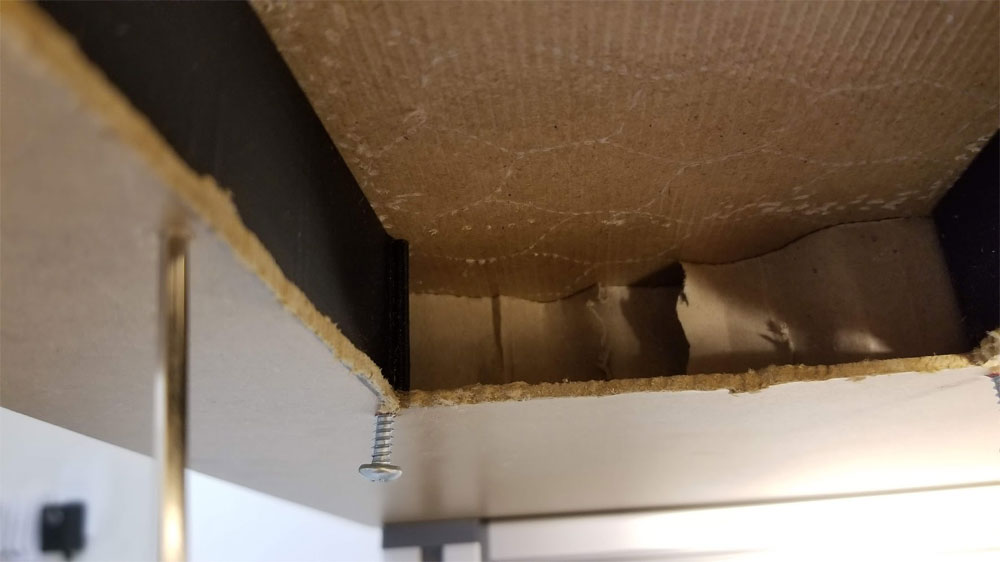
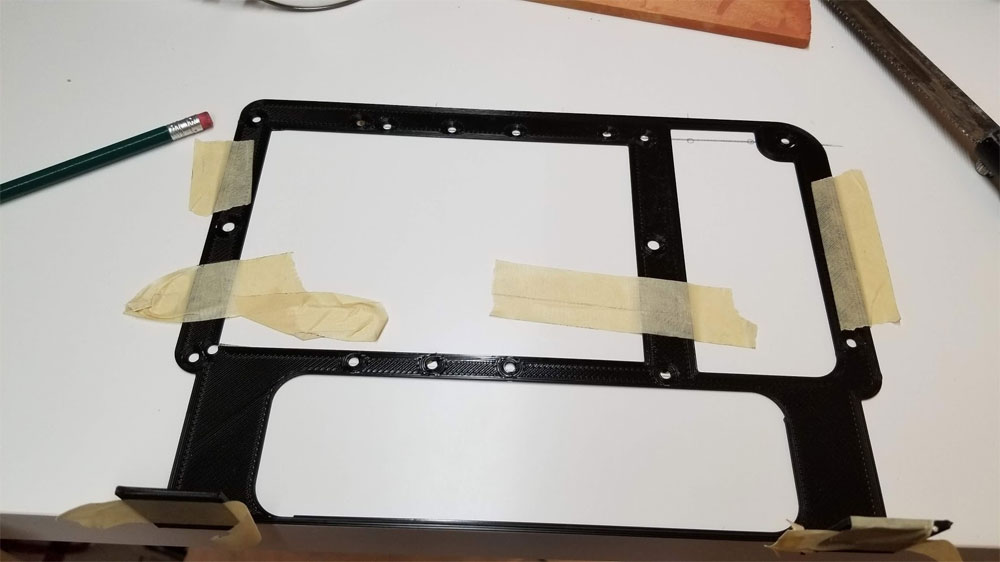
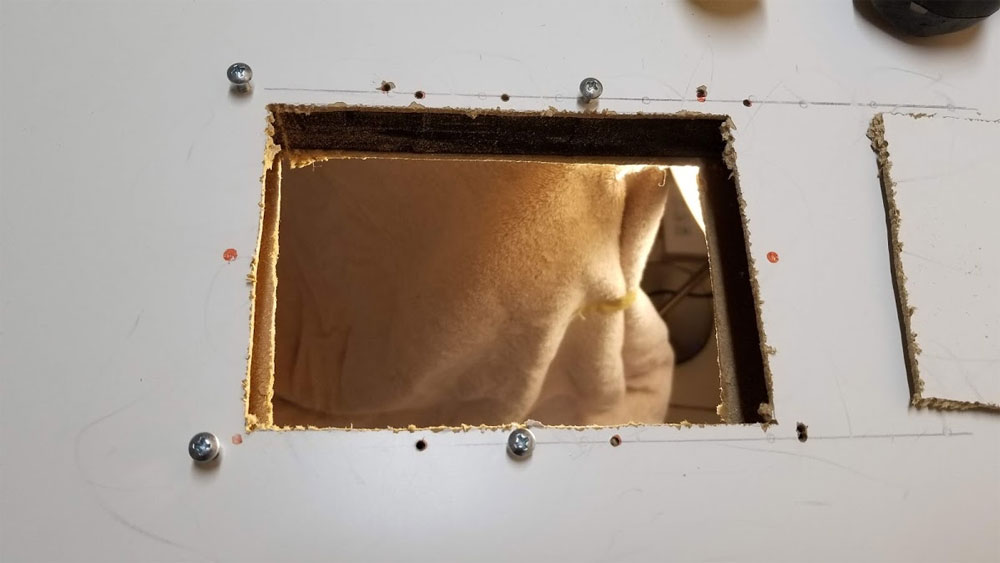
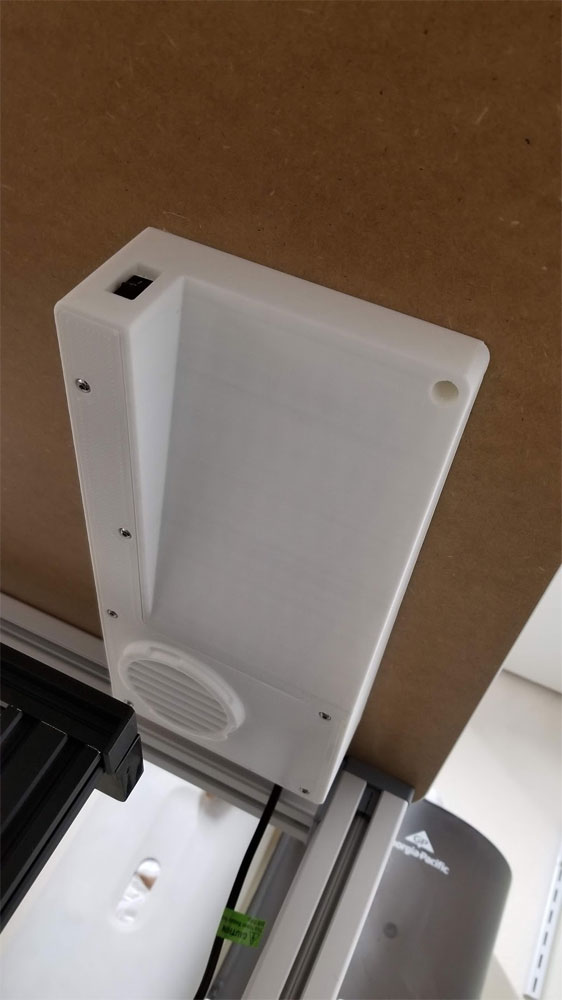
The Air Scrubber is finally installed, which required cutting a hole in my "enclosure". Fortunately my template and a bit of care in aligning things helped me get the hole in the right place. The hole had to be cut from the bottom and then the top separately, and I used some plastic bolsters which I printed to help with the alignment. The pics below show the process. There are two plastic bolsters which were installed inside the hollow top of the enclosure, which both gave me something to drill into and also assisted in aligning the template when I had to move it to the top to cut that hole.
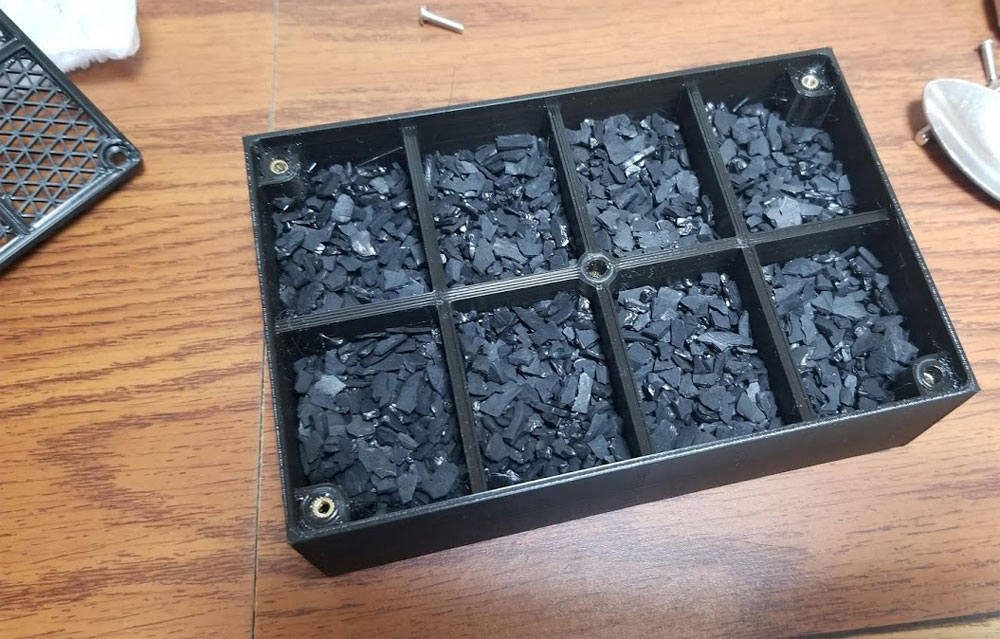
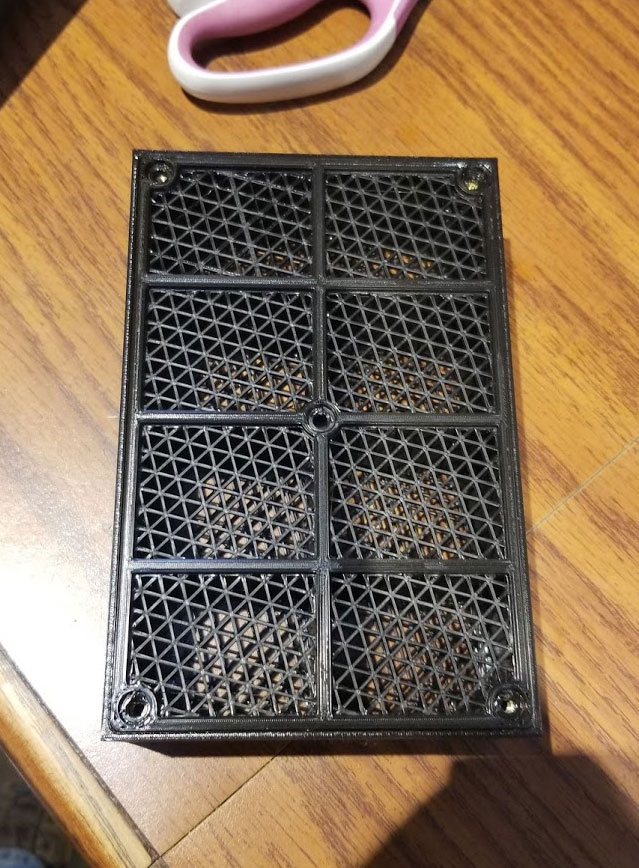
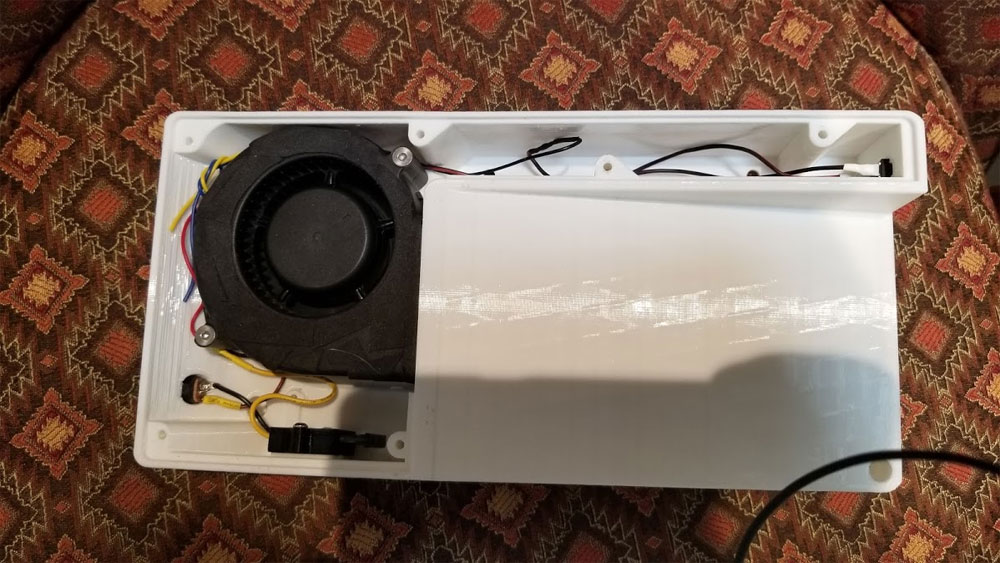
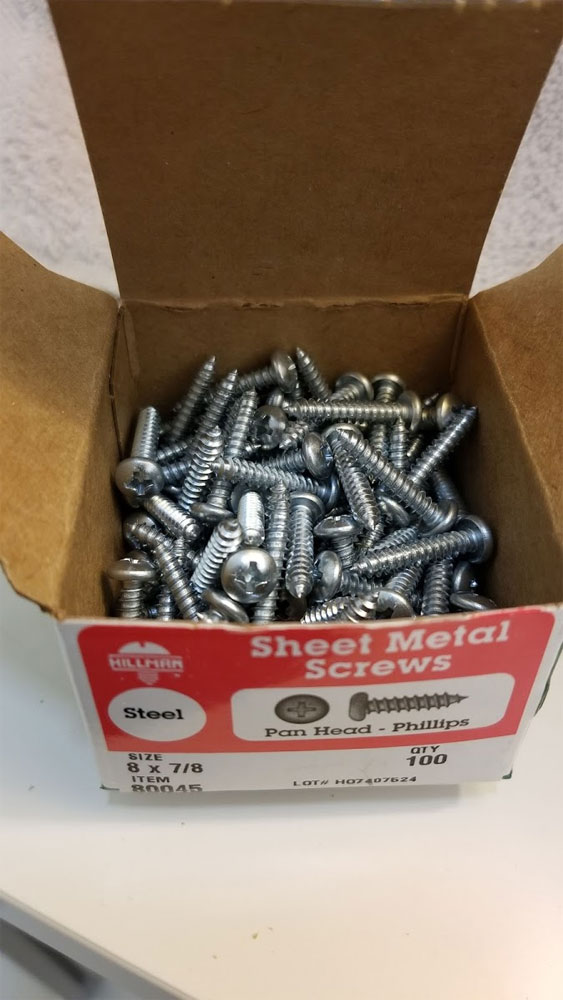
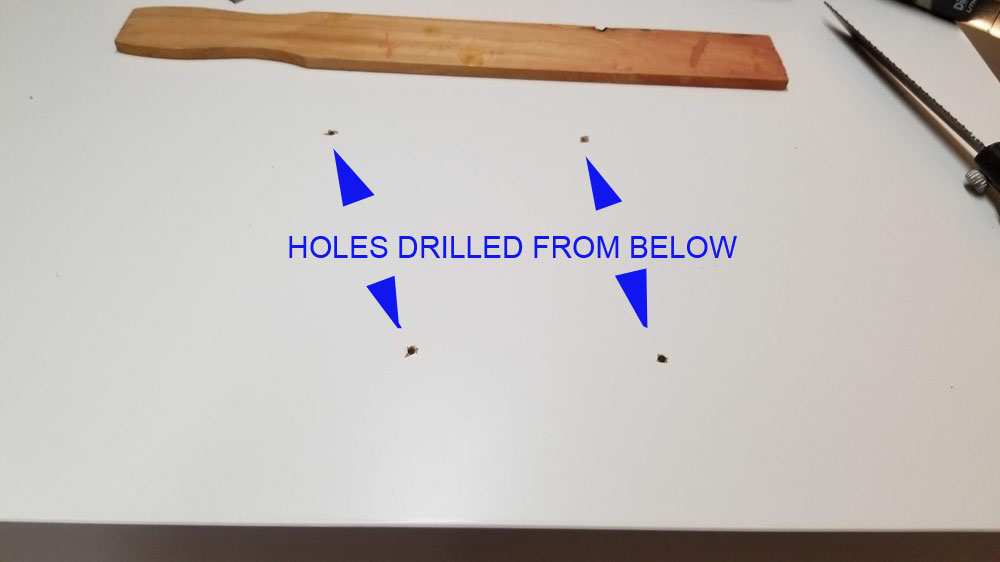
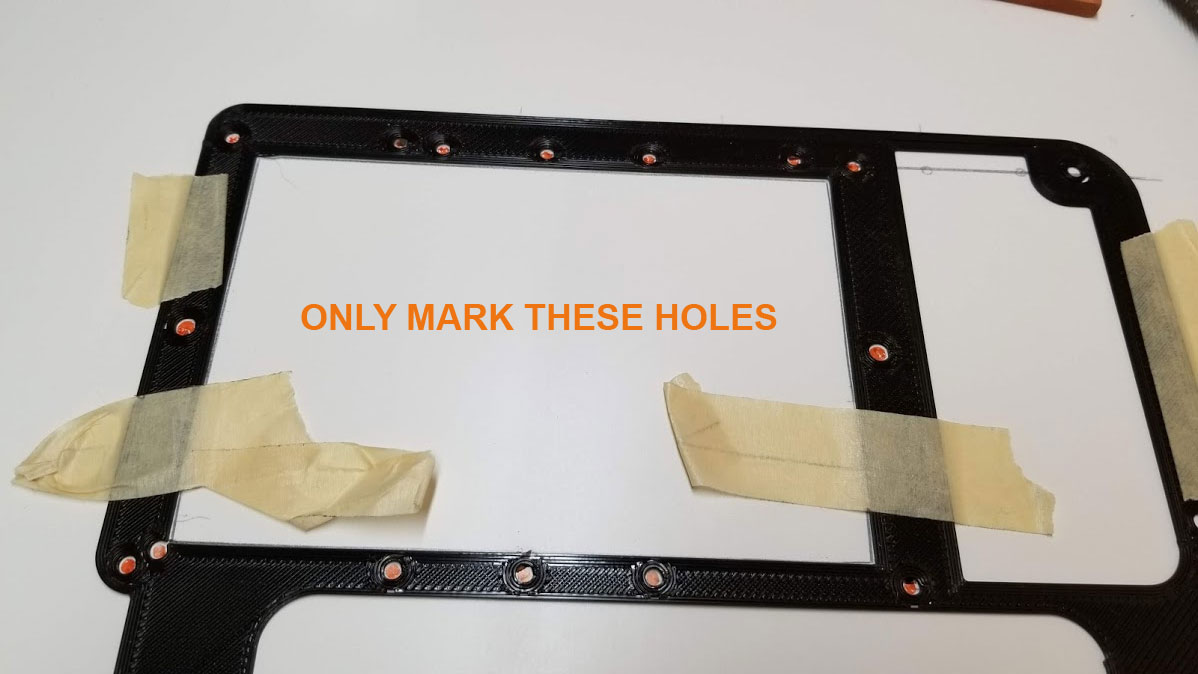
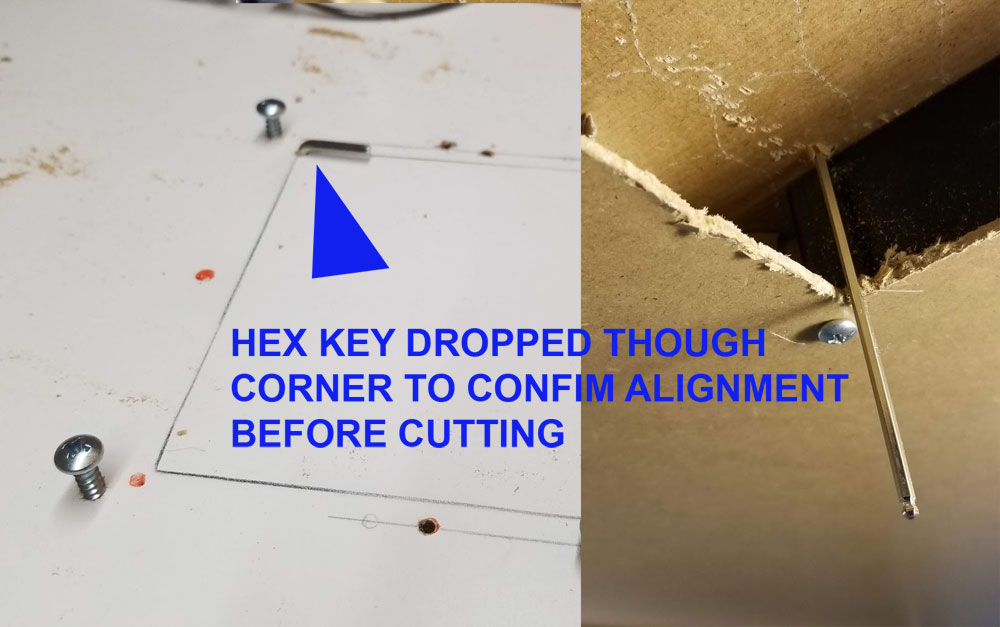
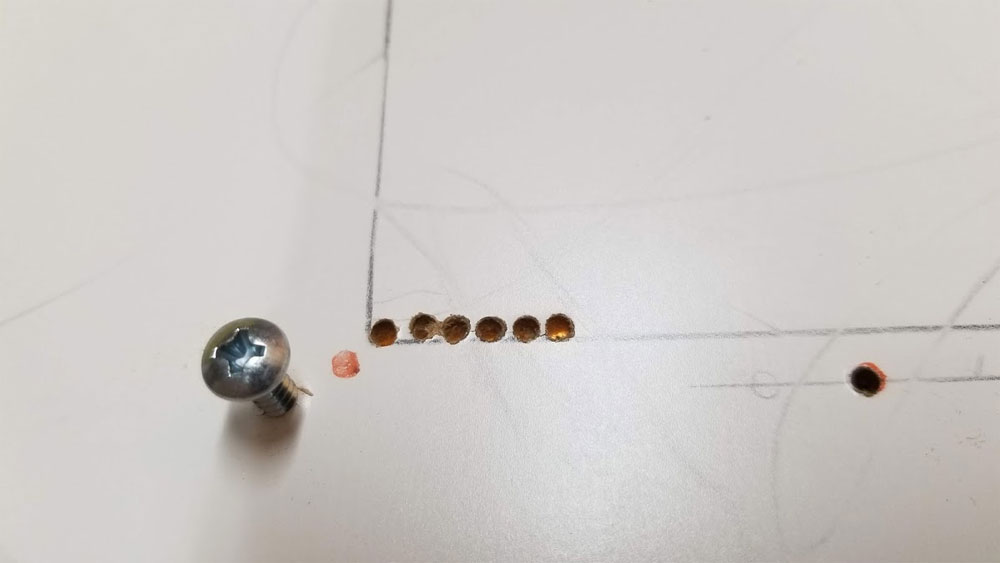
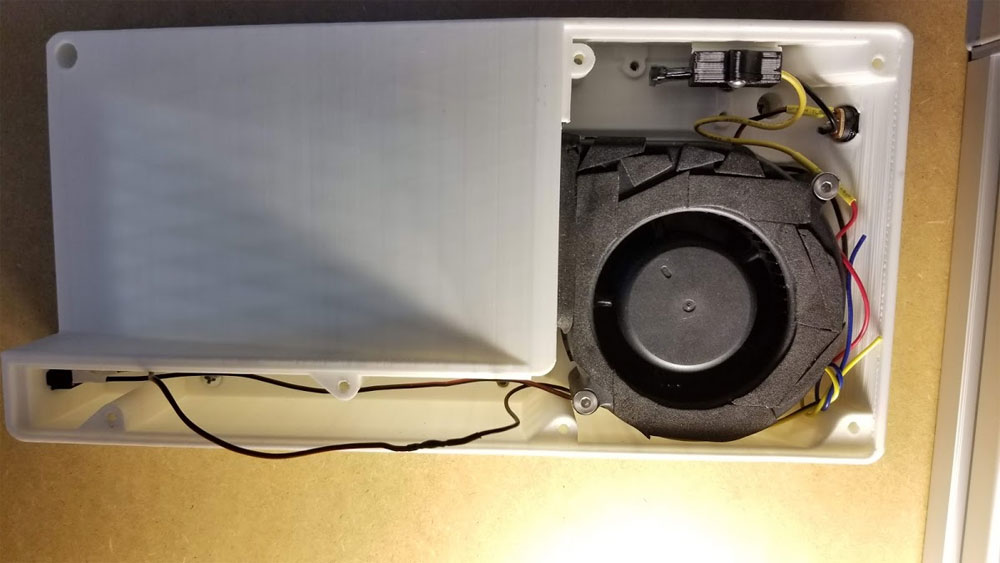
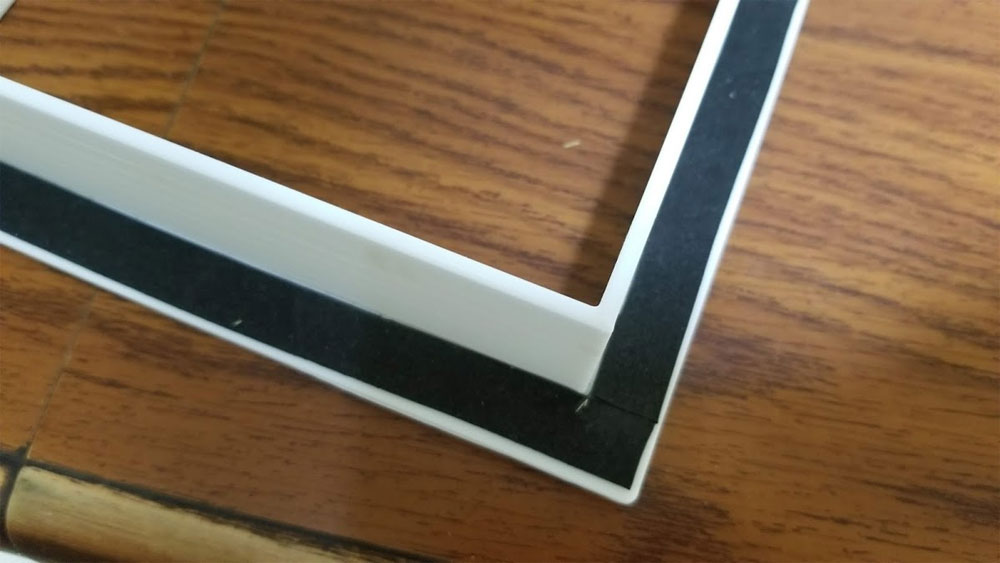
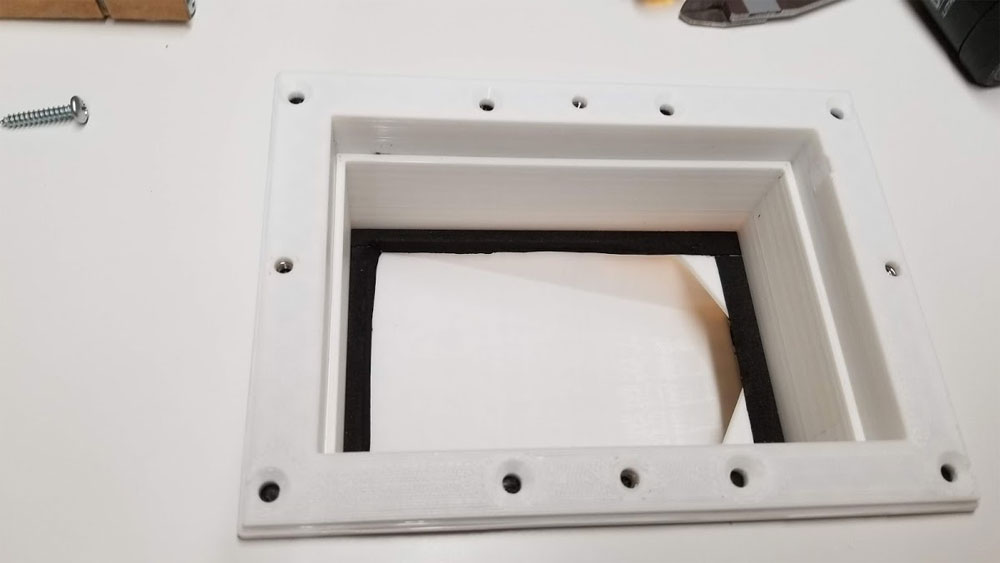
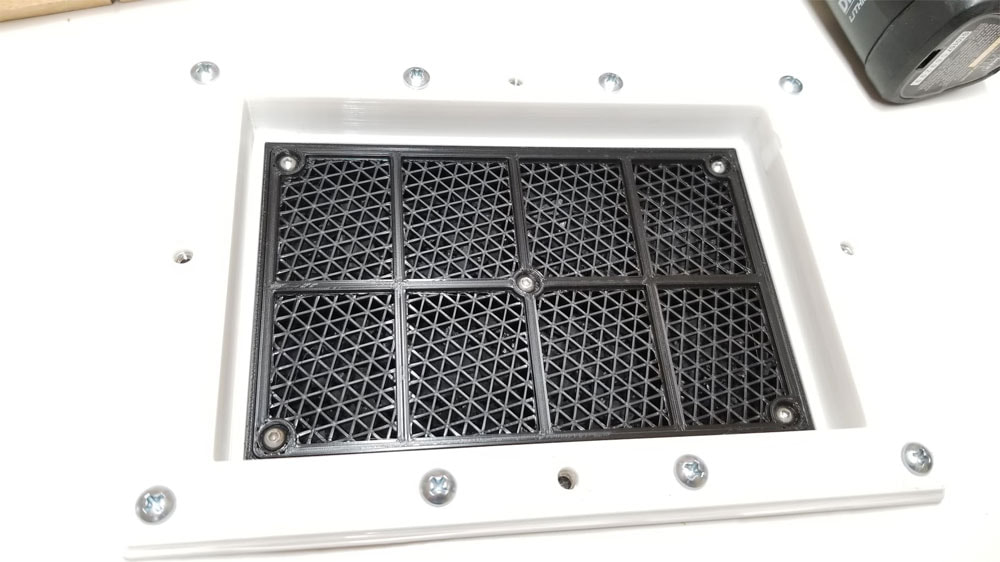
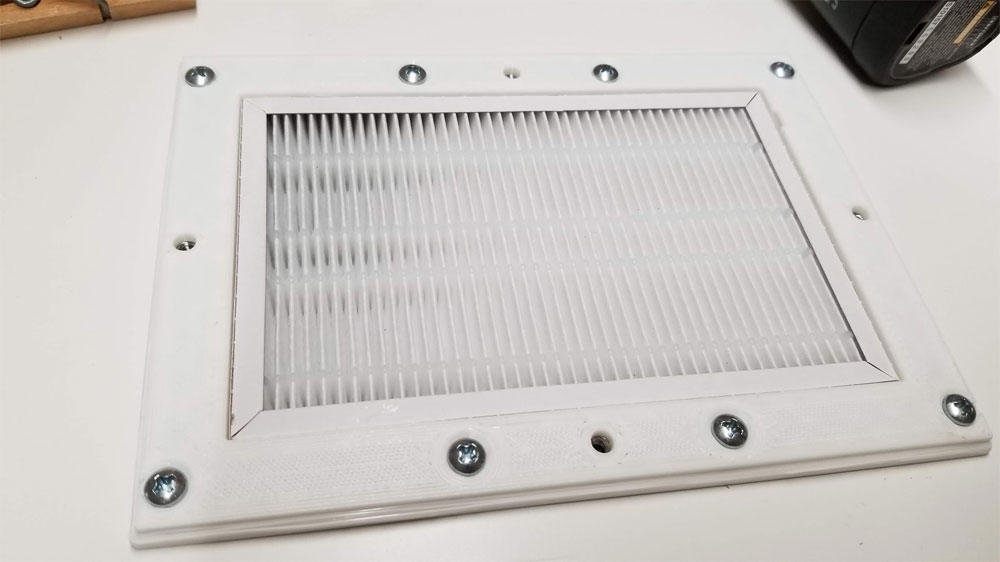
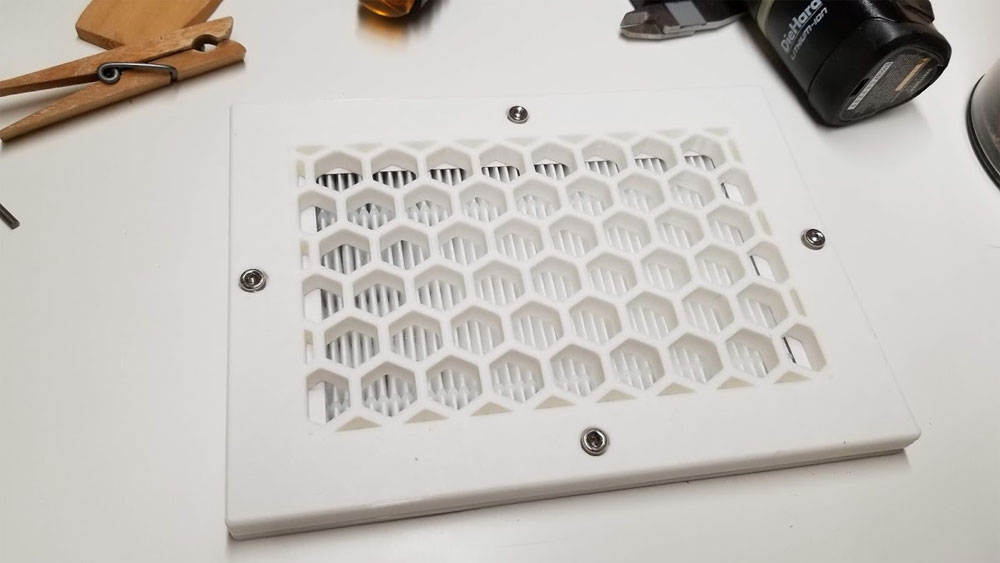
The process was to set up and mark the opening in the bottom of the enclosure top, using the template which has some tabs on it to assist in getting it parallel to the side. Then I drilled the holes for the bottom, cut the square hole, and ran some screws though and a couple additional holes which actually go on top, but I used those to align the bolsters and hold them in place from the bottom. Once I was pretty sure the bolsters were in the correct position, I drilled (from the bottom) though just a few of the holes that will be used for mounting the top. Those holes then helped me to align the template to the top, though it was not perfect. I found that the holes drilled though from the bottom were a few mm off so I used the template, which was aligned to the edge, and drew some lines in pencil which I was able to use to then align with the drilled holes. Once I knew where the template should go on top (using the drilled holes from below, and the template itself, which was parallel to the edge of the top of the enclosure), I marked out the holes that would be needed for the top, and the square cutout. The rest was the same process as cutting out the holes from below. Once the holes cut on the top, I mounted the scrubber from below. There is one mounting screw location in the scrubber which is inaccessable since the fan covers it, so I had to widen that into a key. The scrubber was then mounted from below using four #8 7/8" screws which went though the board material of the top, and then into the plastic bolsters. Next the top was attached which required a bit of cleaning up the cut edges of the top with a razor blade. I added some 1mm thick neoprene gasket tape to the underside of the top to assist in sealing (this was also used inside the filter in several places to assist with sealing). Finally the carbon filter, then the HEPA filter were installed, followed by the lid, which is held in place by four M4 cap screws.
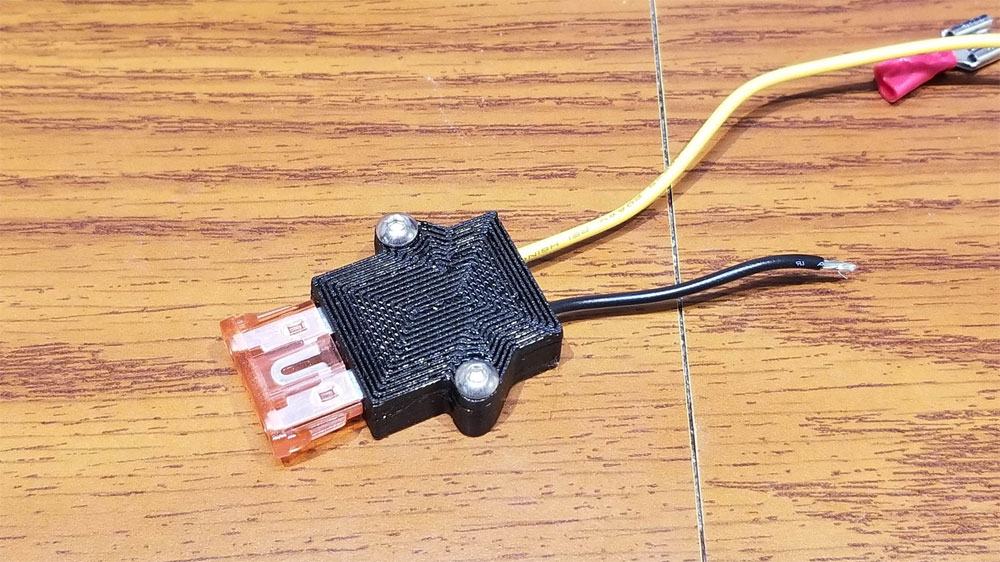
I have it connected to a 12v 3A supply and from prior testing it pulls less than an amp and is not obnoxiously loud. I added a 2A fuse on it and my updated model has the fuse integrated in the design using a fuse holder available at thingiverse - which was posted there by sk8rjess and originally created by Erik Cederberg (https://www.youmagine.com/meduza) and made available under the Creative Commons Share Alike License.
I am still testing this and can tell that it will move air, there is a slight breeze from the filter when I put my hand over the exhaust. I do not have my "enclosure" enclosed however, so I have yet to test it in the application I intended it for. The hose idea, which was to use a C-PAP hose to pull air from around the hot end and filter that directly does not appear to have enough suction, but it is an idea I may come back to later (thinking of doubling the hose up for more cross section).
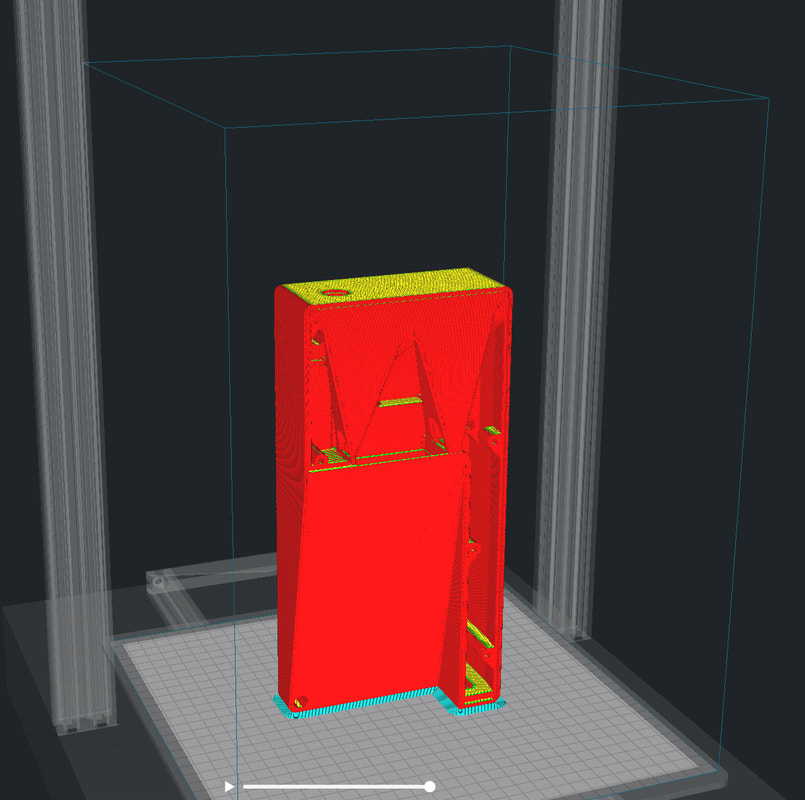
I plan to post this up to Thingiverse when I am comfortable with the design and have run it for a bit. Update - here it is.
Full Instructions here.
The process was to set up and mark the opening in the bottom of the enclosure top, using the template which has some tabs on it to assist in getting it parallel to the side. Then I drilled the holes for the bottom, cut the square hole, and ran some screws though and a couple additional holes which actually go on top, but I used those to align the bolsters and hold them in place from the bottom. Once I was pretty sure the bolsters were in the correct position, I drilled (from the bottom) though just a few of the holes that will be used for mounting the top. Those holes then helped me to align the template to the top, though it was not perfect. I found that the holes drilled though from the bottom were a few mm off so I used the template, which was aligned to the edge, and drew some lines in pencil which I was able to use to then align with the drilled holes. Once I knew where the template should go on top (using the drilled holes from below, and the template itself, which was parallel to the edge of the top of the enclosure), I marked out the holes that would be needed for the top, and the square cutout. The rest was the same process as cutting out the holes from below. Once the holes cut on the top, I mounted the scrubber from below. There is one mounting screw location in the scrubber which is inaccessable since the fan covers it, so I had to widen that into a key. The scrubber was then mounted from below using four #8 7/8" screws which went though the board material of the top, and then into the plastic bolsters. Next the top was attached which required a bit of cleaning up the cut edges of the top with a razor blade. I added some 1mm thick neoprene gasket tape to the underside of the top to assist in sealing (this was also used inside the filter in several places to assist with sealing). Finally the carbon filter, then the HEPA filter were installed, followed by the lid, which is held in place by four M4 cap screws.
I have it connected to a 12v 3A supply and from prior testing it pulls less than an amp and is not obnoxiously loud. I added a 2A fuse on it and my updated model has the fuse integrated in the design using a fuse holder available at thingiverse - which was posted there by sk8rjess and originally created by Erik Cederberg (https://www.youmagine.com/meduza) and made available under the Creative Commons Share Alike License.
I am still testing this and can tell that it will move air, there is a slight breeze from the filter when I put my hand over the exhaust. I do not have my "enclosure" enclosed however, so I have yet to test it in the application I intended it for. The hose idea, which was to use a C-PAP hose to pull air from around the hot end and filter that directly does not appear to have enough suction, but it is an idea I may come back to later (thinking of doubling the hose up for more cross section).
I plan to post this up to Thingiverse when I am comfortable with the design and have run it for a bit. Update - here it is.
Full Instructions here.


 RSS Feed
