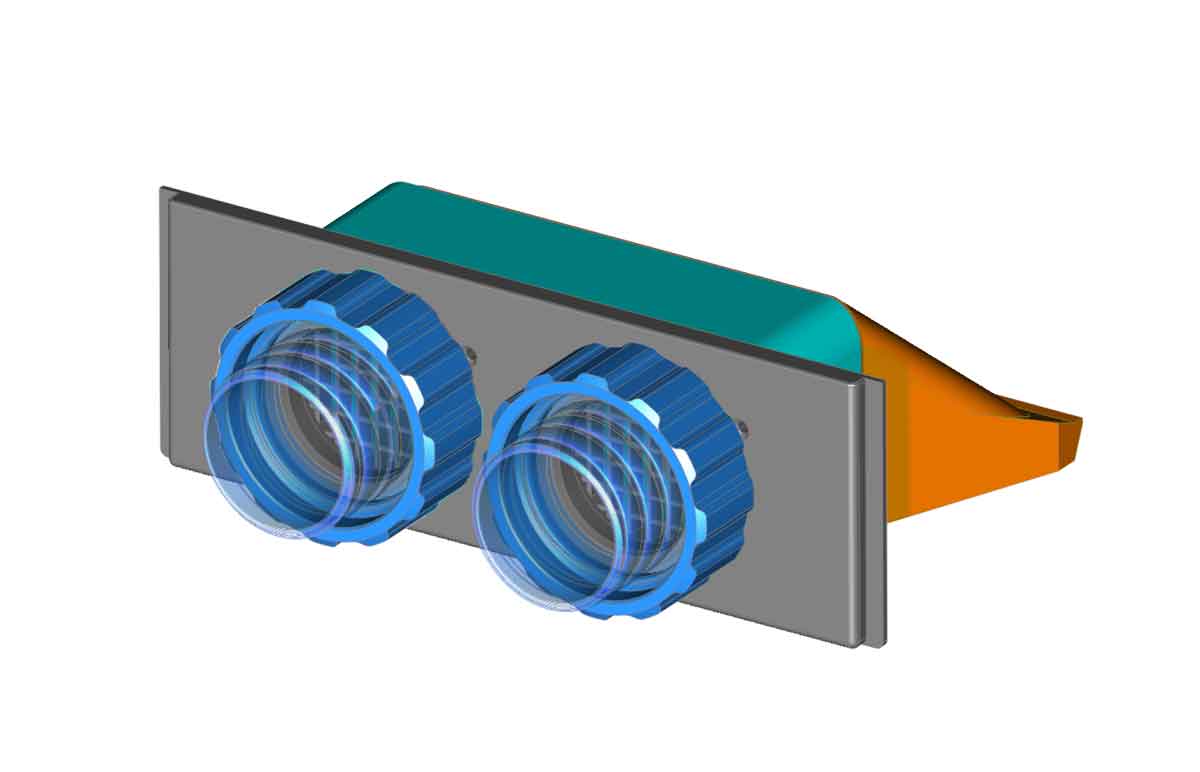
My printer is currently ducted outside via an unused doggie door, and it's been working well. However I want to connect two printer ducts now (and the current pass through only allows one). Additionally, I thought it would be worth trying to add some flappers on the outlet, to help keep bugs from getting into the hose. Any bugs that do get in, cannot get in the house since they would be stopped by a HEPA filter, but it's still better to keep them out as much as possible. One part of this is a bit too large for my X1C, so I will either need to split it, or hook up my CR10S Pro to spit it out (I'll probably just split it). Once I get this pass though installed, I can then install my booster duct fan and test it out with the X1C.
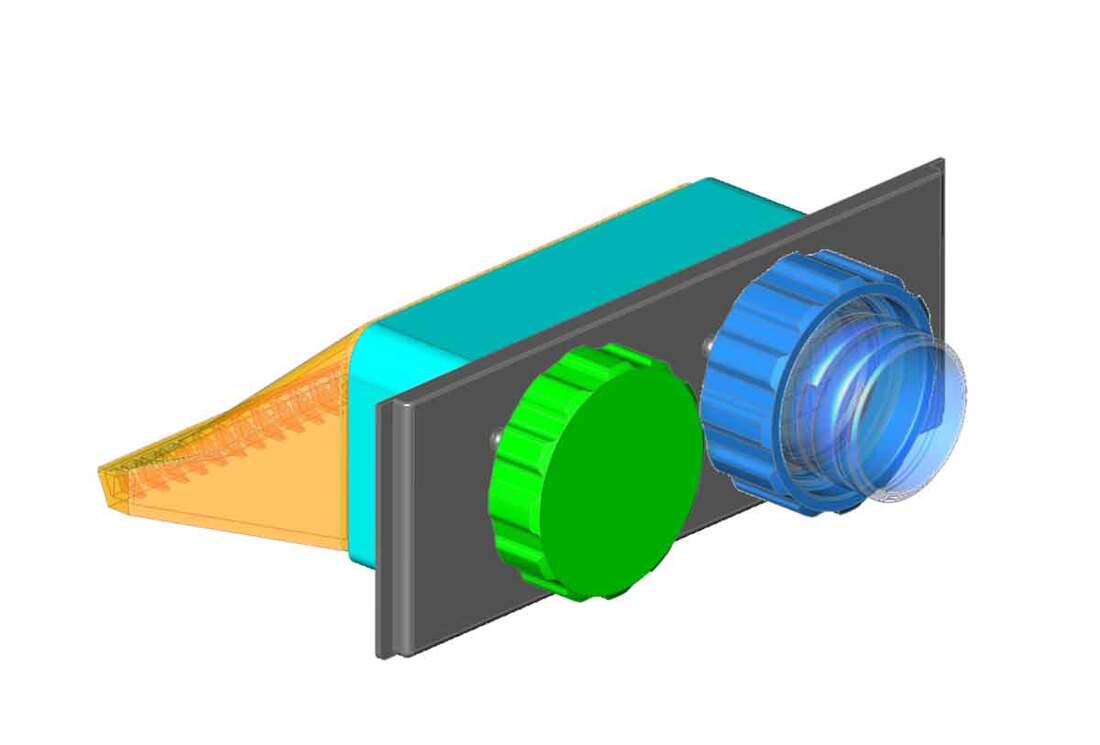
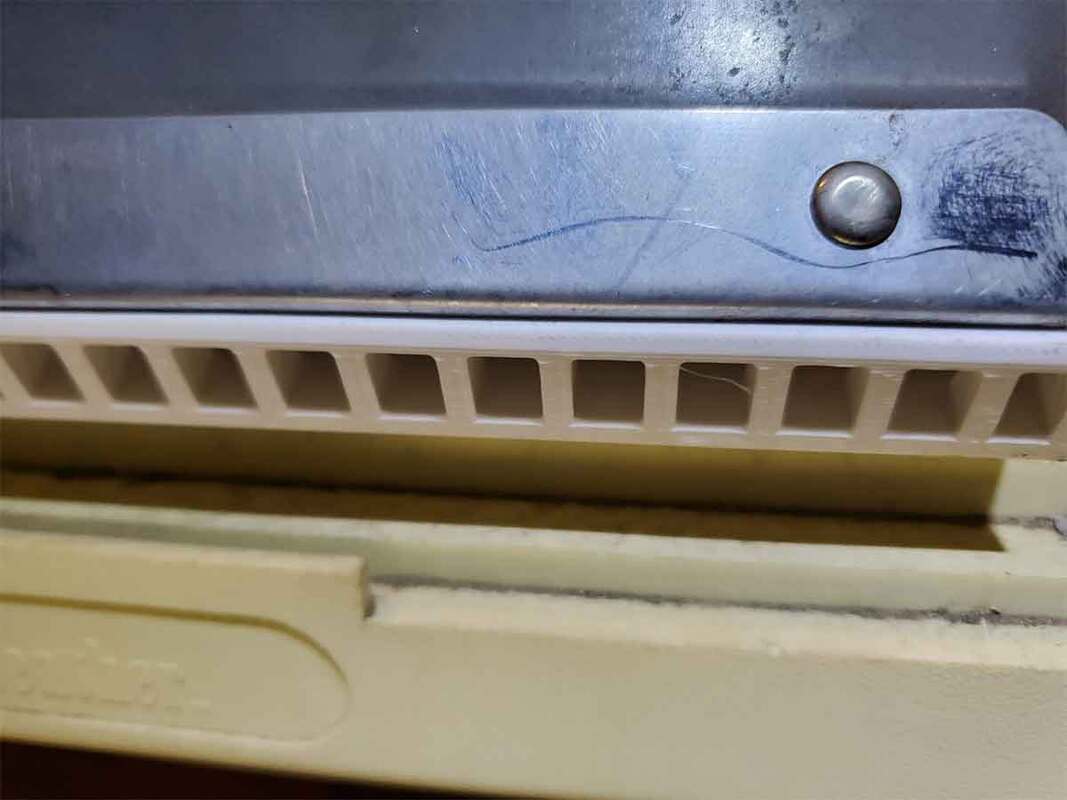
Update 1/22/2024: Whoopsie :D Somewhere along the line during the drawing of the plate with the vents in it, I mirrored the one side with threads, which is a no-no. It resulted in left hand threads on one side (this can be seen in the left pic above though its difficult due to the resolution). Fortunately I split the plate, so I only need to re-print one side. After going back to the model though, I decided to add a version which can use brass inserts, and also increased the wall thickness around the inserts (which are M4). I'm printing it now, and expect this will be a day or two, since it's almost a day or print time between all the parts.
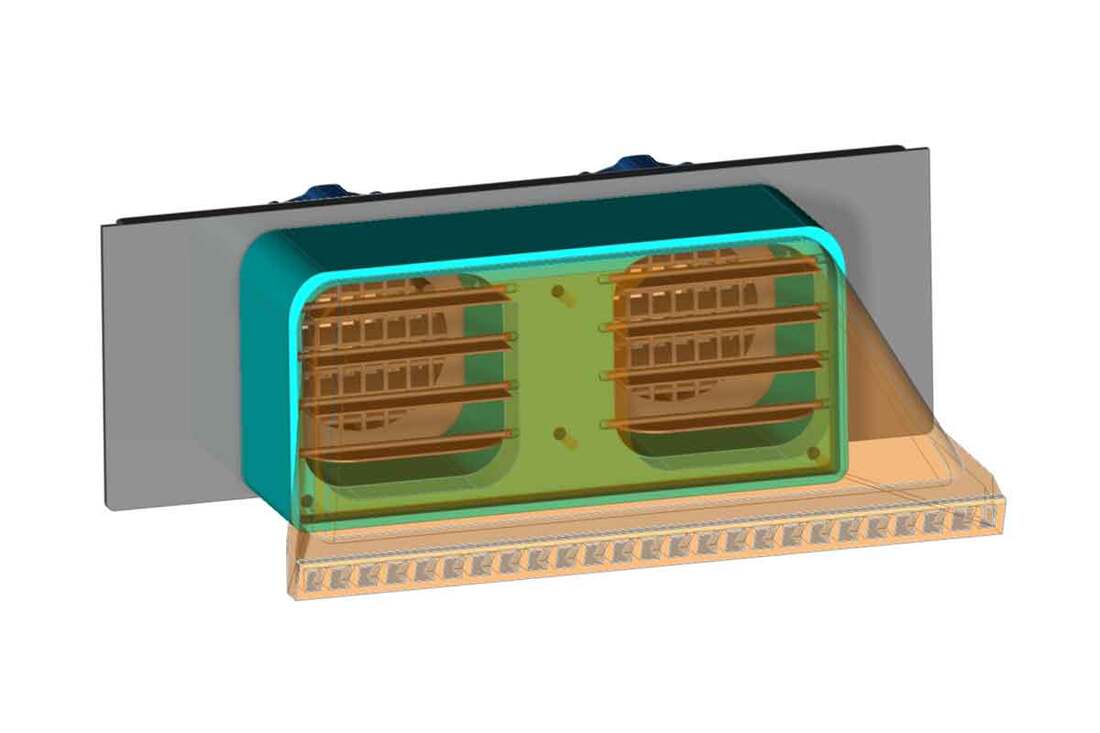
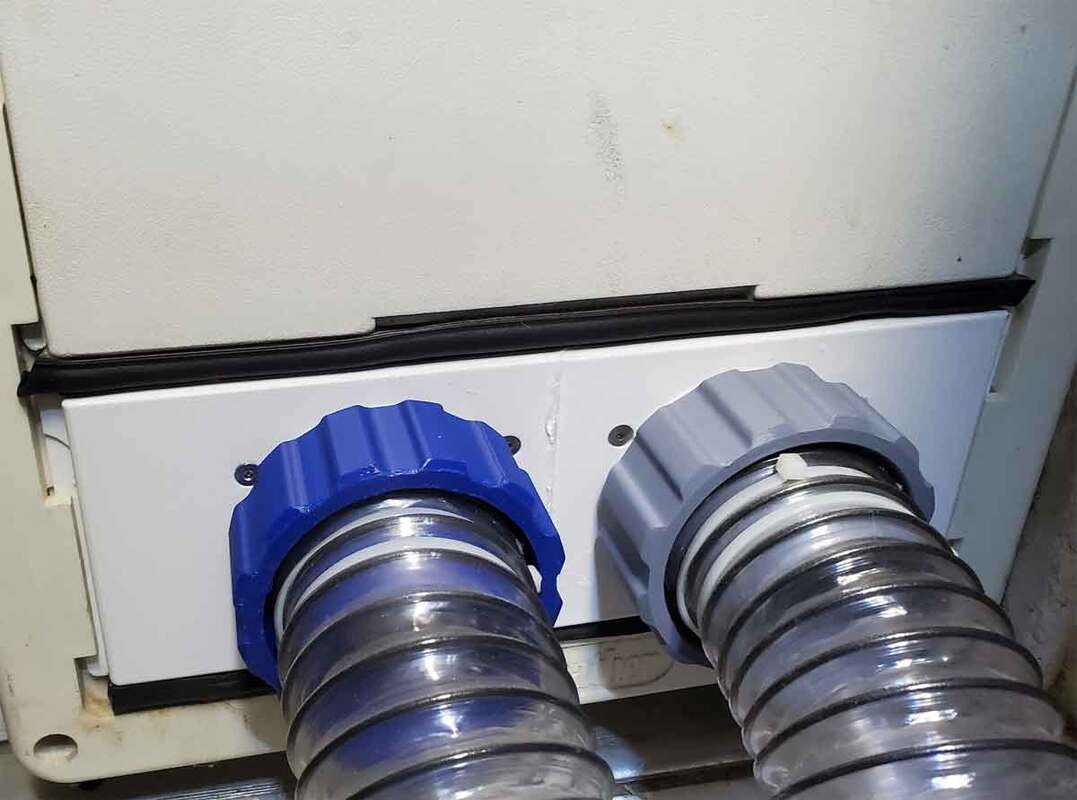
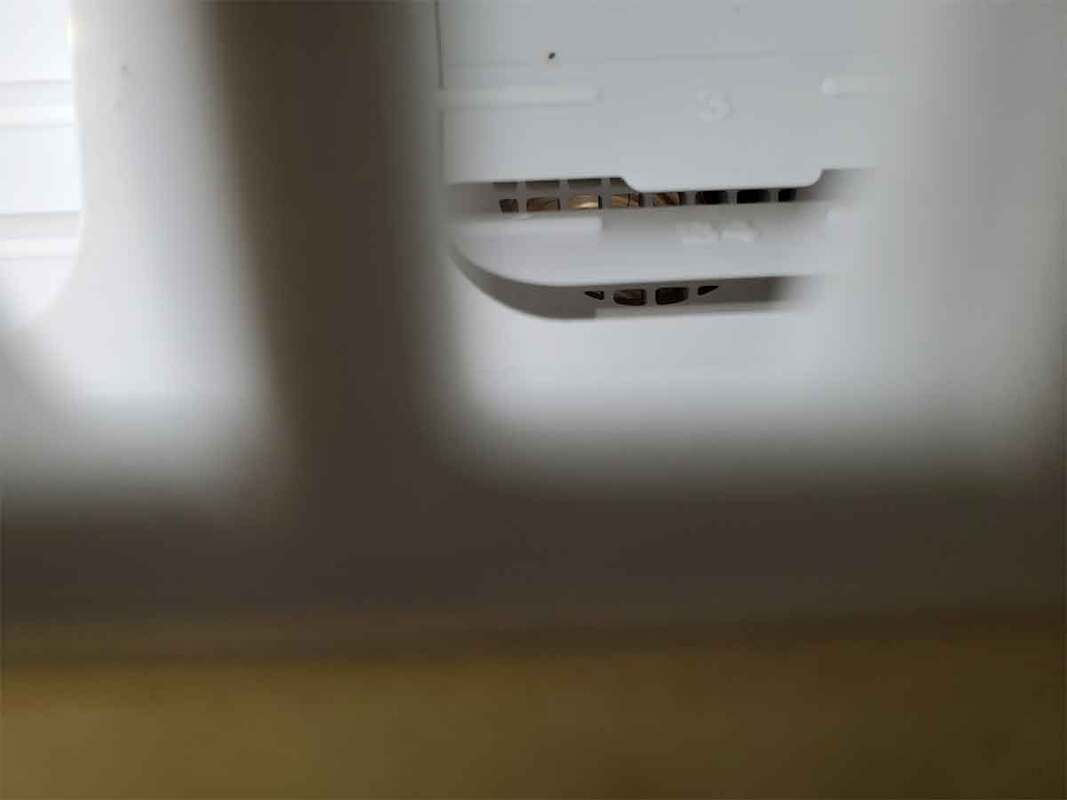
Update 1/27/2024: It printed well and is installed. I added a TPU gasket between the front plate and the box that holds the "flappers" to compensate for any gaps. It works well with both my current enclosure vent fan and the single fan booster fan, which means it should also work with the double fan ducted booster fan as well. I plan to release this design along with the booster fans, which are mostly completed, but not fully tested. The last image shows the flappers in action, with the weaker single fan booster (with the blue coupler) blowing air through about 5 feet of 2.5" hose before the outlet. The weaker single fan booster does not open all four of the flaps (just the bottom two), but the flow seemed OK. The more powerful enclosure fan (gray coupler) will move all the flaps into their open position. I used some D profile gasket to help seal up the transitions in the doggie door.


 RSS Feed
