


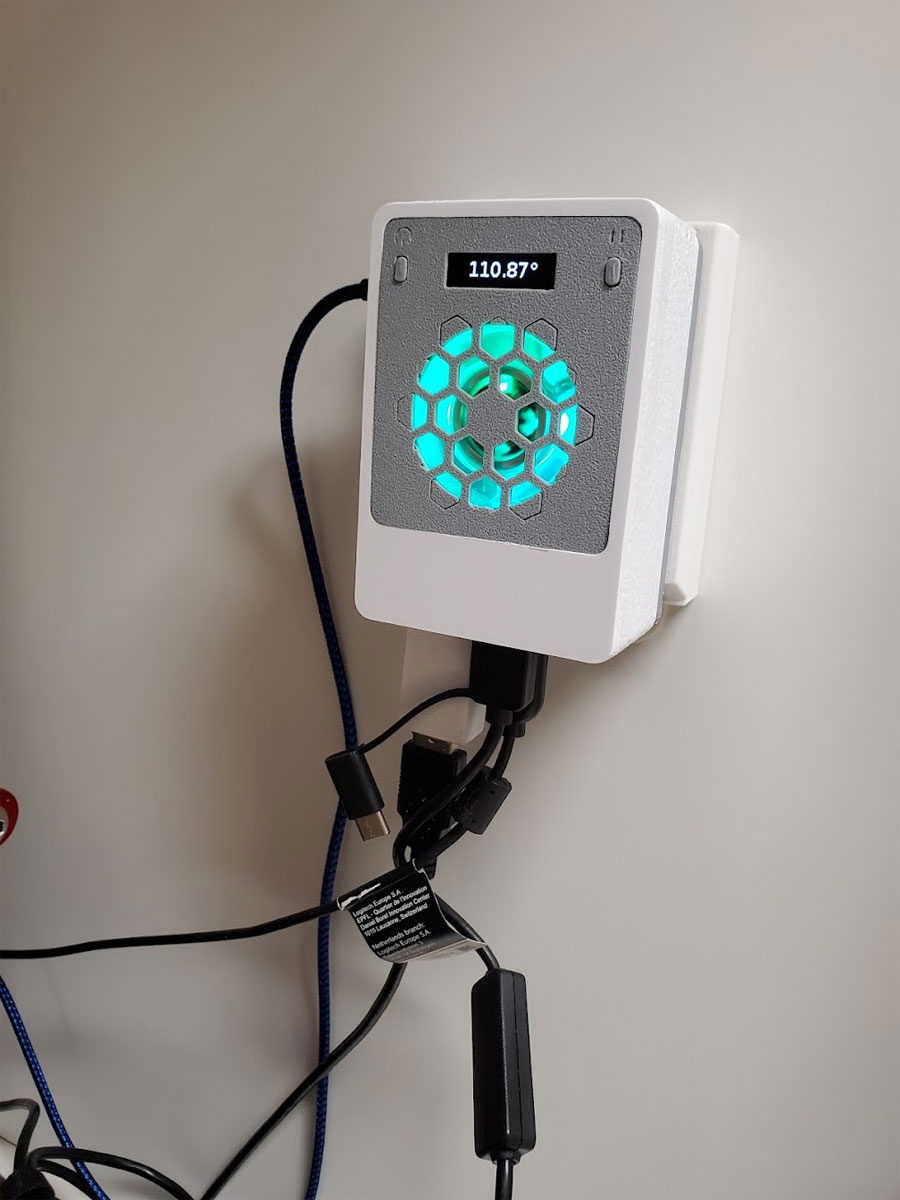
Update 9/2/2022: I had to disable the script which shows the IP and other info, due to python taking up almost 100% of the CPU. I don't know why that is, and am pretty sure it's something I messed up, but I decided that for now I will just use it without the display. The buttons however still work since they operate independent of the LCD script.
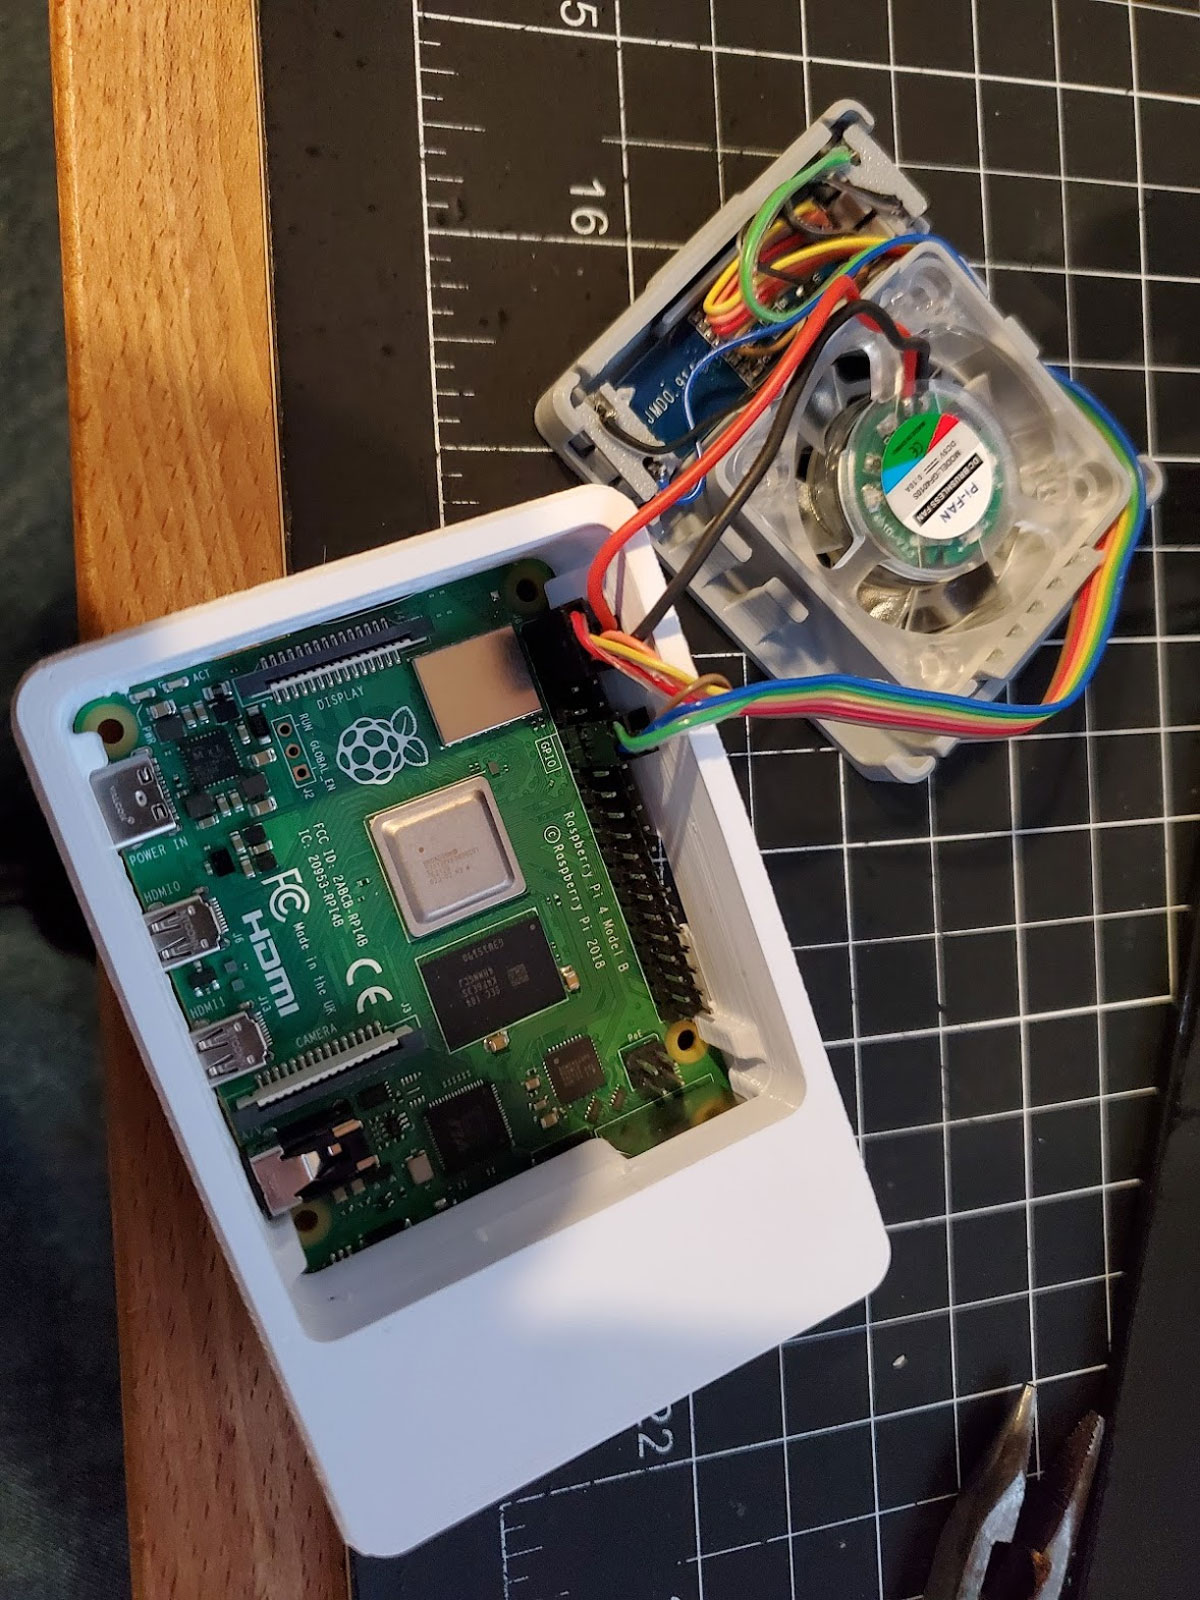
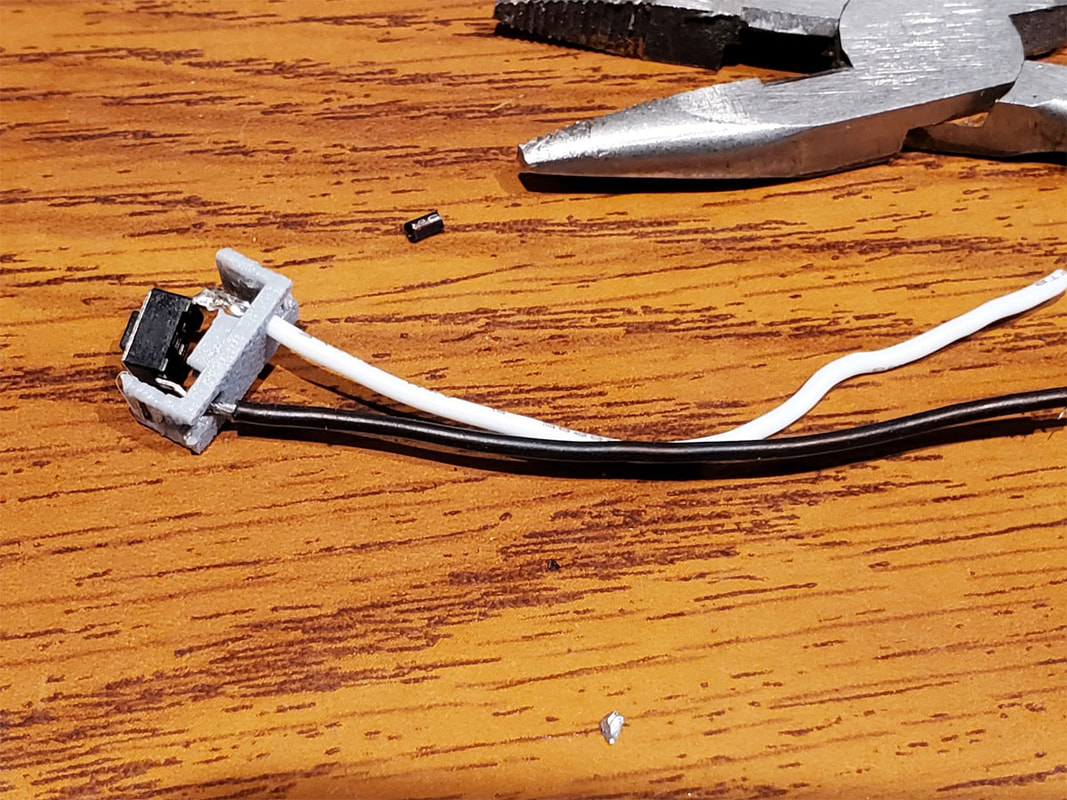
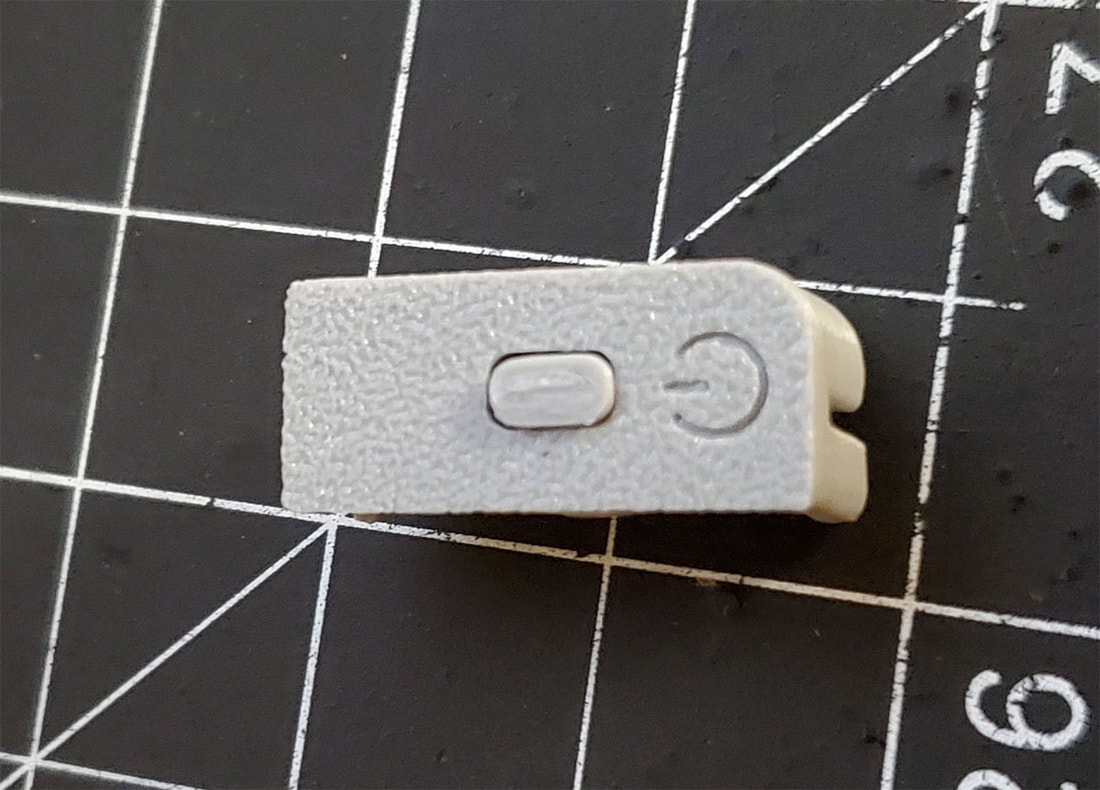
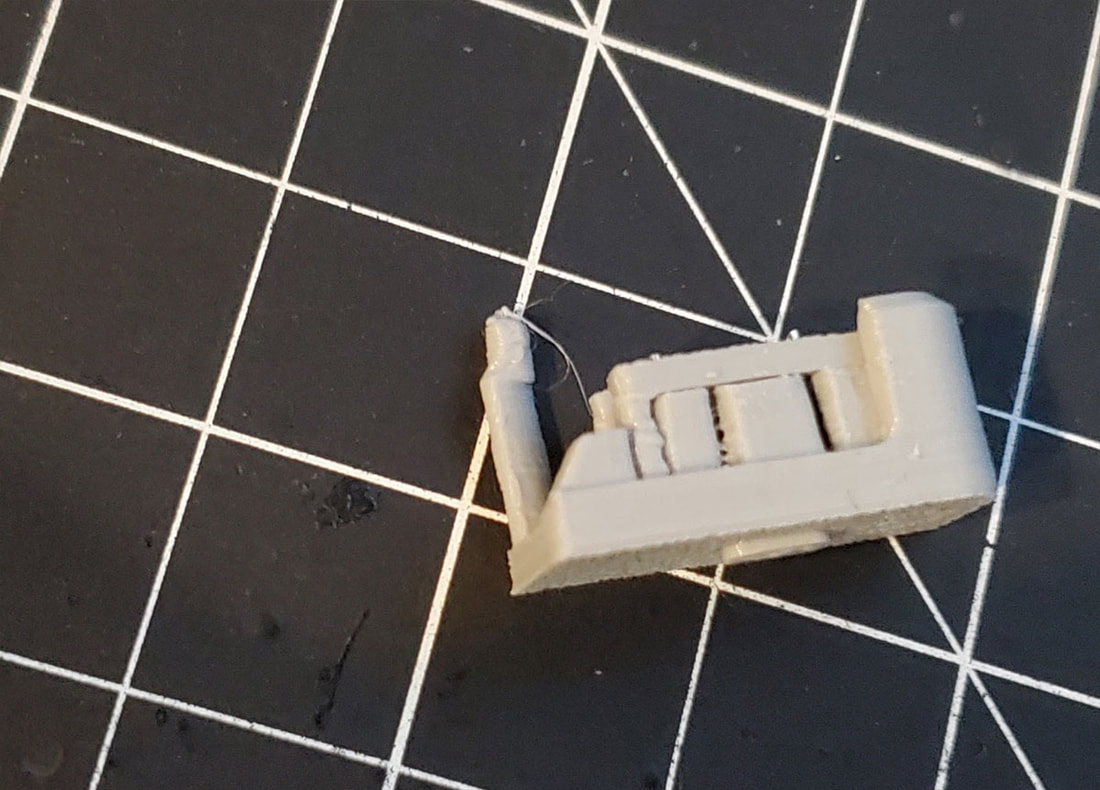
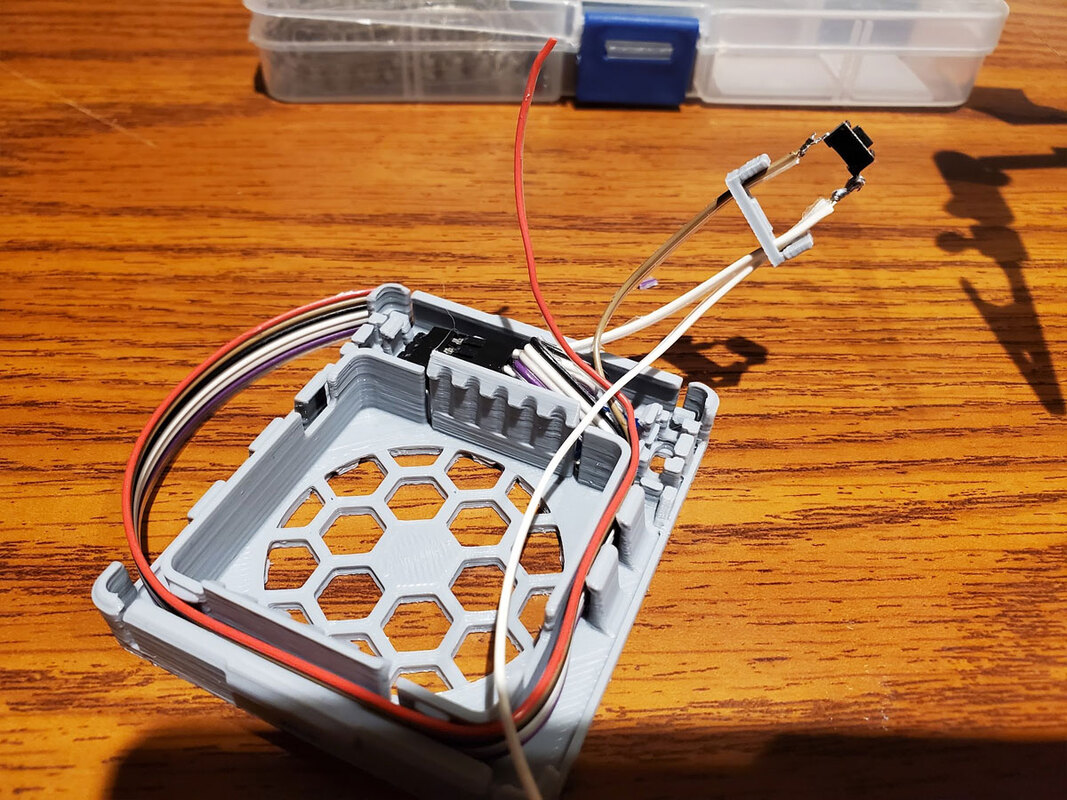
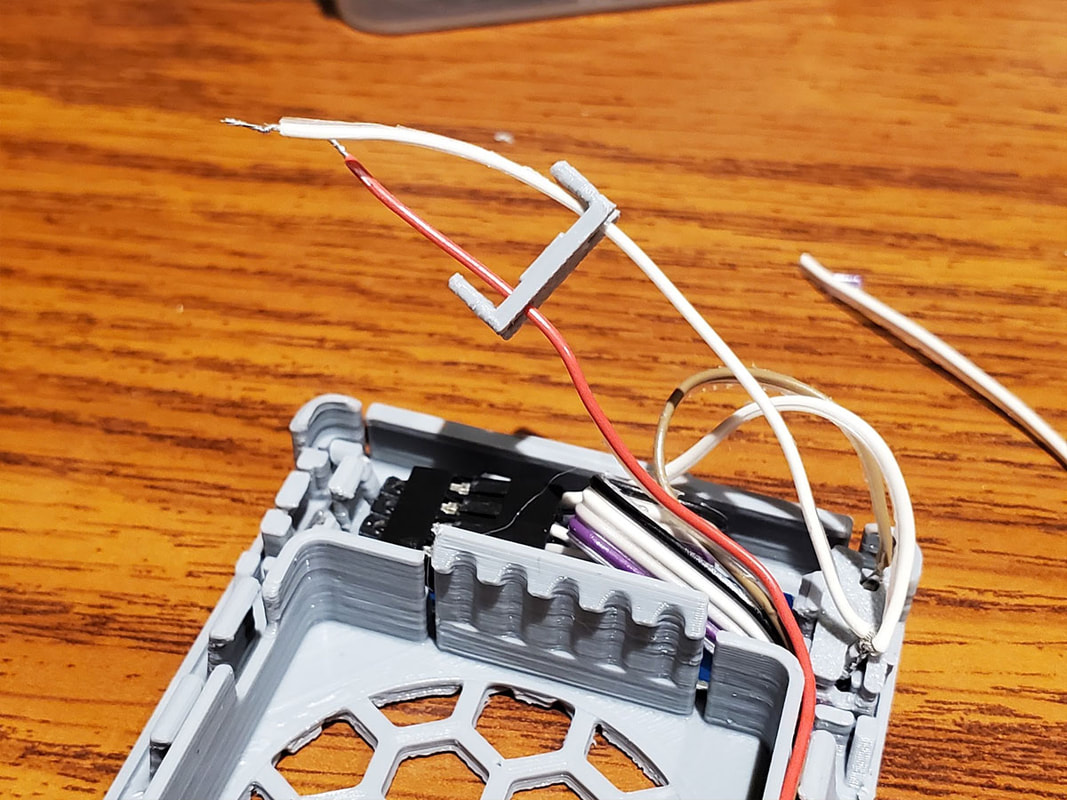
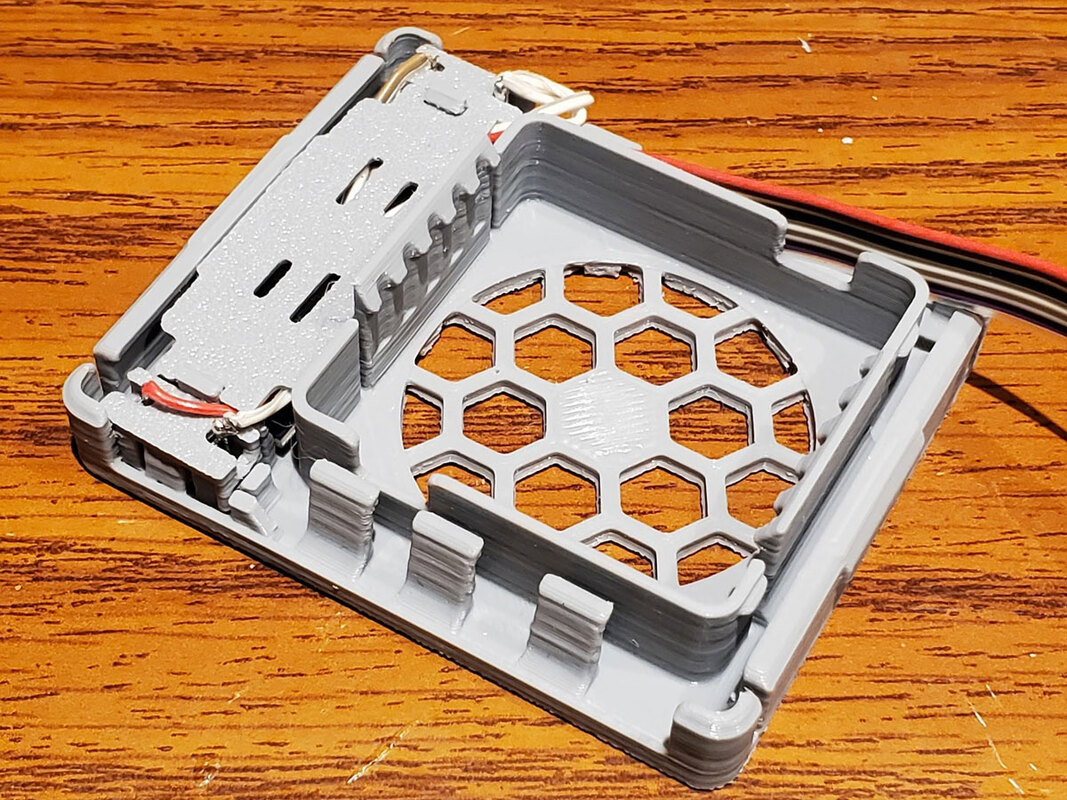
I'd like to have a shutdown switch on my Pi's, and maybe one more switch could be handy for some other future use like pausing a print using an Octoprint plugin. Since I am gonna standardize the Pi mounts (they will all use my latching mount) and cases for my various Pi's (the cases will be Sneak's Modular Snap Together Raspberry Pi Cases), I decided to see if a switch or two would fit in the OLED+Fan cover module. I'm not sure if this will work, and the parts are really small so it may not be practical, but I'm trying it anyway. I have a bunch of mini tactile switches from an assortment I bought some time ago to fix something, and they have been handy a few times since. The downside is they are weird little switches and not easy to get, they are also tiny. I originally thought I would try a 6x6mm tactile switch but found it was way too tight a fit. So I found a smaller 6x3.5x5mm switch that looks like a better fit. So I modeled the switch, and a clip to hold it, as well as a button to use since the button on the switch is way too small to be useful by itself. I'm planning to print some test models to verify the button clip will work, and will update this post with how it works out.
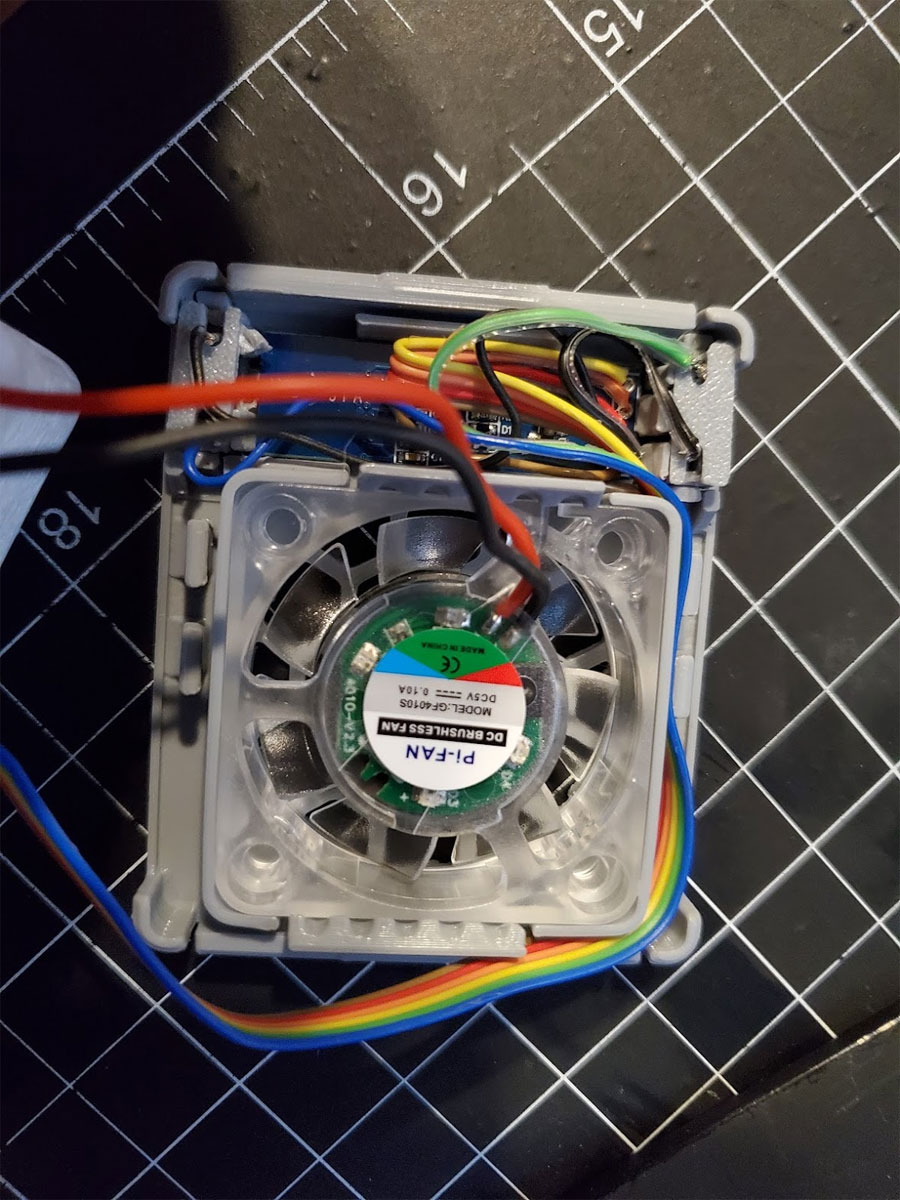
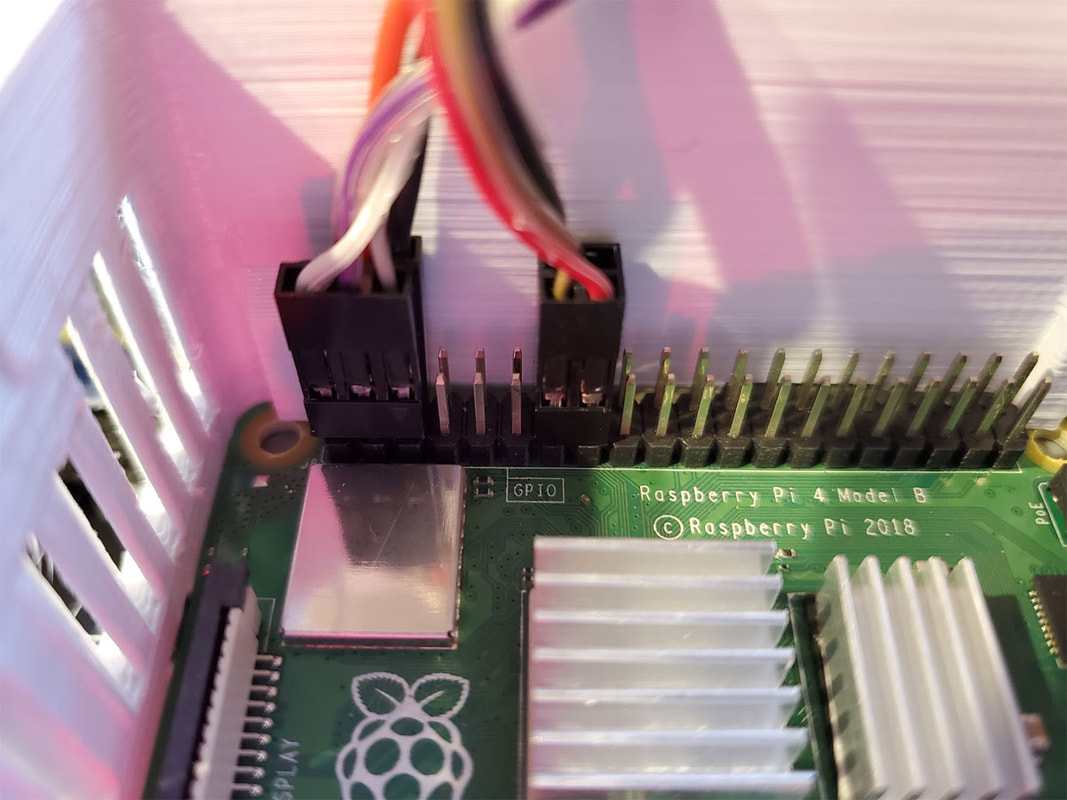
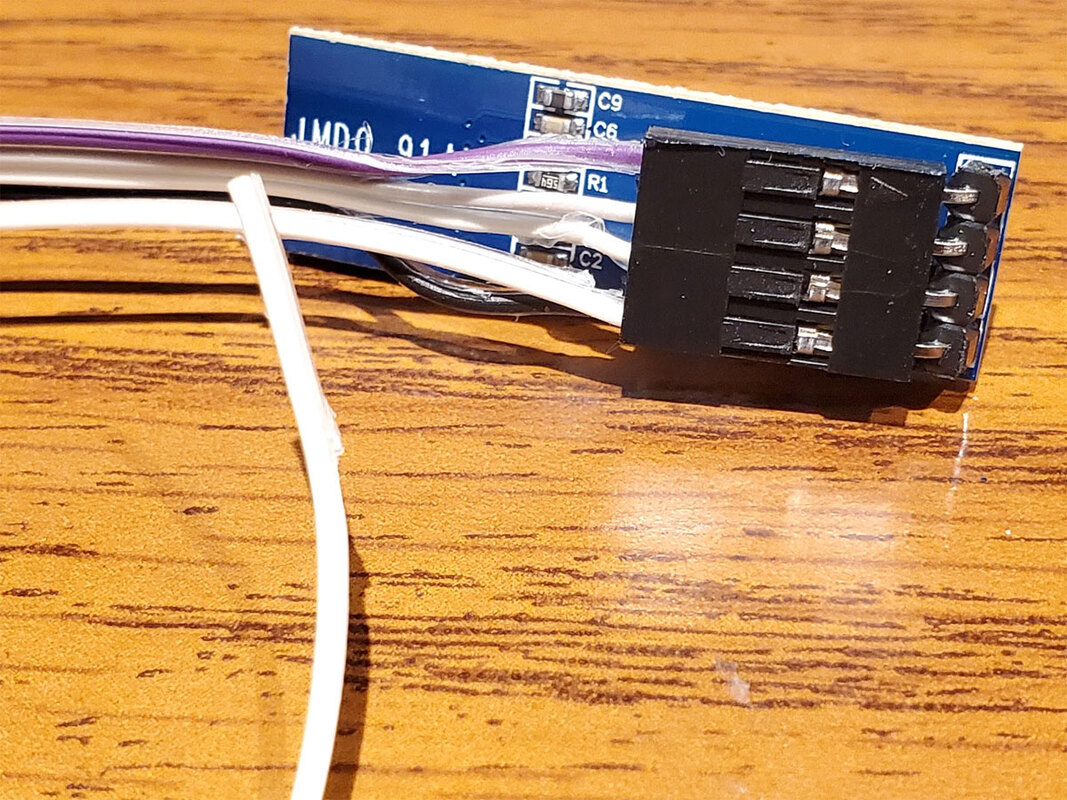
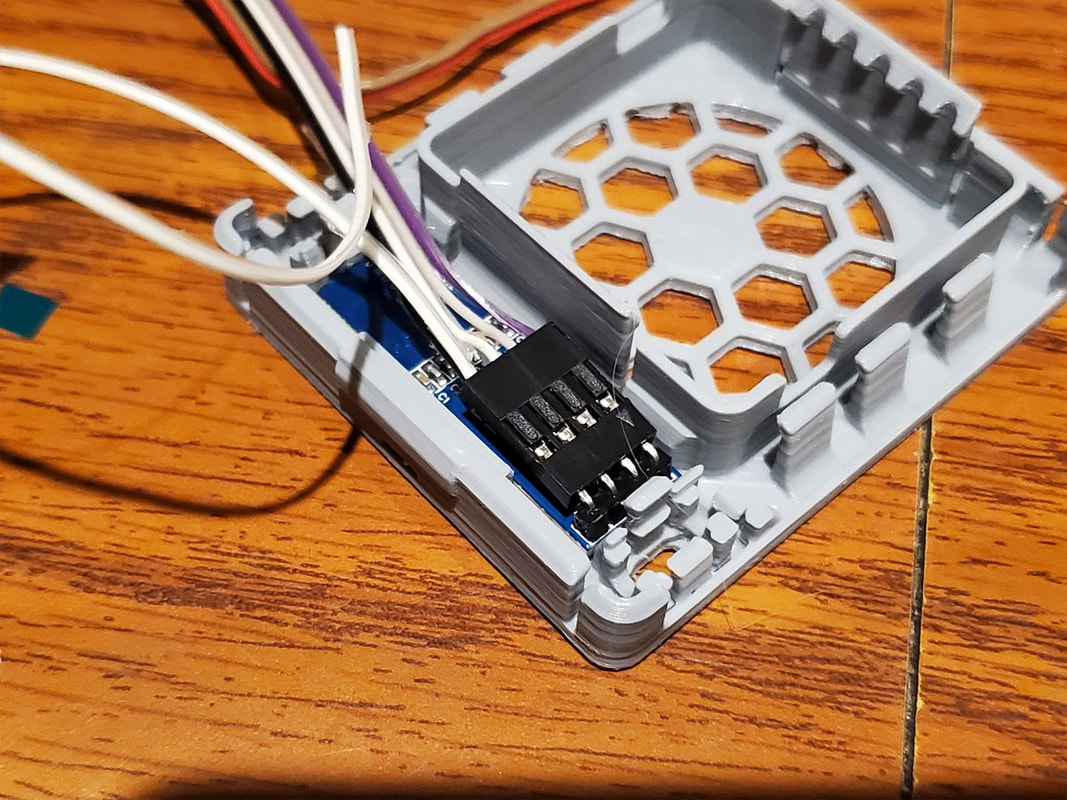
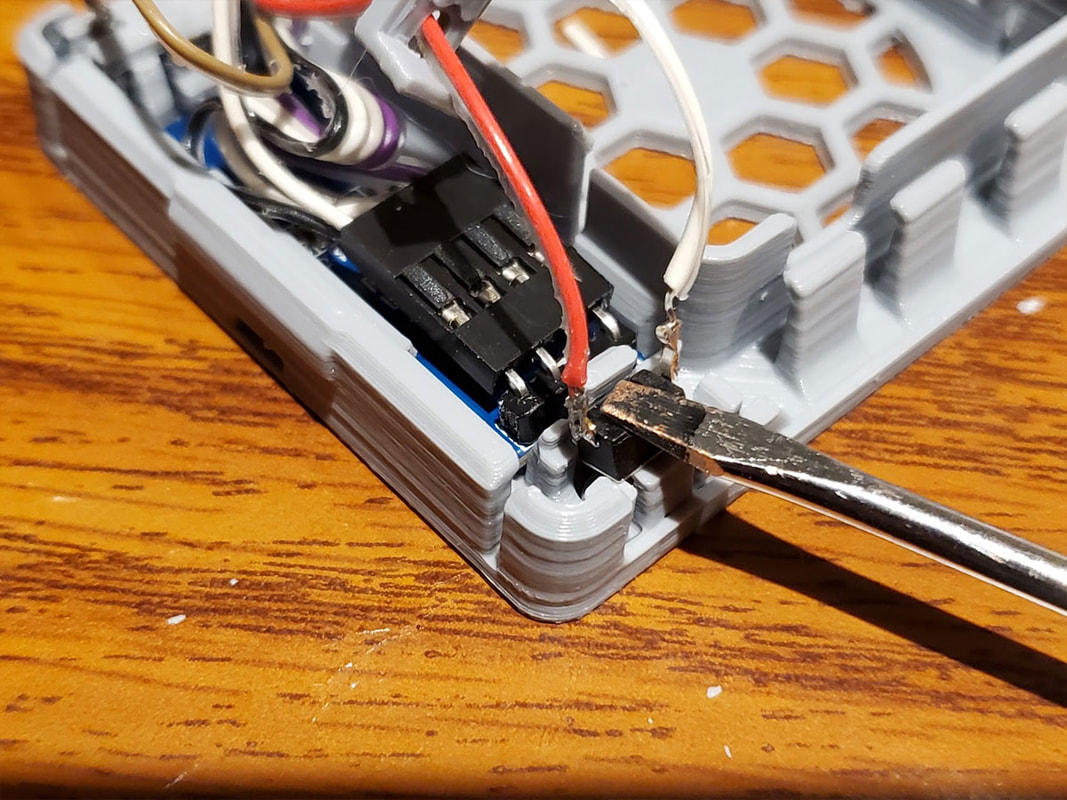
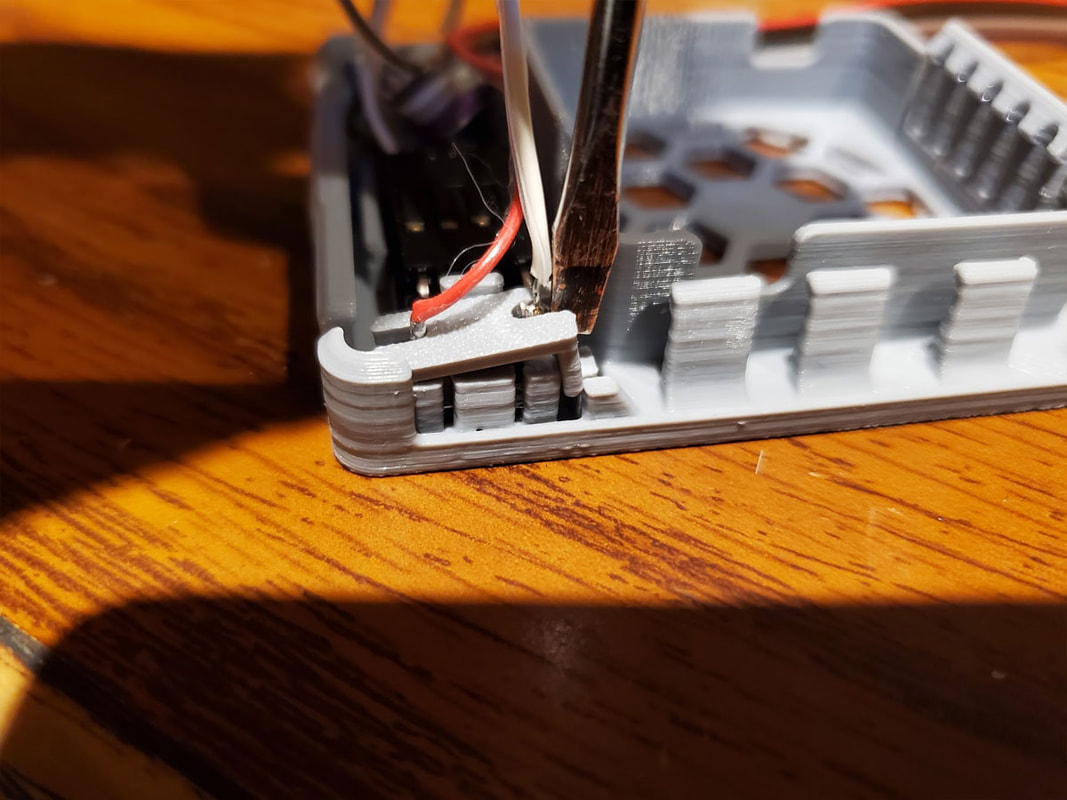
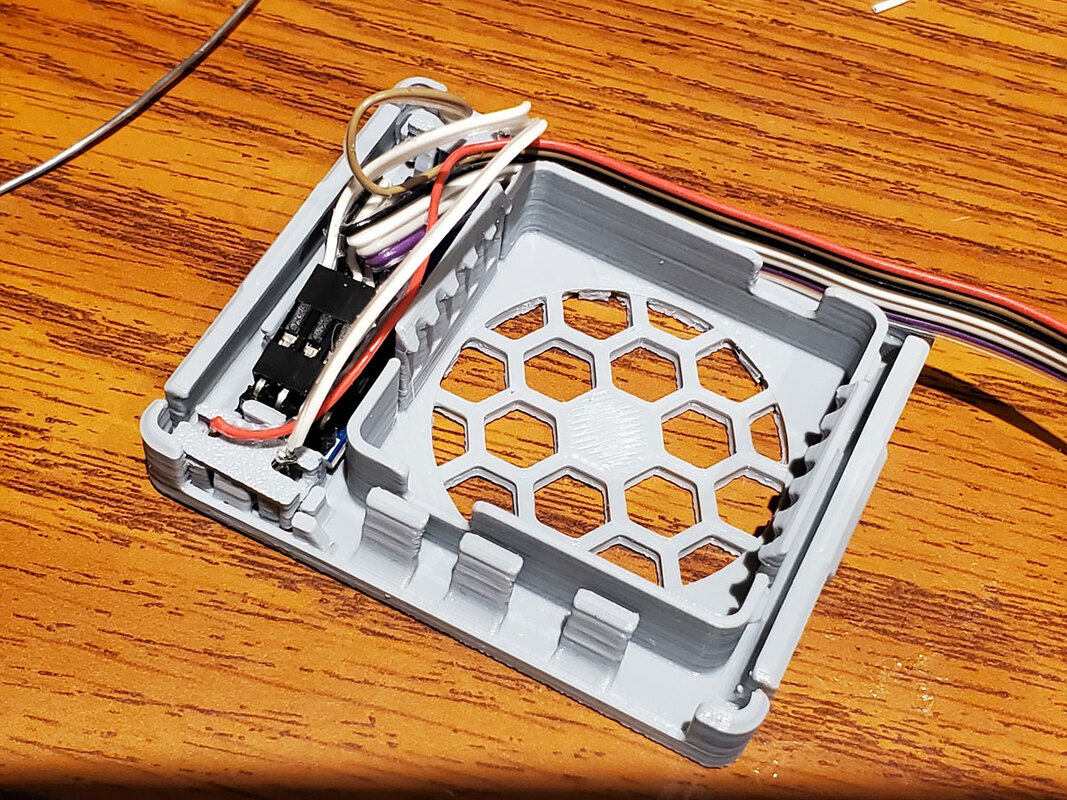
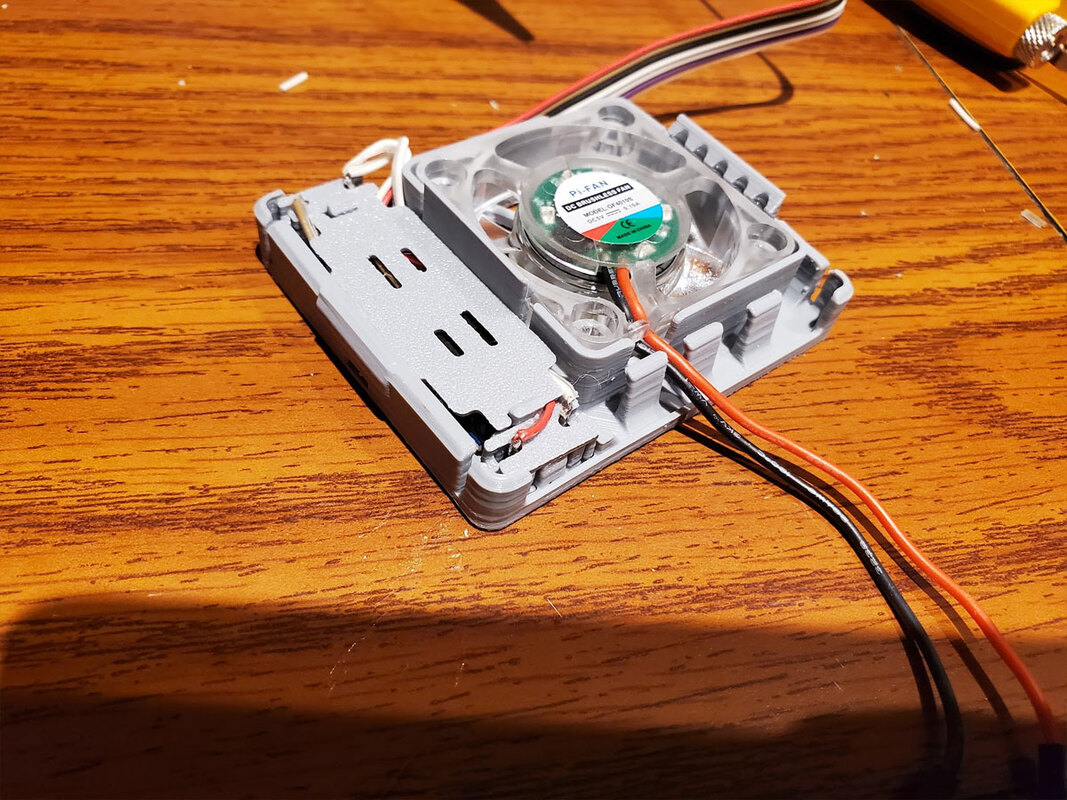
Update 1/15/2022 - It looks like the button module will work. I still need to test some tweaks to the design to help things fit better but I'm pretty happy with the prototype module. I had to rotate it 180° due to interference between the switches and the dupont connectors for the pins being used for the OLED and switches. I also had a dead OLED display (but fortunately bought two and the other worked). I would also highly recommend using ribbon cable for wiring the OLED and buttons since it is very tight. I also connected all the grounds at the OLED so I could run one ground back to the connector (and have 2 fewer wires to run).
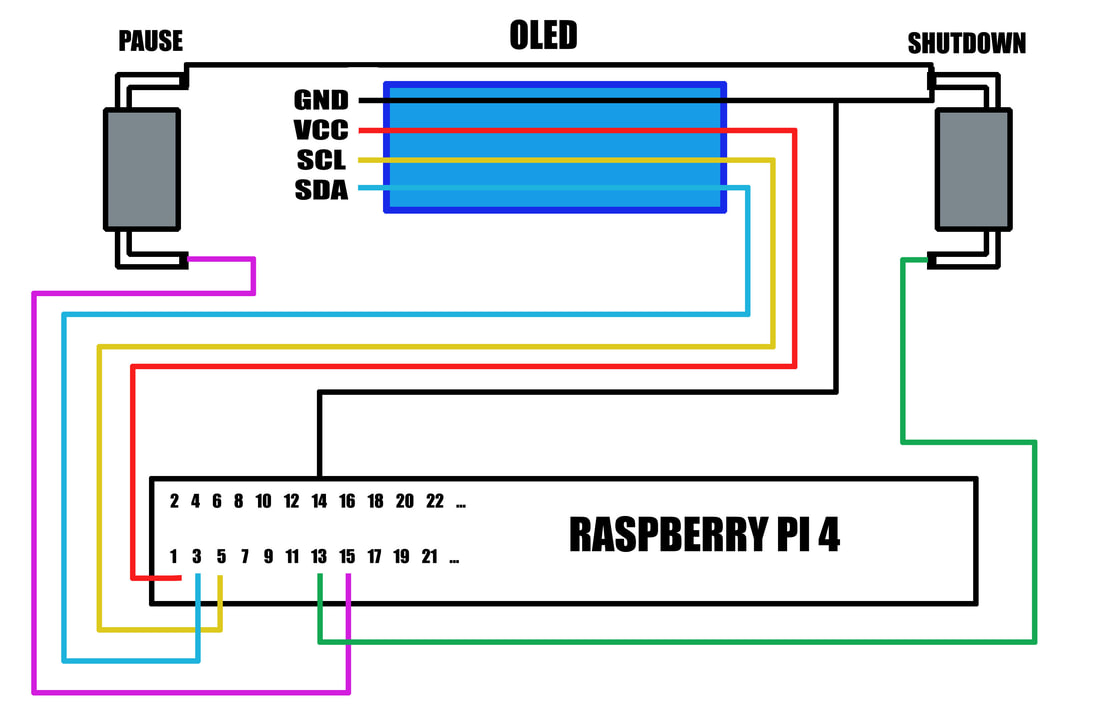
The switches control shutdown (left) and pause (right). The shutdown uses GPIO27 and the pause uses GPIO17.
To enable the shutdown button I used this guide:
https://raspberrypi.stackexchange.com/questions/77905/raspberry-pi-3-model-b-dtoverlay-gpio-shutdown
and just added this line to /boot/config.txt:
dtoverlay=gpio-shutdown,gpio_pin=27
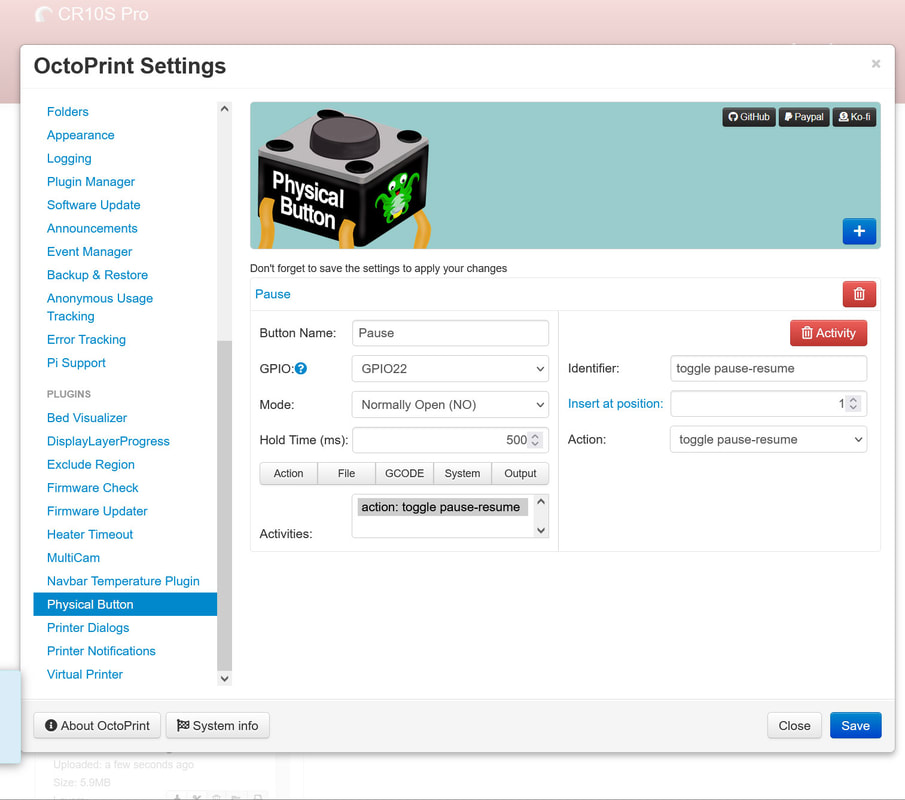
To enable the pause, I used the Physical Button plugin for Octoprint.
The OLED was set up using Sneaks Guide which is linked from his post on Prusa here.
Once the fixes are made and tested, I will post this as a remix on Prusa.
The switches control shutdown (left) and pause (right). The shutdown uses GPIO27 and the pause uses GPIO17.
To enable the shutdown button I used this guide:
https://raspberrypi.stackexchange.com/questions/77905/raspberry-pi-3-model-b-dtoverlay-gpio-shutdown
and just added this line to /boot/config.txt:
dtoverlay=gpio-shutdown,gpio_pin=27
To enable the pause, I used the Physical Button plugin for Octoprint.
The OLED was set up using Sneaks Guide which is linked from his post on Prusa here.
Once the fixes are made and tested, I will post this as a remix on Prusa.
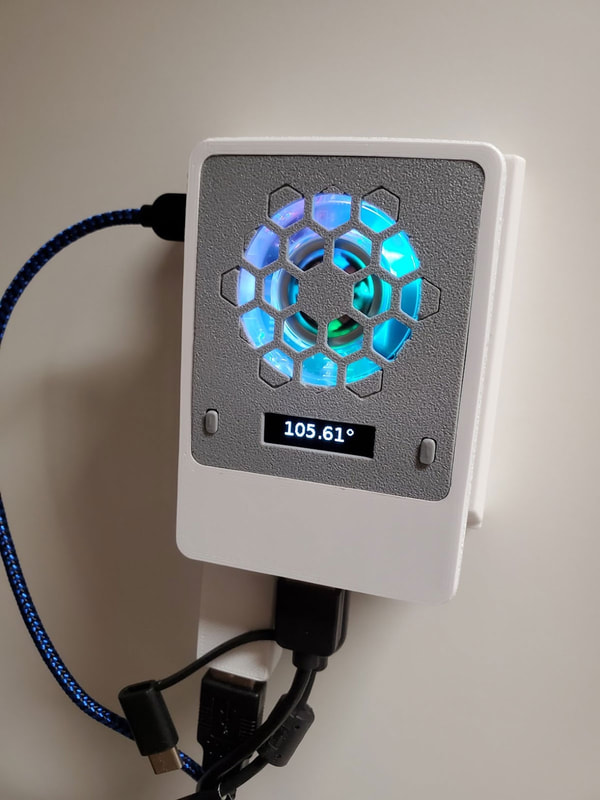

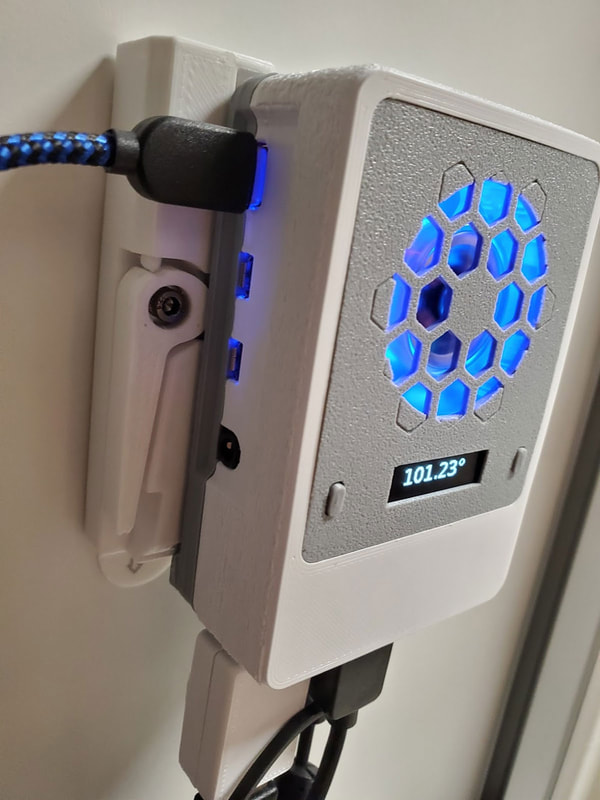
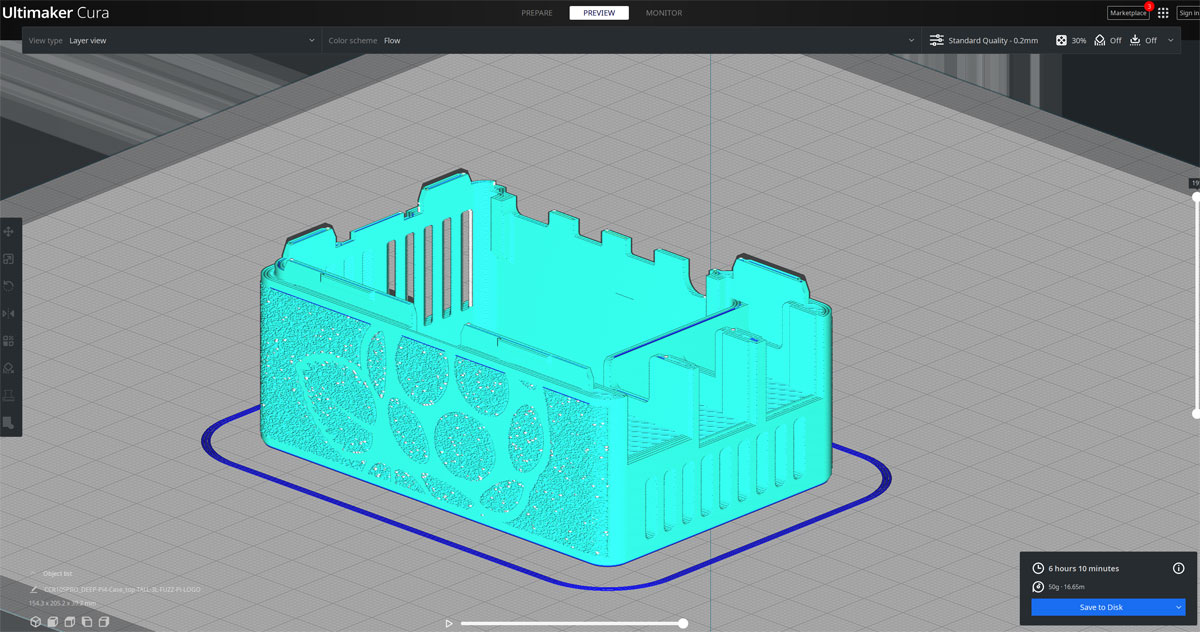
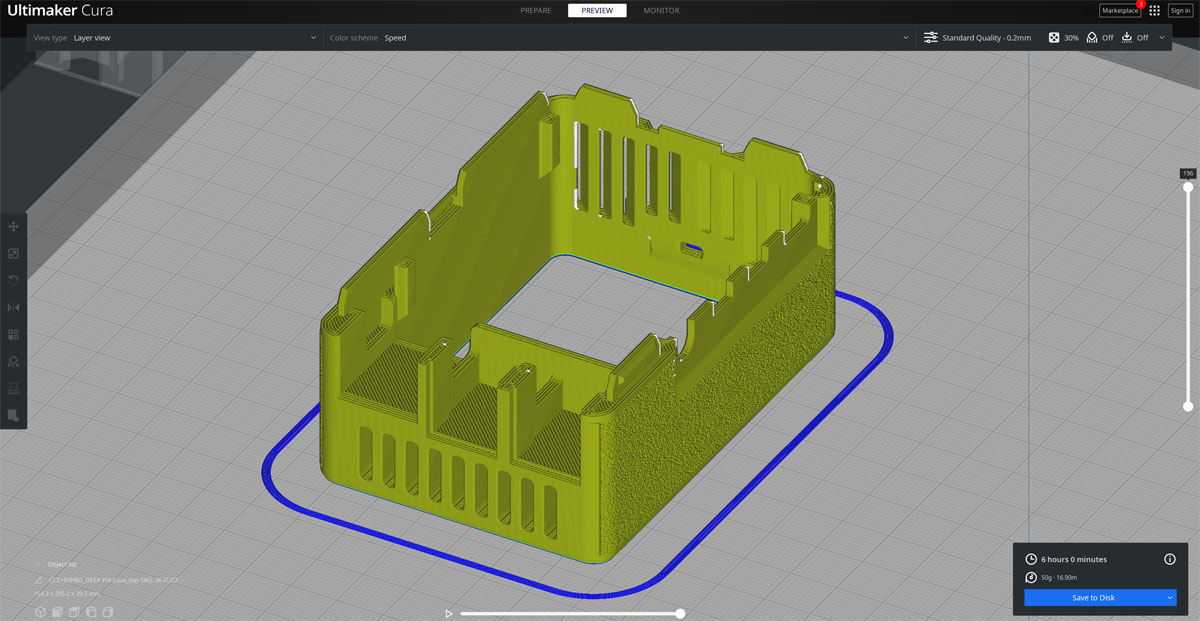
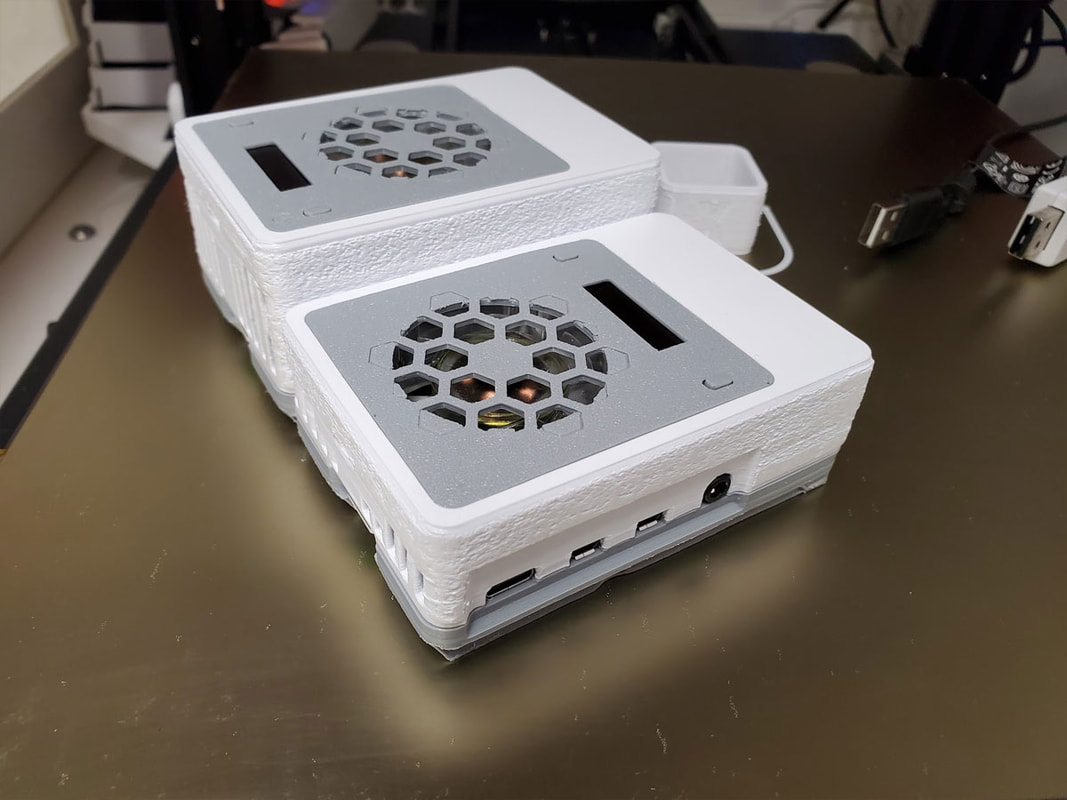
Update 1/16/2022 - Really liking the new case, it looks very cool with the LED fan and OLED display. But there is a part of me that is bugged by the wires that were not really crammed in the case, but I feel I could have done a better job. I was also thinking that due to one of the buttons being on top of the IO header, I could possibly get the module flipped the "right" way if I could make the case taller. The problem was how tall? That turned out to be 12mm taller, to allow the top module with the buttons to sit over the IO header, with a Dupont connector on it. This is only necessary due to the way I fit the buttons on the remixed module (on the sides of the display). With the stock fan+OLED module there is no issue with the depth of the case.
I did a hack of the case to stretch it out, and am printing a test model now. I'm also testing a less aggressive fuzzy skin, and for fun I sliced up a fuzzy skin texture which has a Pi Logo inset (but I'm not printing that one at this time).
I did a hack of the case to stretch it out, and am printing a test model now. I'm also testing a less aggressive fuzzy skin, and for fun I sliced up a fuzzy skin texture which has a Pi Logo inset (but I'm not printing that one at this time).
 |  |
The button clips and some other things were tested and work well, I think this is almost ready to go, but I have yet to test print the whole thing.

Update 1/22/2022 - It's finished, I plan to post it this weekend, but here is how it goes together.
Update 2 - it's posted here:
https://www.prusaprinters.org/prints/122413-button-module-for-sneaks-modular-snap-together-ras
Update 2 - it's posted here:
https://www.prusaprinters.org/prints/122413-button-module-for-sneaks-modular-snap-together-ras


Update 2-3-2022 - I had made a small test model to make it simpler to check if a particular button will fit, but unfortunately PrusaPrinters is down for maintenance right now. I also found a minor interference with one side of the button clips which I corrected but have yet to upload. I believe he interference is less than 0.4mm and did not cause a problem when I assembled mine. It was just a fillet that cut the corner of the clip and probably has no effect on function. Still the models will be updated tomorrow when I can try uploading again.


 RSS Feed
