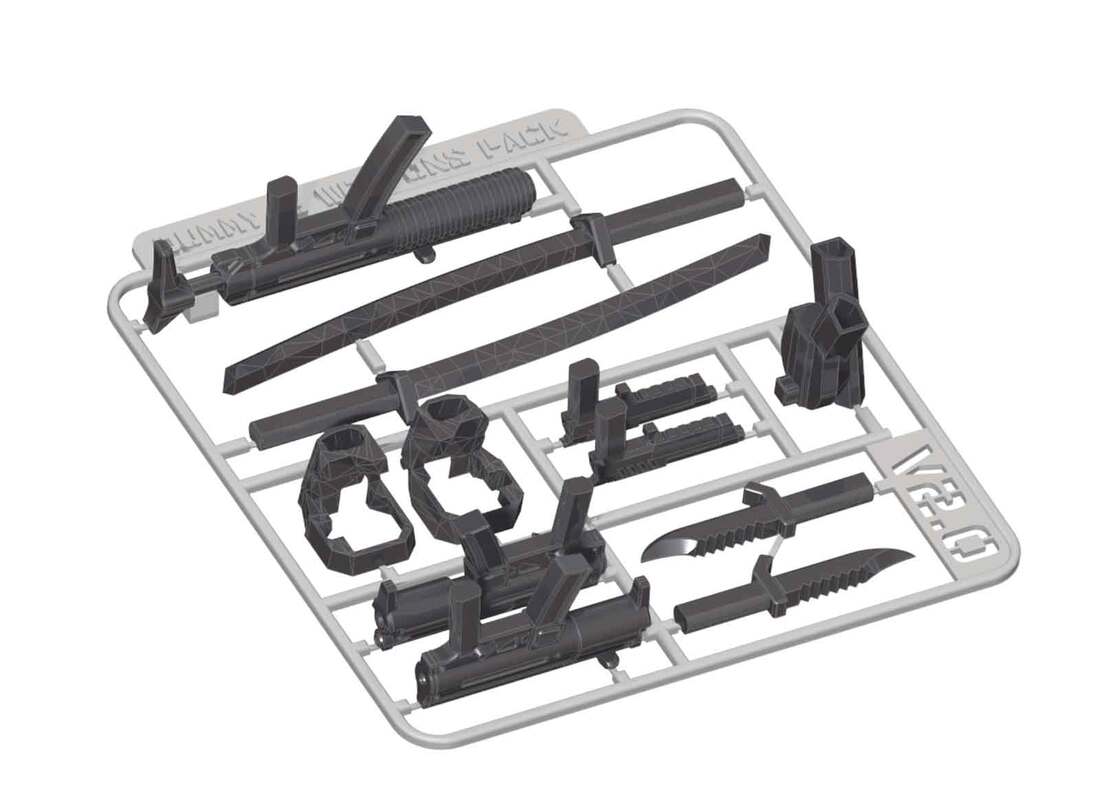
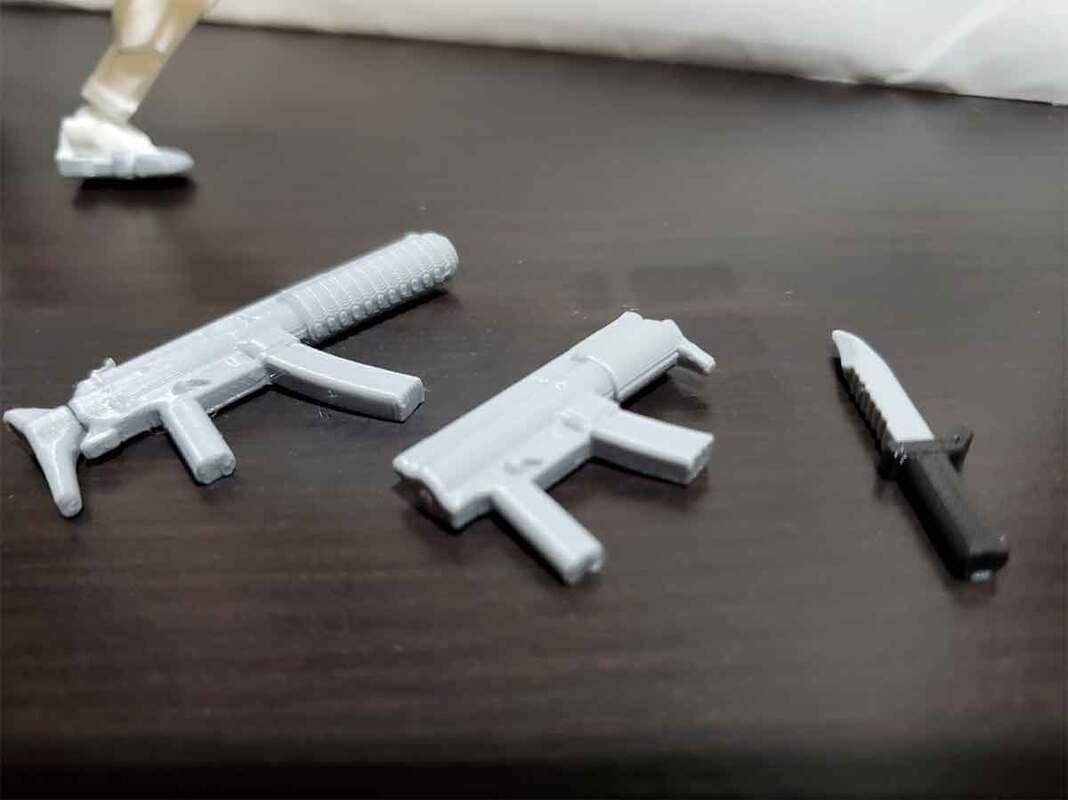
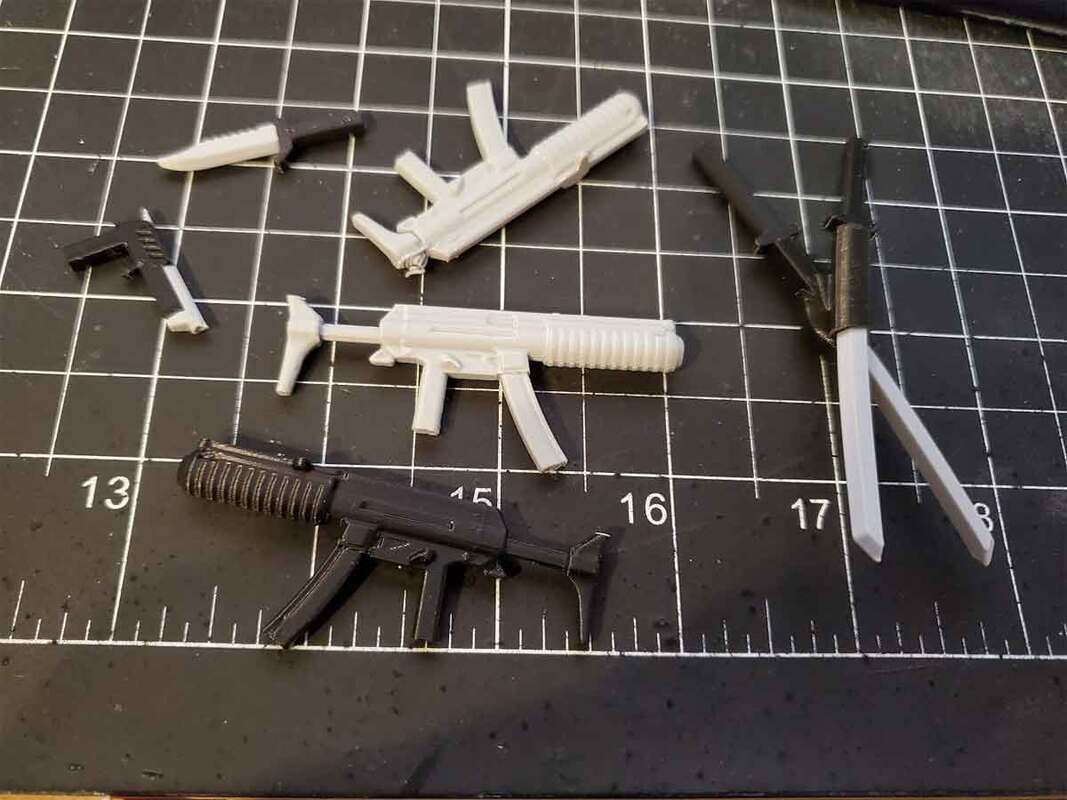
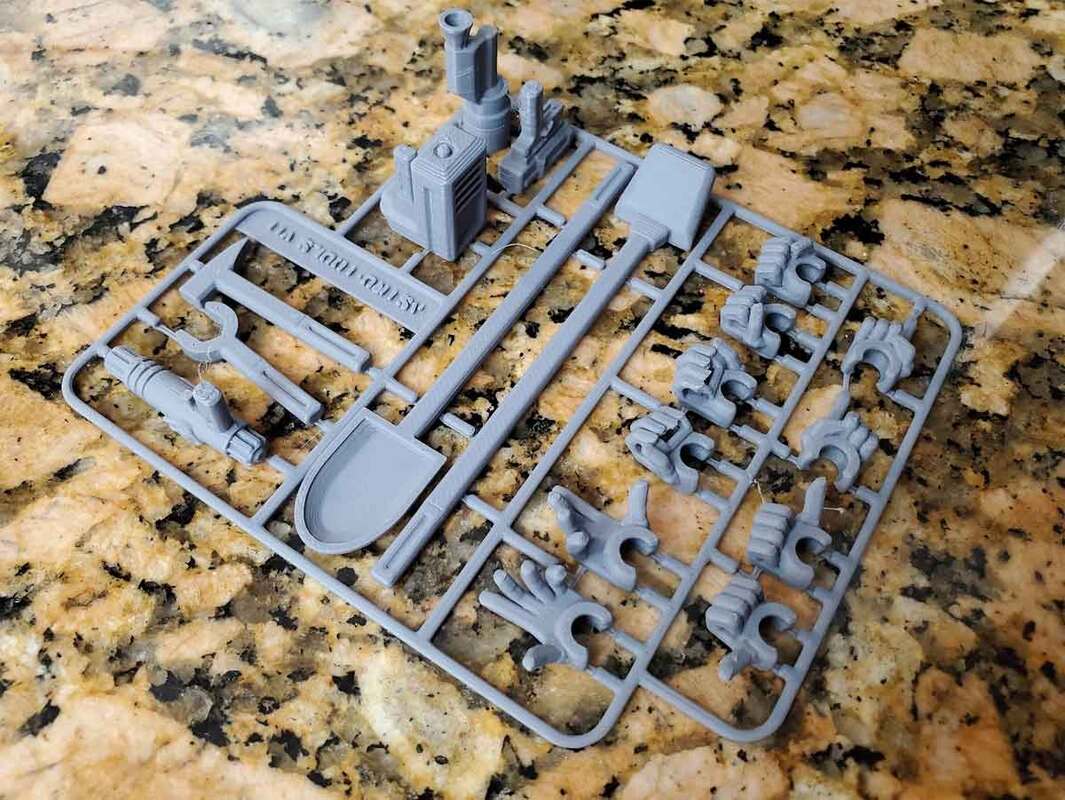
I'm working on a new version of the Weapons Pack V1.0 for Dummy 13, which I just need to test print and make the STL's and STEP files for, before I can post it. It's gonna include some new weapons as well as the old weapons.
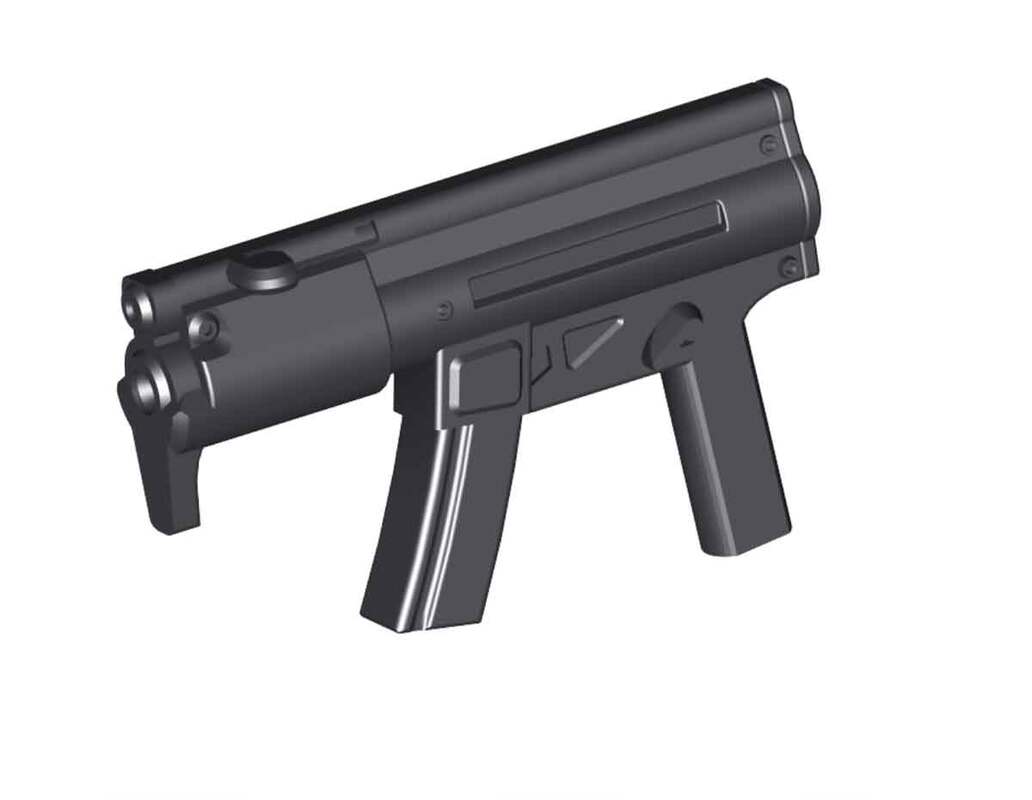
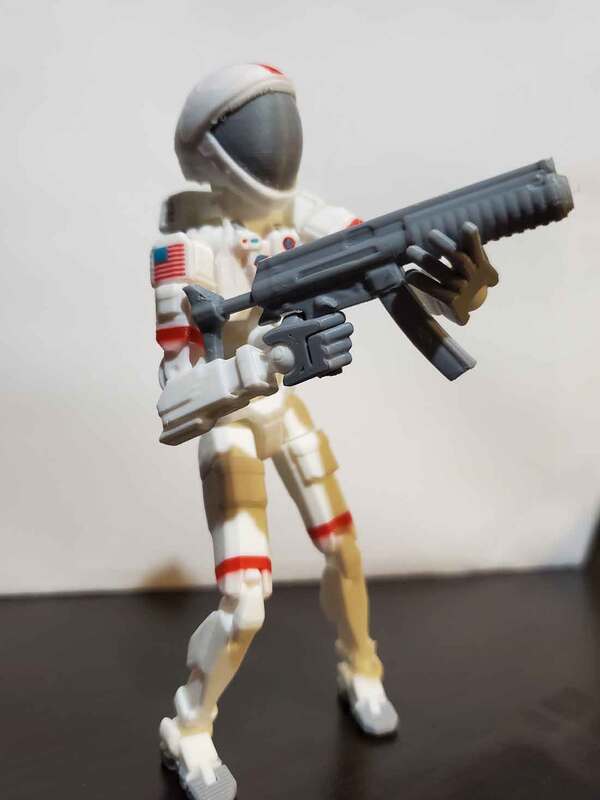
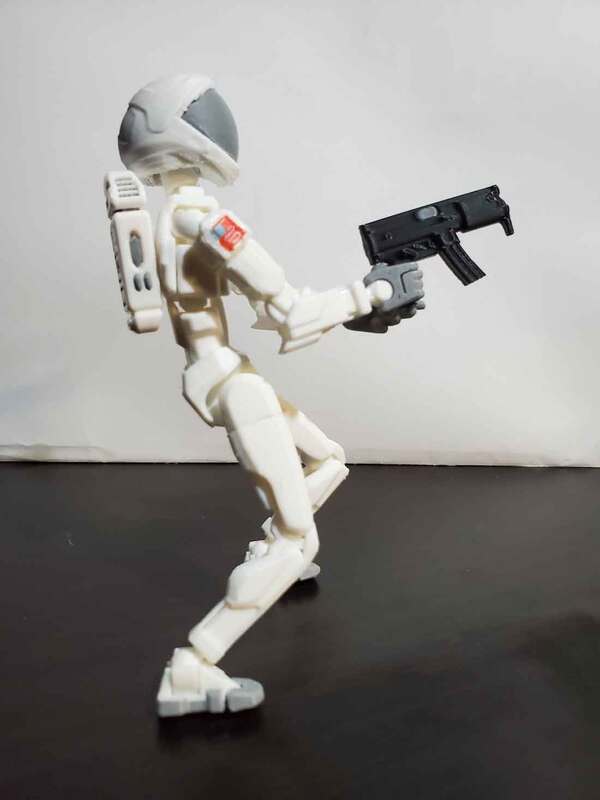
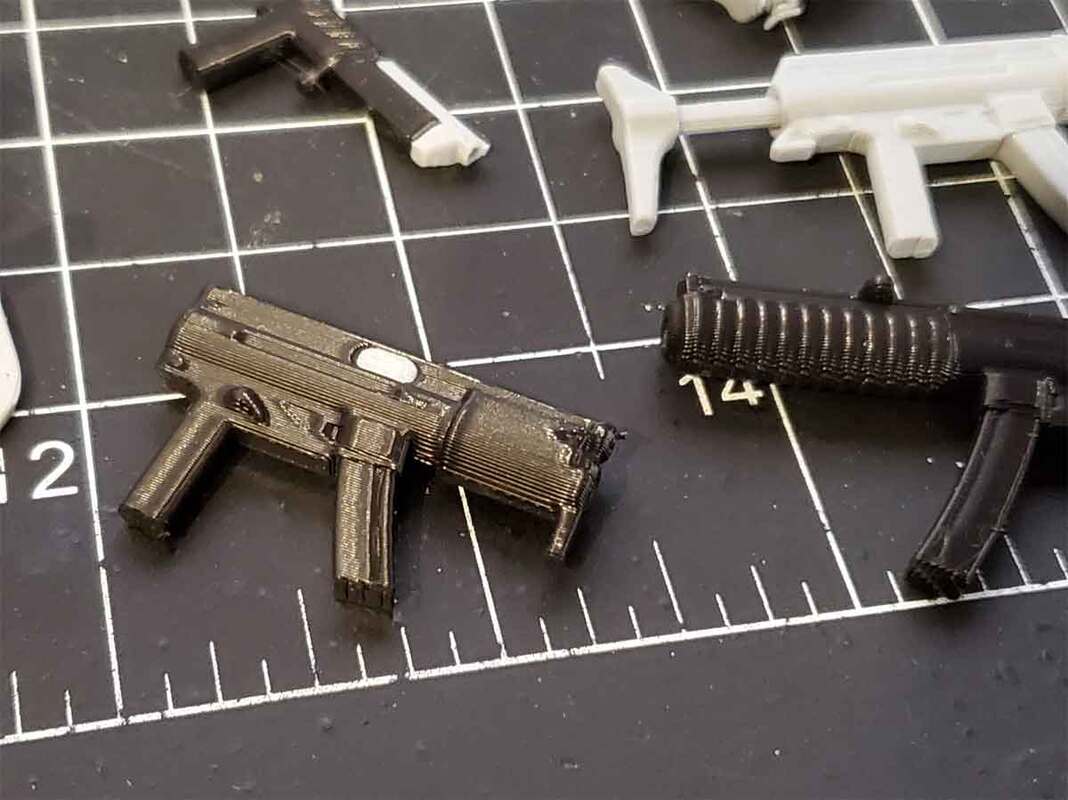
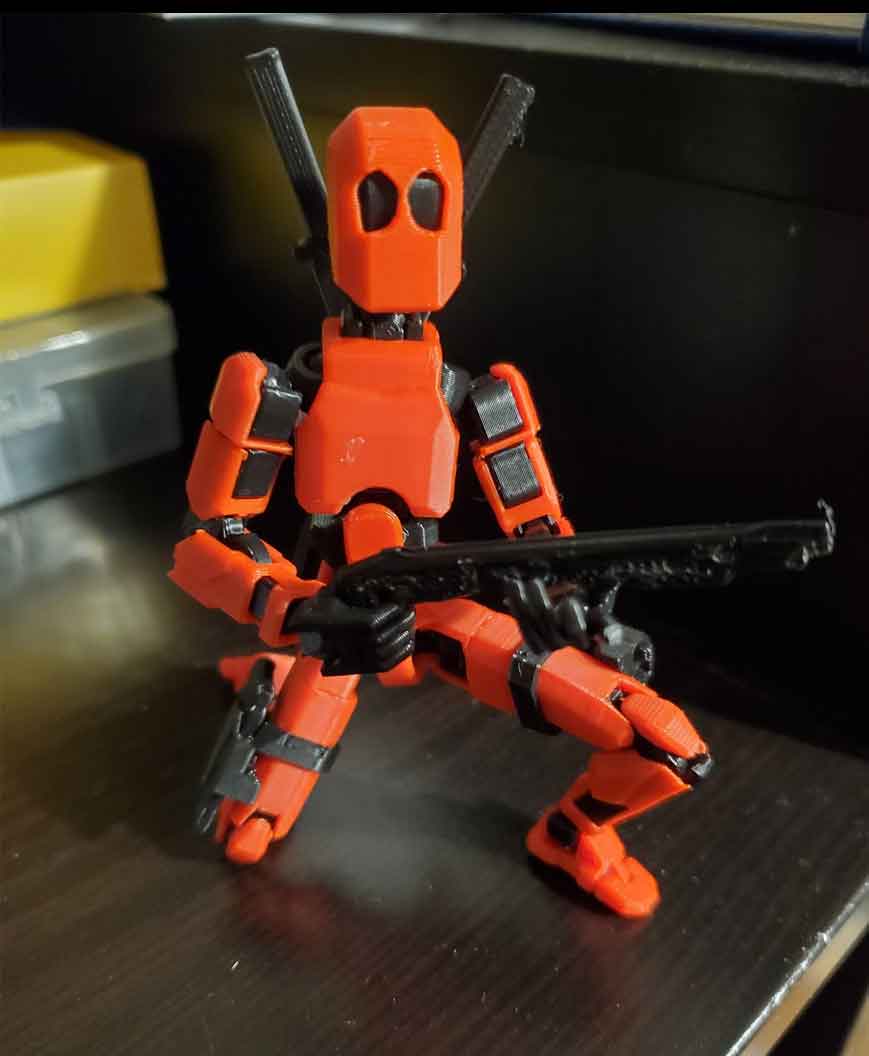
Update - 12/14/2023: I decided to replace the shotgun in the v1.0 pack with a different weapon, here is a sneak peek:
Update - 12/14/2023: I decided to replace the shotgun in the v1.0 pack with a different weapon, here is a sneak peek:
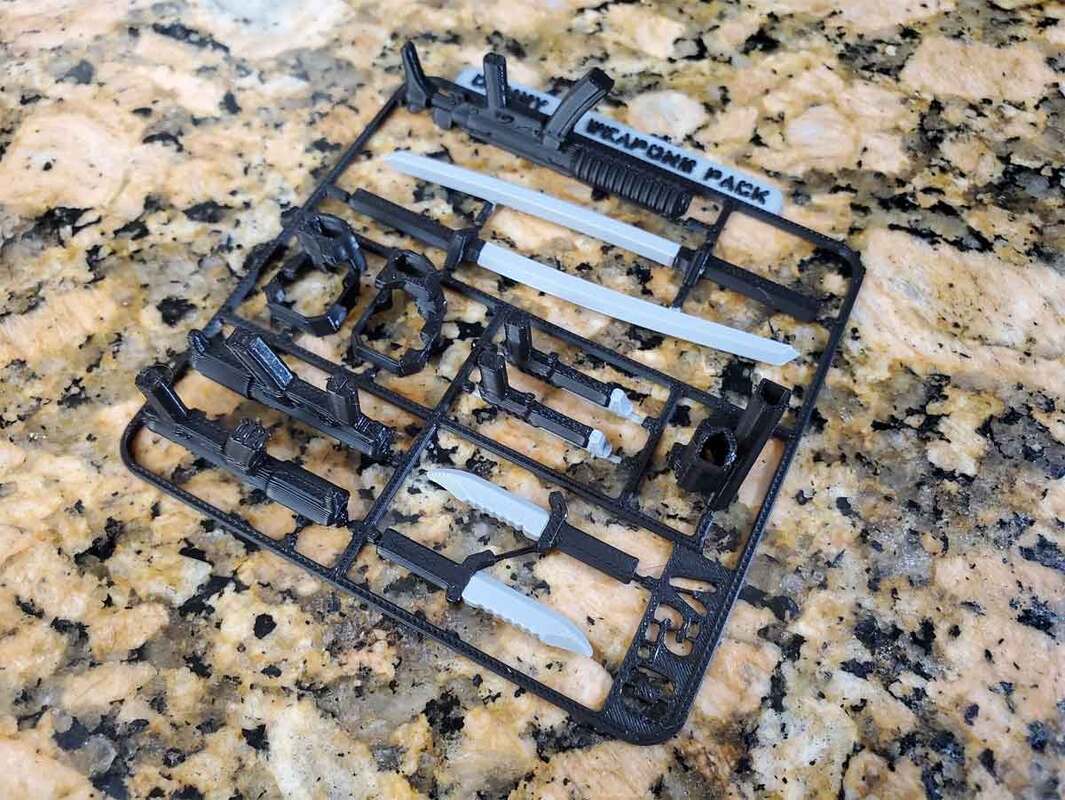
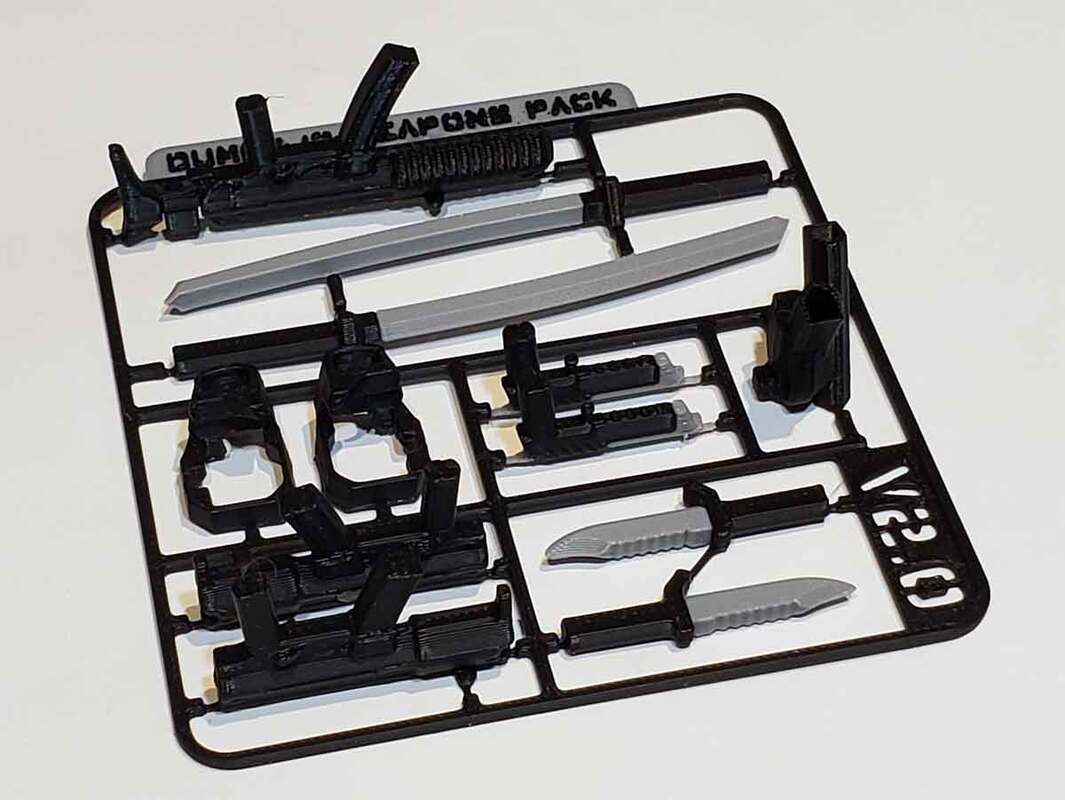
Update 12/15/2023: The Dummy 13 Weapons Pack Version 2.0 has been released with some new weapons. You can find it here.


 RSS Feed
