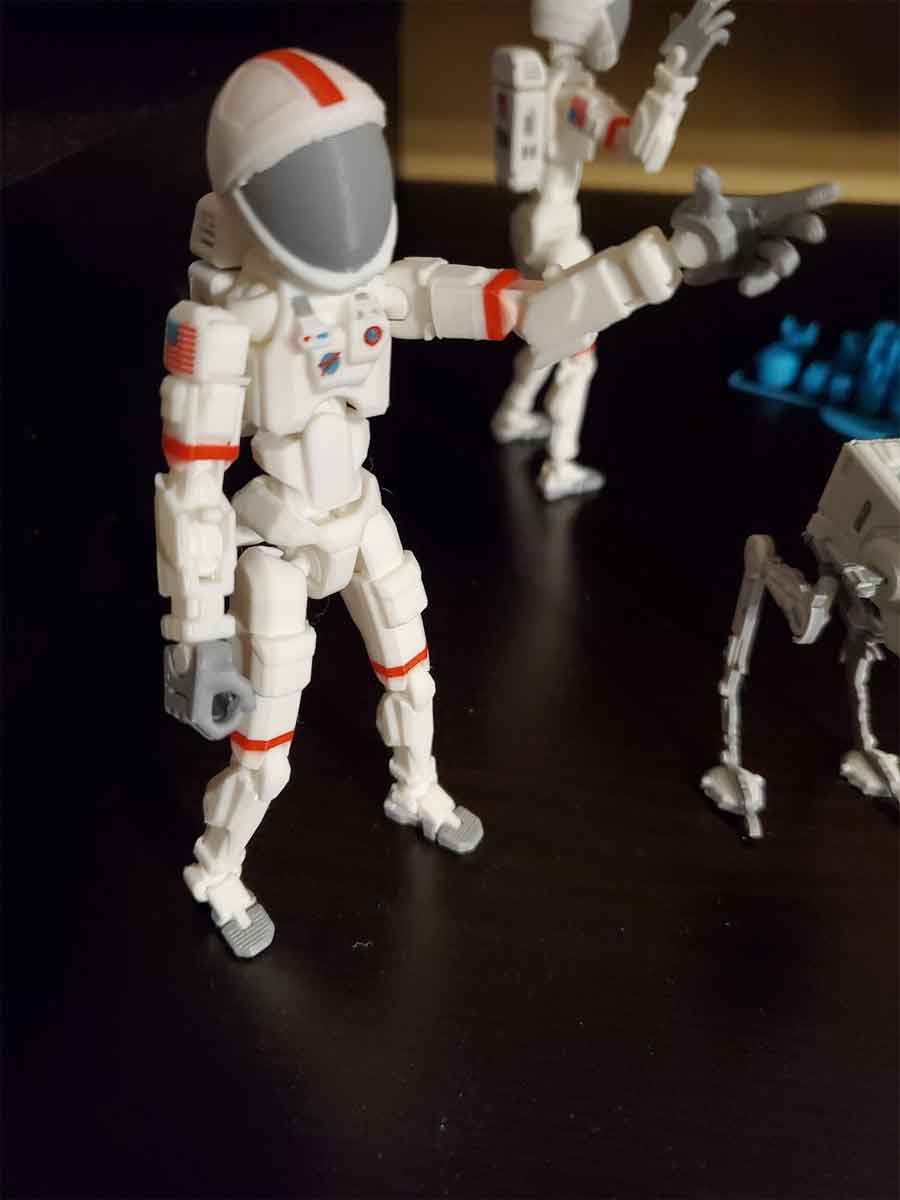
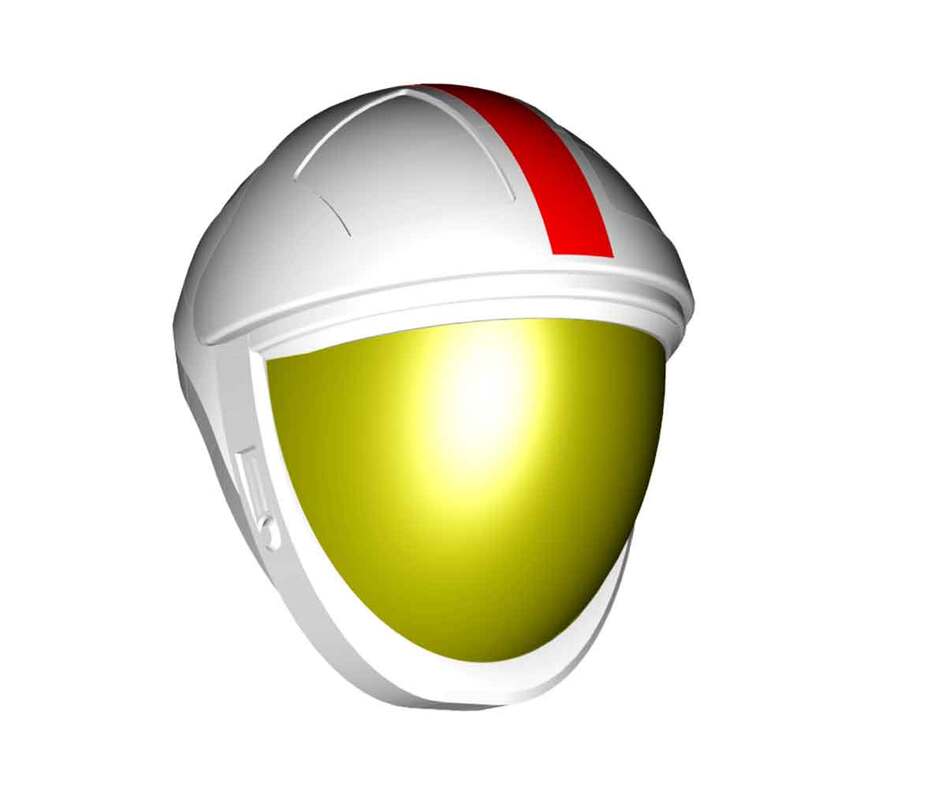
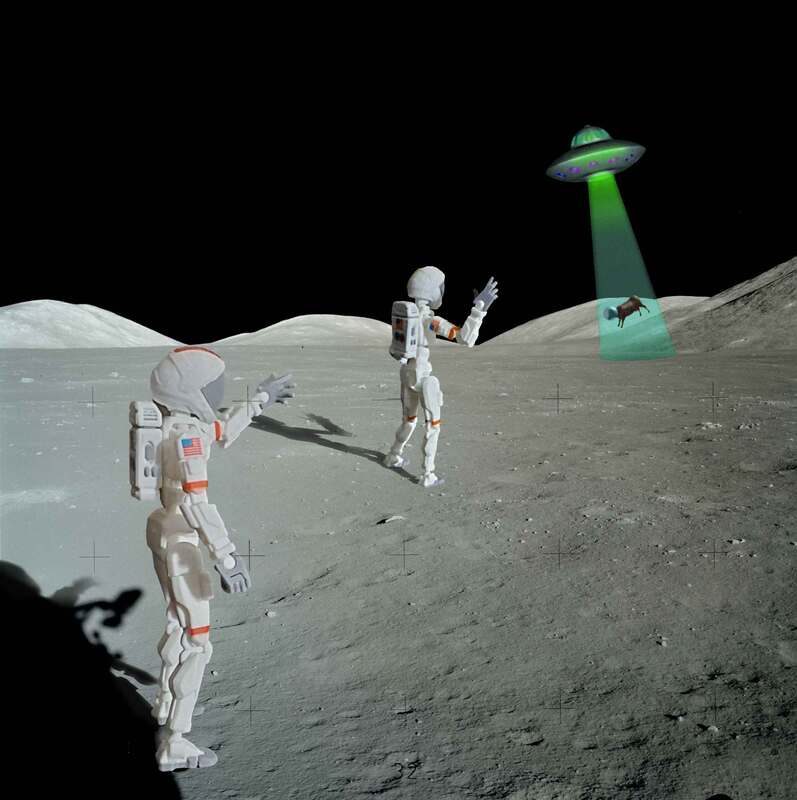
I posted a remix of my Dummy13 Goes to the Moon - Astronaut Remix in a single color version (for normal printers). The original was designed for an AMS/MMU, which not everyone has. The single color remix also lead to an improved helmet design (which does require glue, but prints much nicer). I'm pretty happy with the way the single color version turned out, and so I entered it in the Prusa "Jointed Figures – Jubilee Round!" contest (so do me a favor and drop a like over on Printables for the model - but only if you like it of course. If you want to check out the multi-color version of the same model, which has some cool patches and flags added to the design, you can find that model here.
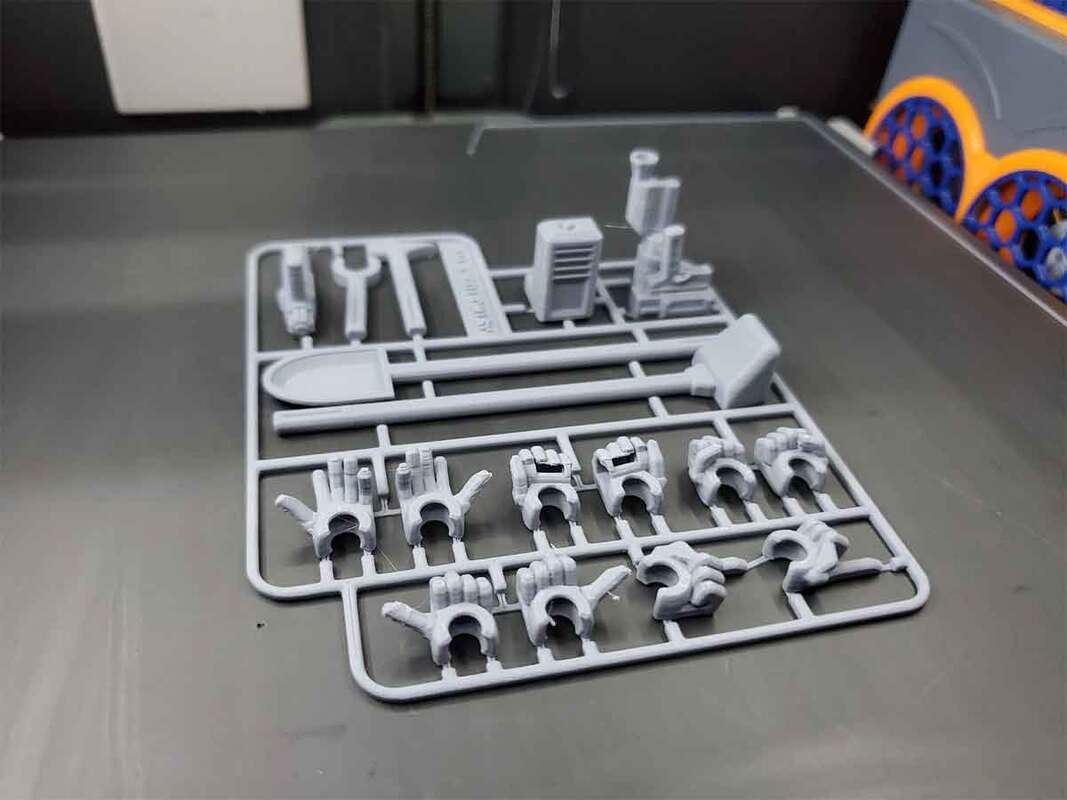
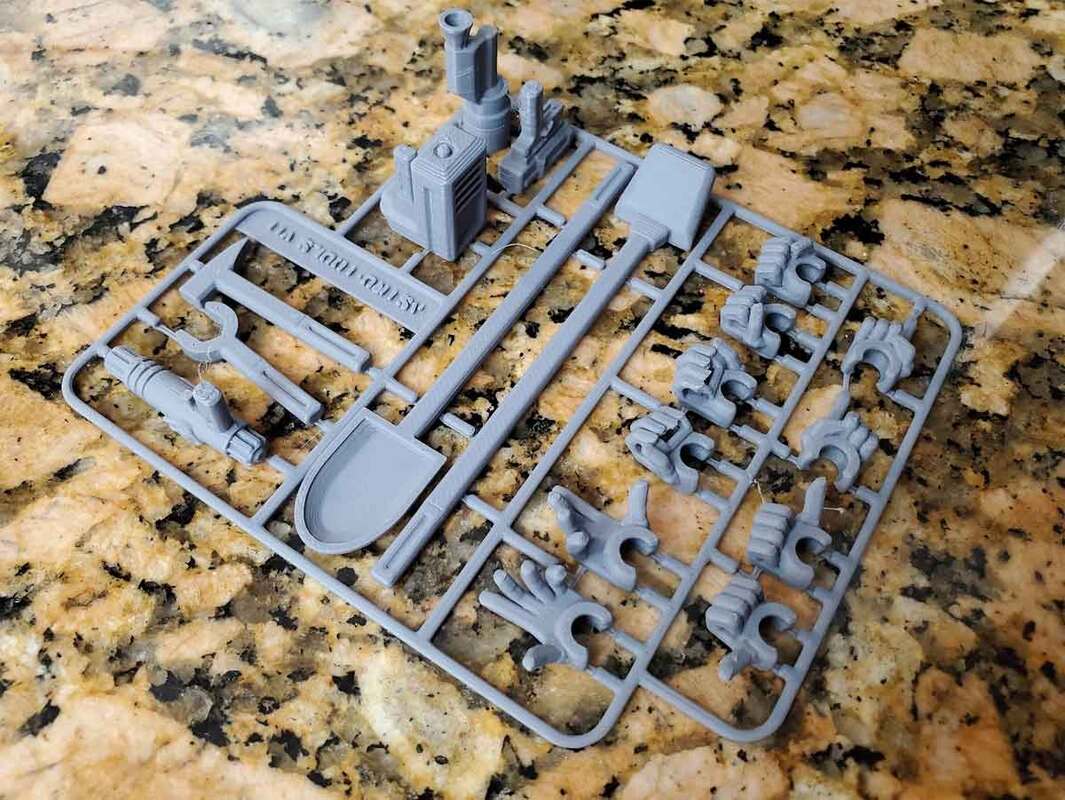
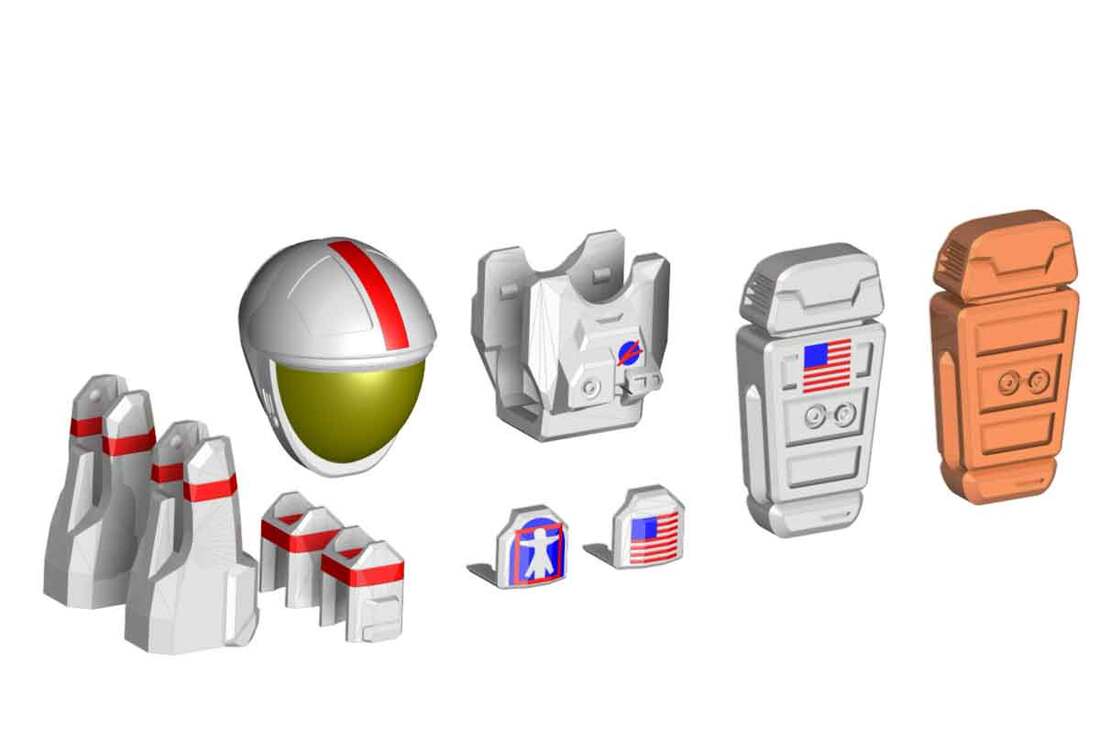
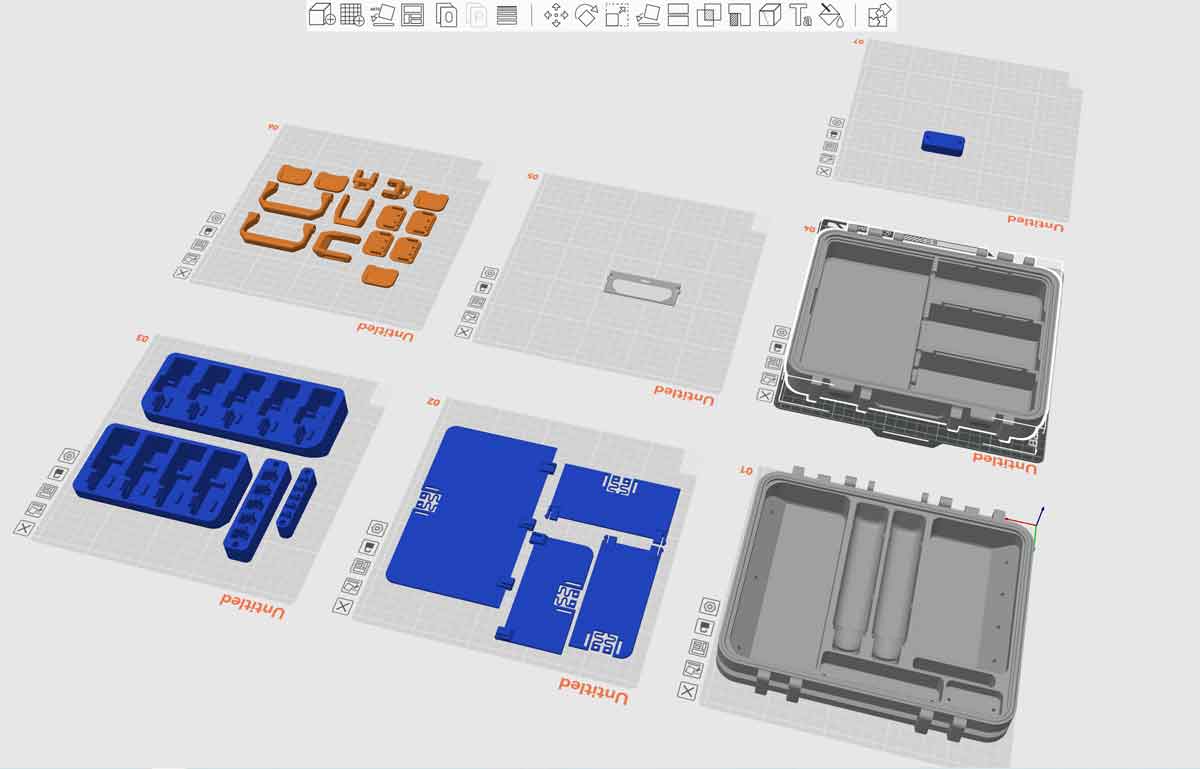
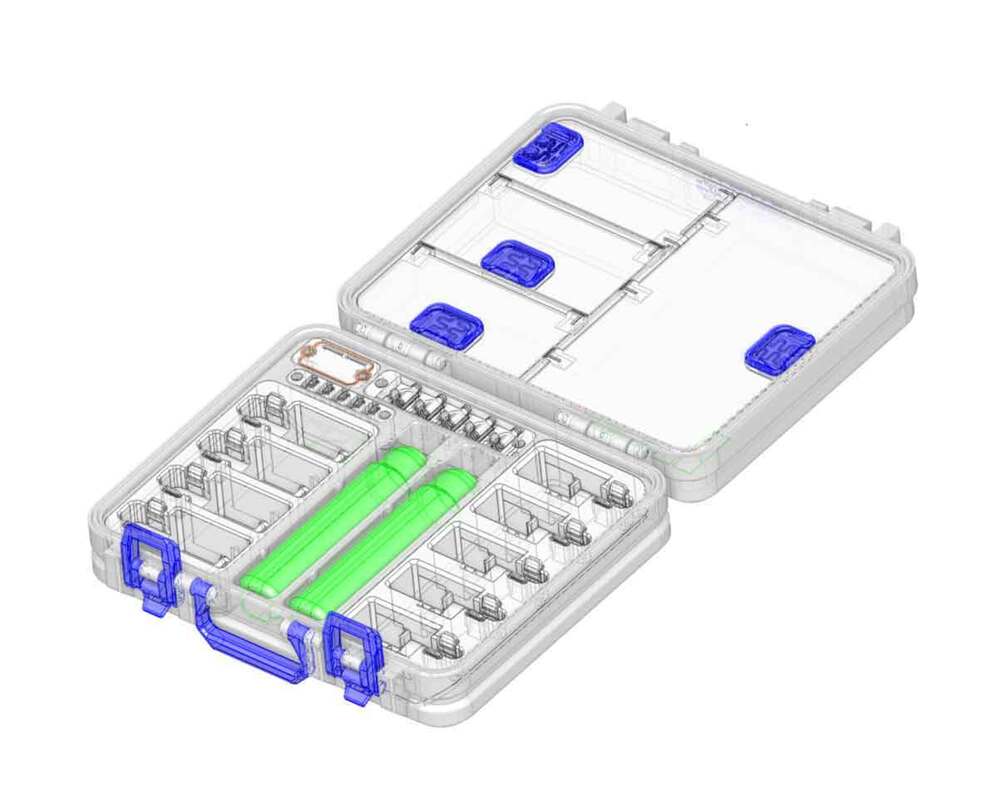
Update 12/10/2023 - What could be better than a Dummy 13 Astronaut with a bag of extra parts in your Christmas stocking? I'm thinking a Dummy 13 Astronaut with a kit card of extra parts, so I designed this:
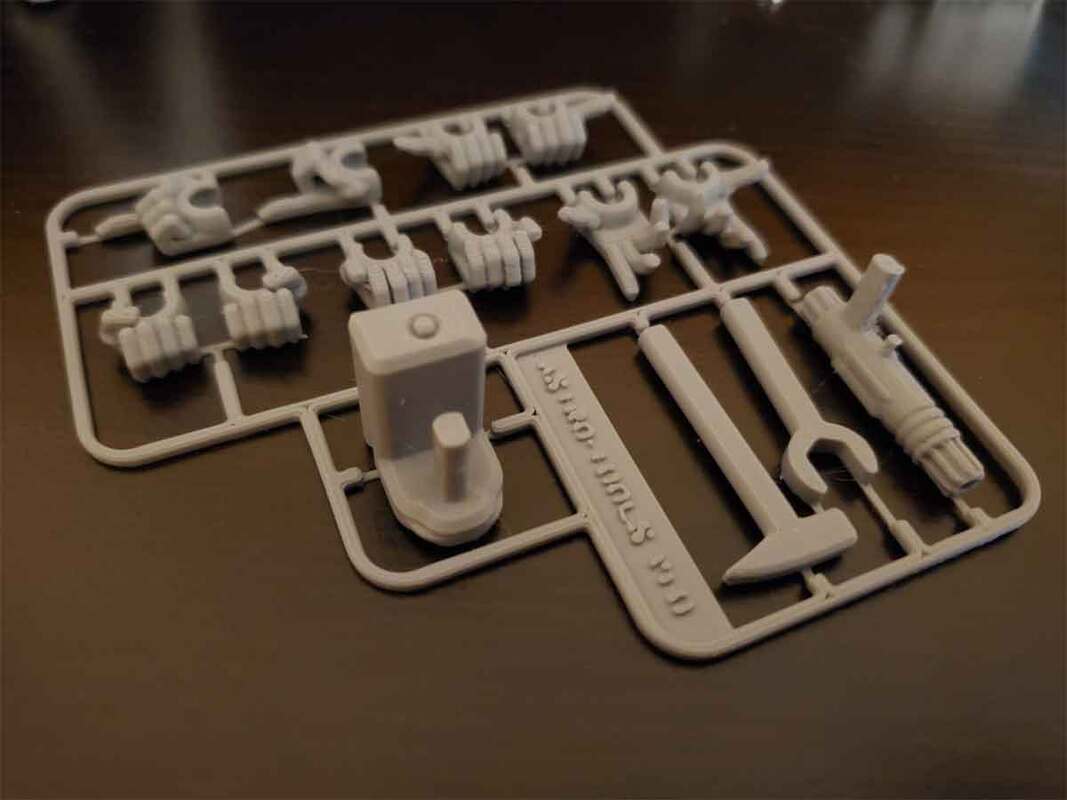
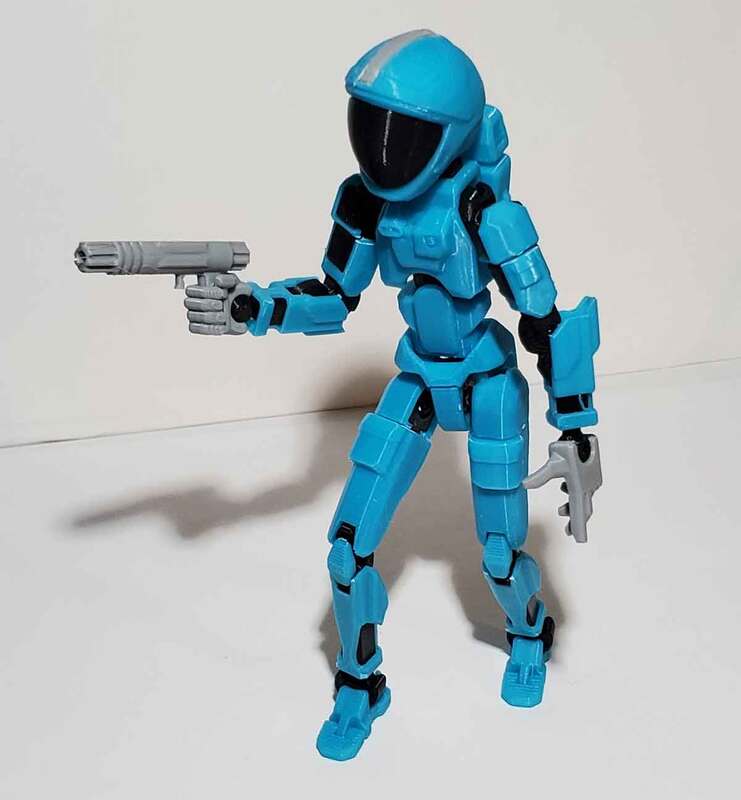
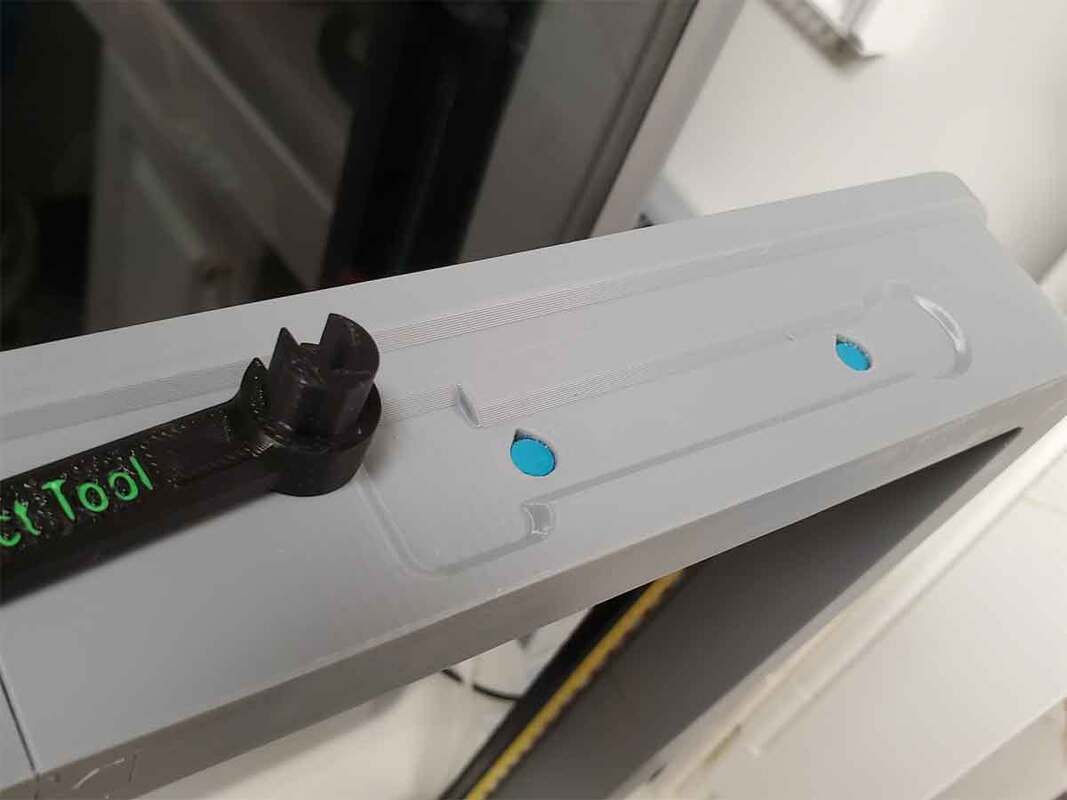
The kit includes hands from the original Dummy 13 model, and some which were remixed by Mici as well (the pointing hand and thumbs up hands). I also added a new astronaut tool to this kit, which looks sort'a like a Geiger counter, but I was thinking of it as some sort of tricorder type thing. The gun looking tool is actually inspired by an astronaut's “pistol grip tool” (fancy space bolt driver), but with enough imagination, it could make “pew-pew” sounds as well (though it's space, so maybe just the visuals).
You can find it here:
https://makerworld.com/en/models/206949#profileId-240171
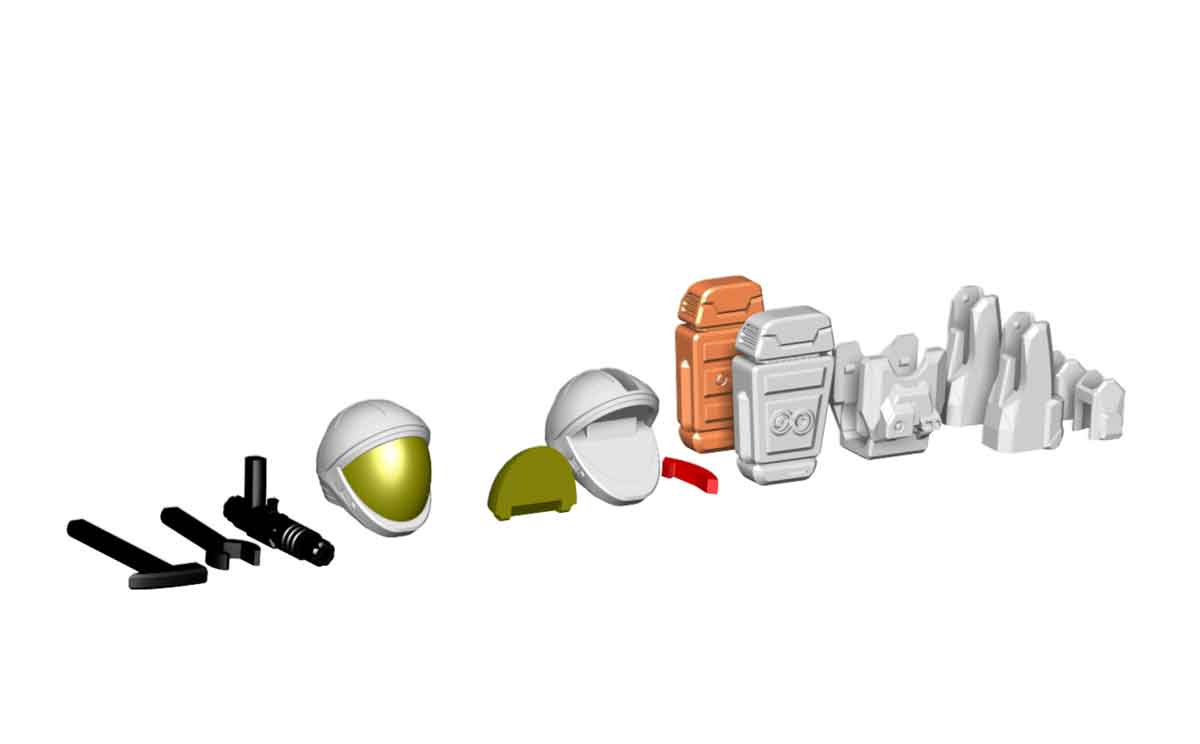
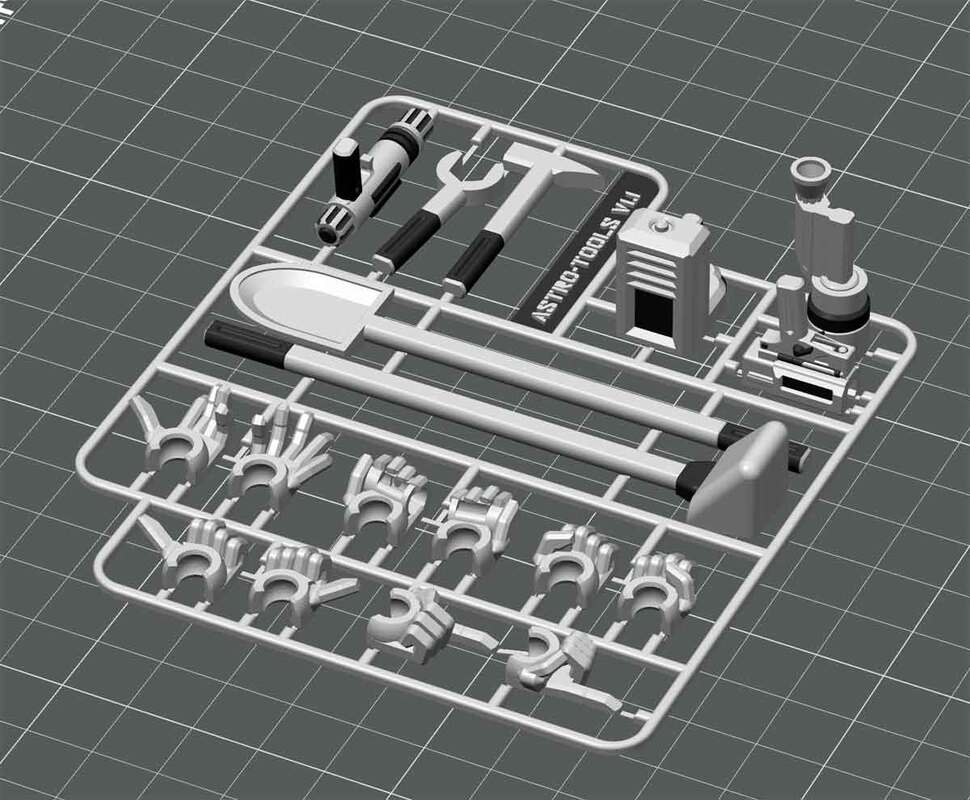
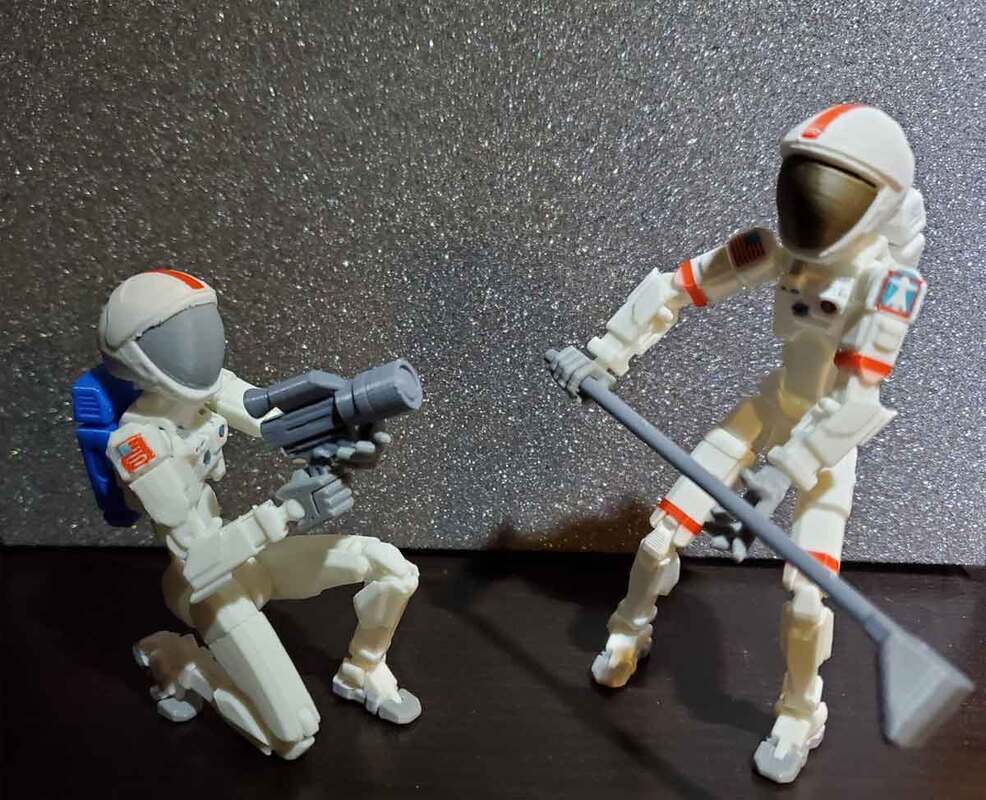
Update 3/29/2024: There are some new tools and a camera have been added, and there are some small changes to the original model as well. A 3MF is also now available with a multicolor option.
You can find it here:
https://makerworld.com/en/models/206949#profileId-240171
Update 3/29/2024: There are some new tools and a camera have been added, and there are some small changes to the original model as well. A 3MF is also now available with a multicolor option.


 RSS Feed
